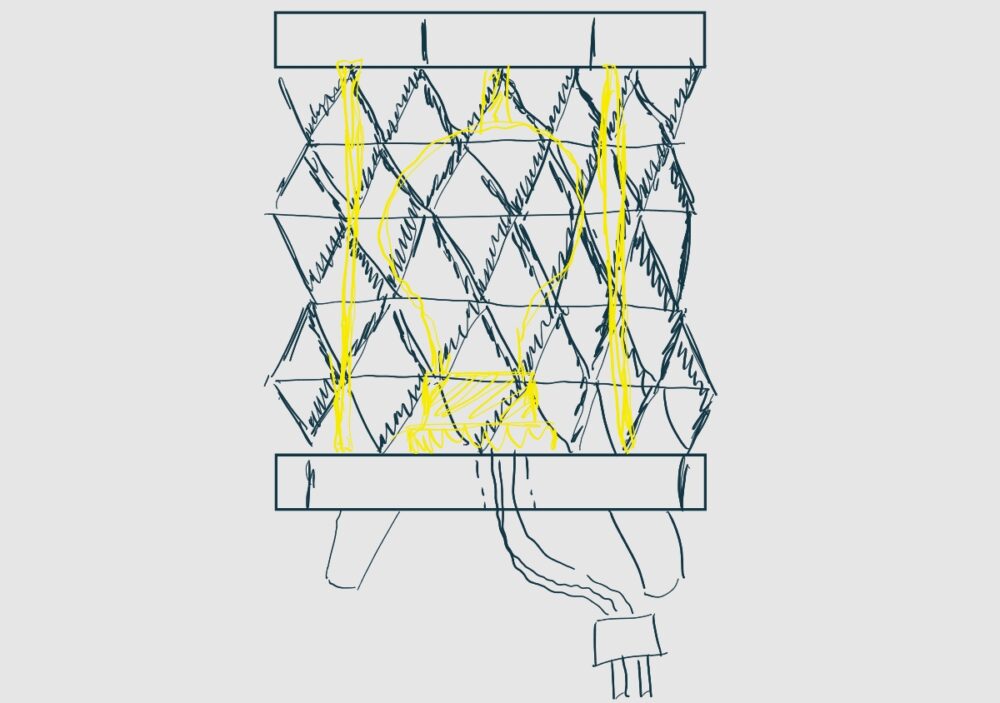
For the upcycling project, my goal is to make a mid-century modern lamp with an origami paper lampshade. The image below is a rough sketch of what I hope the end project looks like!
 For the base of the lamp, I’ve found two small pieces of scrap wood that I plan on joining together with wood glue and then cutting down to the size of the paper lampshade. Following this, I’m going to mill a hexagonal cut-out at the center of the scrap wood to allow for the insertion of the lampshade. I foresee the wooden component of this project taking the most time out of everything I will be making. I plan to manufacture this component in the Integrated Technology Learning Lab woodshop.
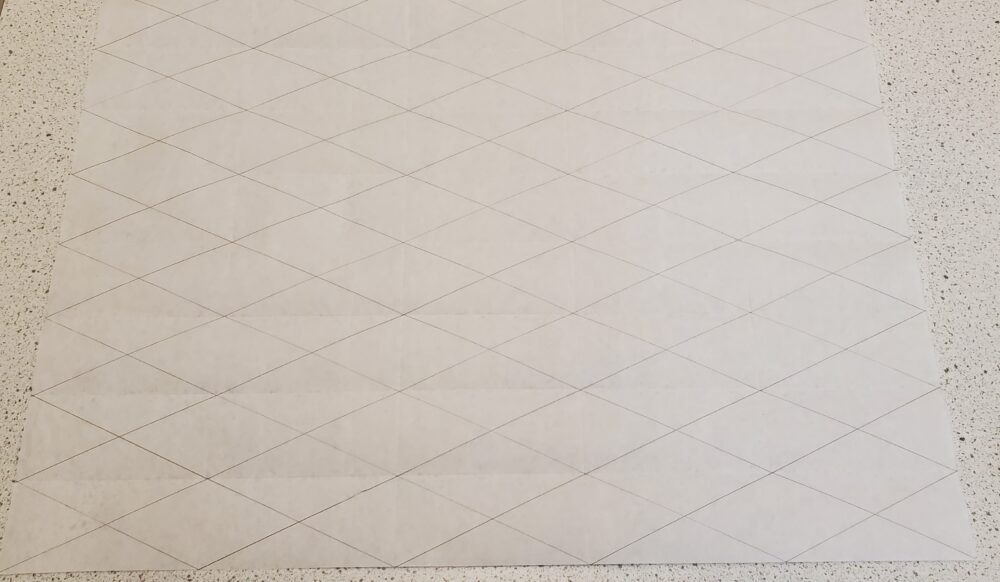
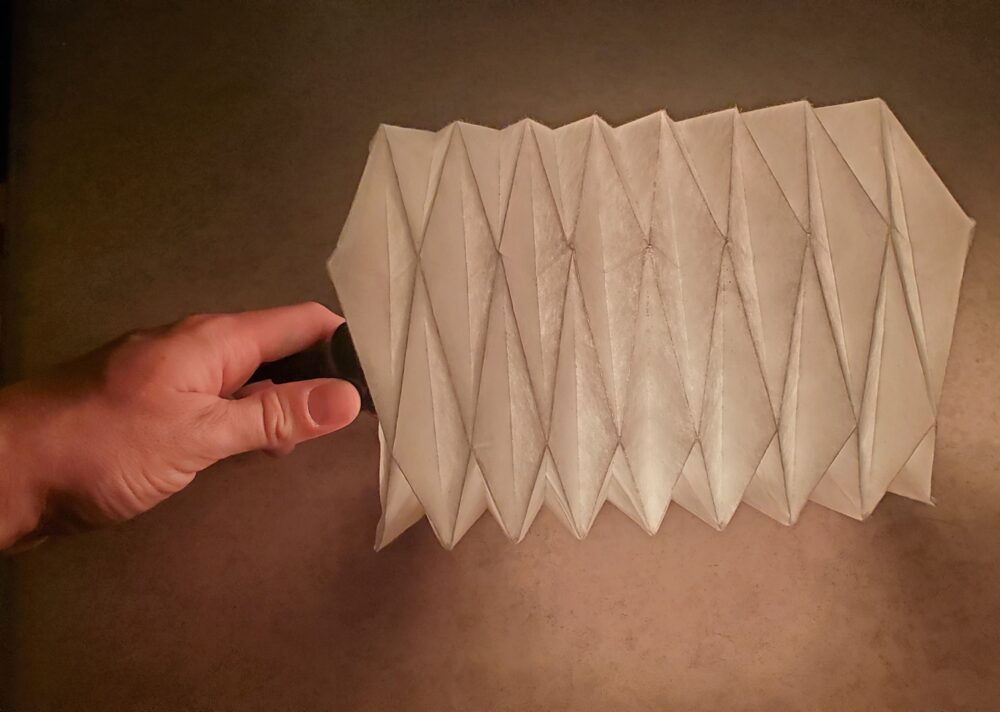
The origami shade will be affixed with a 3D-printed insert with magnets attached that will hold the paper component to the wooden fixture. The shade itself will be a Yoshimura polyhedral: an accordion-like tessellation that creates a cylindrical feature. I’ve made significant progress on this part of the project; the images below show the development of the origami fixture through a series of steps.

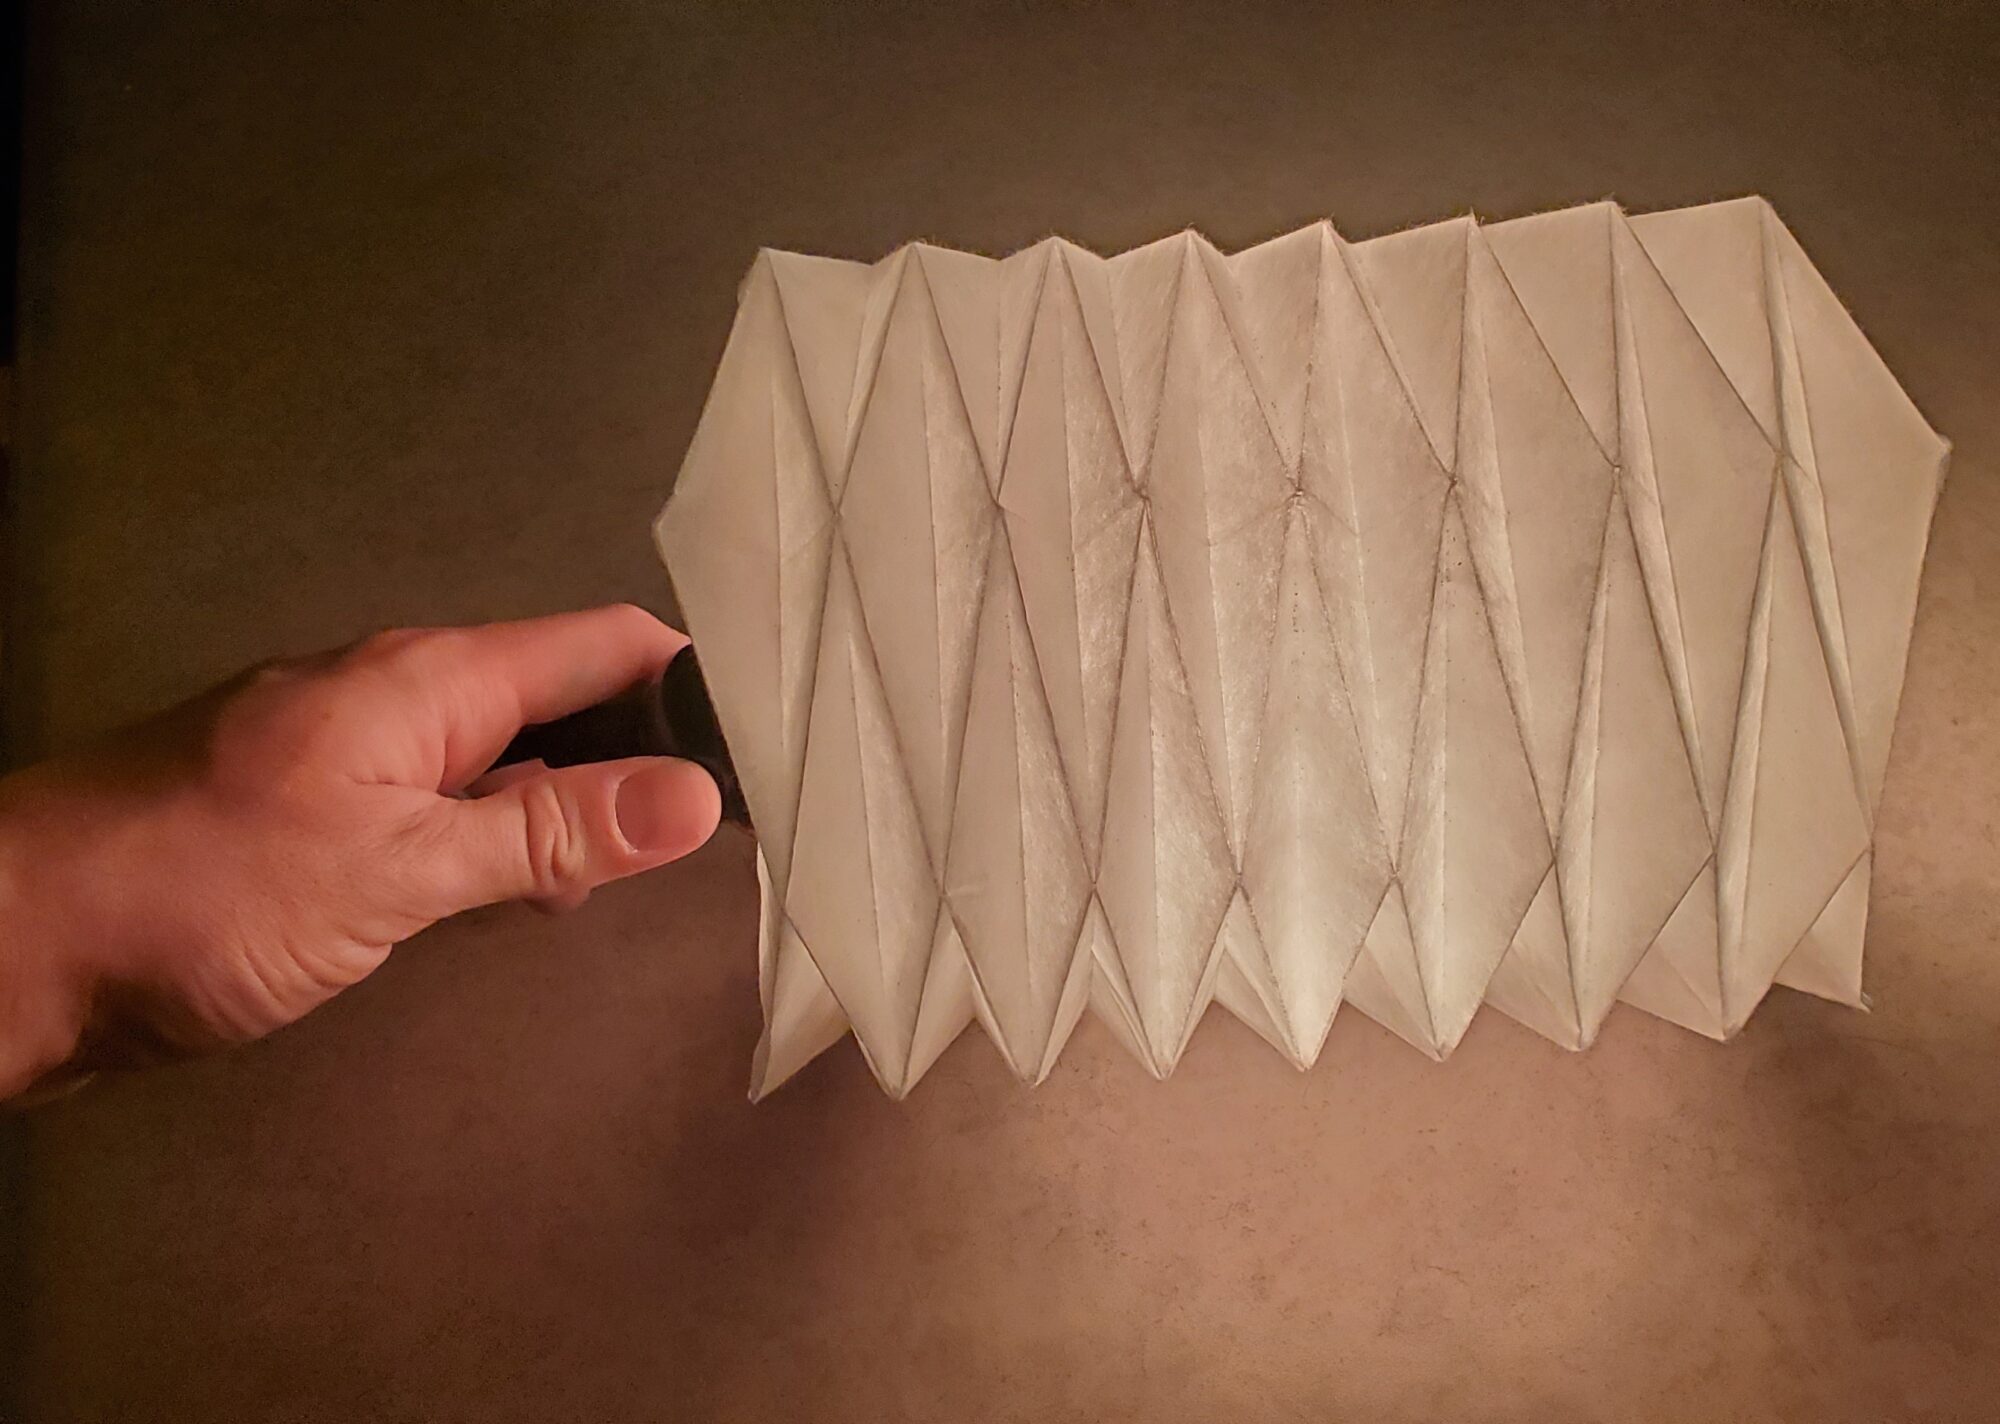
 I started with a white sheet of 16” by 21” paper, which I folded according to a standard Yoshimura folding pattern. The hardest part of this pattern was turning the accordion-like, flat structure into a cylindrical component. The folds felt like they were fighting me the entire time, and I almost burst out a corner multiple times. Once I finished the pattern, I glued the two ends together using wood glue and attached a paper topper to the lampshade, also with wood glue. Below is an image of the final polyhedral with the light bulb turned on inside:

The next step in this project will be to 3D-print the lampshade adapter out of PLA. I plan to use the ITLL 3D printers. To actually attach the light bulb to the lamp, I plan to use an old hanging lamp cord with a color-changing LED bulb: to allow for my design to fit with any color scheme. I plan on 3D printing the attachment for the bulb as well.
In an ideal situation, I would eventually be able to create a hanging lamp fixturing device that I would be able to integrate this design into, creating a standing lamp for a future apartment. For now, given the small size of my current residence, I want to make this design a desk lamp. The routing for the design will come directly out of the bottom of the lamp, but to make sure the lamp sits flush on the table, I will also need to make feet for the lamp to sit on. Typical mid-century modern furniture uses wooden peg legs as a motif of the aesthetic: a design choice I hope to emulate. The spare wood I have leftover, I plan on cutting to create circular feet that I’ll attach to the base of the lamp.
I think I’ve made good progress so far on this project, but I’m really worried that I might be in a time crunch to get everything done in the next week.


2 Comments. Leave new
This is an incredible cool and creative idea! I really like how you are using the origami folding technique to create the design in the paper. What kind of bulb will you be using for this project?
Hi Sophia, I actually just bought the bulb today. I’m going for the easy route and using a color changing LED bulb so that I can change the color depending on the look of the room that I eventually put the lamp in.