The aesthetic for my upcycling project will be based on topography, though it will be slightly different. While I want to attempt to make a model as seen on the internet for its visual appeal, it is mainly driven by the fact that I’ve had abundant cardboard boxes lying about in storage unused. Rather than creating a diorama that will honestly probably gather dust on a shelf, I wanted some level of utility for my upcycle project — to a certain extent. To that end, I aim to create a topographic tissue case.
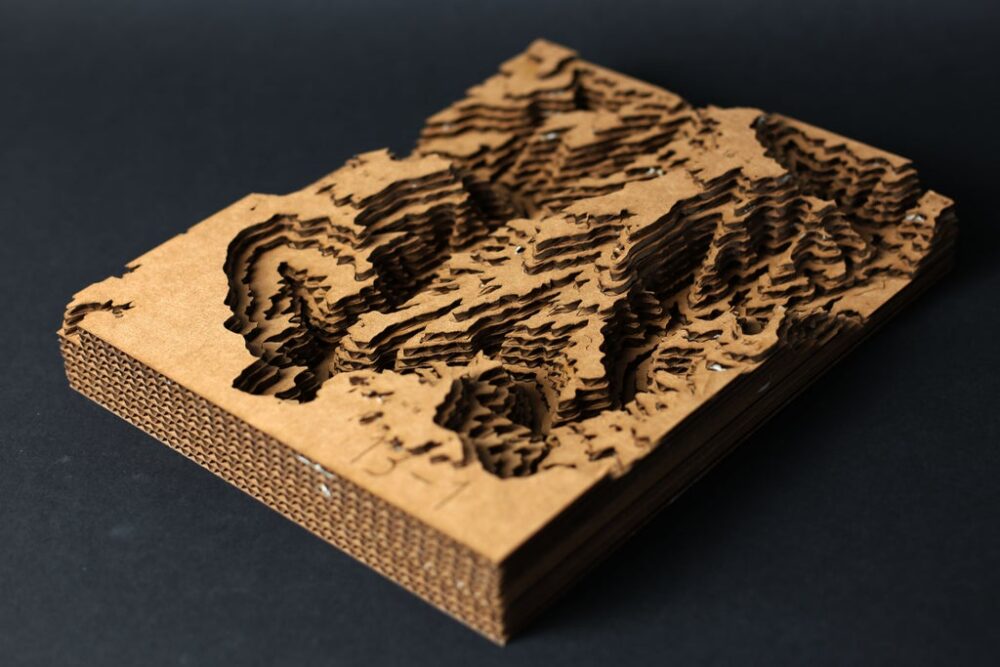
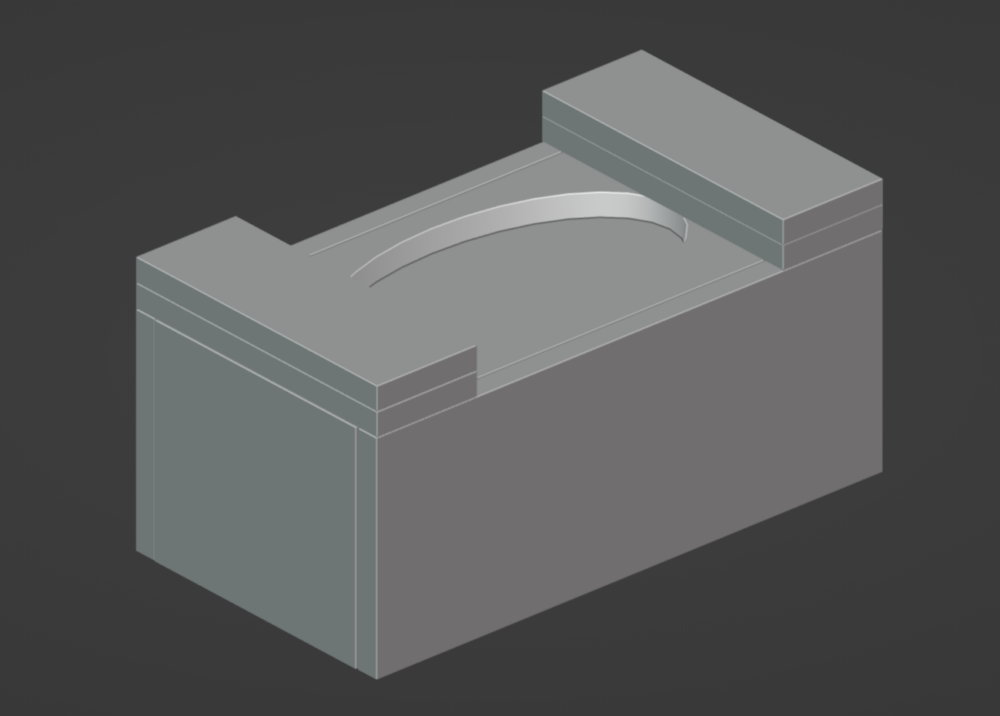
The current design for the topographic cover is to have it slotted over a tissue box for ease of installation and removal. For the previously mentioned utility, I intend to install unused computer mouse weights inside to prevent the box from being jostled when grabbing a tissue.
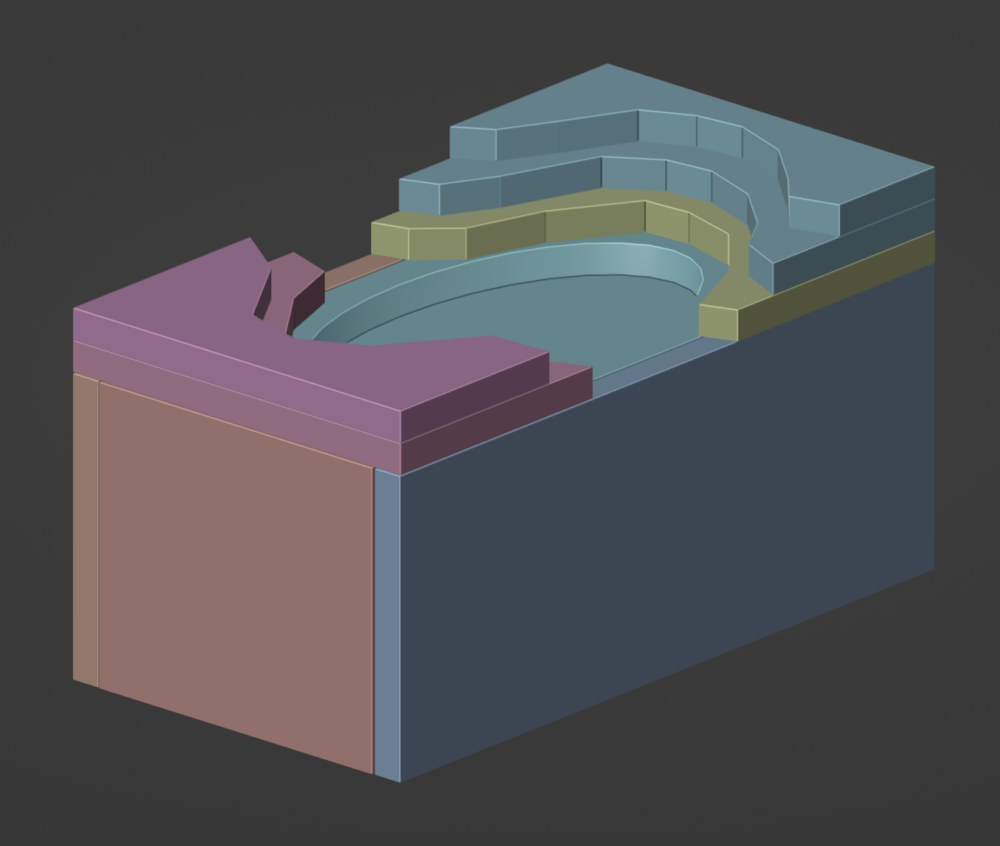
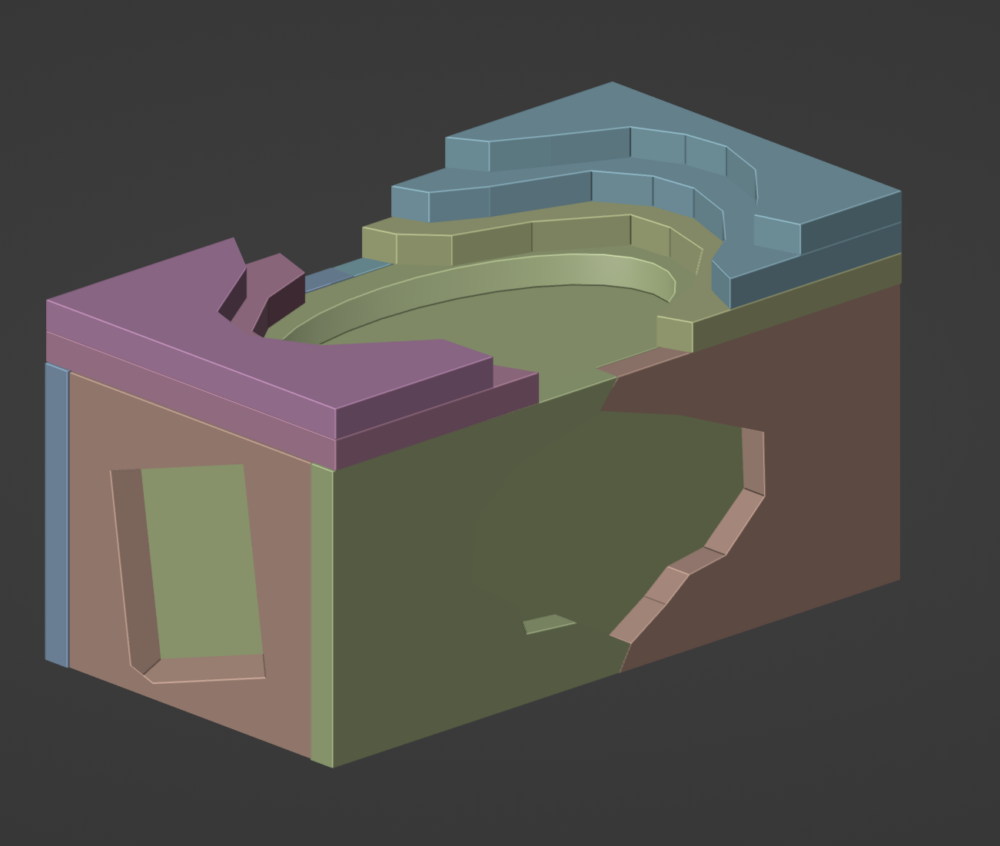
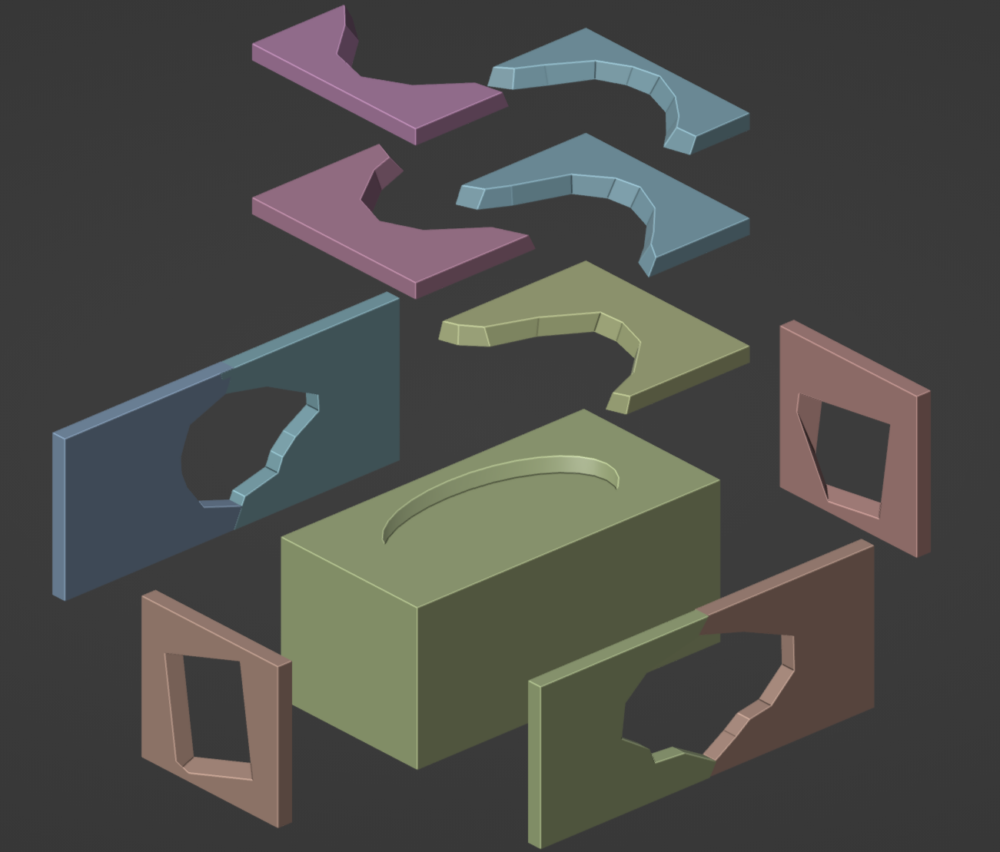
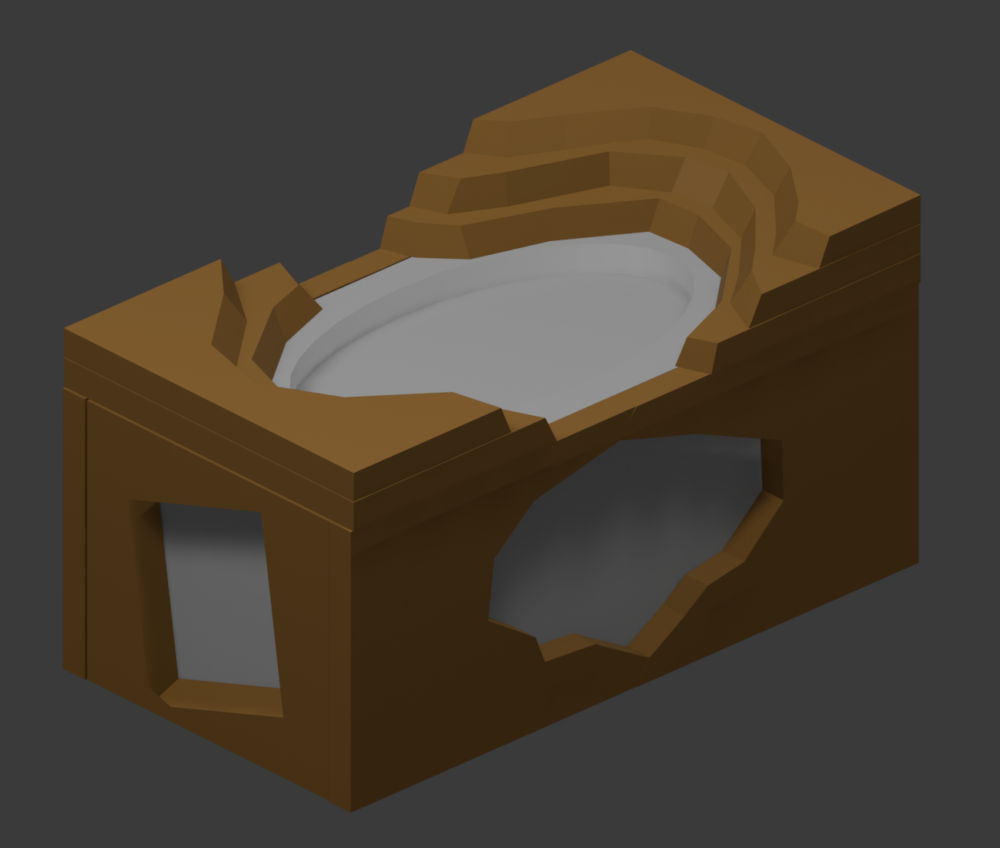
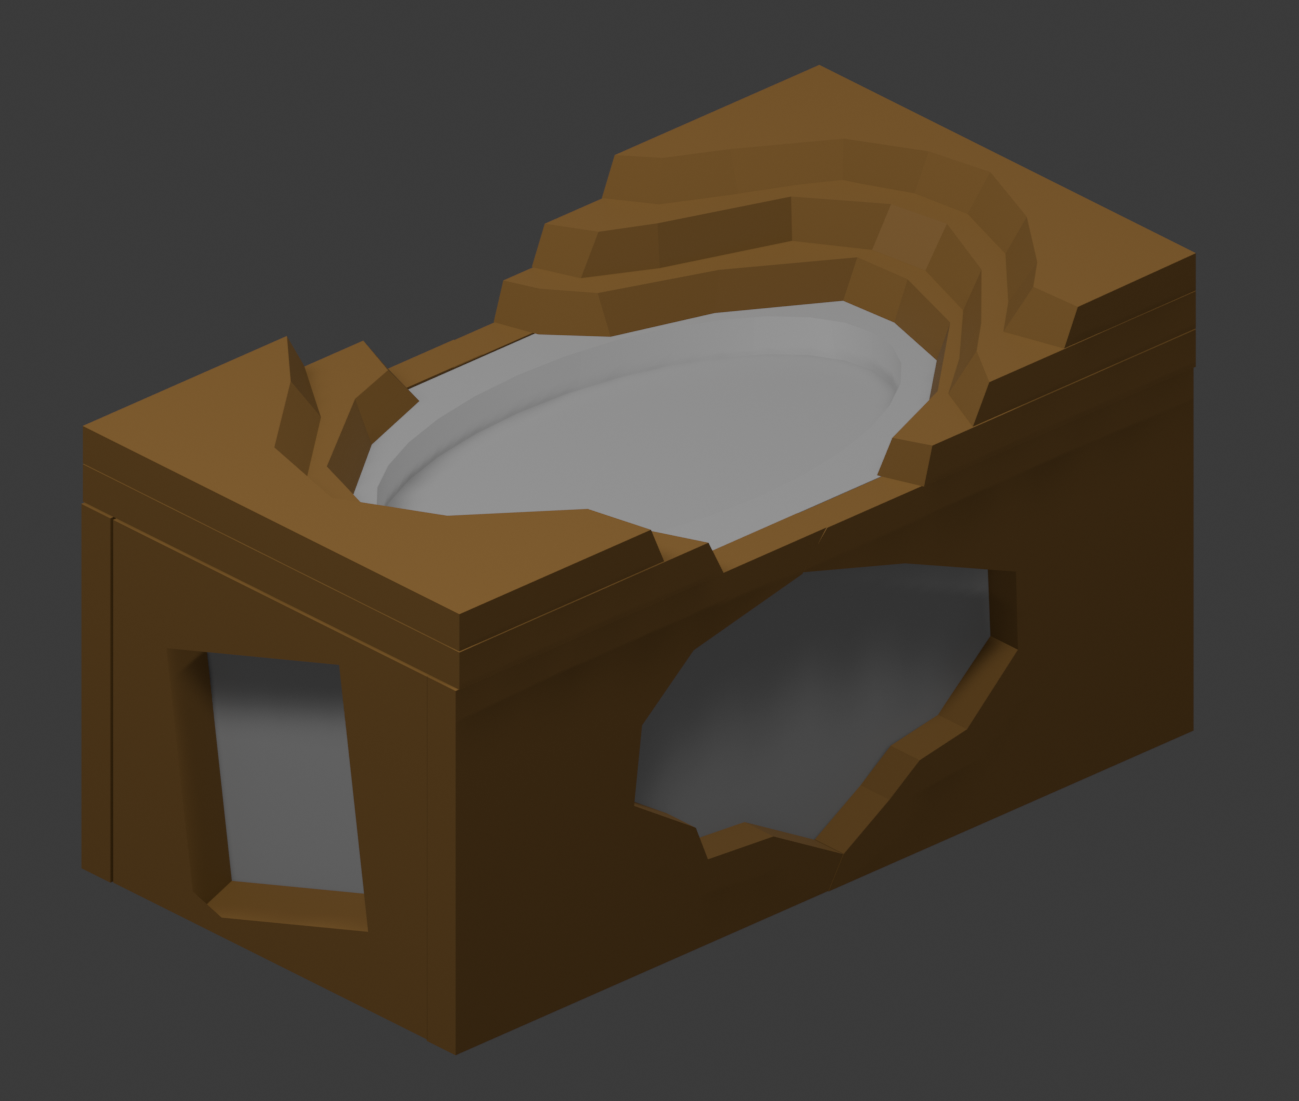
Of course, the physical project will diverge significantly from what is shown in the Blender models above as my experience with projects like these is limited, and the cardboard layers are not uniform — some of them have been squished in storage. Again, all this is a rough idea of what I plan for the project, and aspects of it will certainly change in the future.
References
[1] https://www.instructables.com/Easy-3D-Topographical-Maps/[2-5] Program Used: Blender 4.0 – https://www.blender.org/

4 Comments. Leave new
Are you going to use a specific topography? Just curious, really love the idea overall. Could use some mini mountaineers.
No particular topography in mind — I just wanted a believable landscape to build for the case. While I do appreciate the idea, I doubt my hands-on experience will be able to build mini mountaineers. Although I do recall having actual mini-figures laying around somewhere. If I find it before the deadline, I’ll try to incorporate them to the project.
Hi Vincent, I think you have a really good idea here! I like the use of cardboard to align with the upcycling aspect of this project. I also like your used of the tissue box idea not just for recycling purposed but also for a container for easy moving. I found the initial blender renders to be very helpful in visualizing what you were explaining and I like the idea to place depth on the sides as well as the top. Moving forward, how will you decide on the complexity of the topography to make it look finished without taking on too much of a commitment?
Again, the rendition was a rough idea as to what I wanted to create so the final product is susceptible to change. Currently, the main plan is to use a good old-fashion X-ACTO knife to get the shape. The topography doesn’t have to be 1-to-1 to the model (aside the dimensions to encase the tissue box), so it shouldn’t be too much of a problem to construct.