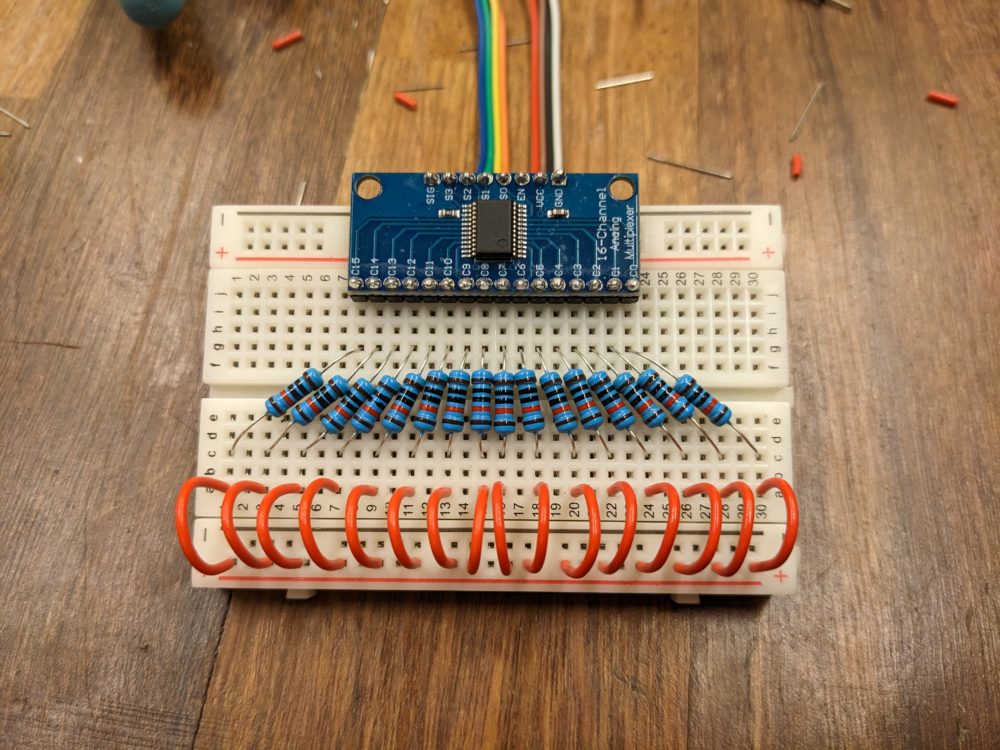
To ensure my idea was possible to execute, I first needed to build a prototype version of the board, with only a 4×4 grid of squares. This prototype version uses 16 Hall Effect magnet sensors and 1 grid consisting of 256 Neopixels. The goal with this prototype was to ensure the internal wiring was done in such a way that it could be scaled up for the final version of the Chess Board. To accomplish this, I use a multiplexer to pair down the 16 sensor inputs to just 5 connections to the Arduino. Each Hall Effect sensor requires Power, Ground, Signal, and a 10k Ω resistor. I’ve combined all of these components on a singular breadboard to maximize efficiency, although I am not looking forward to wiring another 3 of these boards.

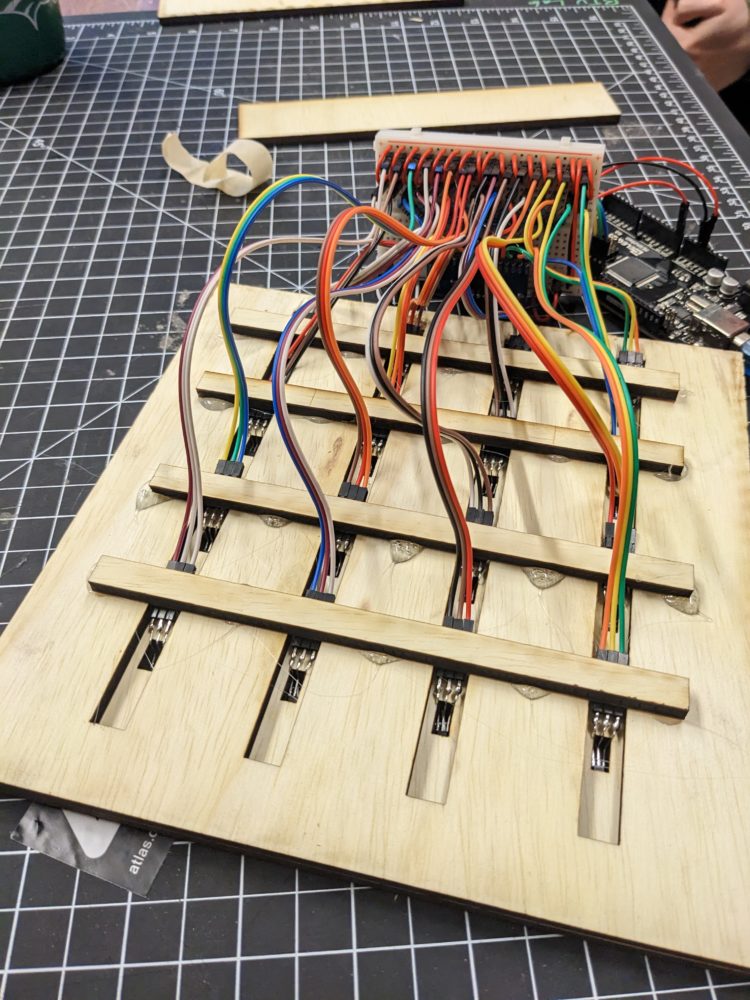
Once I had the wiring mounted, I needed to create an enclosure that allowed the Hall Effect sensors to be as close to the surface as possible. My solution was to laser-cut two boards that allowed room for the sensors and their wiring to fit snugly. As an additional layer of protection, I hot glued boards over the wires to prevent them from falling out, and placed packaging tape on the surface for the sensors to stick to. Despite my planning, I made one critical oversight in this design. I forgot to include holes for the Neopixel wires to fit through, meaning the grid would’ve been elevated higher than necessary, reducing the effectiveness of the Hall Effect sensors. It was a nerve-wracking process drilling through the wood with the wiring already in place, but the result was worth the initial trepidation.

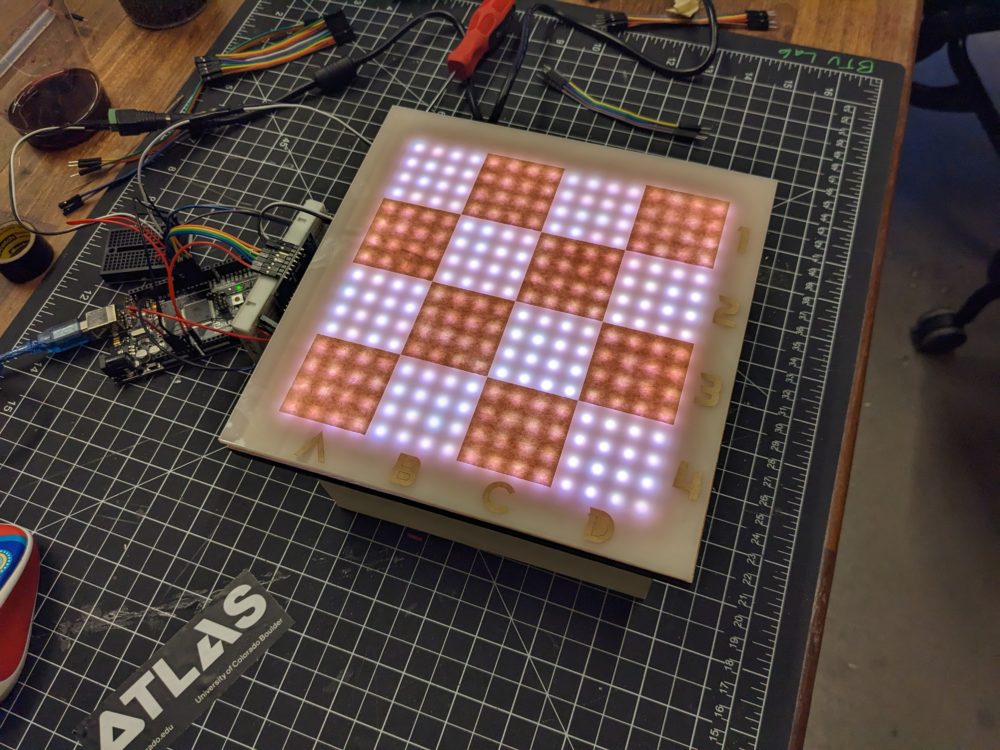
With the wiring completed, I mounted the Neopixel grid to the surface, and laser-cut a couple sheets of frosted acrylic to replicate the squares of the Chess Board. An unintentional discovery was the revelation that the protective paper cover could be used to indicate the Black Squares, and could be peeled away on the White squares. The paper has the effect of dimming the Neopixels a bit, but I quite like the resultant effect. In lieu of 3D printing the pieces I had originally designed for this project, I found a used Chess set at Goodwill for $8. It cut a significant chunk of work out of my project, and the traditional pieces still align with my core aesthetic and goal of usability for beginner Chess players. With the prototype enclosure completed, it was time for the most challenging part: Coding the functionality.

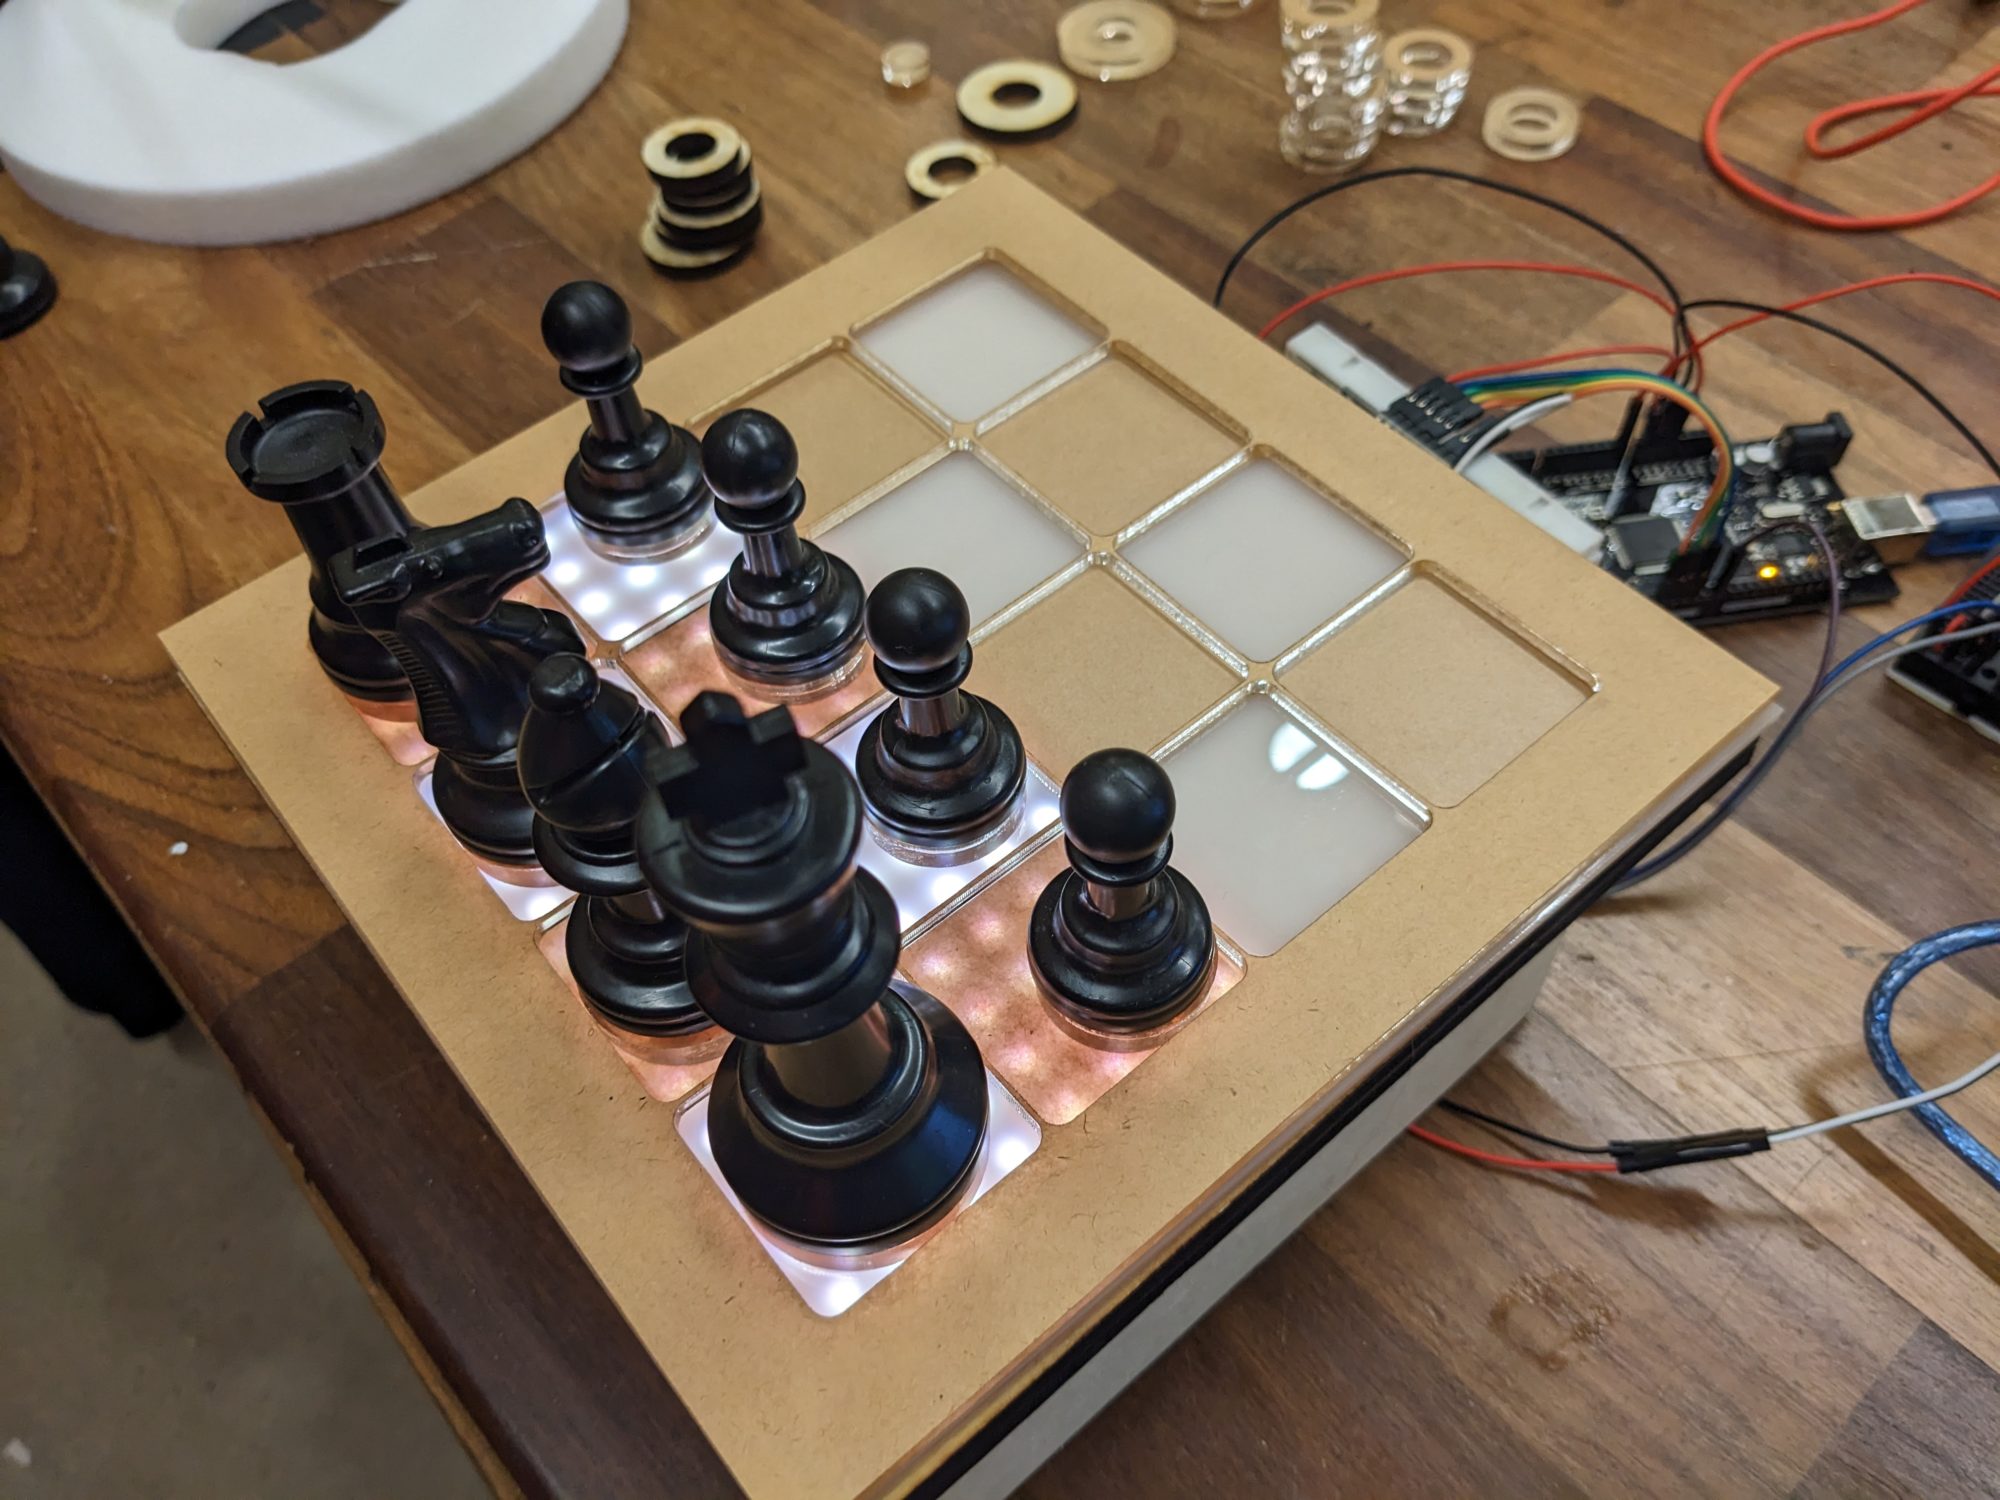
I’ve included a link to the code I wrote for this prototype board. A lot of work had to be done to identify which magnet sensors corresponded to the Neopixels on the grid, to allow squares to be highlighted appropriately. I included a row of Pawns, a Rook, a Knight, a Bishop, and a King to account for most of the possibilities of piece movement. Since the Hall Effect sensors cannot detect which type of piece is on the square, I added a condition for the board to be “reset.” When pieces are placed in the first 2 rows, it is akin to a new game being started, and the Arduino can identify which piece should be on each of the squares. From there, it keeps track of the piece when it is lifted up and set down on a different square. Although I wanted to include a castling condition, I was unable to in this iteration. Despite these limitations, I was very pleased with the functionality of this prototype. I am very excited to complete the full 8×8 version of the Chess Board!
[4] Video demonstration of the prototype Chess Board in action


1 Comment. Leave new
This project is turning out amazing. What are your plans to provide power to this board? Will it always have to be plugged in or will you have an alternative power source?