My original idea of making my boat-shaped puzzle box was for me to shove a bunch of electronics into a model ship I bought online. However, once I started putting together the ship I bought, I realized that I was no longer having fun making the project (here is a short timelapse of me starting the process and very quickly deciding not to continue: https://youtu.be/CkZPCzYBW5k). So, I made a last-minute decision to 3D print my ship instead of building a kit. Below is the CAD model for it, and here is a link of me designing the bottom: https://youtu.be/3SGUkt5tCVs.
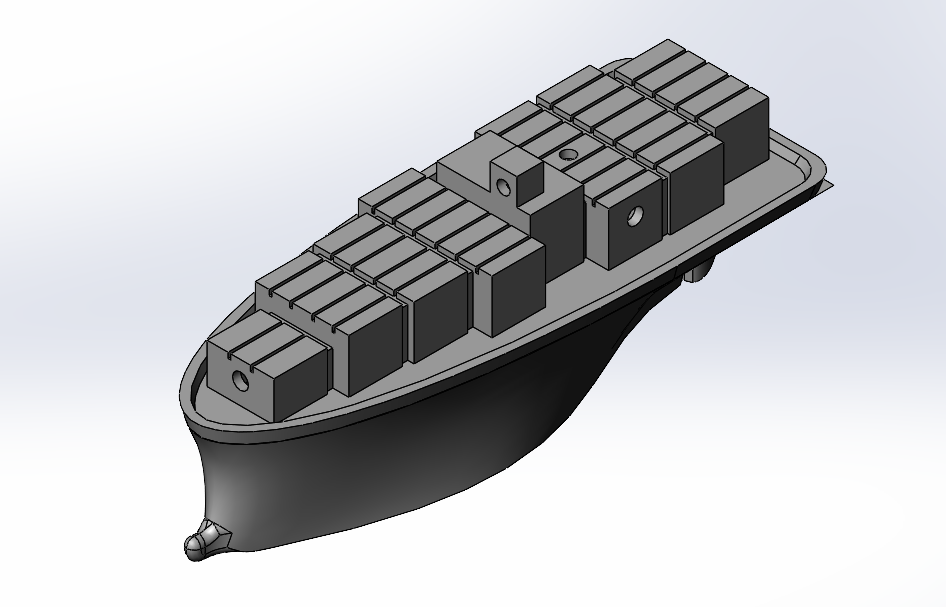
The boat is made up of three separate parts: the top, the bottom, and the rudder. The prints for the bottom and rudder went fairly well, but I had a lot of trouble with the print for the top. Here is a timelapse of the bottom printing: Boat Hull Print___2023-04-24_12-28-04-8648-06-00 (Apparently I am not allowed to show it as a video, so the link will have to do). The top failed to print the first two times I tried, so I changed some settings and was able to get it to print. Then I ran out of filament with an hour left on the print (timelapse here: Cargo ship top print___2023-04-25_17-26-15-3763-06-00), so I had to buy a new roll. Each of these prints were supposed to take around 20 hours to complete, so with them failing and me having to order more filament I was running very quickly out of time. It absolutely did not help that other courses were expecting a lot of deliverables at the same time as the prints giving me problems.
In the end, I decided to do as much as I could by today and finish the rest of the project once things had settled down. That first involved setting up the electronics for the puzzles, which can be seen below.
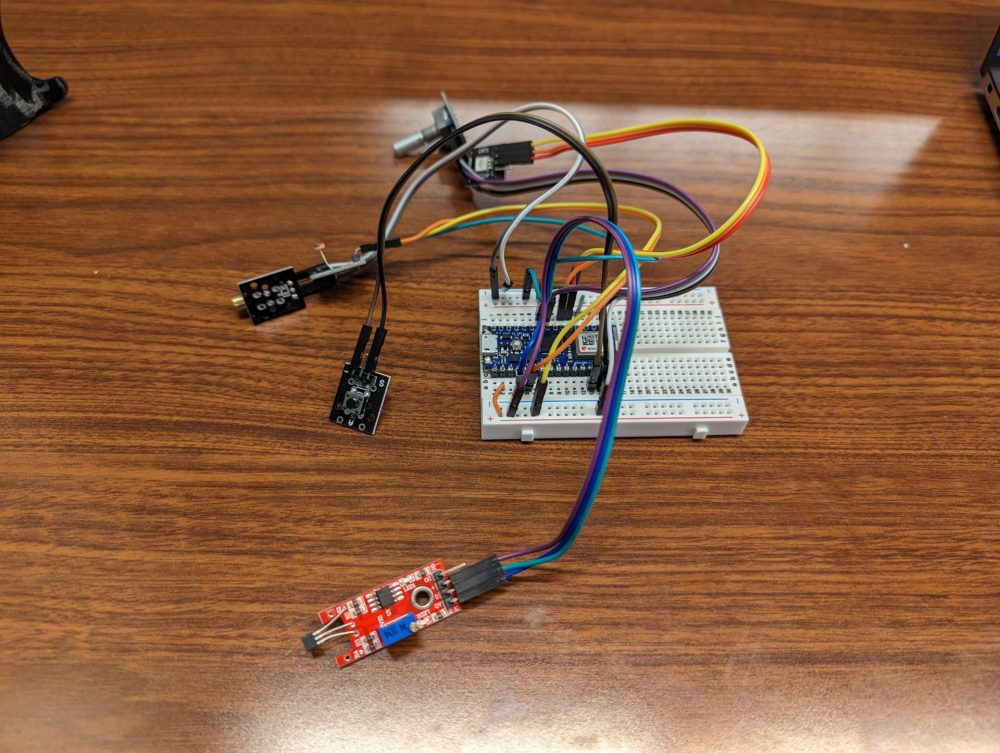
From bottom to top, here are the functions of each of the electronics:
- A hall effect sensor for sensing a magnetic field. The rudder on the ship is attached magnetically, so players are able to remove it and activate the sensor with it.
- A reset button for when players have solved all of the puzzles.
- A laser module and light sensor module. After solving the magnet puzzle, the laser will turn on for players to reflect into the light sensor. I am still working on finding a small mirror for this puzzle.
- An addressable LED with a rotary encoder. The LED will turn on when the laser puzzle is solved, and players can turn the knob on the encoder to change its color. Finding the correct color and pressing the knob in will solve the puzzle.
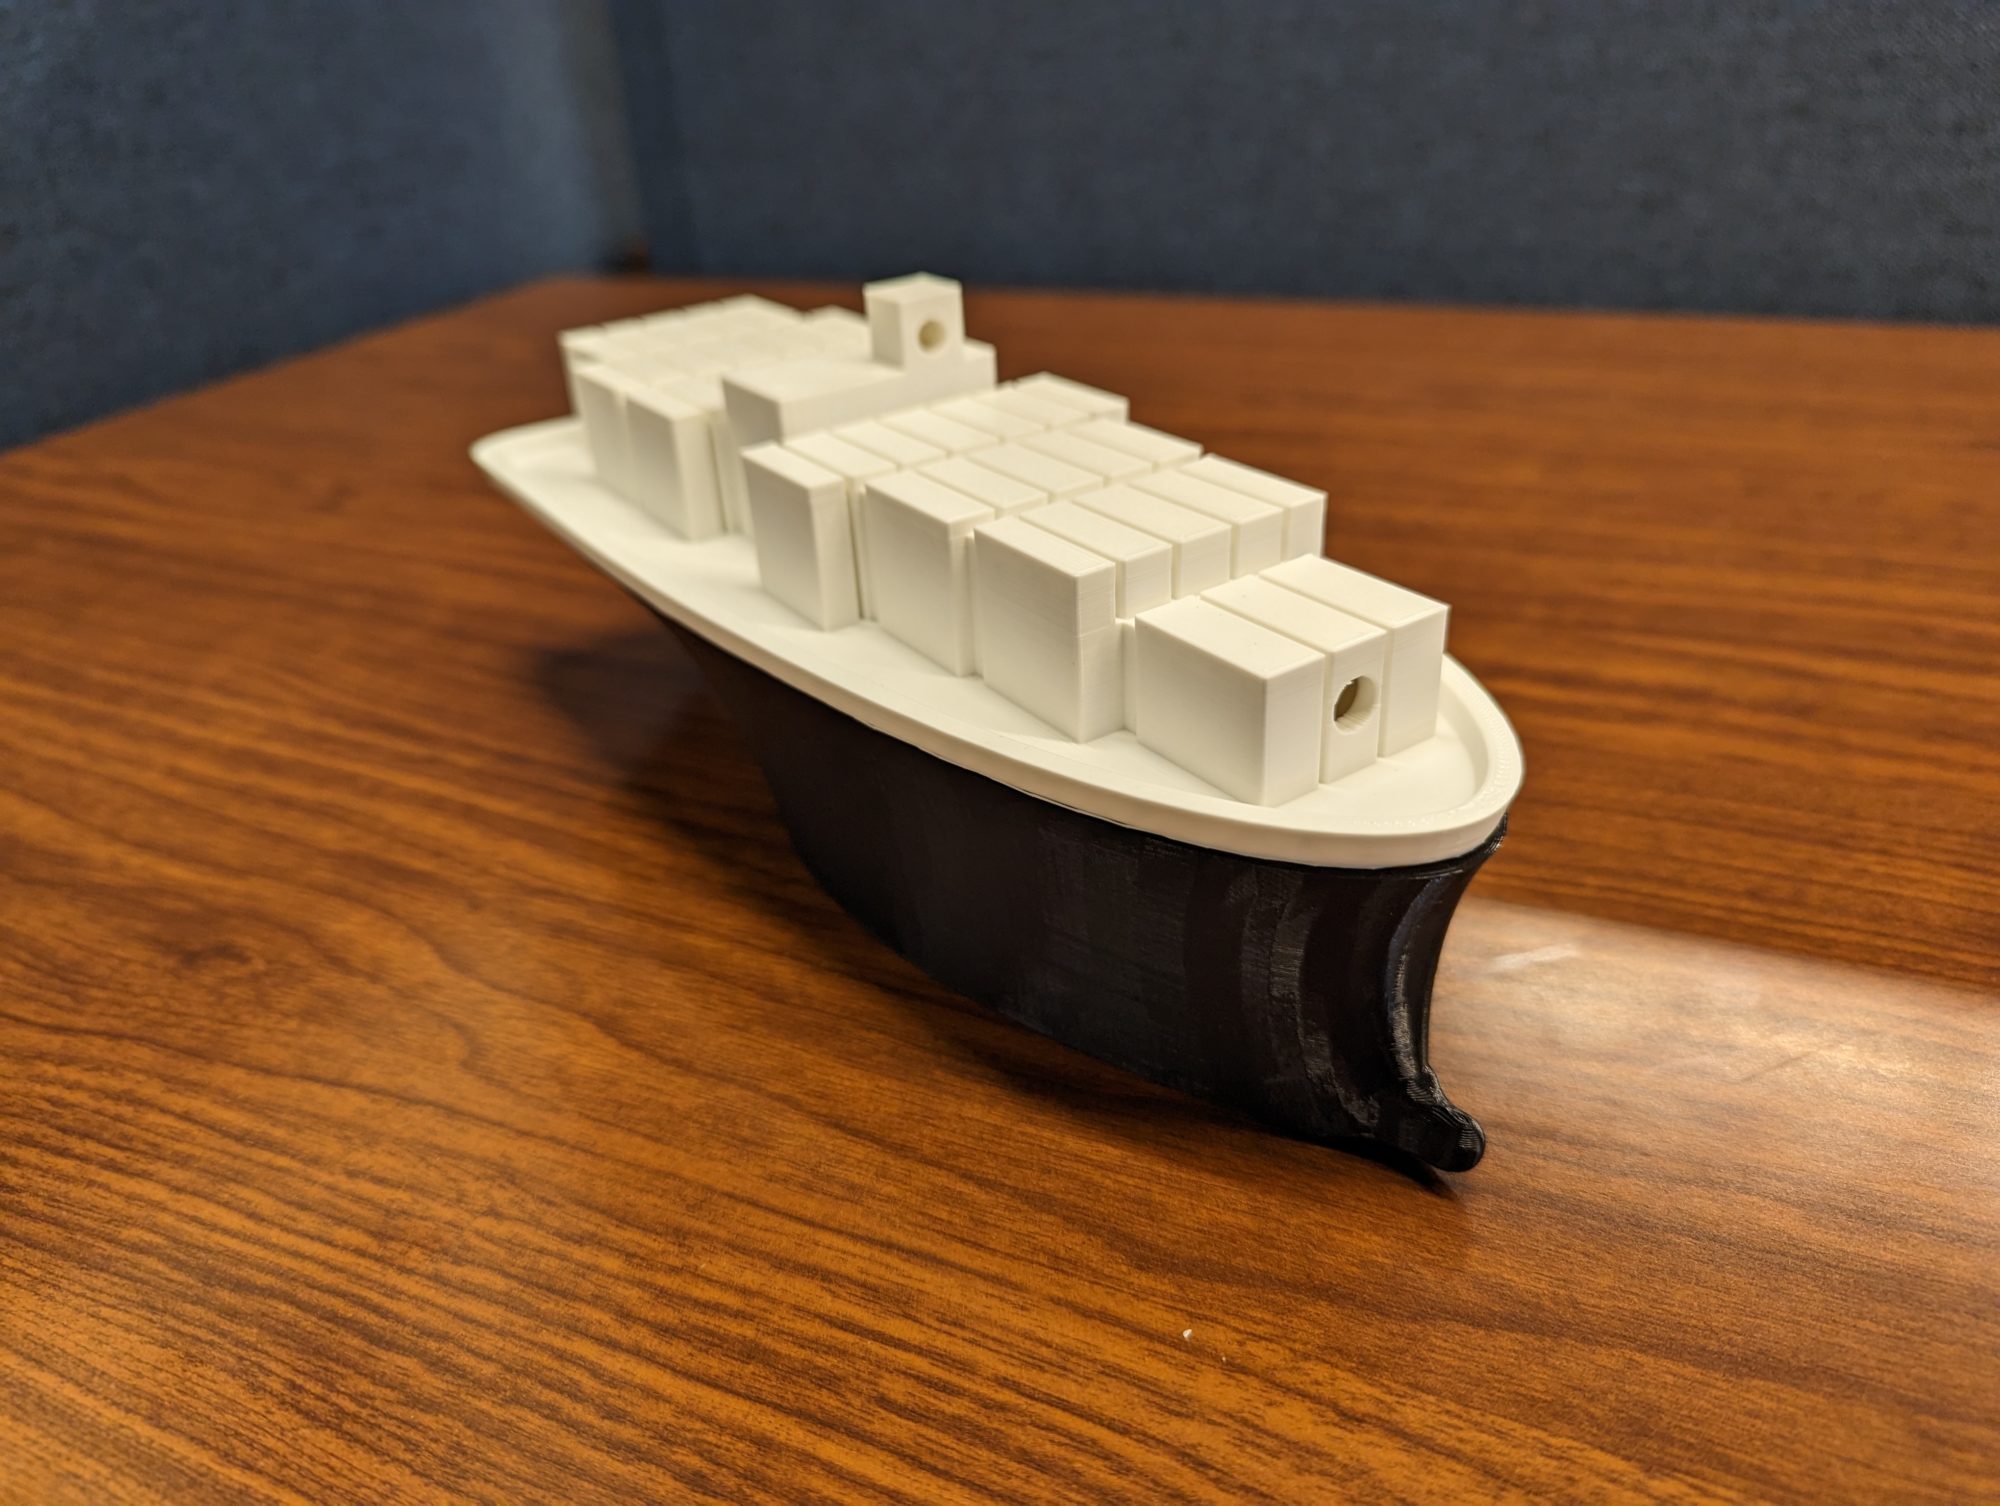
Below is the finished print for the boat. I didn’t have enough time to paint it after printing, so it currently looks like a more minimalist aesthetic.

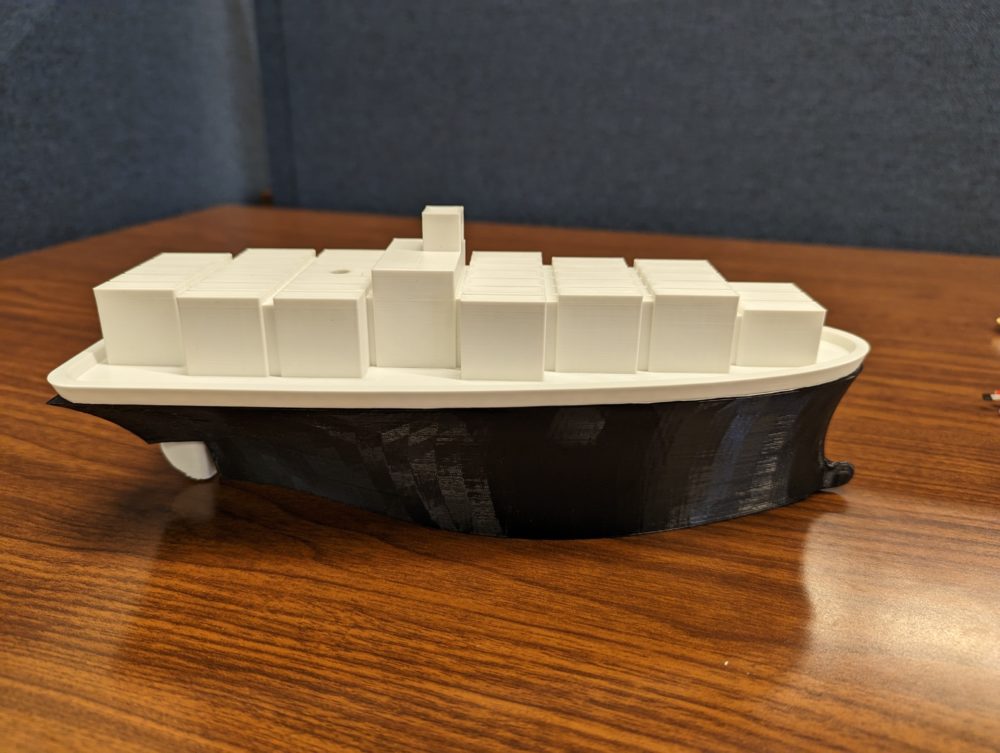
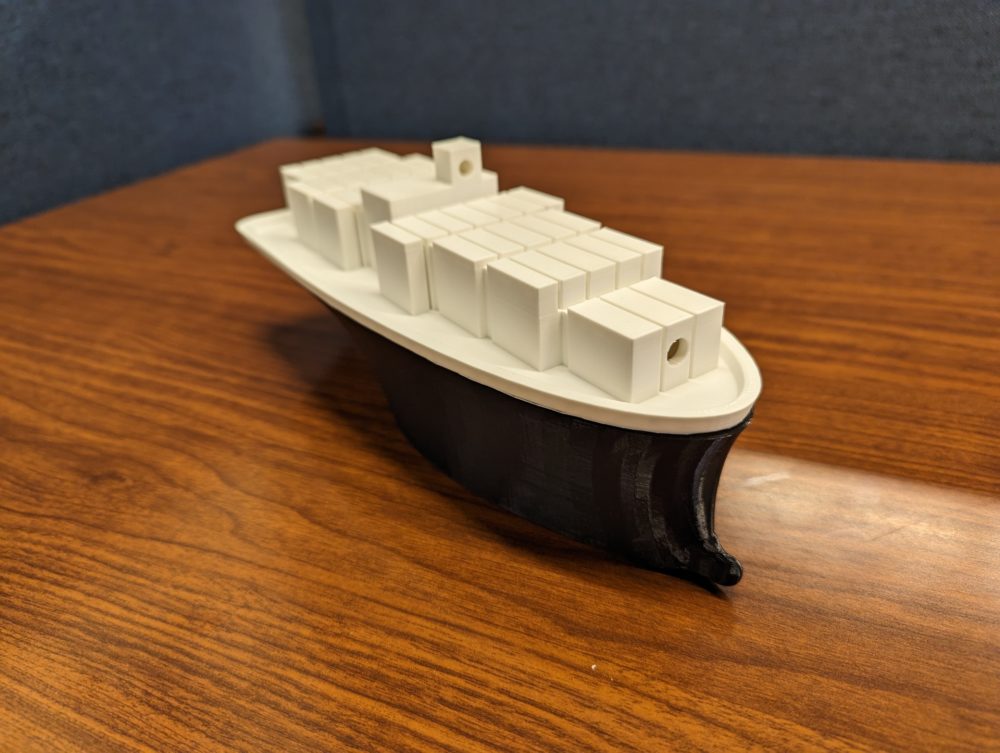
For the paint, I intend to sand down the material so it has a better surface, then spray it with a light gray primer for a base color. I will then individually paint the cargo containers. One will look like a bar magnet, and the hall effect sensor will be hidden under it. Around the hole in the top of the containers towards the back that the LED will fit in, I will make a majority of the containers the same color so the players will know what color to change the LED to in its puzzle. There may be other specific paint choices I make as I come up with more puzzles, but those are the main ones for now.
I’m looking forward to seeing this as a finished piece! I have gotten pretty attached to it in the past few weeks, so I will do my best to finish strong with the project.
Here is the video of my presentation: https://youtu.be/GGWmLx_8prk

2 Comments. Leave new
Excellent work on the boat puzzle box! It’s remarkable how you adapted to and conquered the project’s problems. The combination of electronics and puzzles increases the final product’s complexity and involvement. Excellent work!
Hi Alex, I like the idea of using a cargo ship for the electronic puzzle. It still matches your maritime aesthetic and even visually looks like a maze. I would be interested to see it fully painted and I am looking forward to seeing how the puzzle works at the expo!