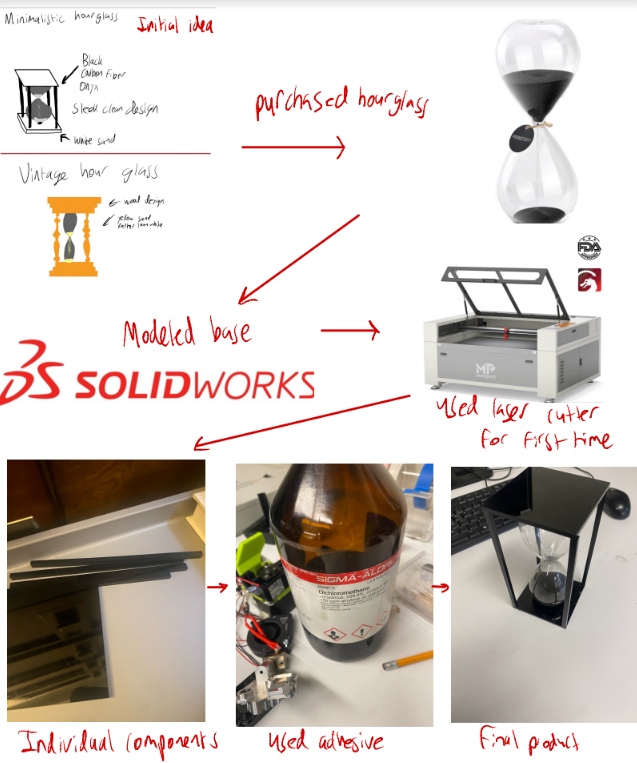
- The fabrication process entirely revolved around the laser cutter. I was originally going to 3D print, but I found that laser cutting would be much better for my project. After measuring the hourglass, I used solid works to design a rectangular piece and a column. From there I sent the files into the laser cutter and cut two rectangles and four columns. Finally, I used an adhesive and one by one put the artifact together. I started by gluing the columns to the rectangular pieces. Then I glued the hour glass in the middle. Finally I glued the last rectangle on top.
- I really like the design I did. I’m glad I went with laser cutting as the finish was much better for “minimalism” than 3D printing. I also had no experience with the laser cutter so this was a cool experience for me. I knew nothing about acrylic and the adhesive process for it. I would have made the tolerances tighter though because I didn’t realize how precise laser cutting is. I also would have definitly blown the glass for my hourglass if I had the time and skills to do this. Finally, I think it would have been cool to insert another dynamic component in the project. Currently you flip the base in order to move the sand. It would have been cool to add a spinning axis of rotation in order to keep the base steady.
- Include a link to the video you made of your live presentation, or another video that provides an equivalent full description.

1 Comment. Leave new
Hi Peter, I read a couple of your other posts and it’s amazing to see the final product! It does look very clean. I expected to see it 3D printed but agree with you that the laser cutter gave it a really nice finish and the material you were able to use being smooth I would imagine gives it a better look than the 3D printing with the layers that you can see and feel! Awesome project, congrats!