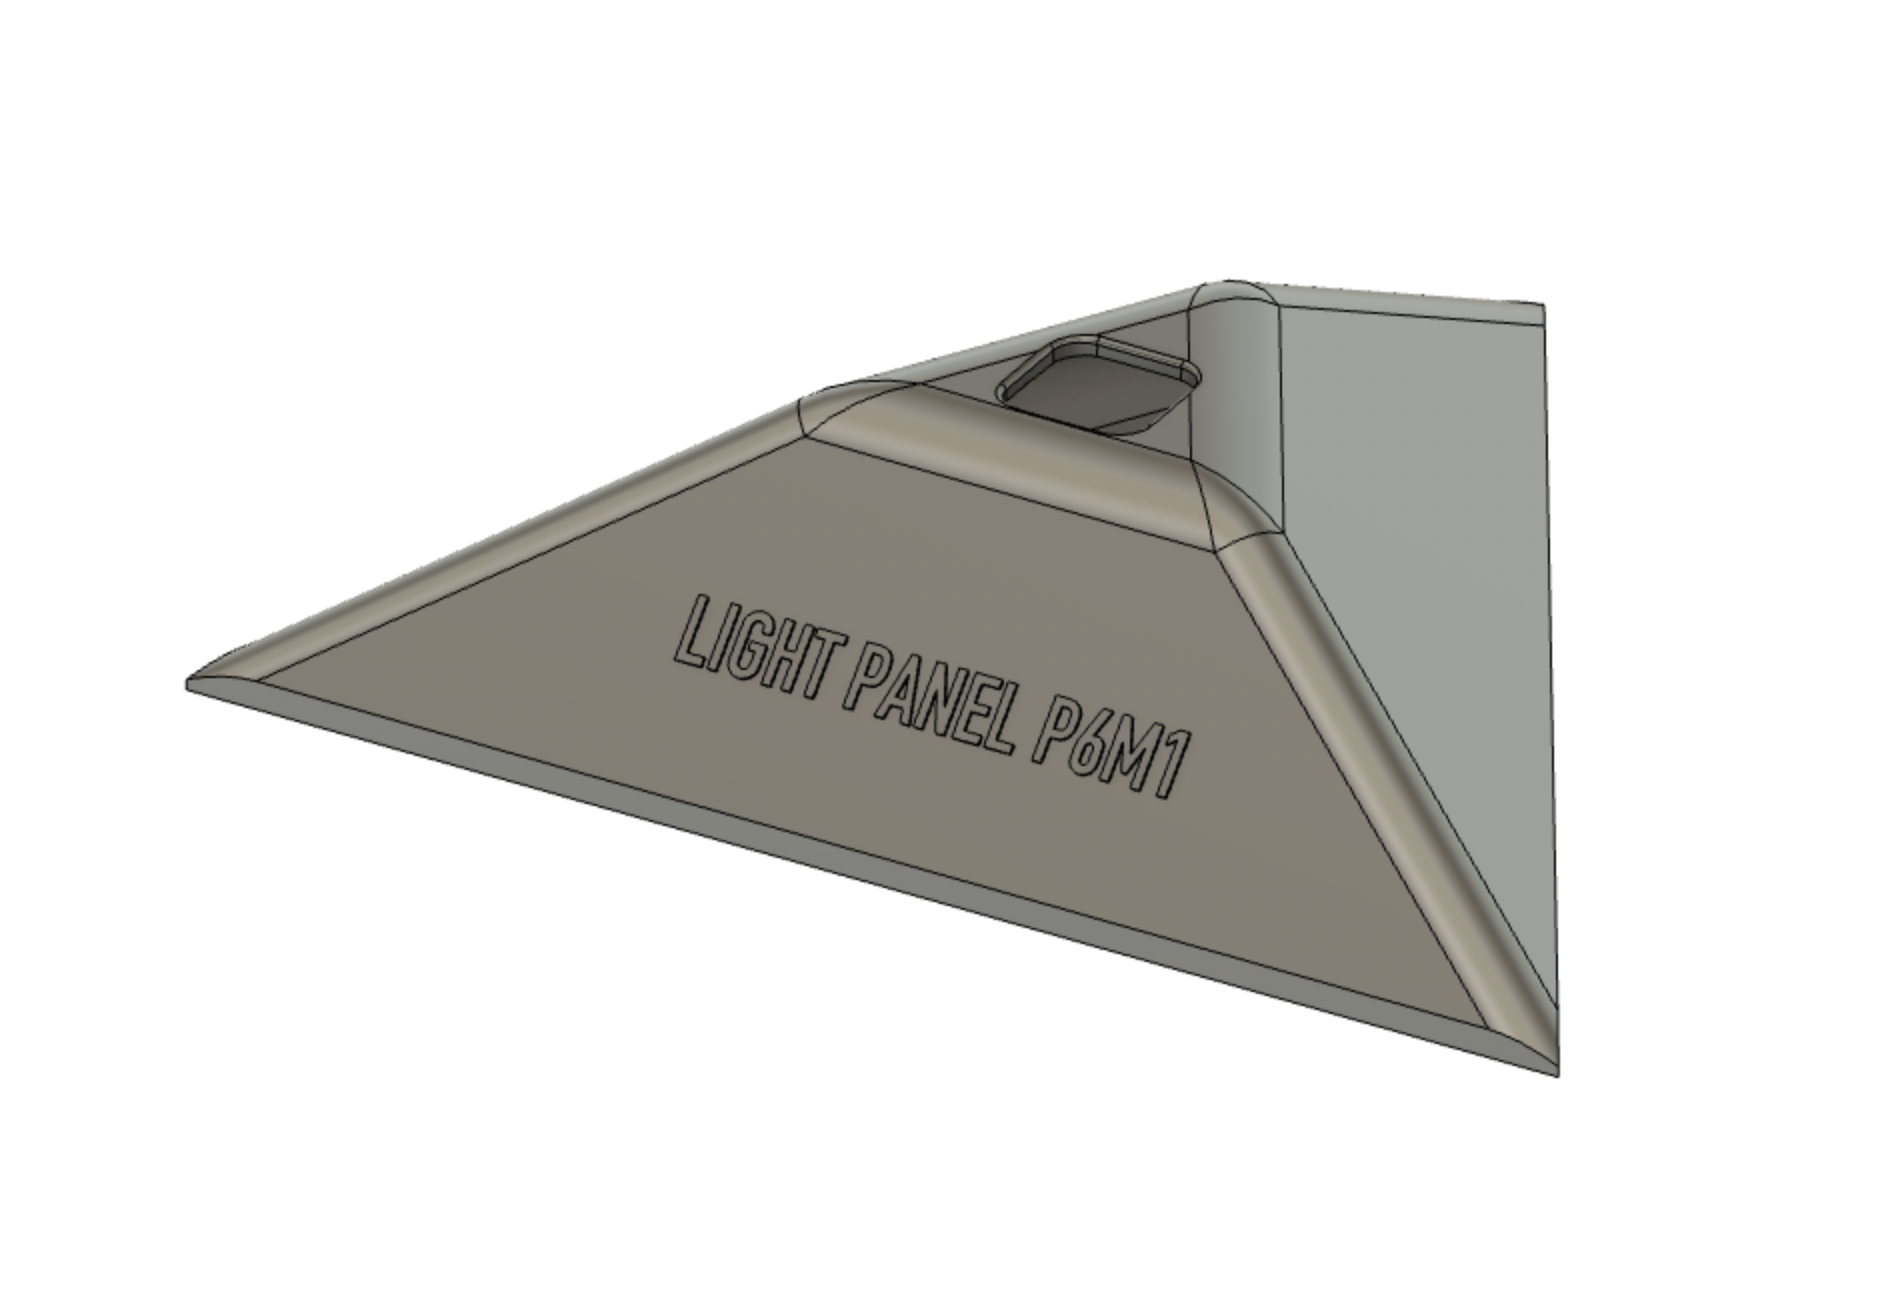
Prototyping:
The prototyping phase was a challenging process. Over the course of six different iterations, I learned valuable lessons about the optimal placement of the LED in the panels, as well as the best methods for constructing and connecting them. This trial and error approach allowed me to refine and improve the overall design, ultimately leading to a more polished and functional final product.


3D Printing:
For the main body of the rock, I have chosen to 3D print them using wooden PLA, which provides a natural and organic appearance. This material choice will help the LED rock blend seamlessly with its surroundings, while also creating an interesting visual contrast between the wooden exterior and the bright, colorful LEDs.
Code and Microcontroller:
With the hardware components coming together, I have also completed the code that will control the LED panels. The Arduino Nano serves as the microcontroller for the project, offering a compact and cost-effective solution for managing the LEDs. The code is designed to be easily customizable, allowing me to experiment with different lighting patterns and colors to create a unique and mesmerizing display.

2 Comments. Leave new
Hi Aryan, I really like how your prototypes and initial construction looks! The glow is a lot more uniform than I thought it would be and it really makes the overall aesthetic of the individual sizes stand out. Are you planning on gluing the individual segments together, or will you be using a support structure to hold them together. I am very excited to see your progress on this in the future, especially with the color changing aspect!
Aryan, this is so cool! I like that you are combing many different techniques and systems in order to make your project work. I like that you showed the other iterations of this design, it’s interesting to see how you ended up with your final product. Nice work!