This project’s progress is difficult to report on due to the sheer scope of the piece, and the numerous problems I have encountered in an attempt at fabrication. Starting from the beginning with a reminder as to what the piece is, I originally aimed to fabricate an autonomous coffee maker, with a sleek wood housing and doors that would open automatically.
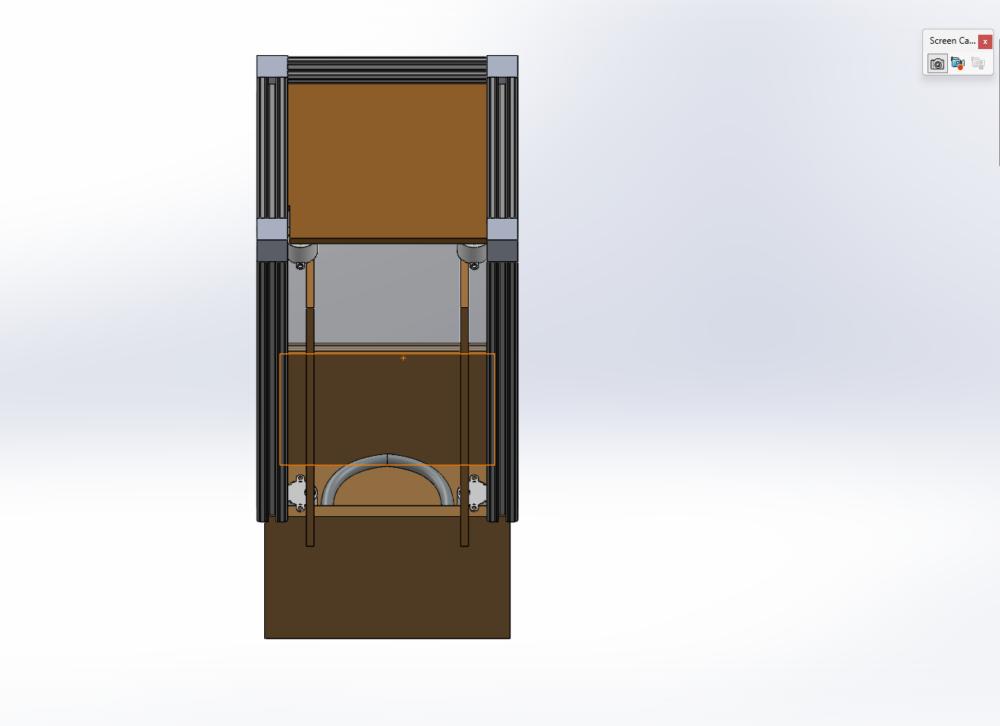
I began by ordering parts and creating a timeline for myself to follow, as I work best with strict deadlines and due dates. I immediately ordered the Arduino and motors needed for the automated doors, as well as the acrylic back and metal beams for the sides of the piece. The first problems arose here. First, the Arduino stepper motors needed to power the doors weren’t shipped correctly. I needed 2 motors and 2 driver boards, and I had ordered just that; only to have received 4 motor control boards and no motors. Certainly an issue, but easily fixed with another Amazon order. My second problem came from the metallic beams and corner cube connectors. I had ordered a set of 12 1′ long 1 inch x 1 inch T slotted railing, and I was going to re-use connector cubes I had from a previous project. Unfortunately, what I received was a single 12″ beam. As shipping had taken 6 days, I had no other choice but to ditch the T slotted rails on the edges, as the earliest that a new set of rails could come in is next Thursday, the 27th. I plan on finding some scrap metal or other up cycled material to mimic my original SolidWorks model.
While these delivery issues are certainly troubling, the most problematic part of the fabrication process came from my attempt to work with the heating element. I had a spare heating element from an old coffee maker that I planned to rework with metallic and silicon piping, made to fit my design of the piece. The piping is pictured below.
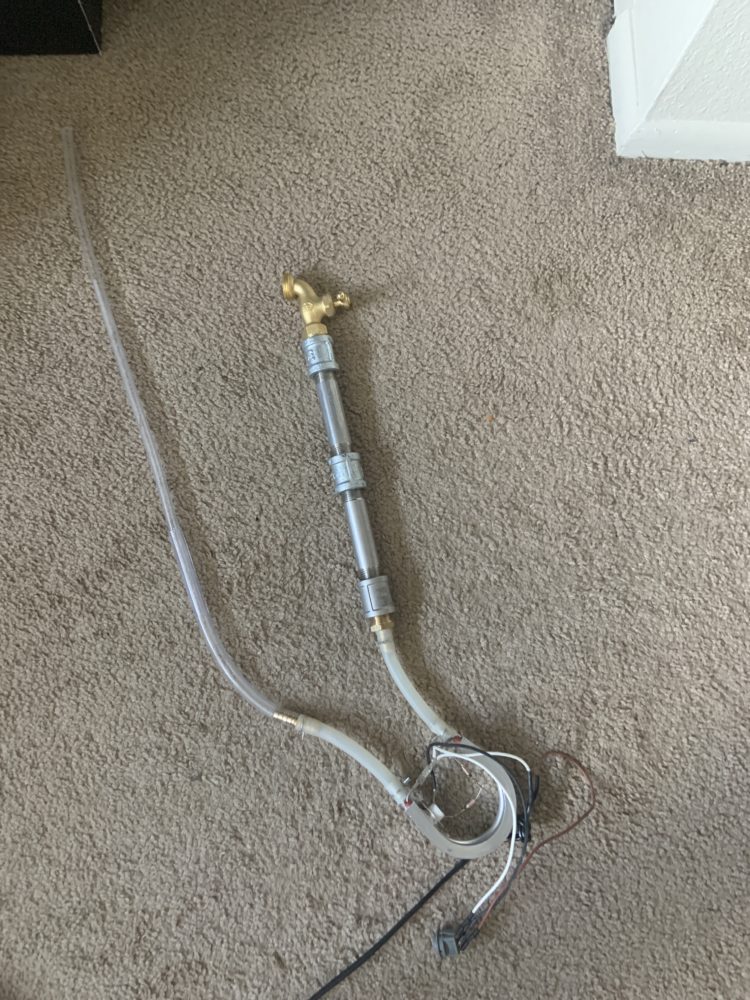 After spending about 90 dollars on all the necessary pieces for this wiring, it finally came time to test my creation. I had water from my bathroom running into the inlet of the piece, and expected the water to boil up and out of the outlet. While this did successfully occur at first, the pipe suddenly had a back flow, and water began to boil out of both the inlet and outlet. In my panic and fear (I didn’t want to get burned), I foolishly attempted to shut off the piece, whose wires were covered with water. Unsurprisingly, I electrocuted myself rather badly. Worse than that, the silicon of the piece cracked, boiling water spilt everywhere, and the heating element was so incredibly hot I had to quench it in a cup of water to be able to handle it.
This disastrous experiment prompted a necessary design change.
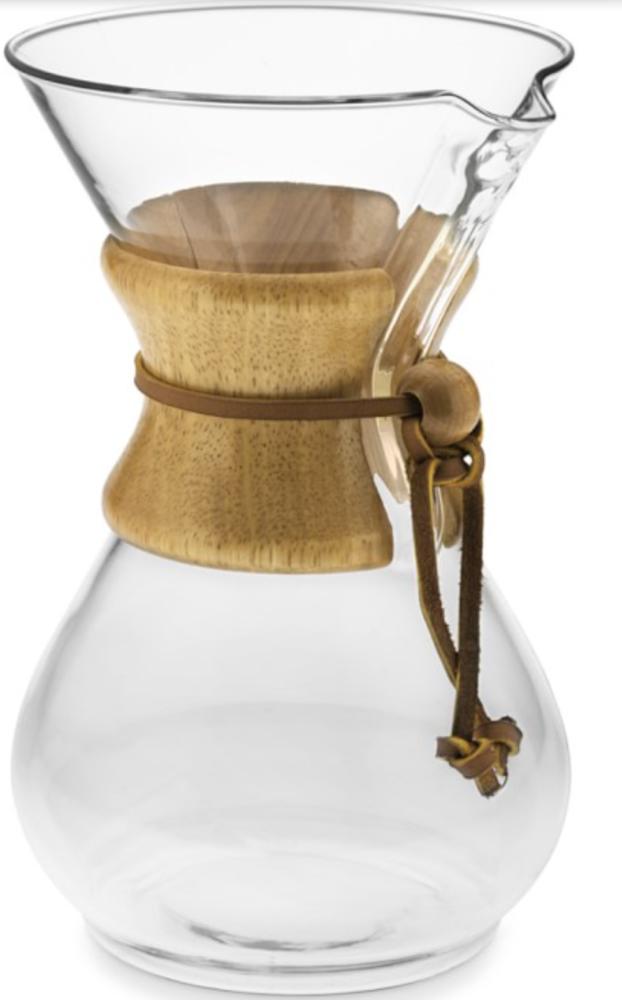
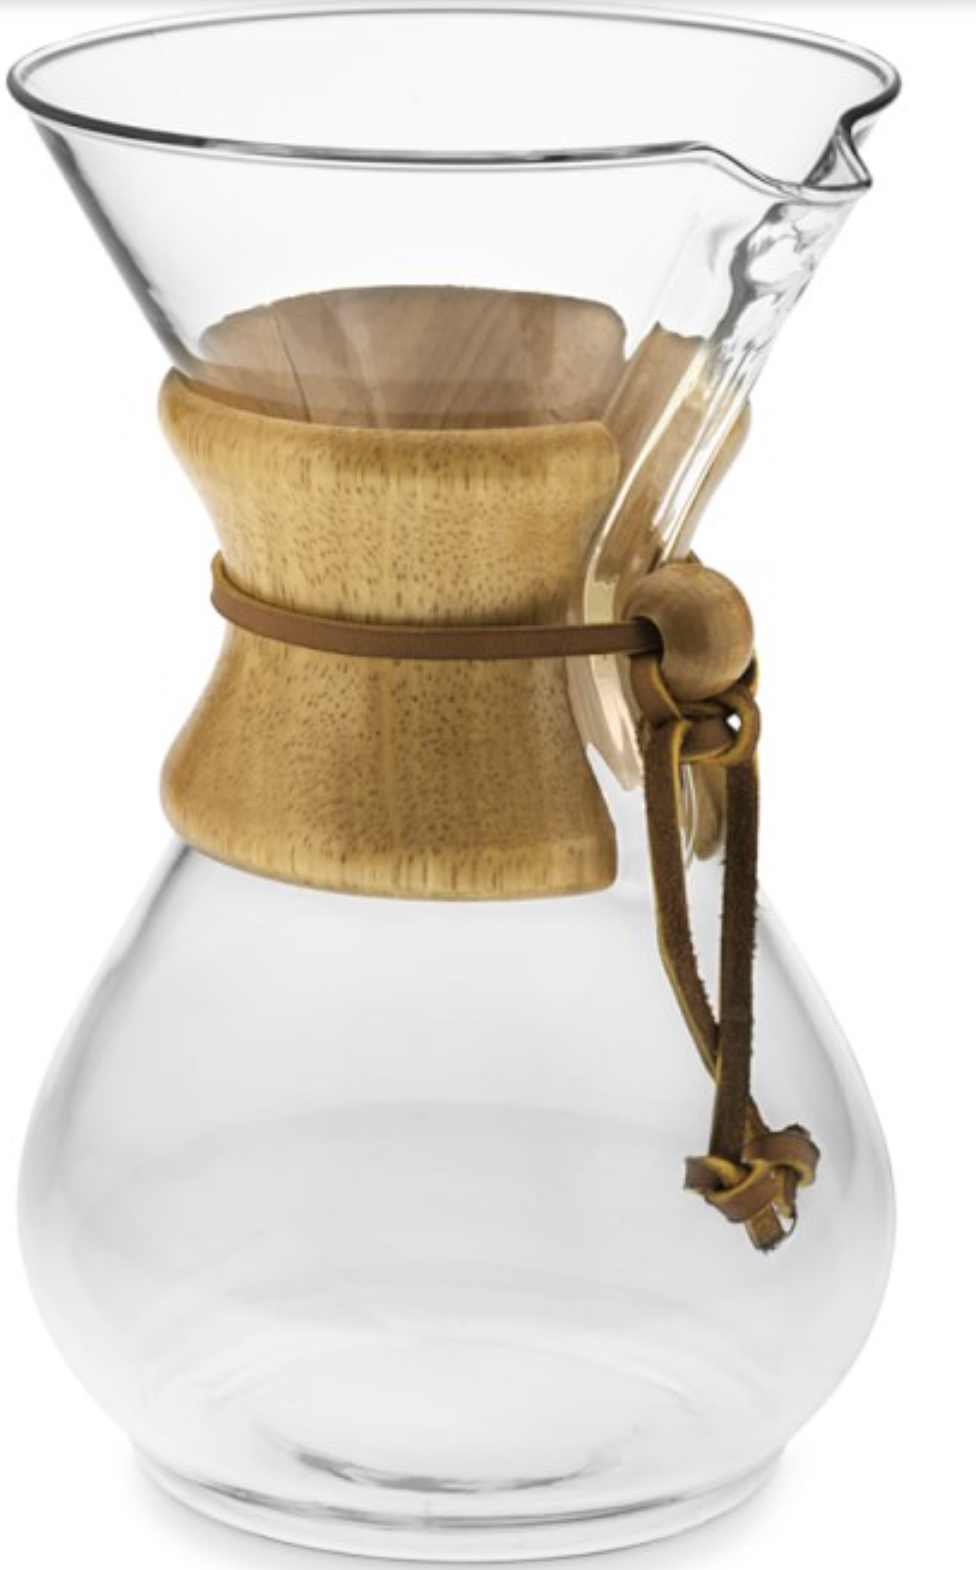
This new design will be a pour-over coffee maker, with the same Arduino automated doors, though with a design in which the user pours already boiling water over grounds.
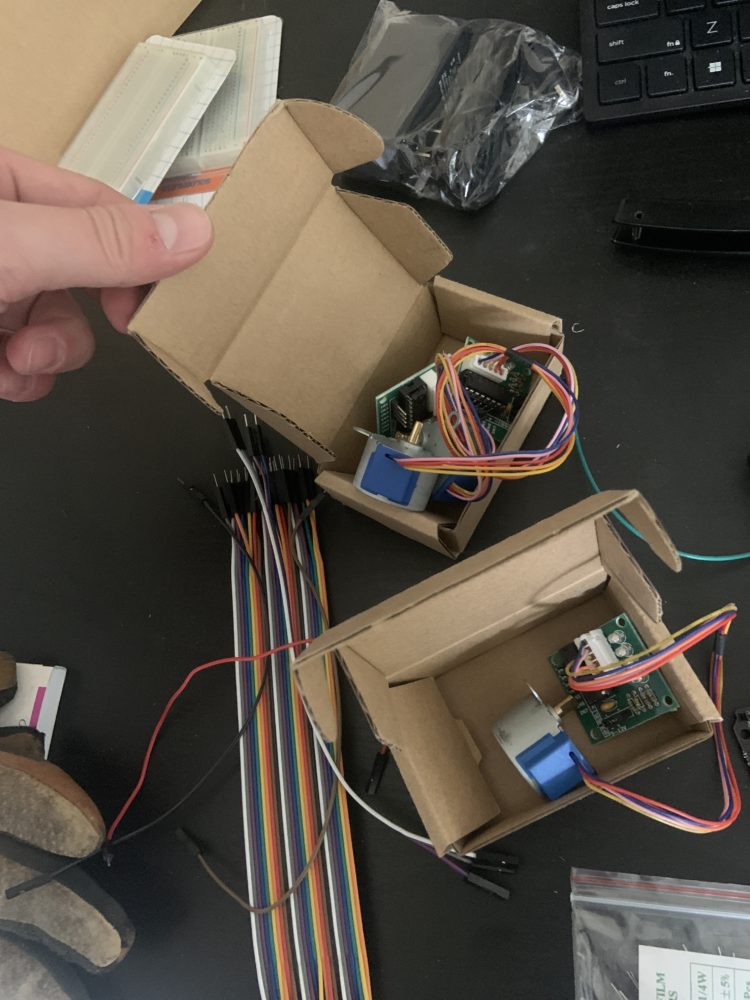
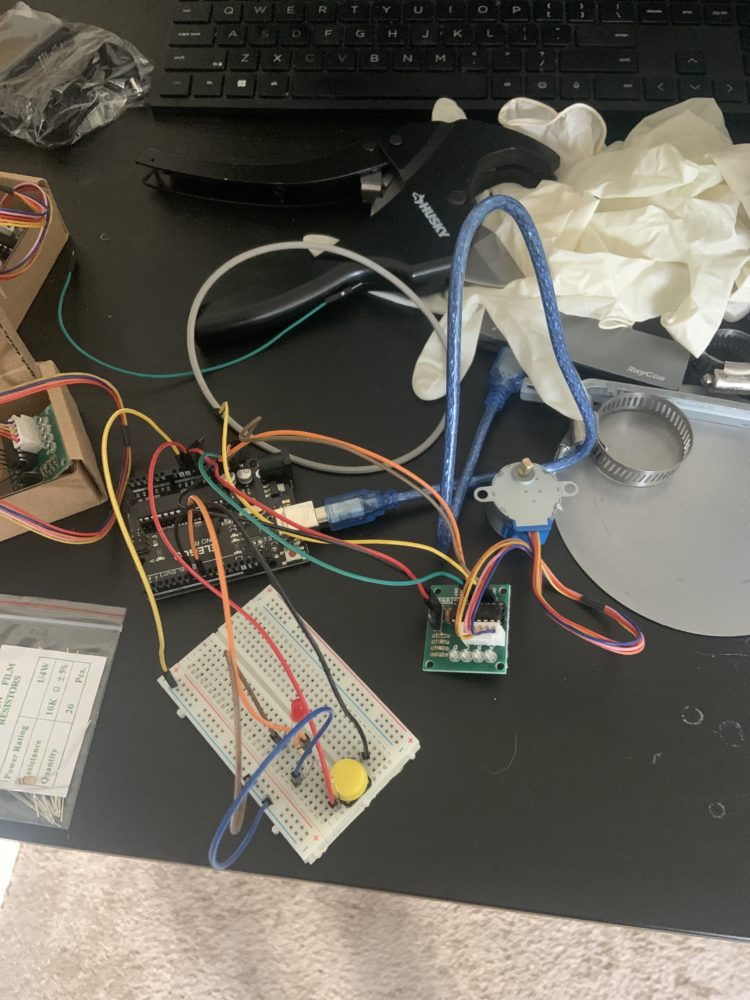
 One bright spot is the Arduino stepper motors. I have successfully wired the motors, and have begun testing with a button to find a way to swing the doors open with a button press.
The motors are pictured below, as well as the button-press setup:
 As far as what to do next, I need to finish staining my exterior, find a way to create the interior of the new pour-over design, find scrap metal for the siding, and finish the last bit of wiring for the Arduino.
The unfinished base of the piece is pictured below: 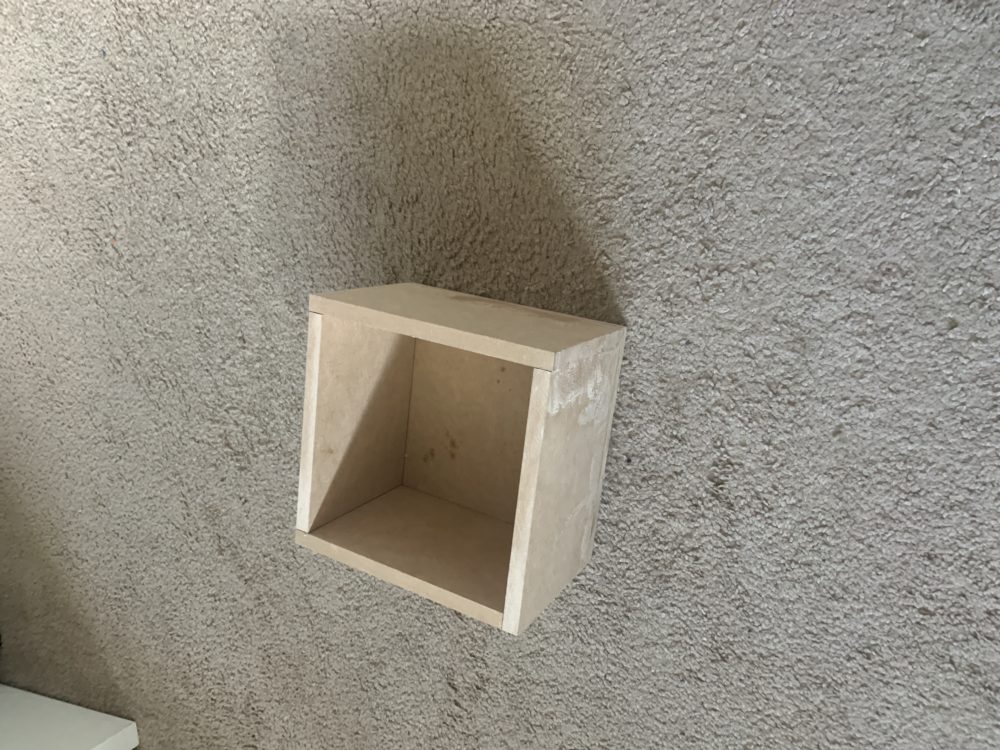
With lots of hard work and a little luck, the piece should be fabricated in time, despite the setbacks.
Pour Over Image Citation :
“Pour Over Filter .” William-Sonoma , William-Sonoma , 2023, https://www.williams-sonoma.com/products/chemex-wood-collar-glass-coffeemaker/catalogId=79&sku=2964765&cm_ven=PLA&cm_cat=Google&cm_pla=Electrics%20%3E%20Coffee%20Makers®ion_id=675650&cm_ite=2964765_14571727833&gclid=CjwKCAjwov6hBhBsEiwAvrvN6NsoBZZ4LUuFaH_A7MPyzYwoz_Rb63BvXCKcJkHOgX3sJX7dGiBPeBoCBisQAvD_BwE. Accessed 19 Apr. 2023.

4 Comments. Leave new
This seems super involved, good on you. Pour over is cooler anyway, right?
That’s much cooler.
If you wanted to go back to your initial design i recommend installing a one way valve, this would stop the water from boiling out from the inlet. The new design also sounds very interesting as well.
Thanks for the suggestion! I looked into a one-way valve, but the ones that were non-toxic and able to withstand the heat from the heating element were pretty pricey. Thanks again though!