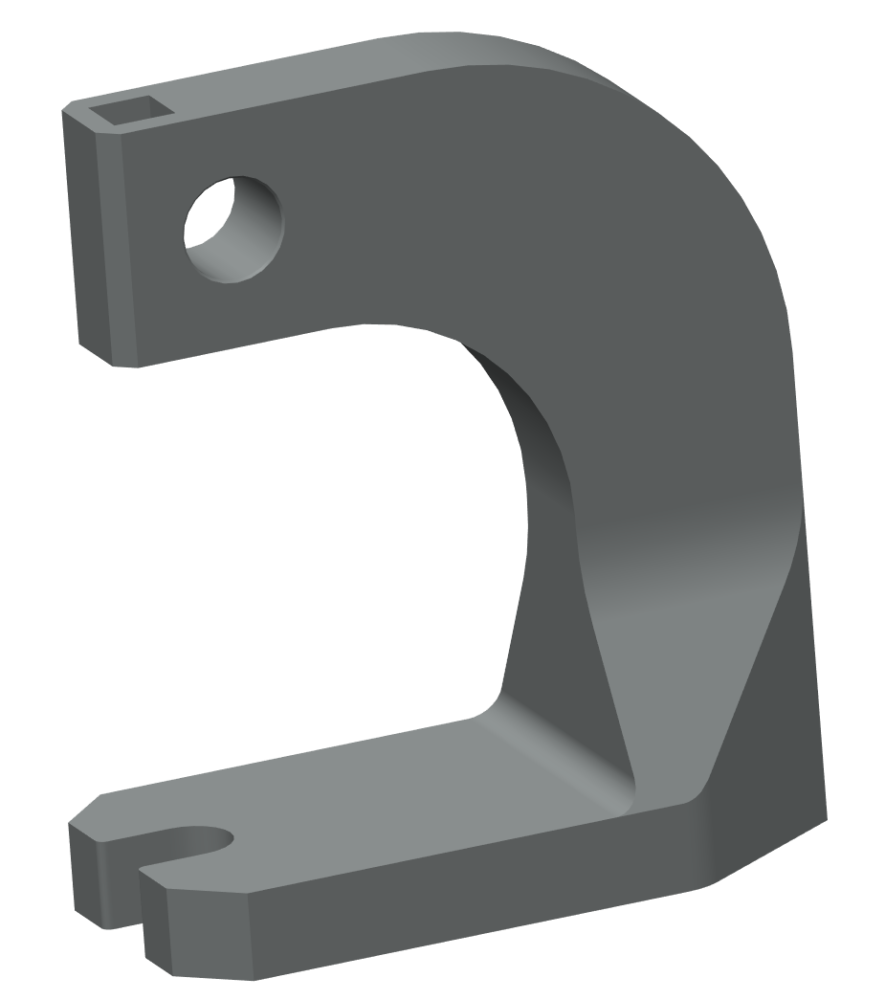
When doing this post, I have done a lot of progress regarding the design of the press. After experimenting with the topology study module of Solidworks, I ended redesigning the body shape, removing the fasteners and the ability to disasemble it, making the column and the base in one piece. One of the reasons was the complexity those holes asses to the mesh and the problems I had to run studies. Also I found out that Idea Forge has an SLS 3D printer, so I will be able to print the model without any support and don’t have to mind about that issue.
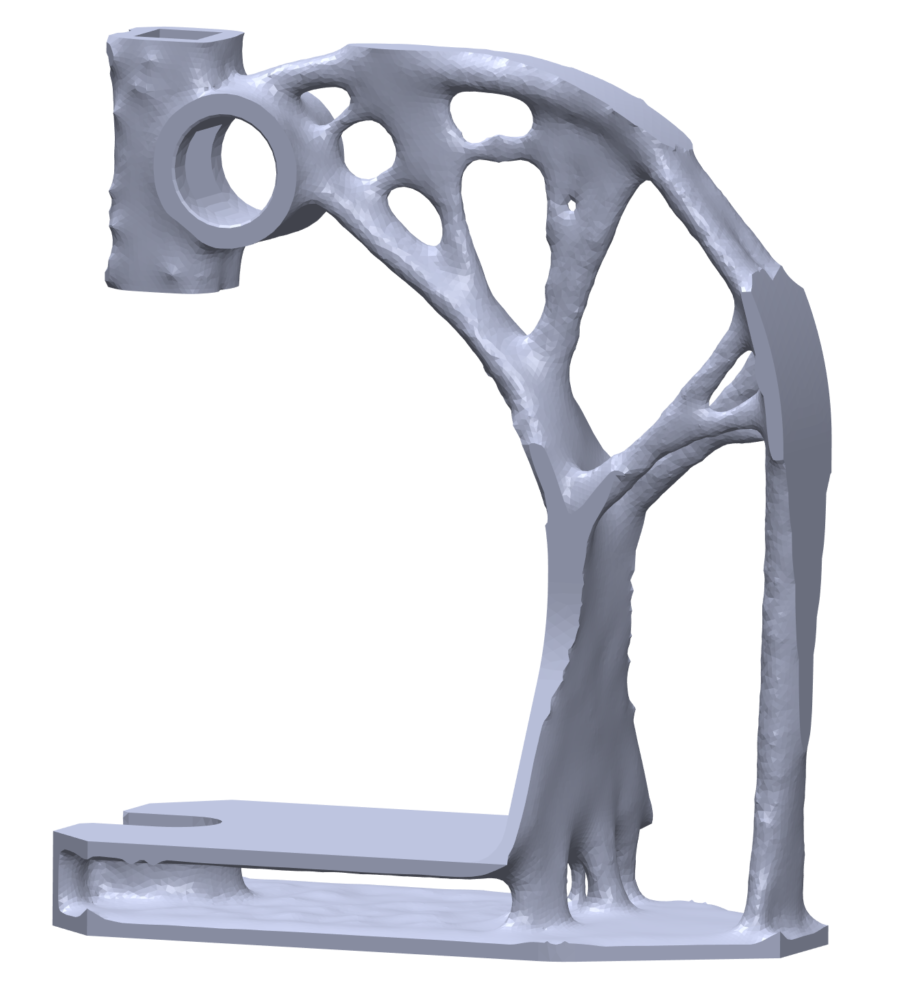
So far I have been able to run the topology study of the body in different iterations refining it and making some modifications to the shape and constraints. I also scaled down the size of the model due to the printing size restrictions of the SLS printer. So, without further ado, here we can see the result of the topology study:


The main objective of the study was to reduce as much mass as possible (reduced 75% of mass) while mantaining a factor of safety of 2 for cast iron. I also experienced with diferent mesh element sizes until I found a fair equilibrium between result detail and computation time (on of the first times I try to compute a very fine mesh the study blew up after 6 hours of computing). The resulting shape above took 2 hours to be calculated.
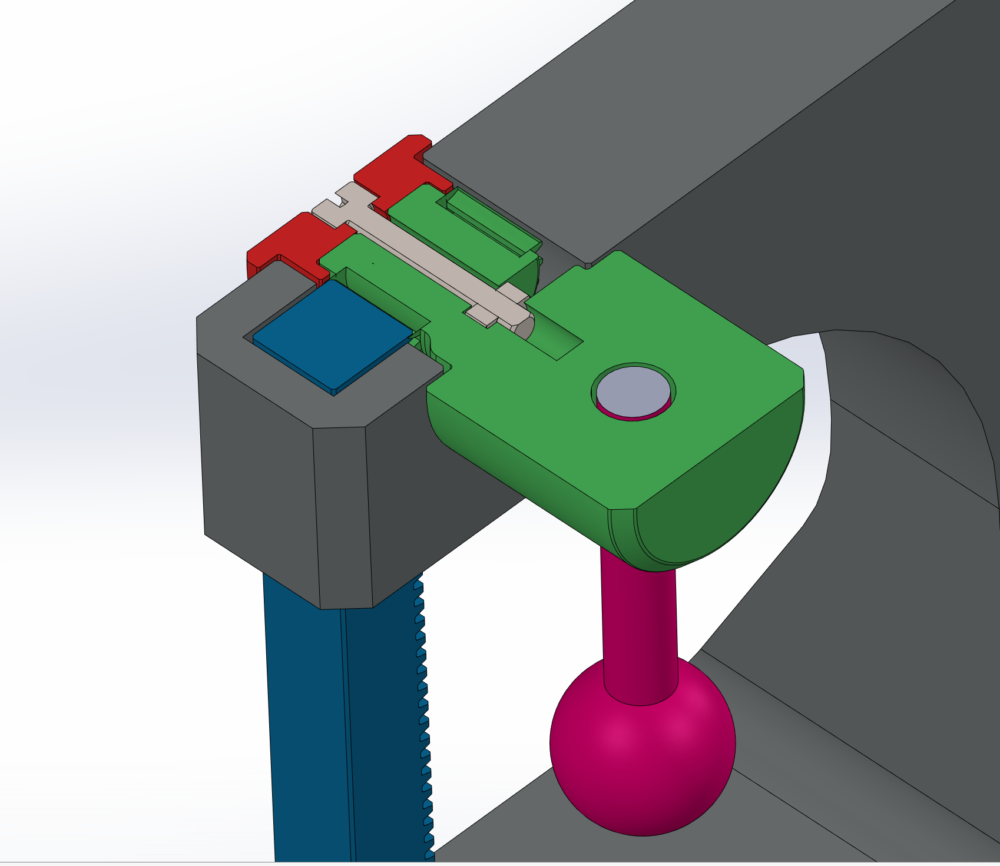
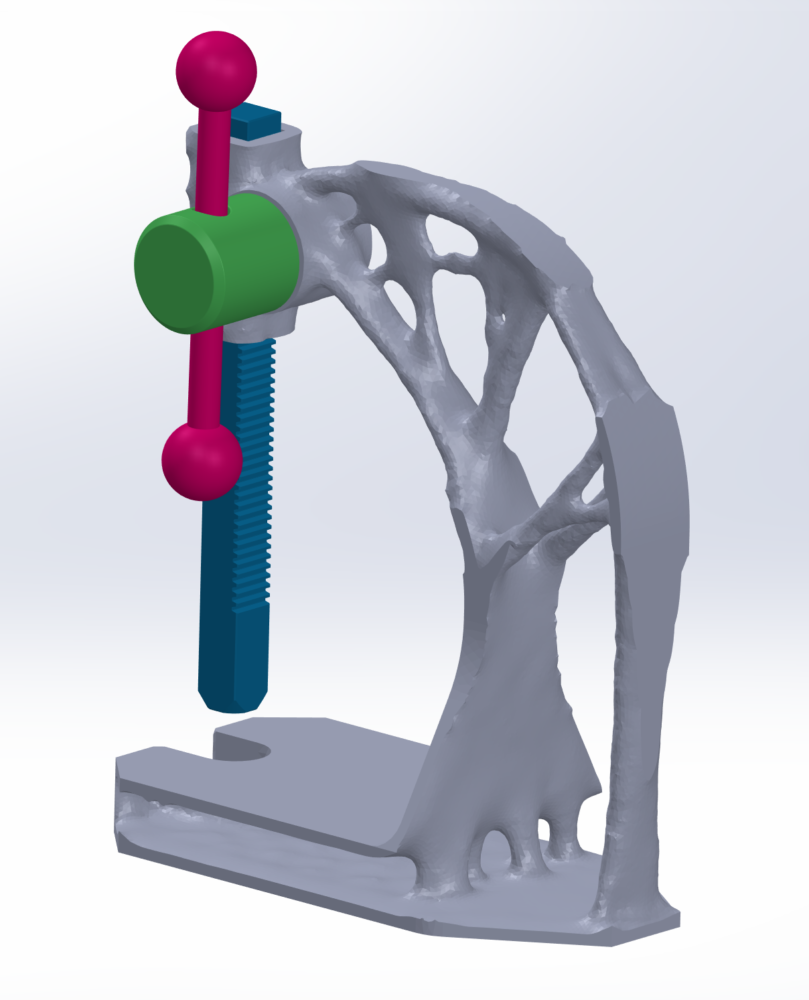
Once I knew I would print the press with SLS, I began designing the gear and the rod to take advantage of the SLS technology which removes the need to use supports. Although I could have designed an embedded working mechanism that could not be disassembled thanks to SLS possiblities, I decided to not do so because I didn’t want to risk it not to function and to extract the loose powder from inside the mechanism. That’s why I ended designing 3 parts that form the mechanism with the need to use a DIN 912 M4 metric bolt and a nut. Here you can observe a pic of the final assembly and a section of the mechanism.


So, after this point maybe I end modifying little details, but pretty much it is ready to get printed. Looking forward to do so.


4 Comments. Leave new
Hey Pere, the model looks fantastic! I’m curious to know which surfaces were preserved during the optimization process.
Thank you all very much for your positive feedback. Regarding the software, I used Sollidworks for everything. Here I attach a video that describes the process of doing a topology study in Solidworks. Regarding the post processing part I did it diferently though.
Nice organic shape, thats a really cool way to go, ready to see it printed.
What method was the Topography done? What software? It looks fantastic!