They are done… At least functionally, I am currently waiting for them to come back from anodizing.
Starting with the Computer Aided Machining (CAM), Mastercam is software which allows the user to upload Computer Aided Design and generate gcode (the code which computer numeric control (CNC) machines understand). I will be machining these ice tools out of a 6061-T6 aluminum plate which will be cut into blanks to fit on the 3-axis vertical CNC mill.
I started out by rough cutting 21.5″ x 6″ x 11/16″ blanks with a 2″ face mill and 6″ fly cutter until the faces were flat, square and parallel; this gives the best reference for machining and ensures that finished tools will be as consistent as possible.
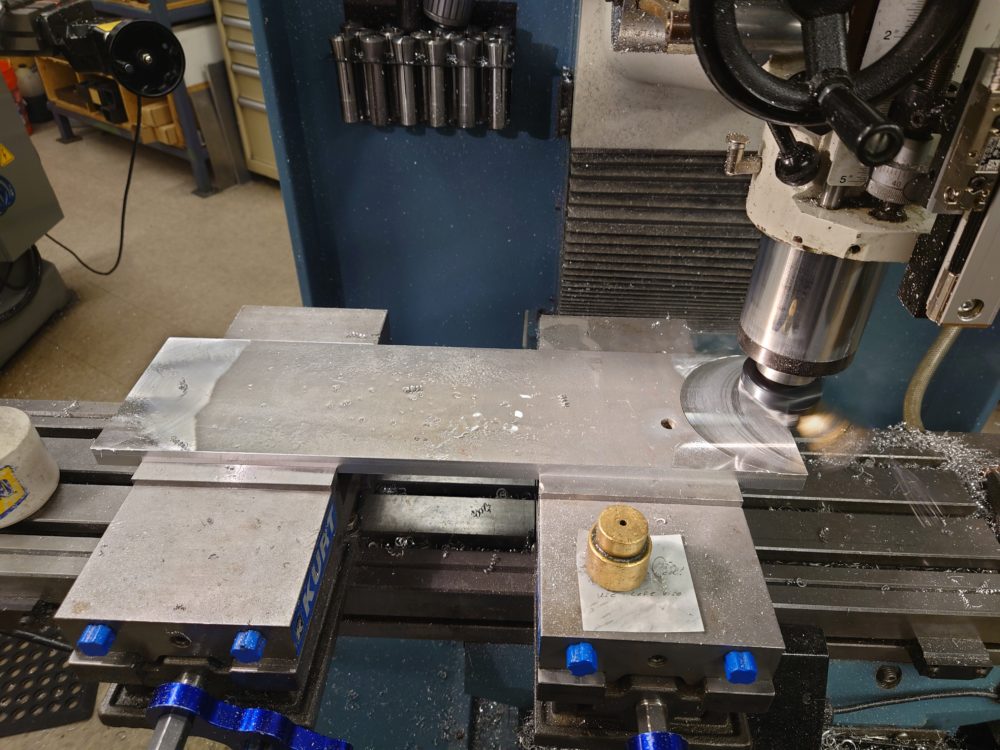
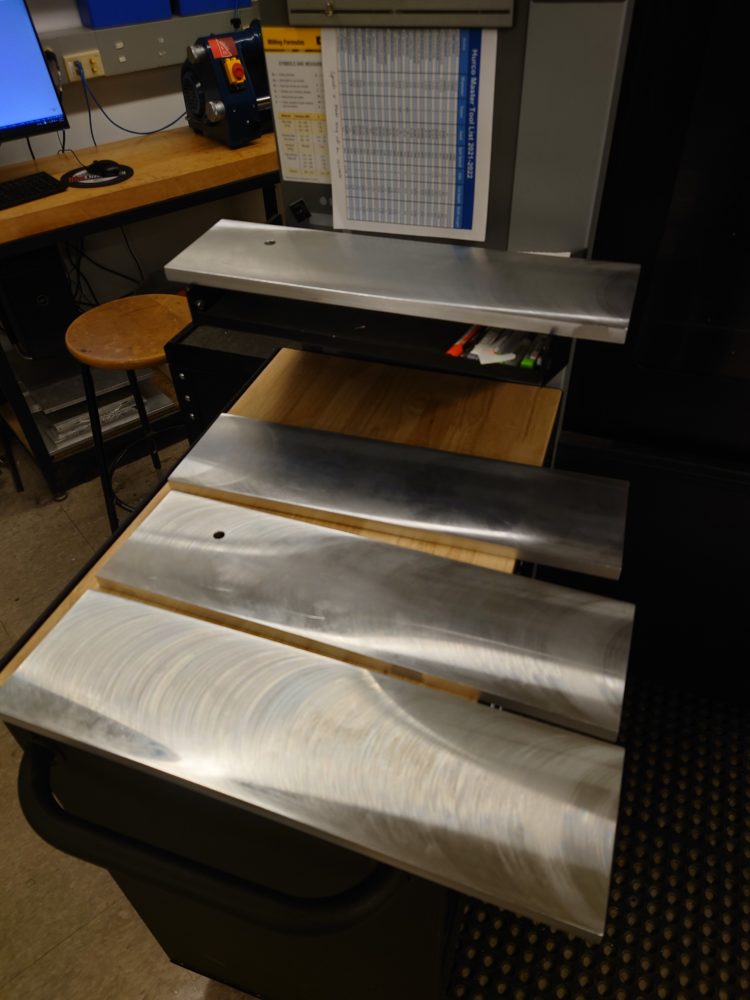
That being said, I also ended up finishing the blanks for the other Ice Axe project in the class since the aluminum scrap acquired was big enough for all tools. In the future it would be more effective to try and tile as many tools on each blank as possible to ensure that there is as little waste as possible; however, since this material was free, whatever large chunks are left over will be donated back into the scrap material rack, the smallest cutoffs will be recycled. Note that some of the blanks have holes in them and may catch up to me later (foreshadowing).
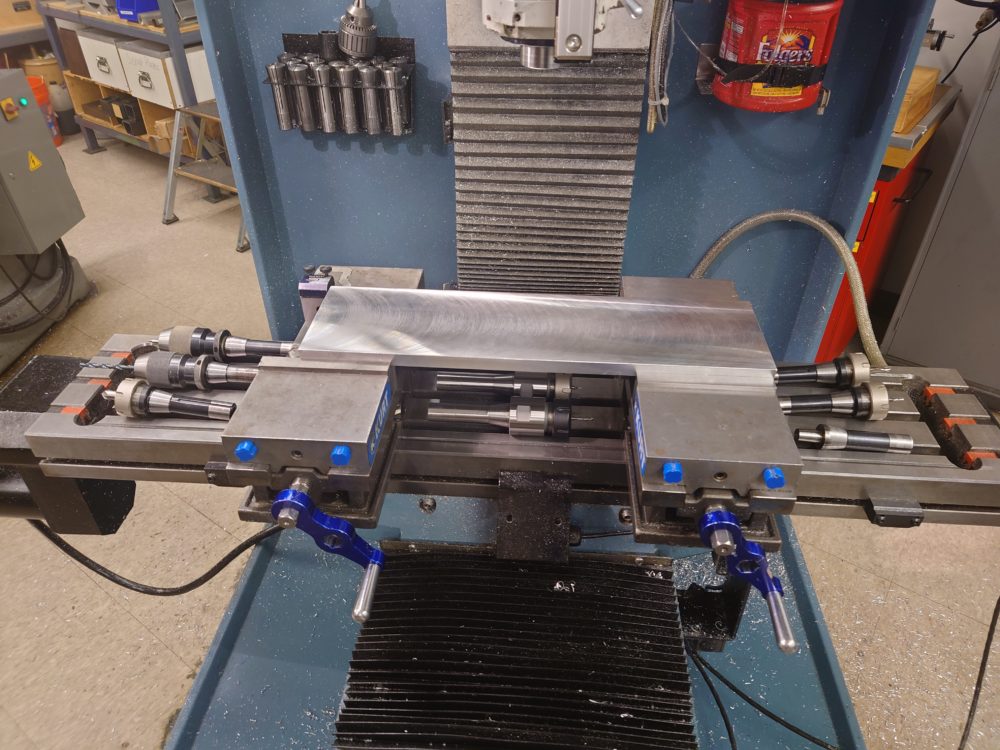
Once the blanks were ready to go I set a work stop for all lengths to be referenced by. Now every time I set up new material or flip my parts I only have to re-zero the Y axis. I also went ahead and programmed the Z offsets for each tool required which means that I can run each side start to finish only needing to change the tools out manually.
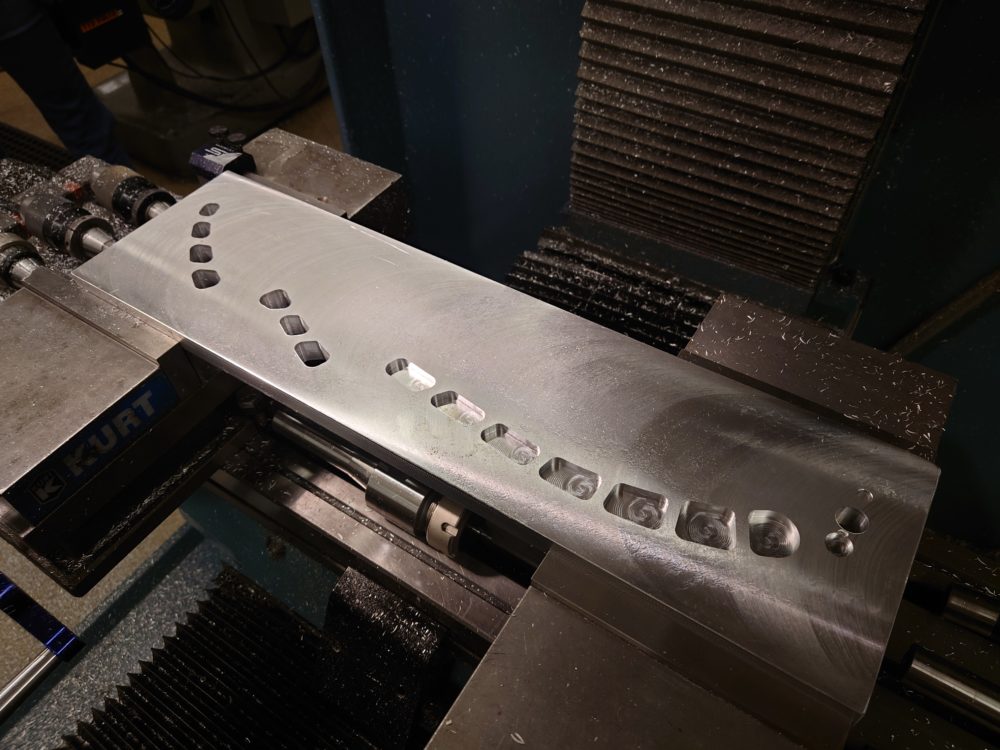
I began by machining out all of the internal pockets with an 3/16th endmill using the gcode I programmed earlier. It is best to machine the most delicate features before the larger operations because it keep best supported and will provide the best surface finish/ appearance.
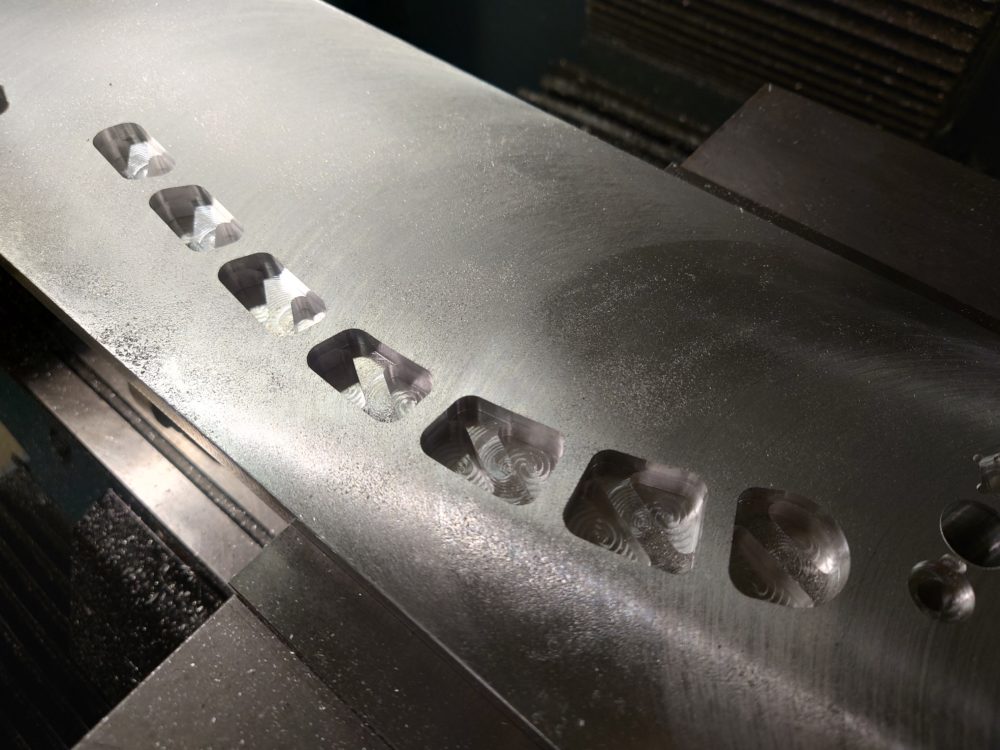
Next I machined the counterbore and hexagonal countersink for the bolt holes that mount the ice pick with a 3/32nd endmill. After these operations I machined the diagonal struts with a 1/8th endmill.
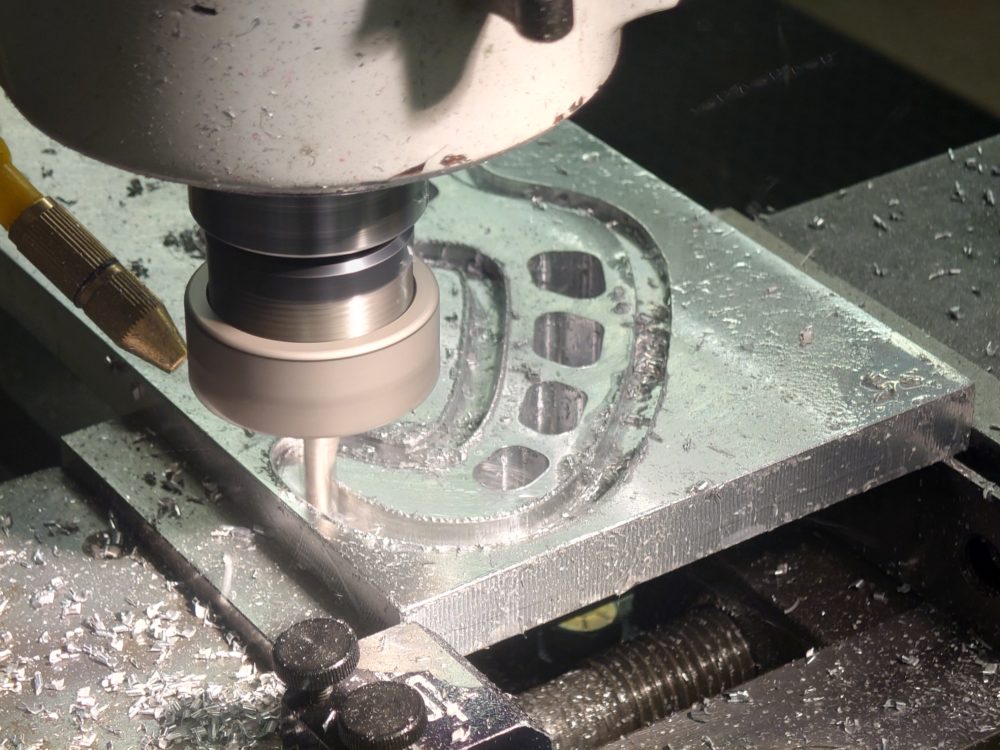
Once all of the internal features were machines, I used a 5/16th endmill to cut outer profile to half depth minus 10 thou so as to create a supporting strip for machining the back side of the tool.
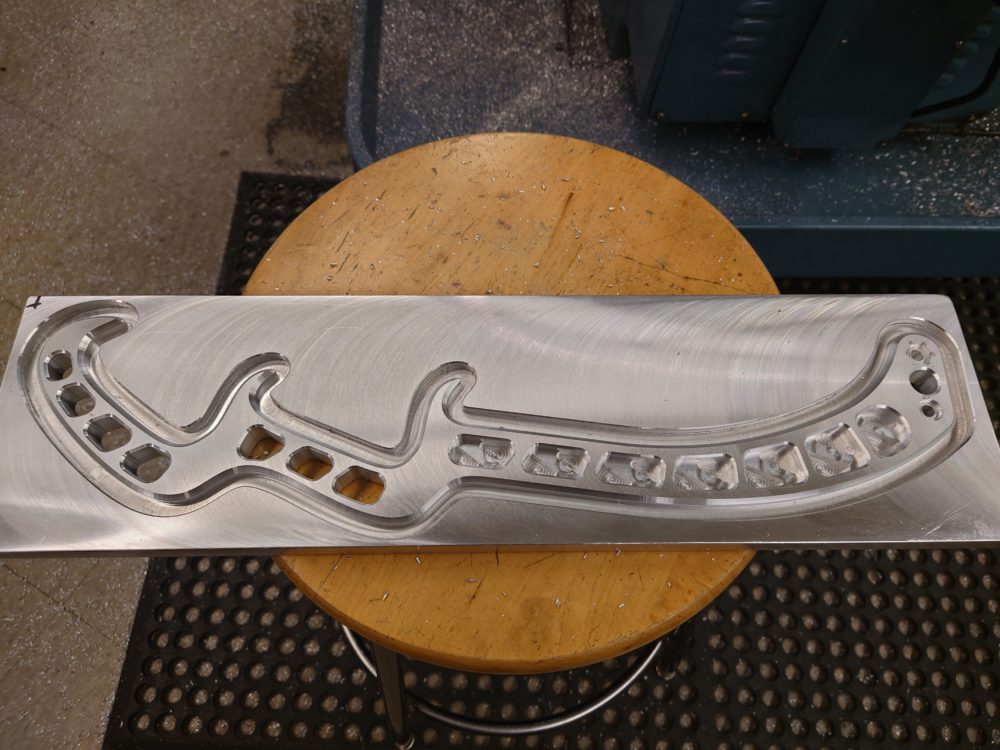
The final operation is chamfering the outer edges 100 thousandths and the inside pockets to 50 thousandths; this makes the tool much more comfortable to use and removes any sharp edges which decreases post processing work required. After the first operation/side is complete, the material was flipped about the X-axis and re-zeroed before continuing onto the back side operation.
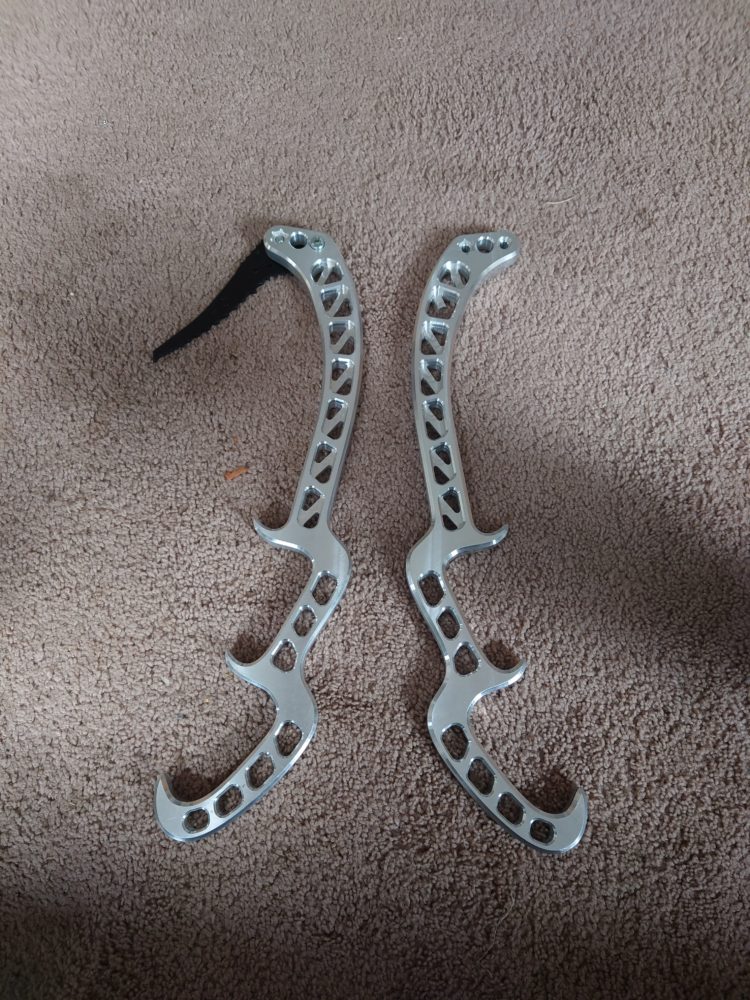
Once both sides were machined, I used a vertical bandsaw to cut the profile out and Channellock’s to peel away the thin strip of material around the perimeter. I then sanded and polished the tools for a brushed look (note the left ice tool has an ice pick bolted to one side to get a feel for the pick angle; the right tool has a disconnected diagonal strut due to the hole in the stock material from earlier, this is a small issue and one that I don’t think needs remedying).
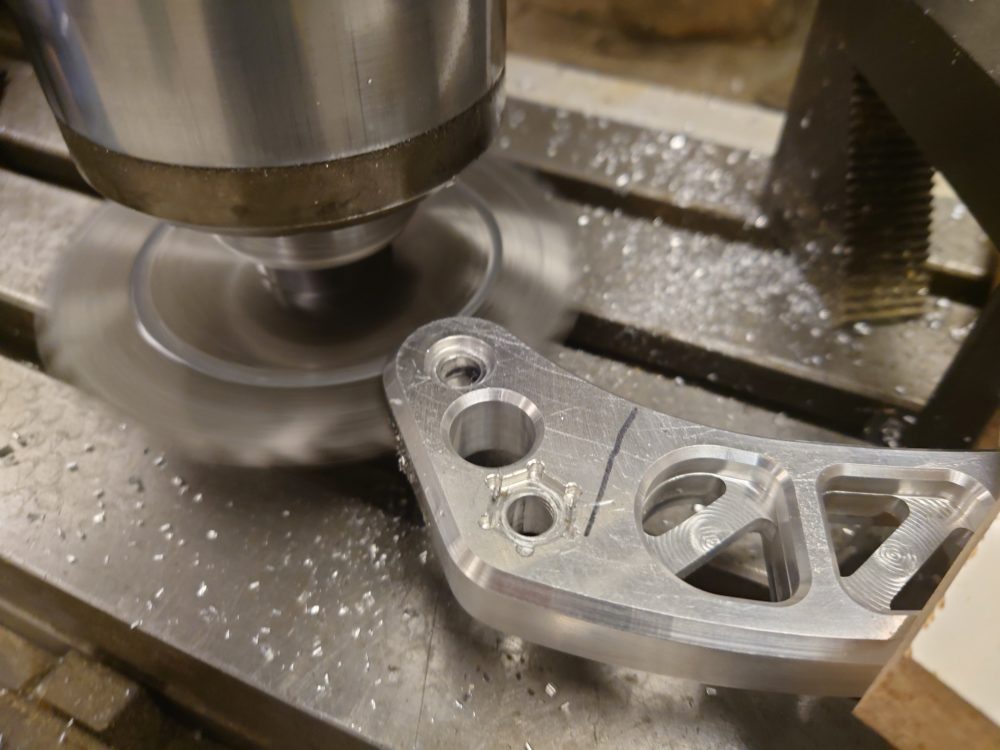
Now that the tools have been cut out and mostly finished I began cutting the slots in the head to accept the ice pick, this slot is 4mm thick and roughly 1.2 inches deep which was just barely manageable with the slitting saws I had available to me.
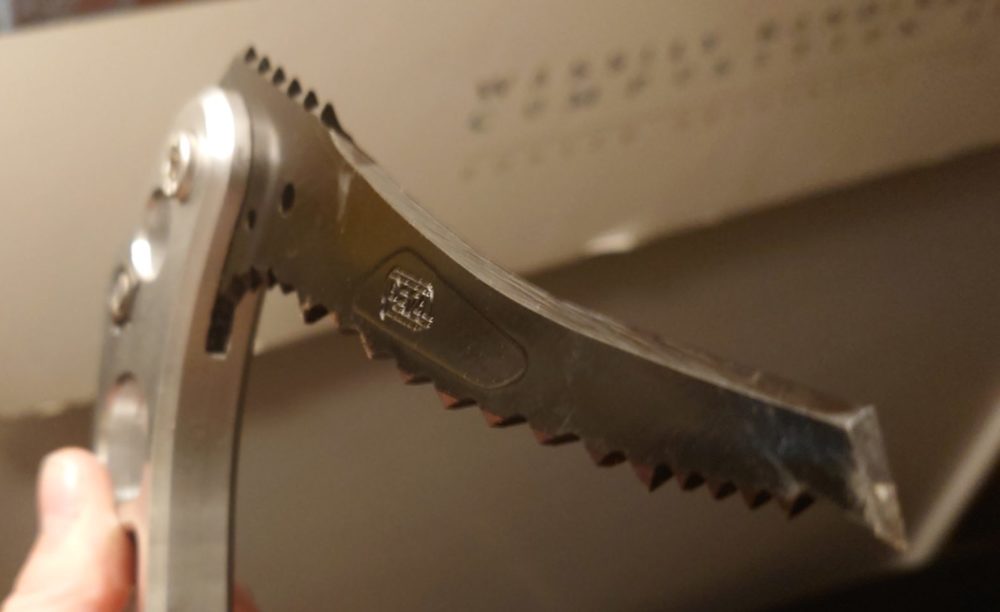
The parts were sent out for anodizing and I hope to get them back as soon as possible so I can start using/testing them out.
Special thanks to KMG Metal Finishing Inc. for anodizing these tools pro bono!
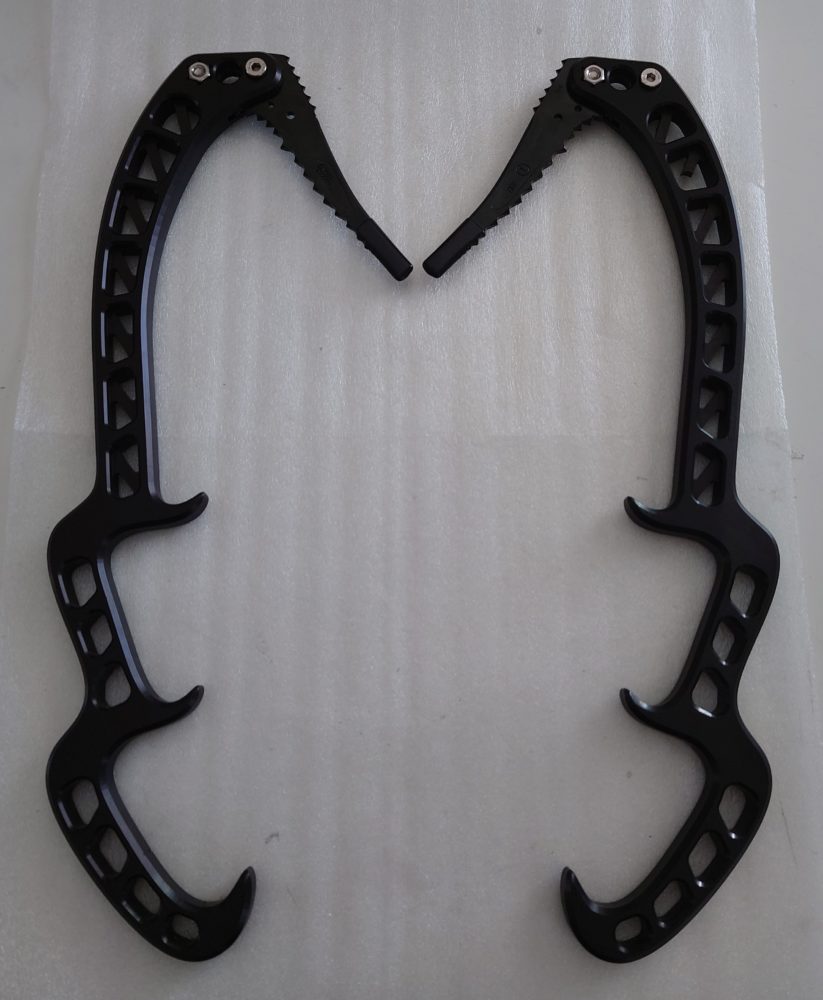
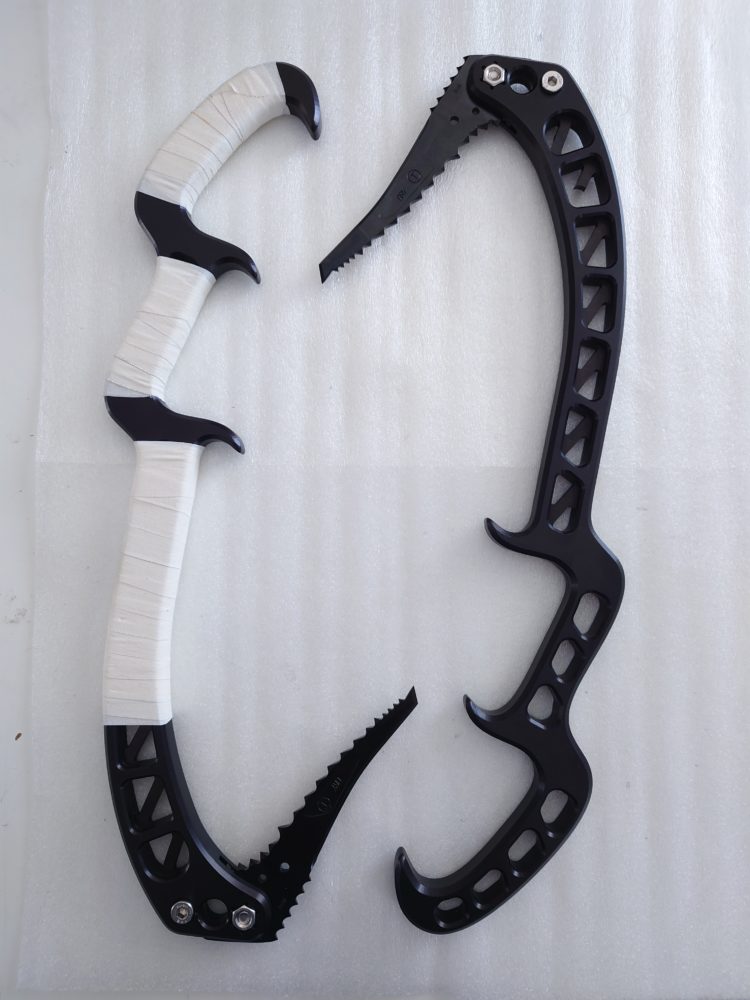
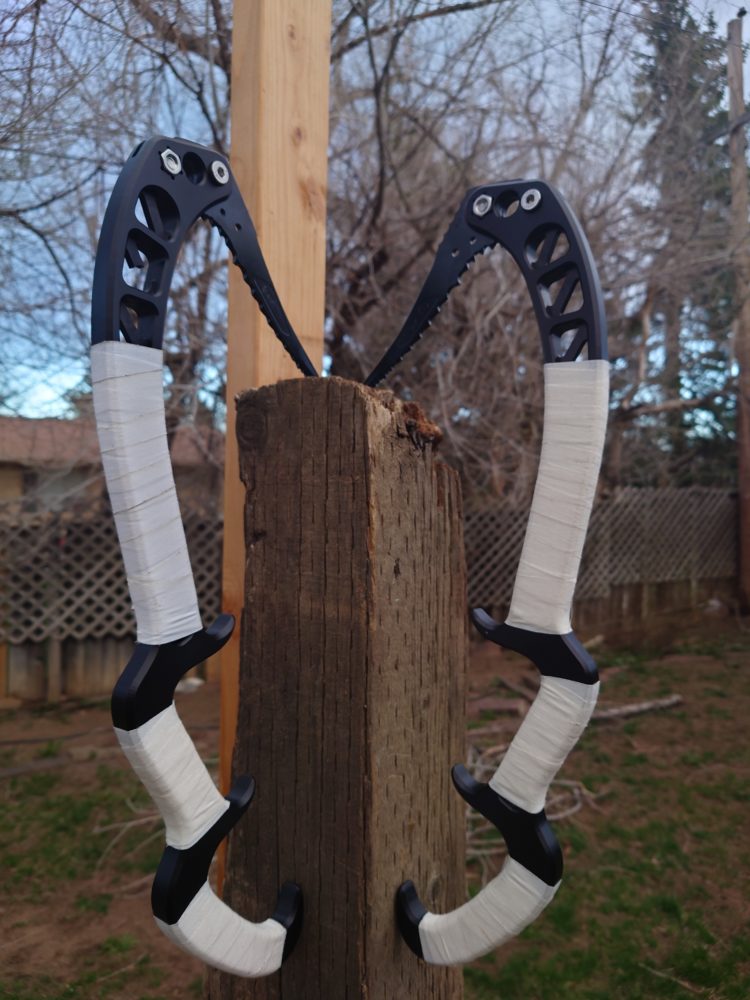
Update: The anodizing has been completed. The rest are just photos of the final result; The tools have been taped to decrease wear, increase grip and make them more comfortable to use.


3 Comments. Leave new
Very impressive machining work. They came out looking very professional and very sleek. This is defiantly something that takes skill and patience so great work. Did you make and mistakes while machining or run into and issues that required you to start over? I can’t wait to see these bad boys at the Expo!
They look great! The anodizing was a nice touch and its great to hear you got it done for free! Did they end up conforming to the aesthetic you had in mind? I was unsure of what aesthetic that specifically was. Did you heat treat the metal at all? I would be concerned that not heat treating the handle after machining would allow the internal stressed to remain at the surface. Heat treating the metal after machining would relieve these stresses and increase the toughness and strength of the tool. With that aside, it looks awesome. You successfully created a cool looking tool that will definitely spark conversation wherever you take it.
[…] Post 11: Custom Ice Tool Report […]