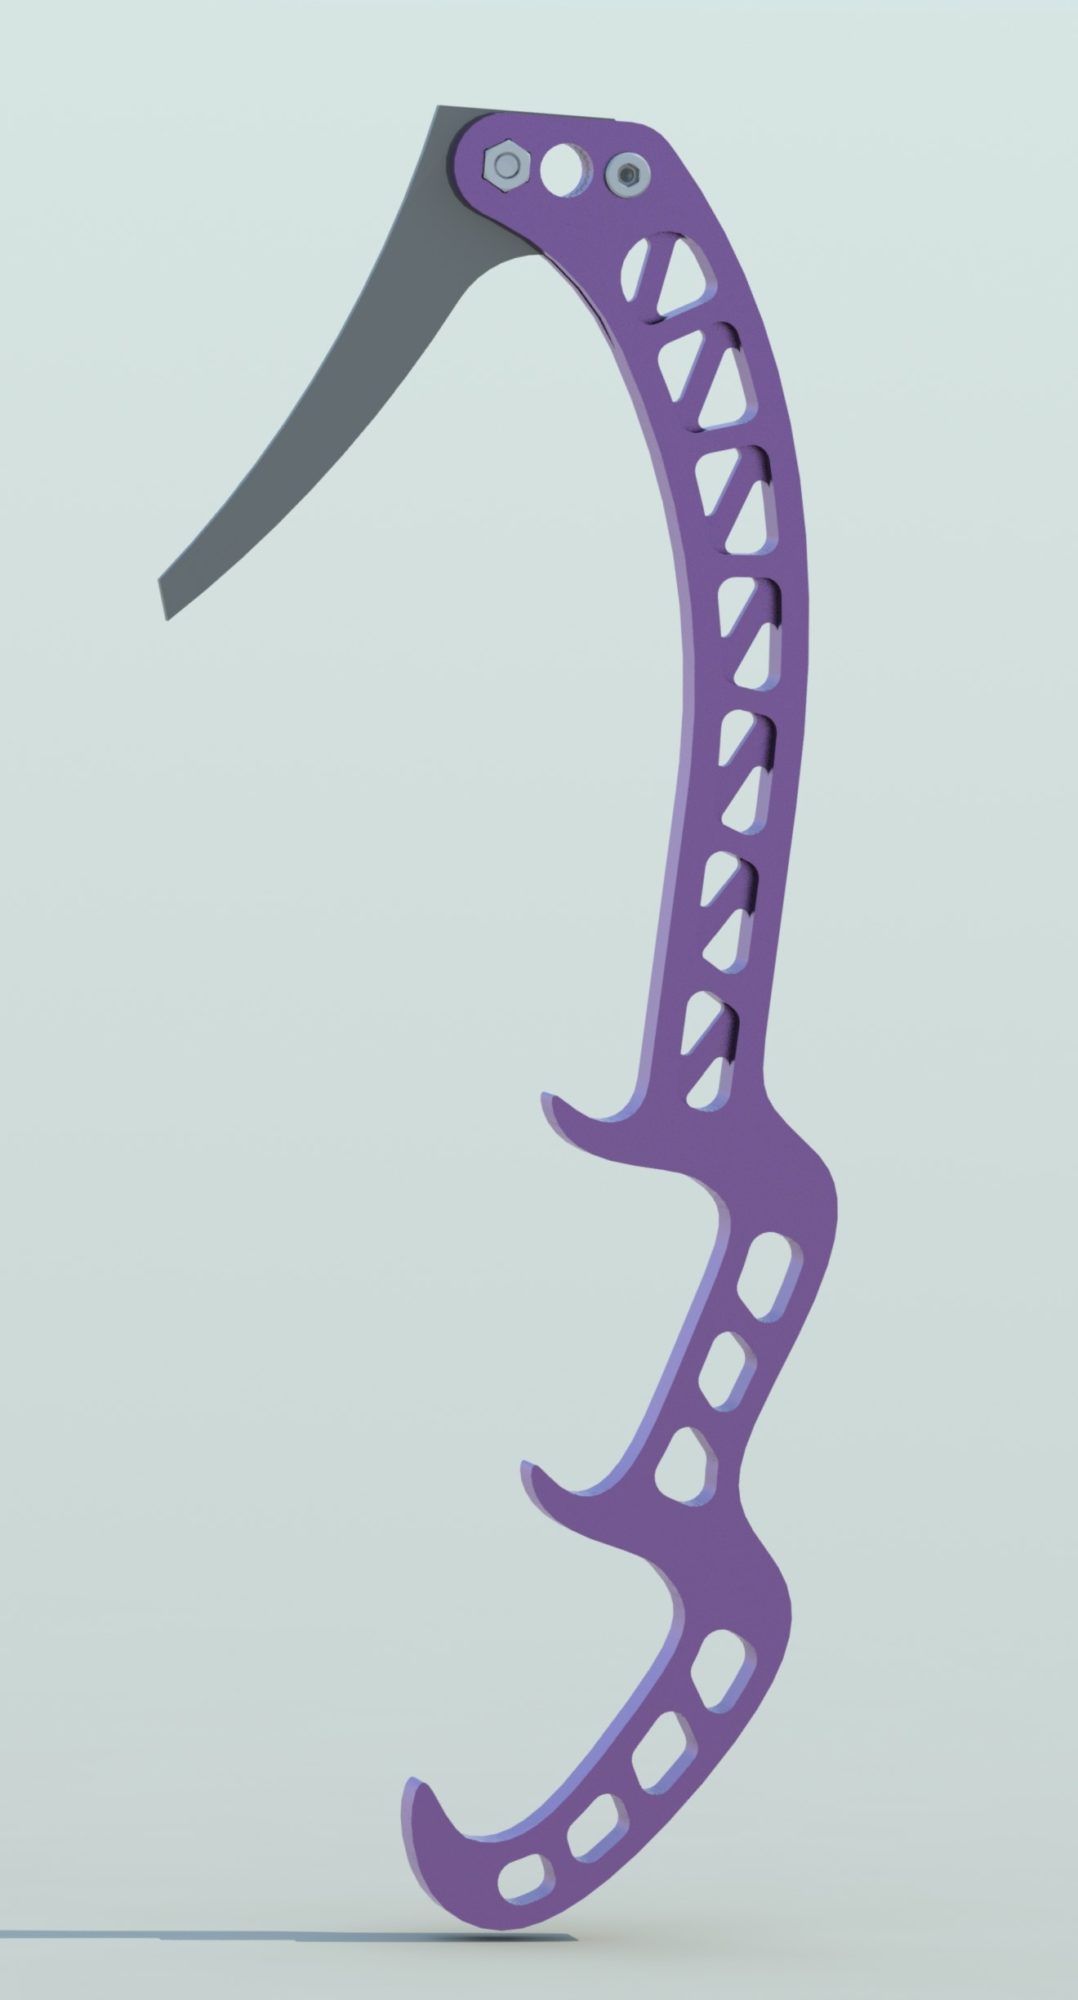
I started by making a CAD model based on my hand sketches, and measurements of pre-existing tools; this made modeling easier because there is less overall guess work associated with iterative design. Once I had a CAD model which I felt was close to the idea in my head, I 3D printed the design in two pieces to get a feel for handling and overall dimensions. After this initial full sized prototype; I realized a couple of things, first is that the CAMP Cassin Pick which I was originally intending on using were going to be much more difficult to work with because of their mounting interface; second was that the tool was too thin and the handle spacing was too long. Going back to CAD I went ahead and tweaked the design again; once that was done I printed the updated design and am pretty happy with the way it fits in the hand. From here I started programming the toolpaths for the CNC machine and will be ready to begin machining in the coming weeks.


3 Comments. Leave new
Super cool to see this progressing. Maybe I missed it but are you just planning on using 6061-t6?
It’s really cool to see an existing product and know you can make a better one. I’m excited to see how this advances. I like how you reduced the mas, but still ensure it keeps the strength required to be usable. But aesthetic and functional. It’s also a good exposure to CNC’ing. Do you have any back up material, in case your first attempt doesn’t turn out as hoped?
Looking at your post, it seems like you’re trying to go for a 3 position ice tool? As someone who’s only been once it seems really cool that you’re trying to expand on the usability of the tool and add on to it. I’m curious to the benefits and potential drawbacks of adding a 3rd position?