My biggest constraint in building my arcade is that I want it to be portable. When I first started this project I thought I would only be able to emulate games like Galaga, having played these games as a kid in the back of a favorite restaurant of my families, I wanted to recreate that experience with a slimmer more modern system. After fearning more about emulators and the Raspberry Pi 4’s capabilities, my project has evolved into making a portable console I can plug in to any TV or monitor and be able to play old console games (mostly N64 and before). I still want to have the classic arcade stick and buttons controllers for playing arcade games.
Currently my idea is to make an arcade controller with a raspberry pi emulator inside of it, so the console and controller are one device. I also want to make a slim, wall-mountable monitor case which the controller can be easily secured into for playing arcade games. Of course games are always better with friends, so I’ll make a second arcade controller that will also fit into the wall-mounted case, and the main console/controller will have many external USB ports for adding other controllers. This way, I can still get the classic experience when playing arcade games, while also having the option to play later consoles with the arcade sticks or with other controllers from my couch.
Another big constraint is cost, it will cost at least 100+ to get vinyl decals printed to wrap the arcade and/or controllers, and i’m not sure how well that material would hold up to frequent use on the controllers. A much cheaper option is to spray paint the pieces but then I would be limited by my skills and time in the amount of detail I could re-produce. I think It would be a really cool look to have the whole arcade be a nice light colored wood, but that would likely be the most expensive option, as otherwise it will be made out of the cheapest plywood or MDF I can find at Home Depot.
The software I’m using as a front end for all of the emulators is very customizable, but requires working in the command terminal of the Raspberry Pi which I have limited experience with. A constraint I want to put on myself is that I change some of the default sounds and visuals of the various home screens of my system. Simple changes like changing the ticking sound made when scrolling through games to more of a “bloop”.
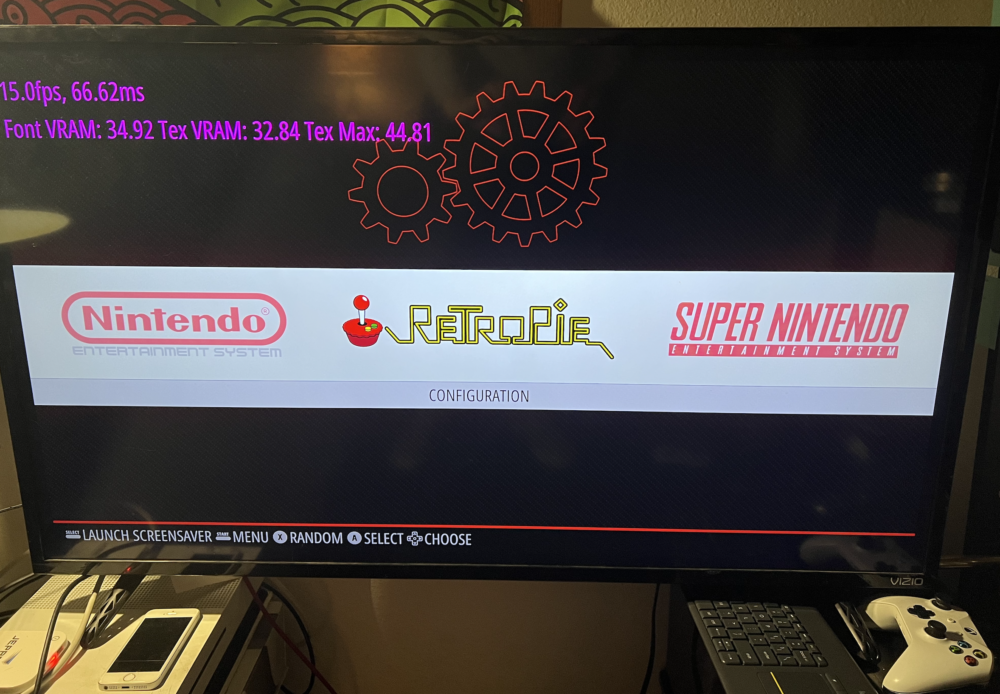
I’ve gotten a couple games working so far, found it is definitely more difficult to emulate arcade games than console
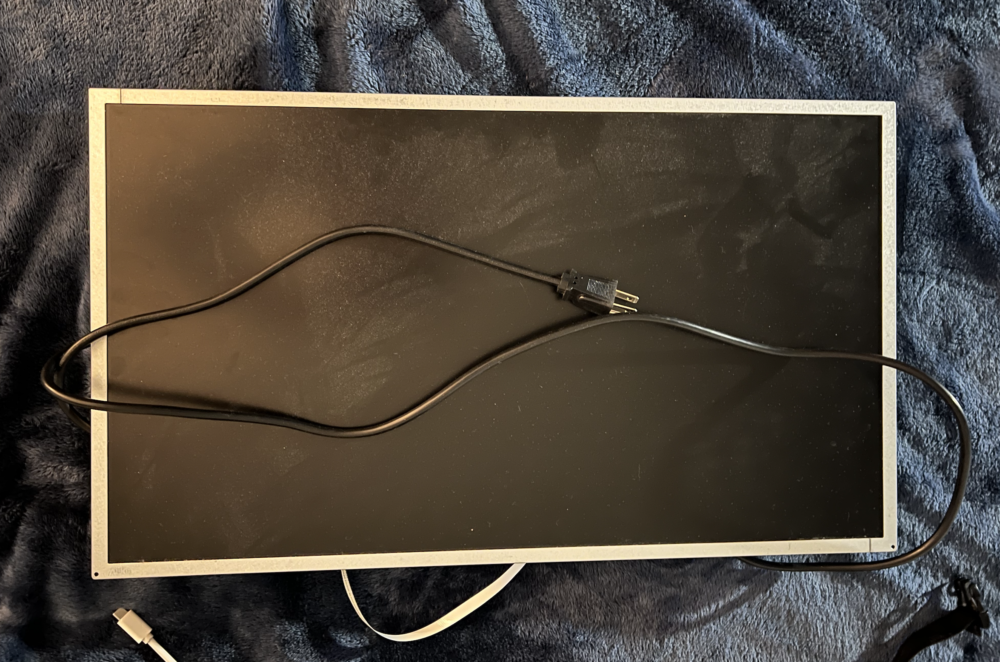
a 22″ TV i took apart for use in the wall mounted arced
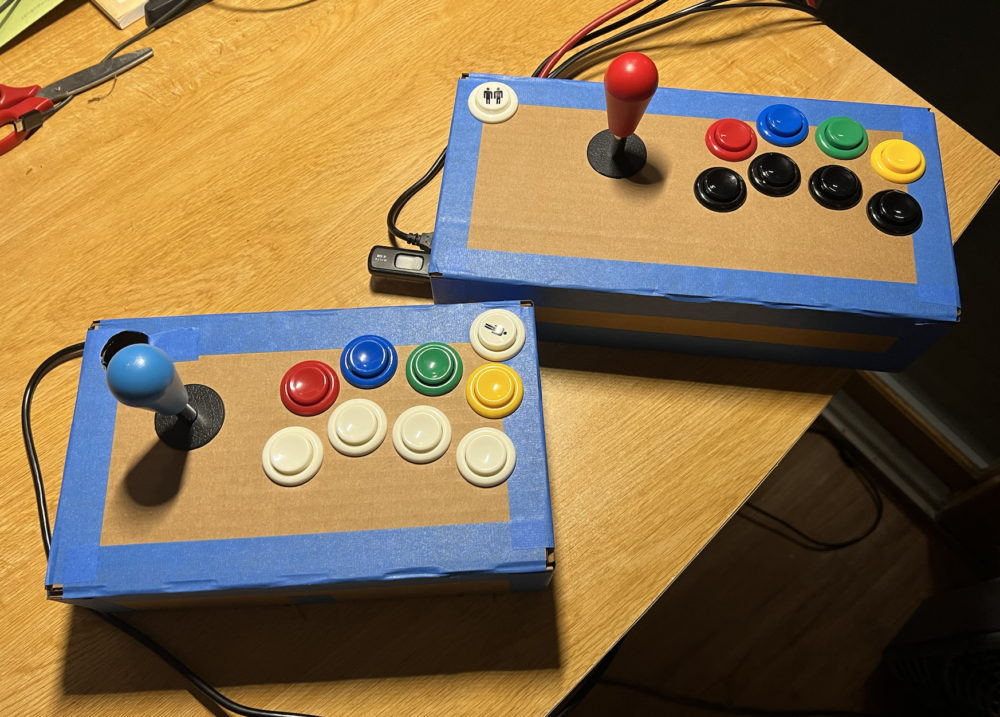
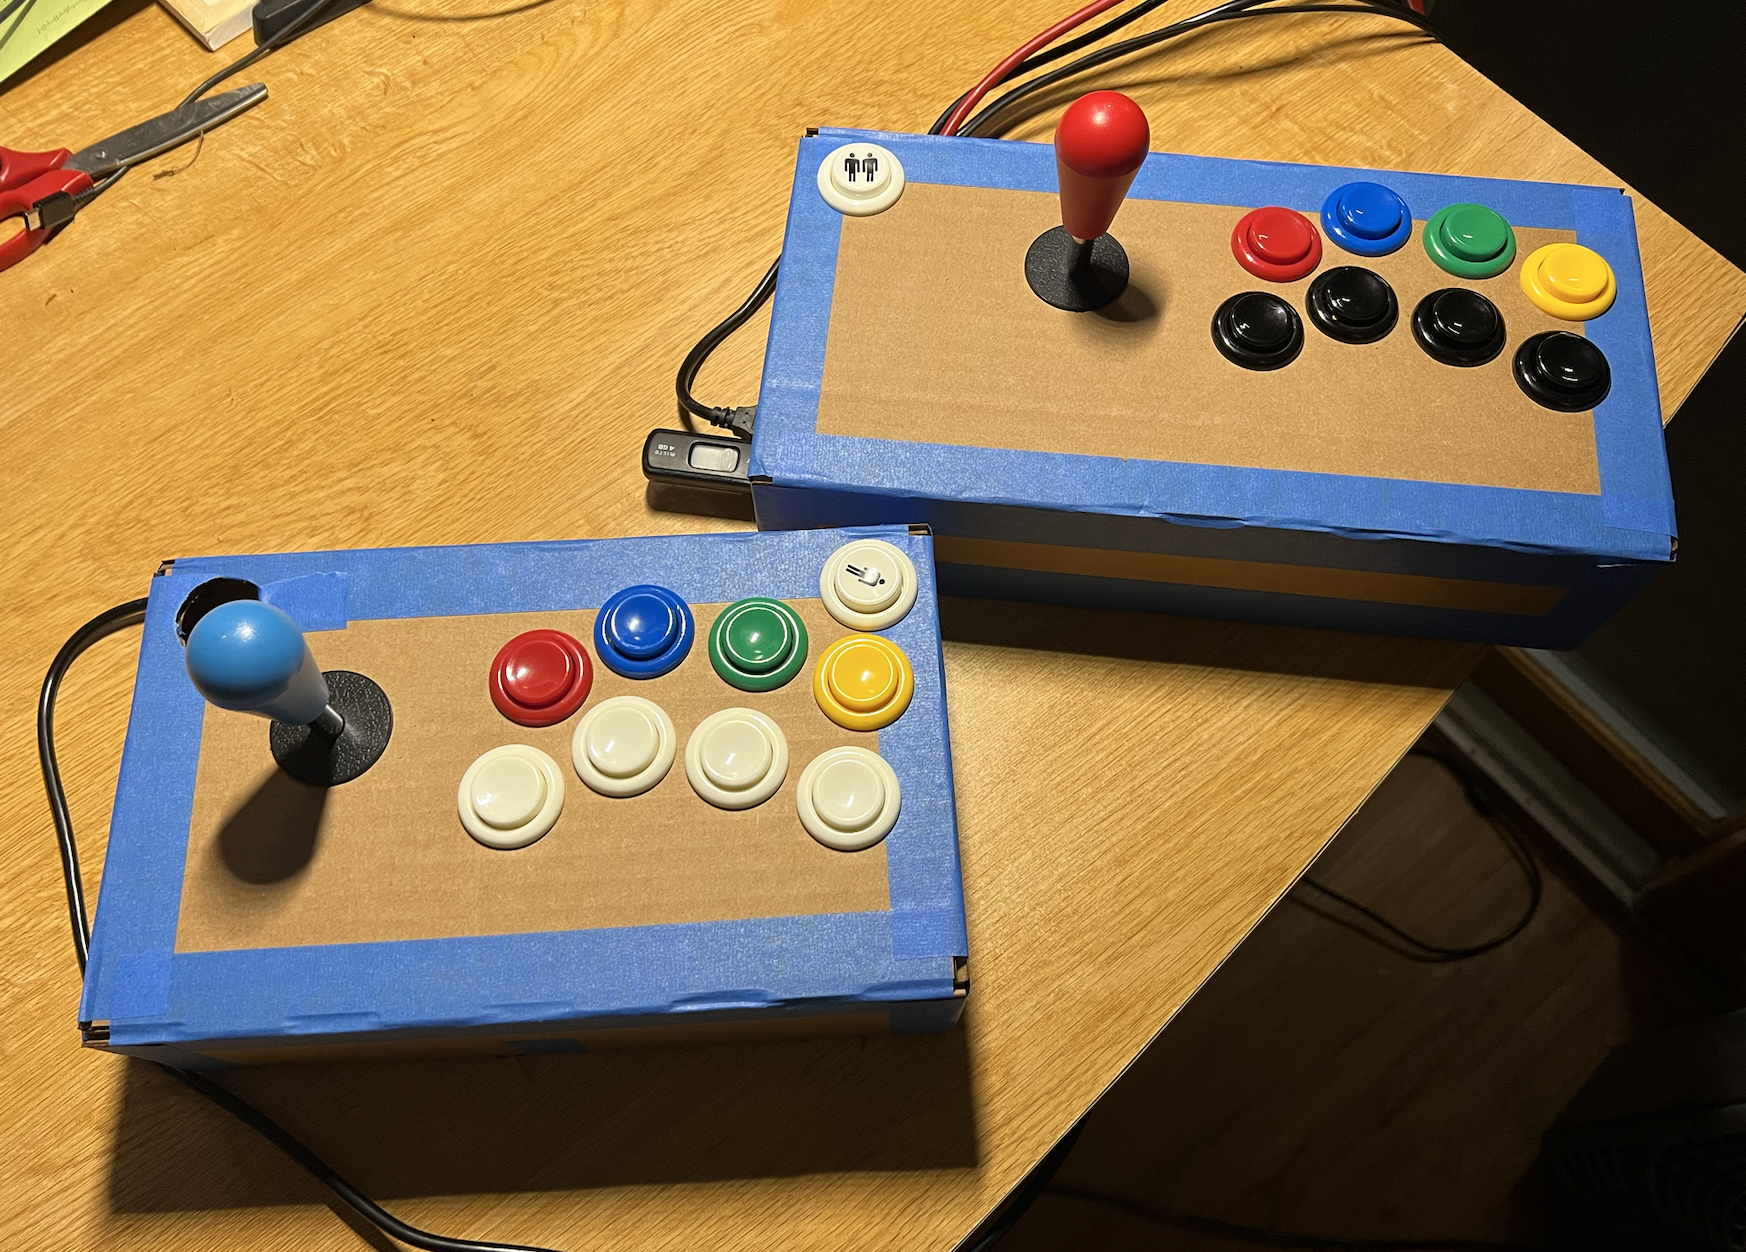
Controller in back has Raspberry Pi inside of it
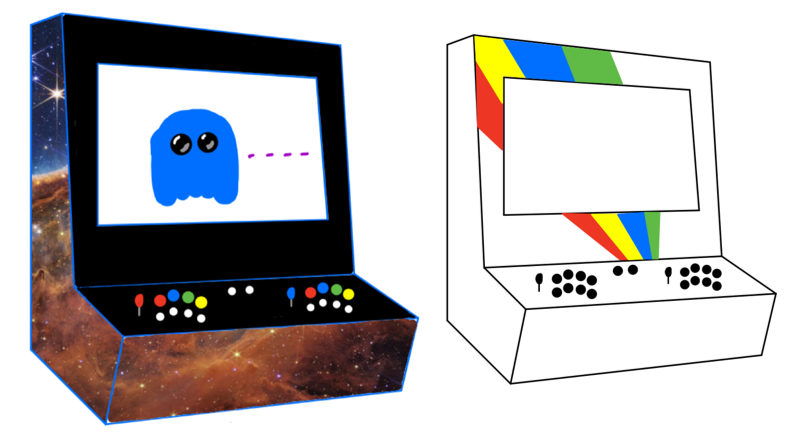
Sticking with a design similar in shape to this (both for clean, slim, modern aesthetic, but also for ease of manufacturing with a laser cutter) Also with arcade controller bay for controllers to fit into

2 Comments. Leave new
Hi Brewster
This seems like a great idea which you could maybe also pursue for selling as a final product line.
Selecting the raspberry pi seems like a very good idea as it is small, can be easily programmable, and could also emulate a large variety of games and consoles.
It would also draw less power and can run on a battery.
Overall, it’s clear you are putting a lot of effort into the project and I look forward to your final product.
Hi Brewster,
This is very impressive! I’ve heard of raspberry pi before but know very little about it. It’s very interesting to see how you’re utilizing it. I’d love to learn more about how you’re constructing the hardware inside the controller case. I also like how you brought up the aesthetic you’d like to the controller to represent. I agree, if time and money permits it would be super sleek to have a wood casing.