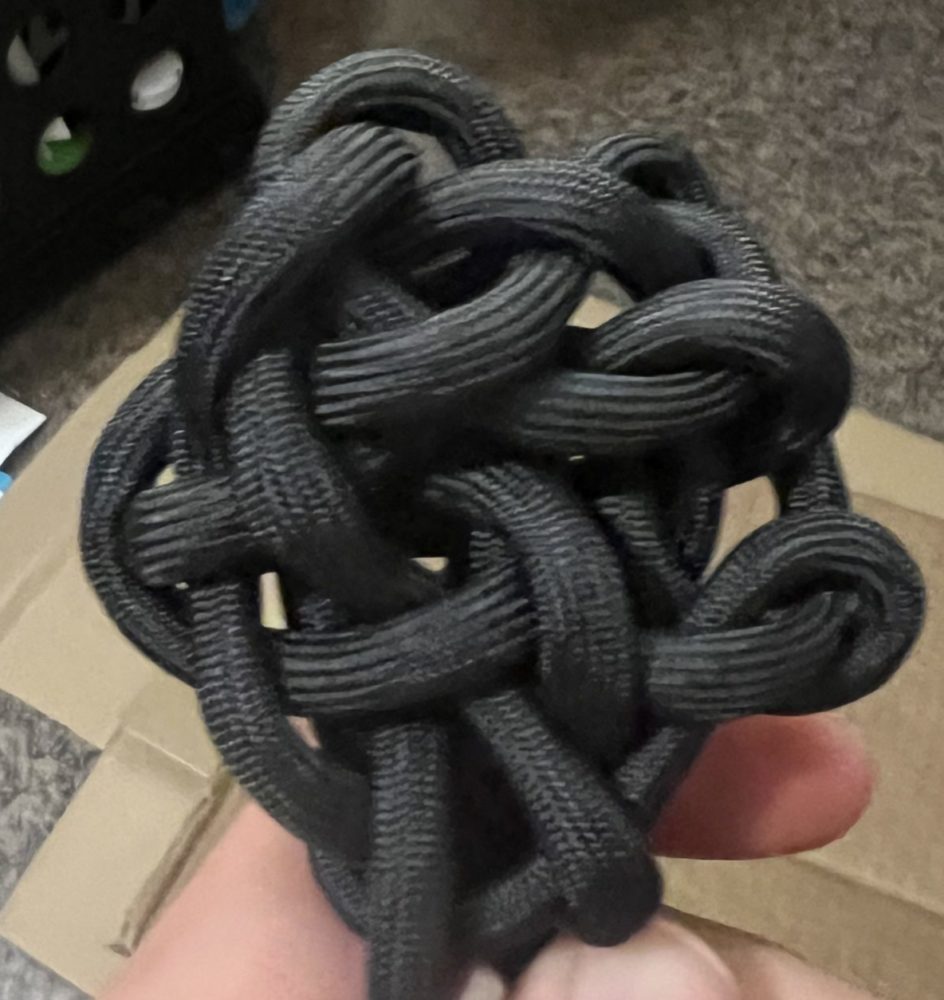
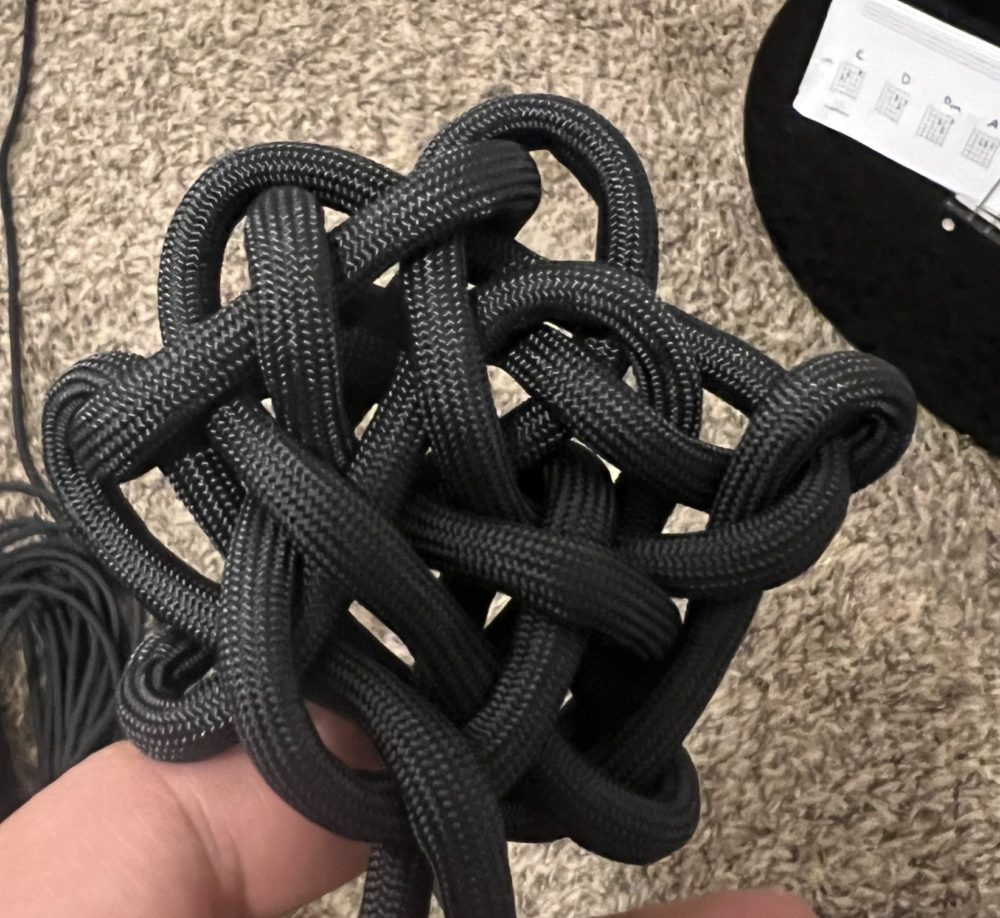
My project was most definitely a learning experience. The final knot was not as pretty as I wanted it to look like, and was a little messy looking but overall, but I do like it. As can be seen in the pictures above and below, the knot does look loose and messy compared to the way the actual knot is supposed to look. However, I am not too upset with this because of the difficulties I ran into to when making this project. After many hours of fighting with climbing rope, I realized that it was too thick and stiff to be able to tie knots effectively with, especially ones this small and intricate. In addition to this, in order to tie the knot, you had to pin parts of the rope down and build the rest of the pattern and knot while tying it. This proved to be very difficult with the climbing rope since it was so large and stiff. Trying to pin it to something wasn’t really an option as I didn’t have a substrate stiff enough nor did I have anything large enough to actually pin it down. As a result of this, I had to throw in the towel with the climbing rope and pivot to using some paracord. The issue with the paracord I used was that it was also very stiff since it was rated for high wear and high weight scenarios. However, since it was so much thinner it was still much more malleable than the climbing rope. I was able to work with it a lot better than the climbing rope. For the purposes of Chinese New Year, black cord is a faux pas but hey, in the spirit of the project I didn’t want to buy new rope so I used what I had.
The pictures of the knots above and below were the closest I could get to a completed knot. This was my attempt with making the not with the larger, decorative loops at the end. As you can see, the loops were much too large especially compared to the right-hand image below (the grey render). This was due to the stiffness of the sheath of the paracord. It was hard to tighten it and the cord was stiff enough that trying to get the correct patterns and forms of the knot proved to be difficult since the paracord was stiff enough that it didn’t want to hold the shape I wanted it to since having parts of the cord in certain positions is key to making this.

The picture below was my first attempt as you can see the tightening of the knot went rather poorly and I ended with something that was more akin to a tangle.

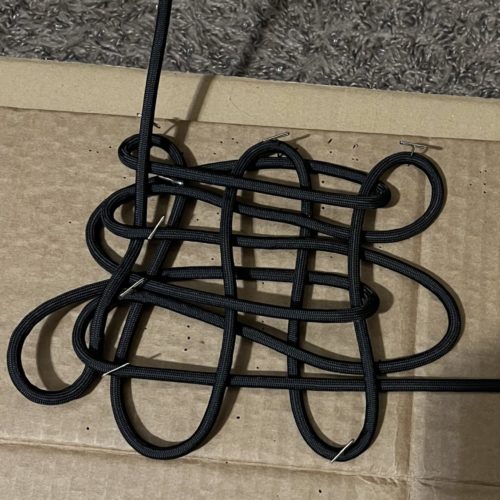
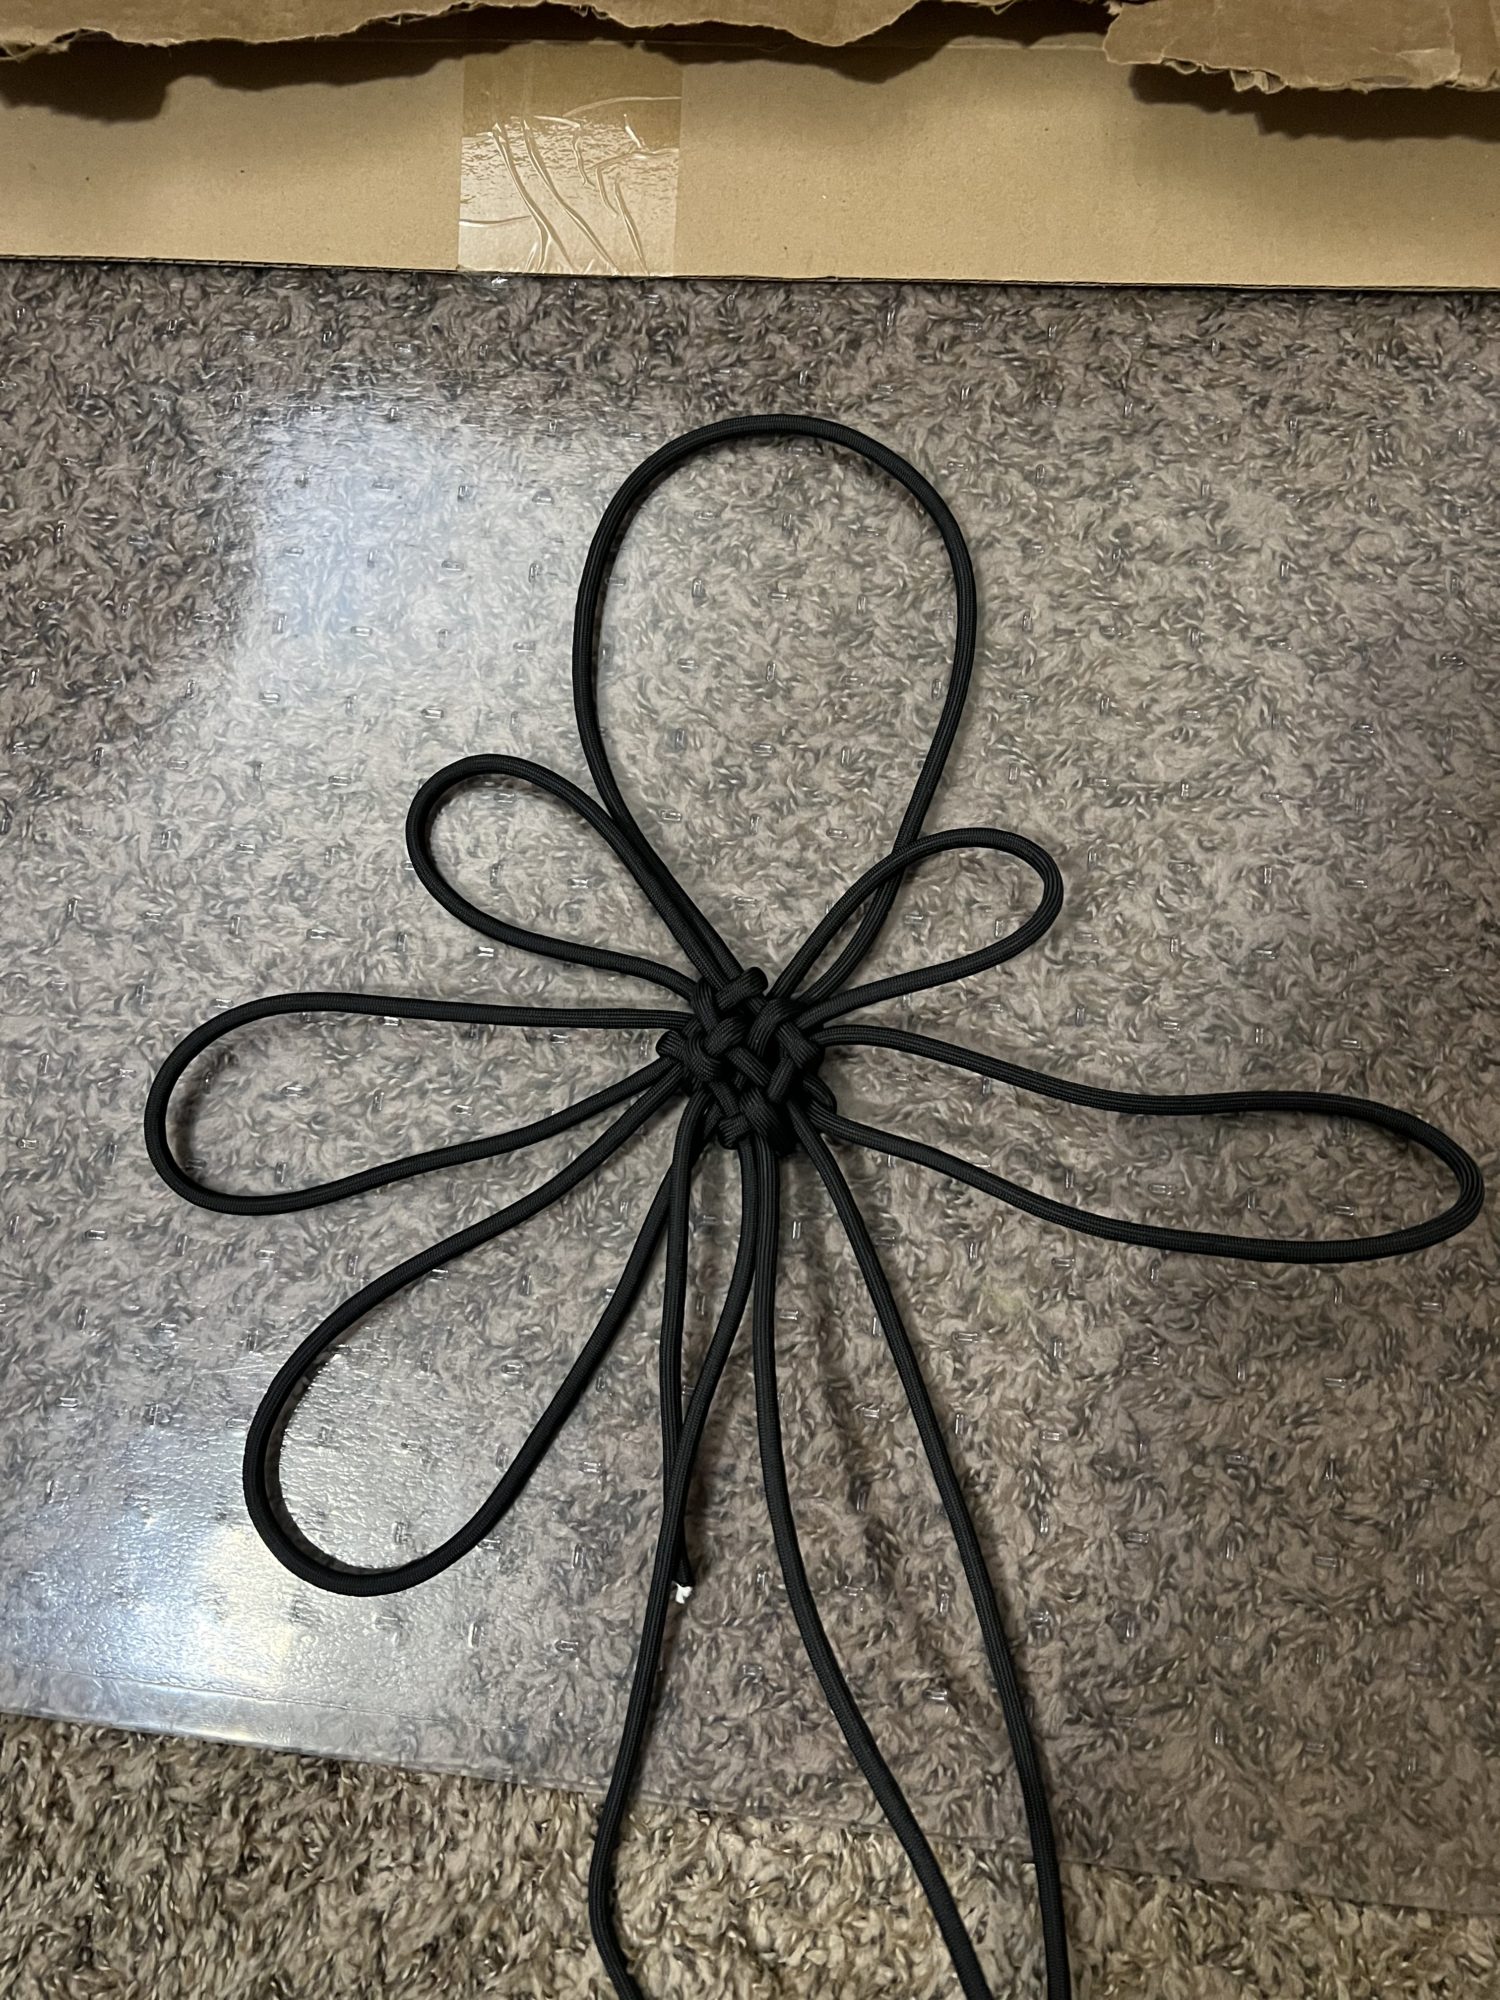
Below is a snippet of the steps I took as I was tying the knot. The left most picture is the beginning phase where I set up the initial pattern of the knot. The middle photo is once I’ve completed more of the patterning. The far-right photo is as I began to tighten the knot. A key part to this knot tying process is the tightening process of the knot once you have it ready. You start by creating the pattern by threading the knot in a specific manner. From there you have to tighten the whole thing down. This is where the difficulty lies due to the complexity and the knot potentially messing up as you tighten. In my case, the cord was too stiff and as I tightened it, it would not want to keep it’s shape and would not tighten properly. Despite all of this I’m still pleased with the process and will probably try to do this again with the correct rope. And one of the tenants of Buddhism is that material things are ephemeral so maybe next time.


1 Comment. Leave new
Hi Cody, I liked how in your blog post, you dove into the story and the process of your upcycle project and the factors that led you to the final project being a slightly different vision than what you planned for. At the end, I think your knot looks very clean and I also like how it is so tight in the center contrasting with the loose loops on the outside. One question I had was if you thought about choosing a simpler knot while still using your climbing rope instead of switching the material?