Upcycle Turner’s Cube Desk Toy
Alex Kelling
Desk Toy Aesthetic
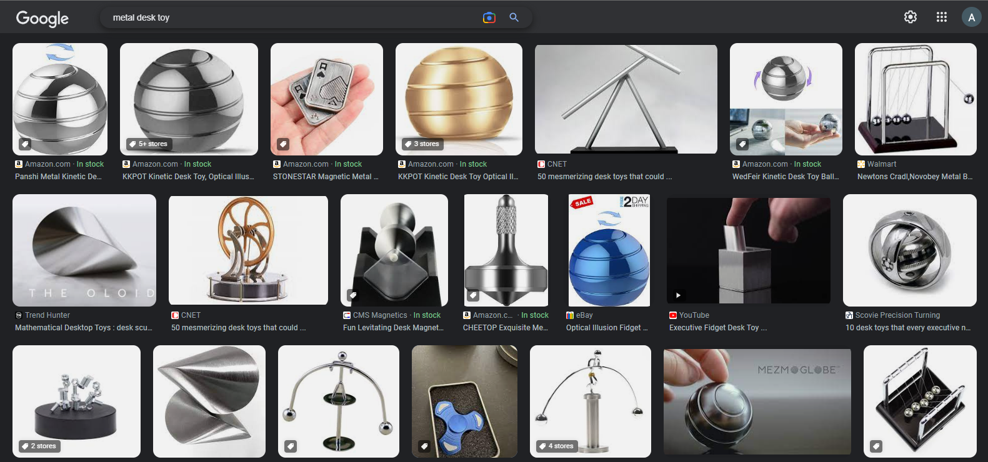
Desk toys are small, fun little objects to tinker or fidget with as well as having a visually appealing look. They sit on the desk to add personality and distinction to the office work who occupies it. A Google image search reveals what define the aesthetic of ‘Desk Toy’. I characterize this aesthetic as having the qualities of sleek, shiny, bare or polished metal, and simple in design. The desk toy can either be static or have moving parts.
My idea to create a desk evolved from images I had seen of a ‘cube inside a circle inside a cube’. This is more commonly known as Turner’s Cube. This name comes from the process of manufacturing it on a lathe, so it would be a Turn-er’s cube. Turner is not a name, otherwise my rendition would be a Kelling’s Cube.
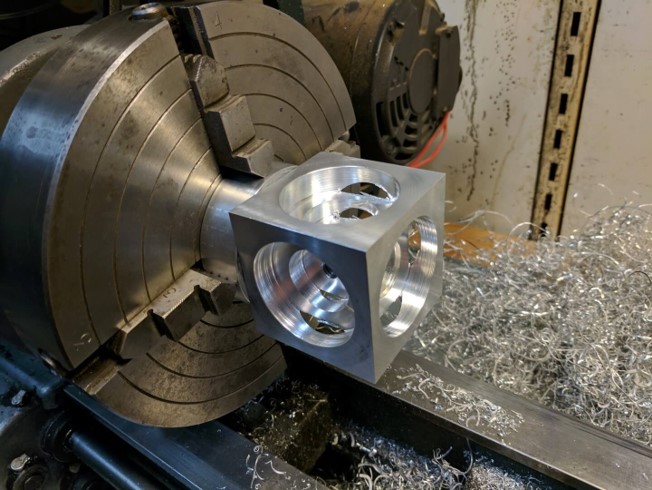
Adam, 2017, Turner’s Cube, https://coffeewithrobots.com/making-turners-cube/
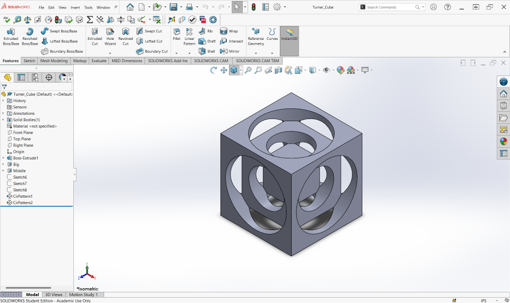
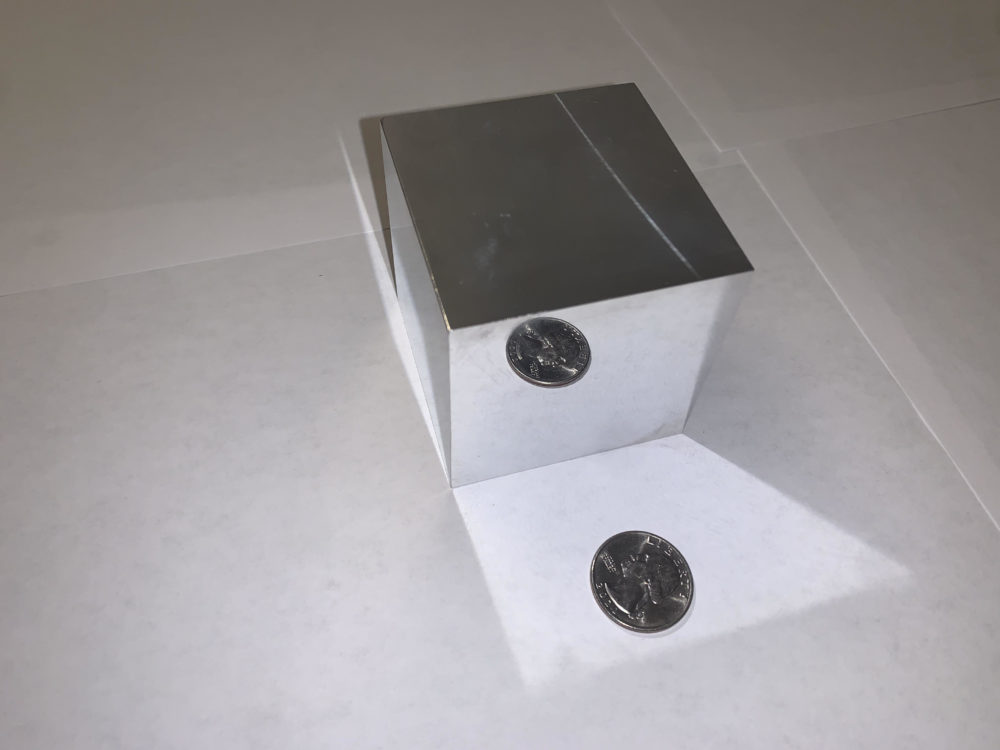
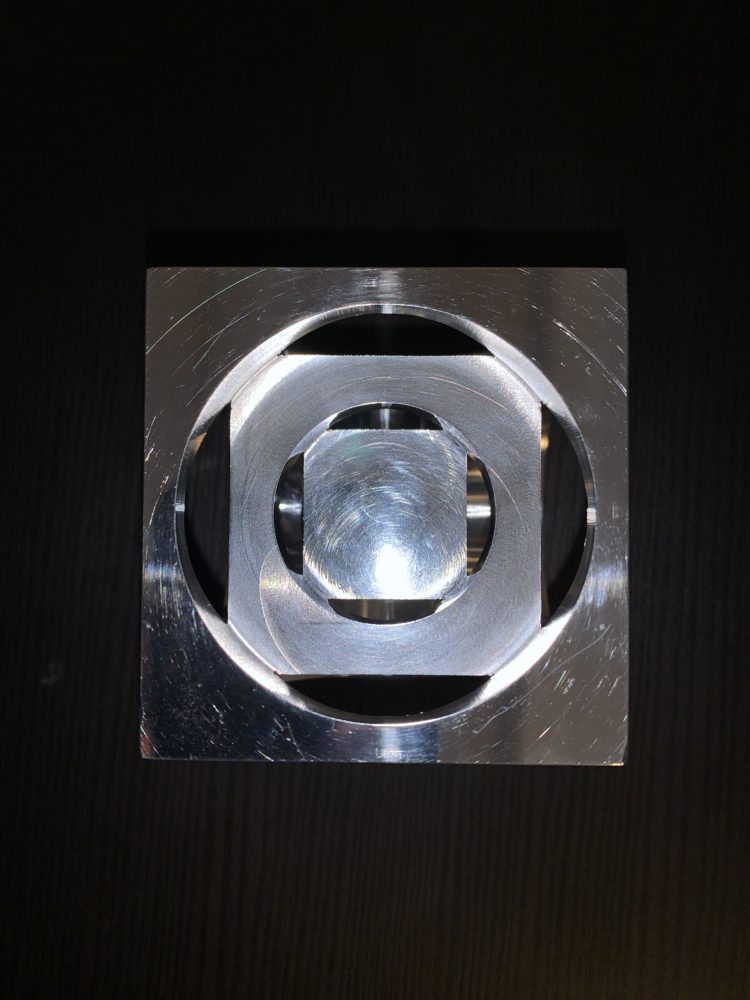
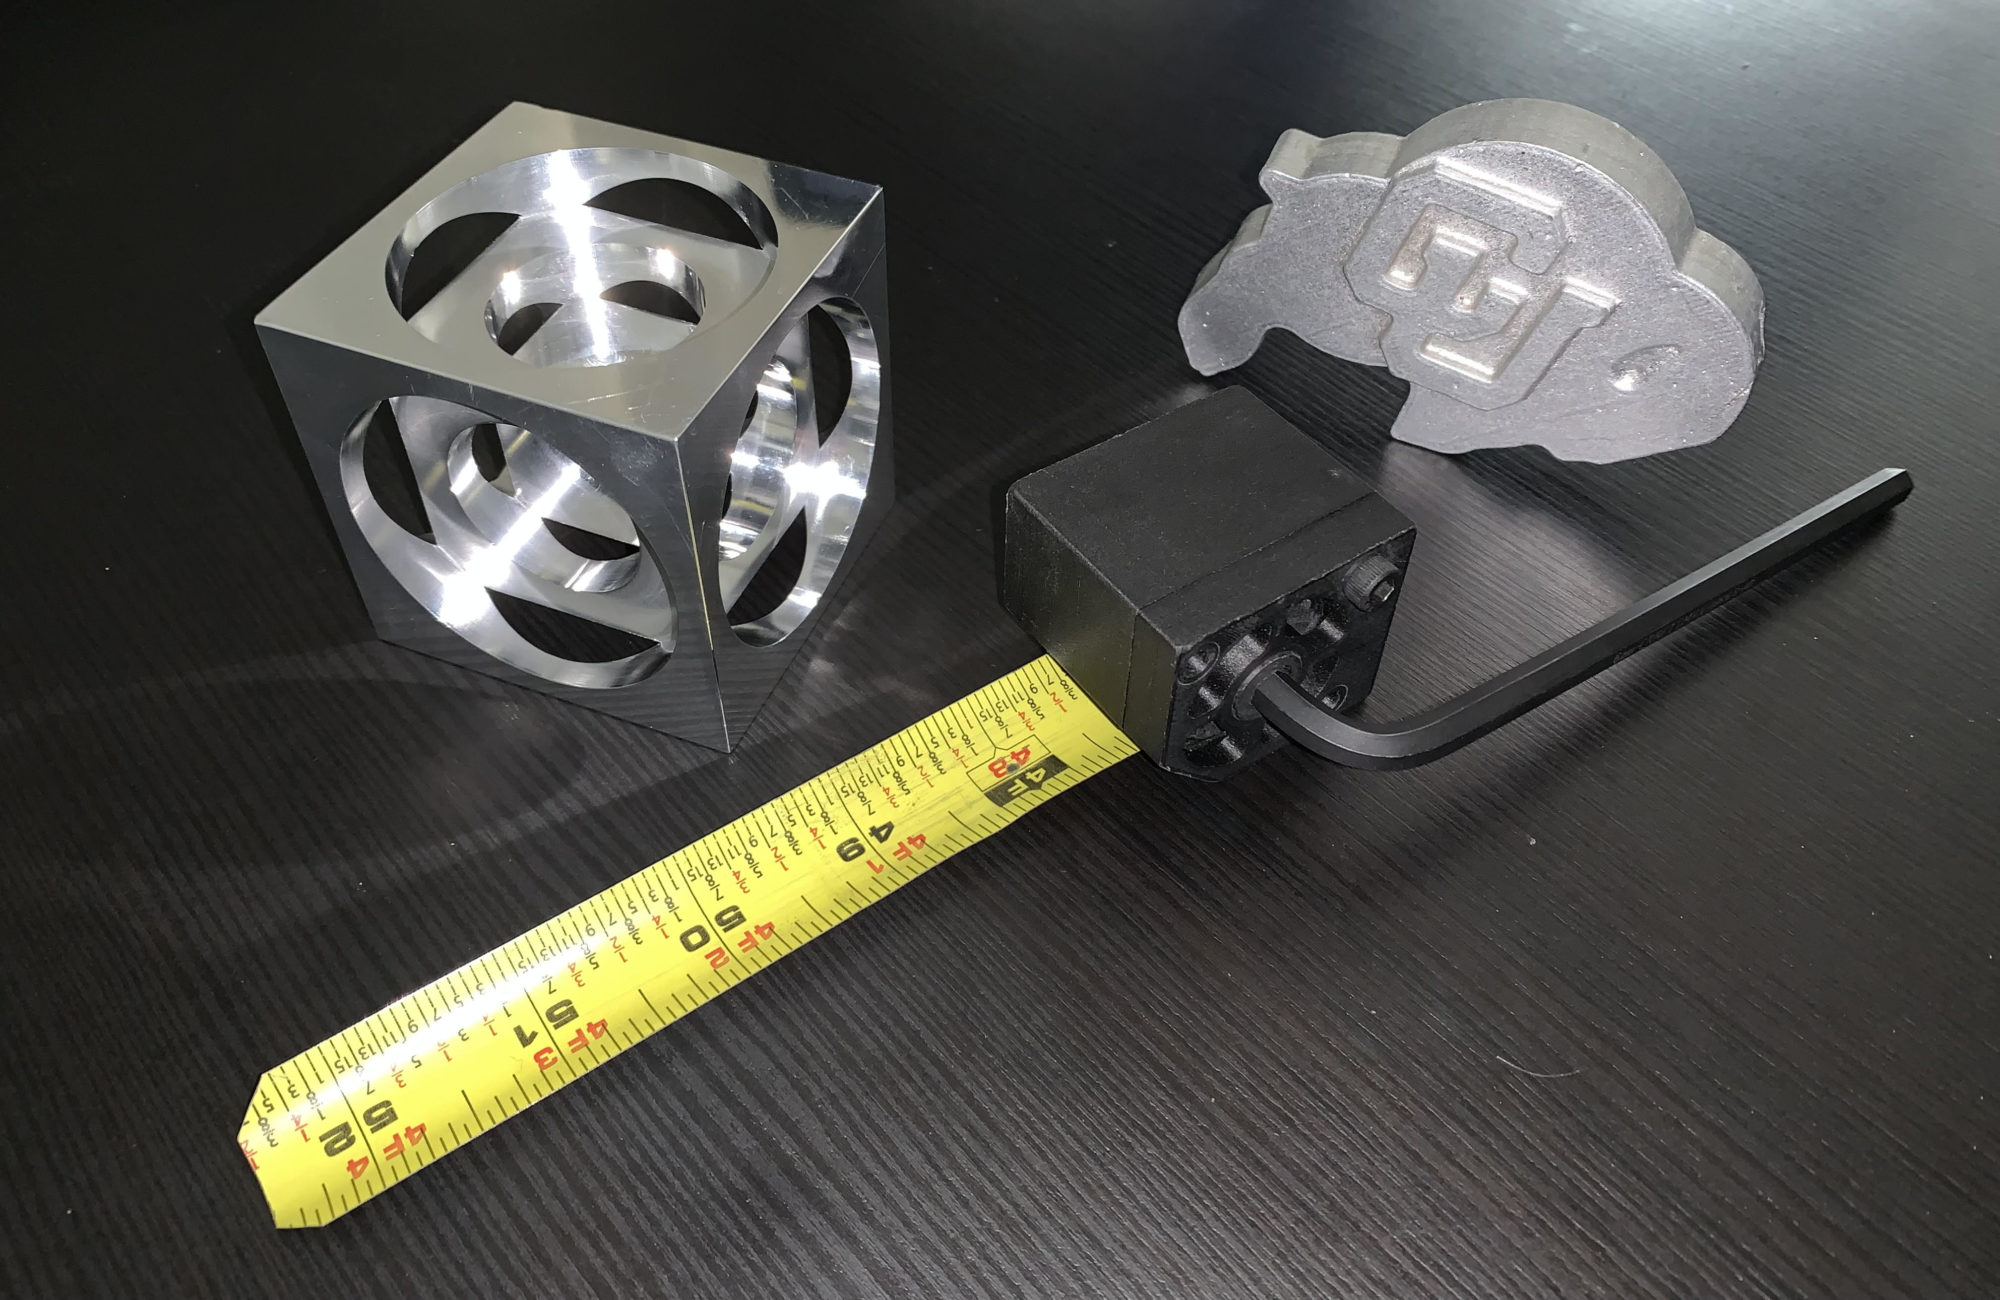
With a leftover piece of aluminum from my senior design project last year, I set out to make a Turner’s Cube. This would give me some experience in the machine shop as well as providing a difficult design challenge. With a 2.5” x 2.5” stock piece of aluminum, I had my outside diameter. But the inside roved to be more difficult to design than I had thought. The depth of the circle controls how big the cube is, which must correspond to how big the circle it. With these two variables relying on each other, I went through several design iterations before landing on my design. A 2.15” circle cut 0.375” deep, and a 1.25” circle cut 0.75” deep.
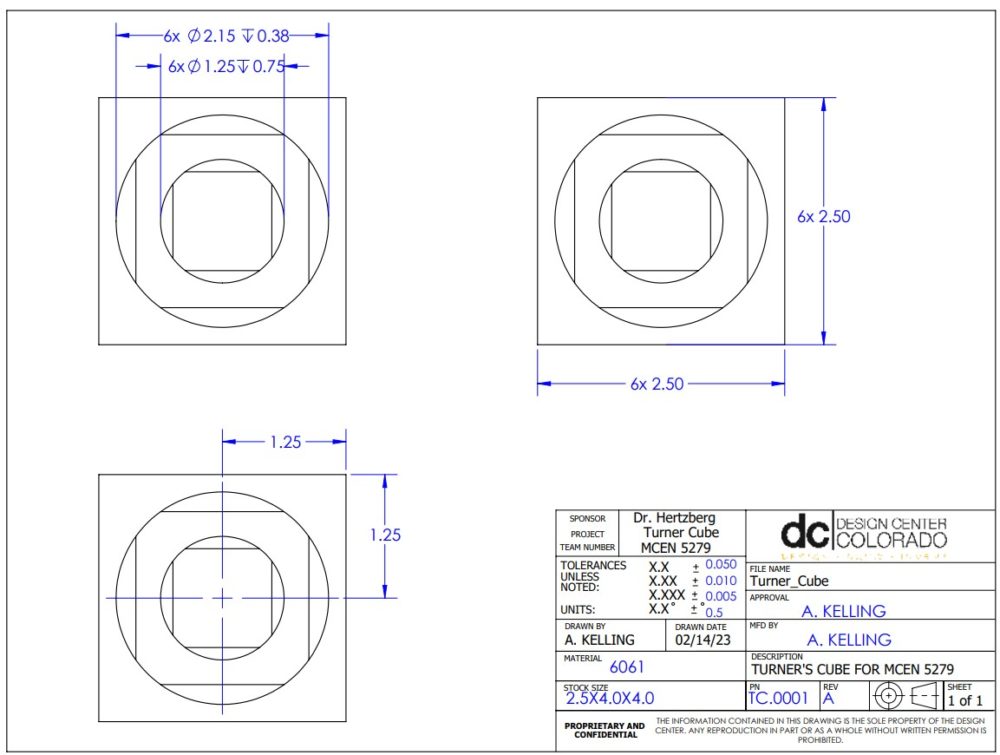
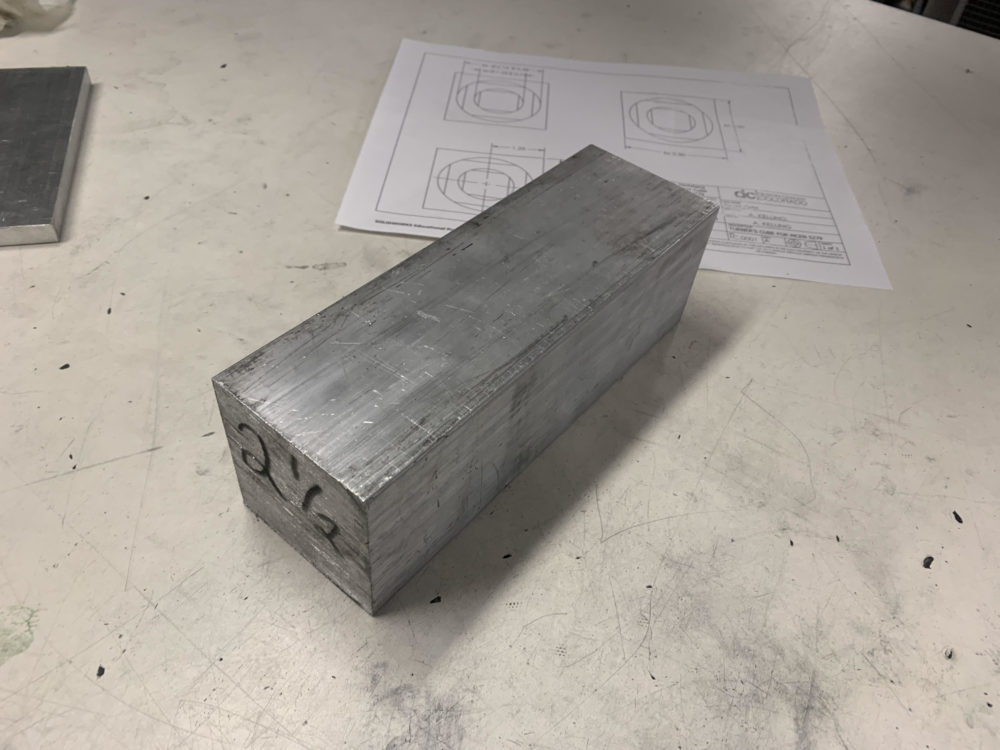
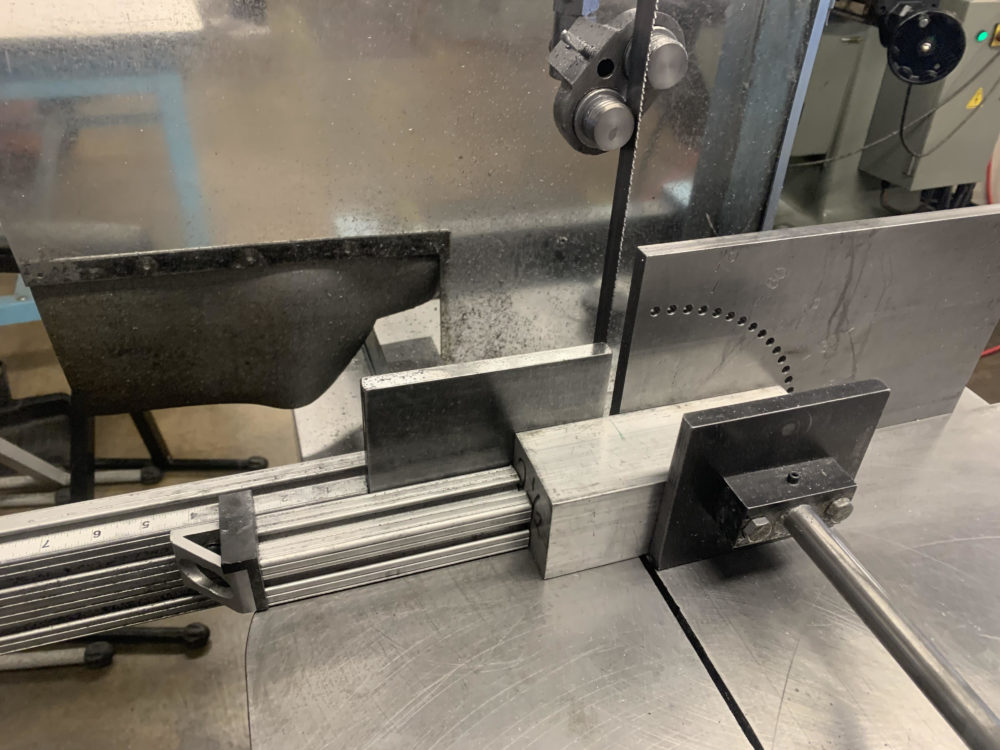
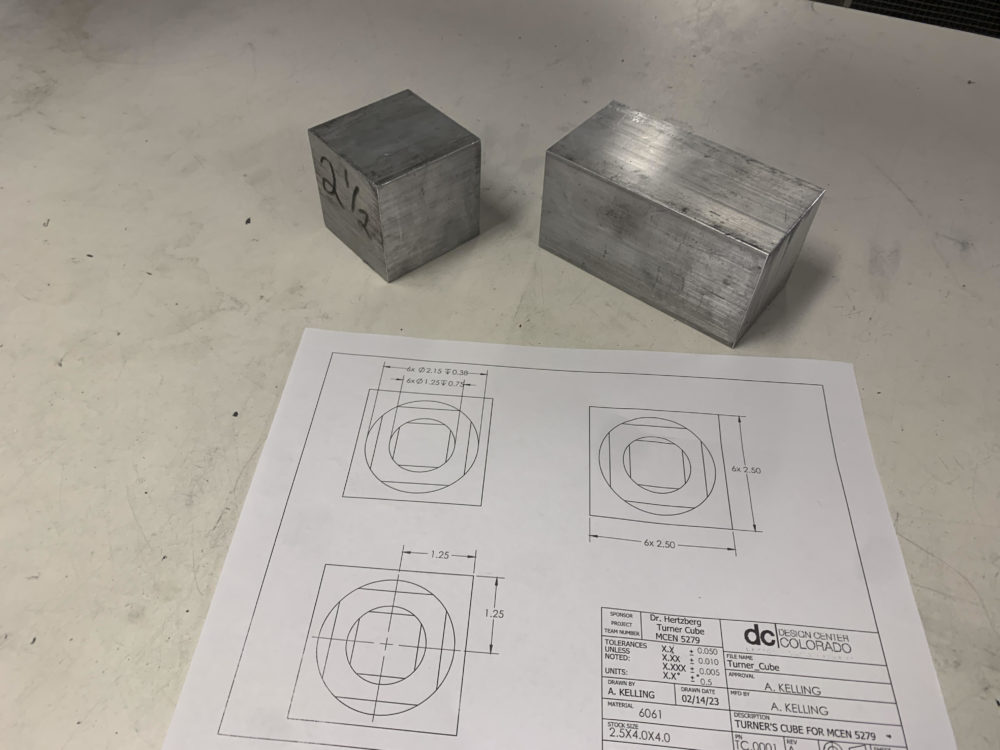
Entering the machine shop with my drawing, I first cut the stock to length on a band saw. Then I went to the mill to square up the six sides and leave a nice, machined surface finish. With advice from Chase Logsdon, the Idea Forge machine shop supervisor, I would machine my circles on a programable mill. So a better name for this project might be the Miller’s Cube. With Chase’s help, I was able to program a cut path to bore out my small circle. Repeating on all six sides, I could see the inner cube begin to form.
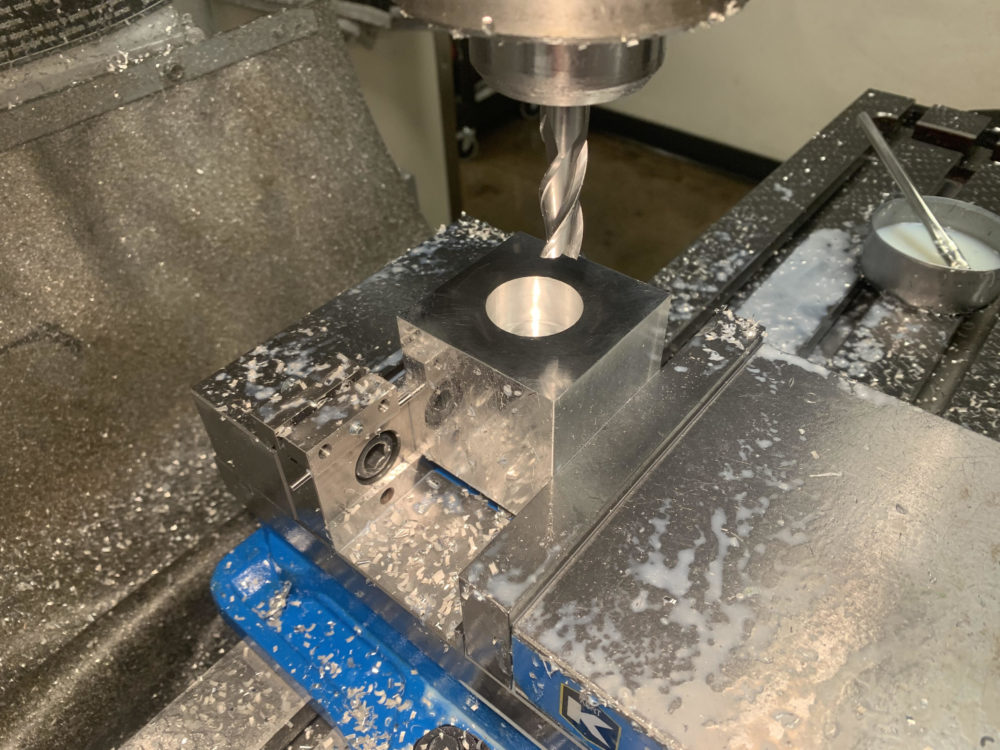
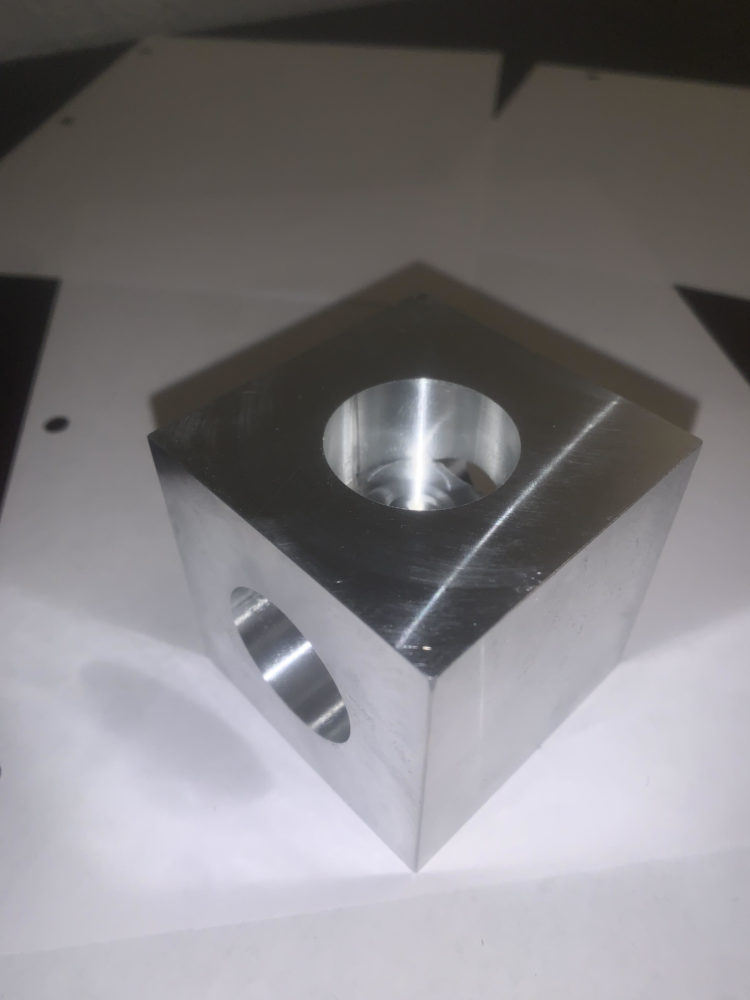
With a new cut path programmed, I then bored the larger holes. Again, repeating on all six sides, I was able to finish machining my cube.
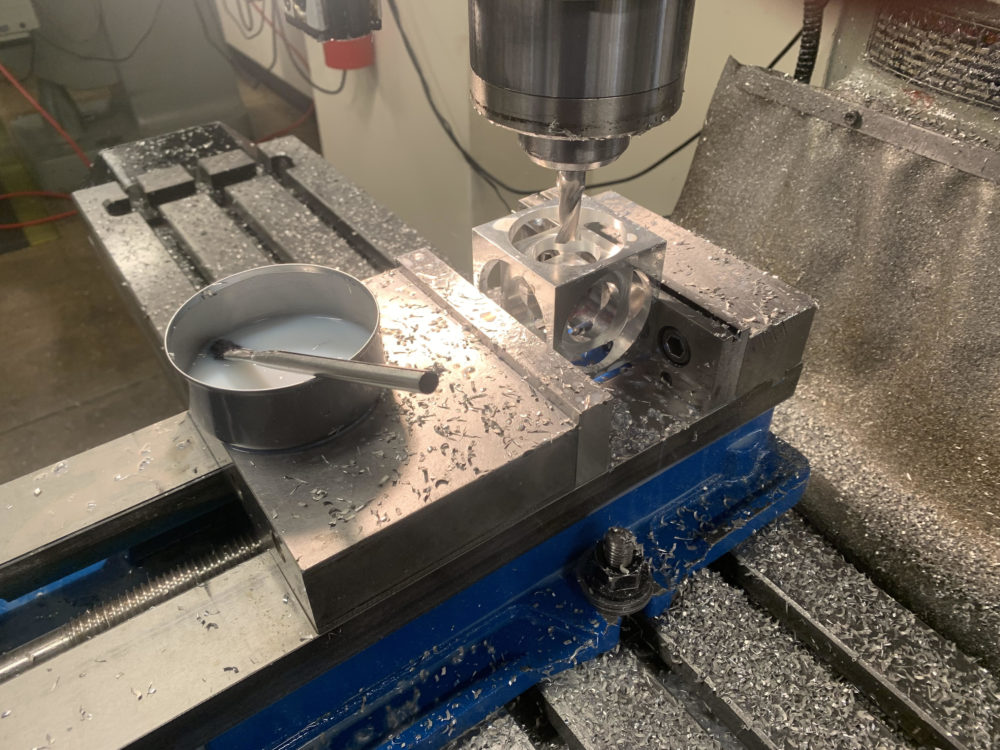
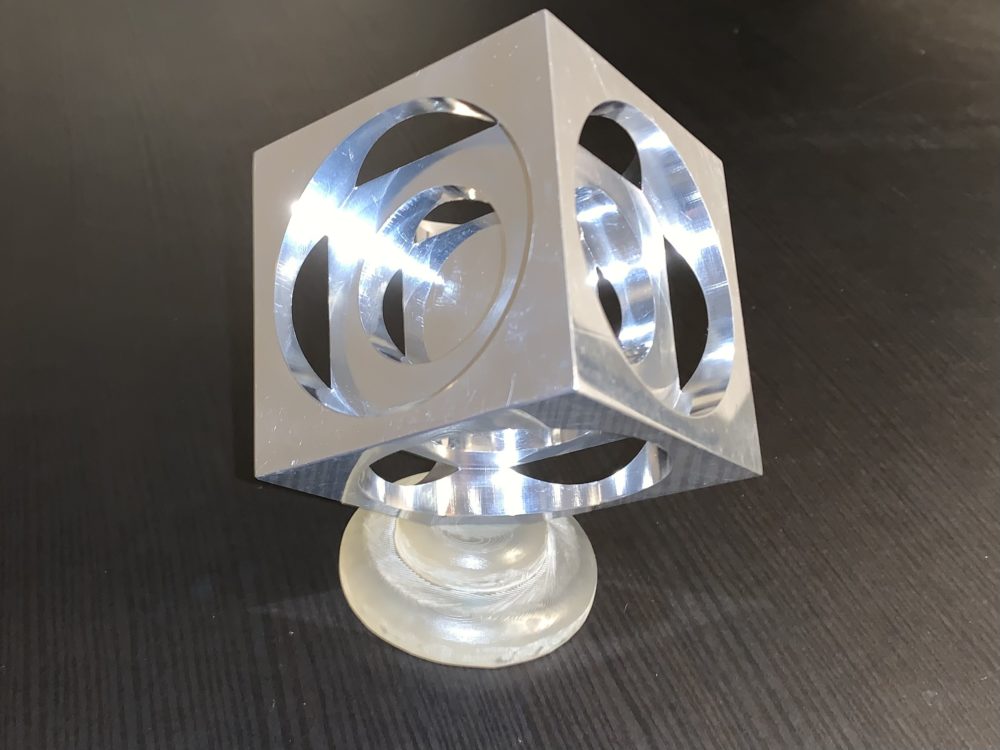
Taking the cube home, I used Mother’s Mag and Aluminum Polish to shine the surfaces of the cube to be reflective and smooth.
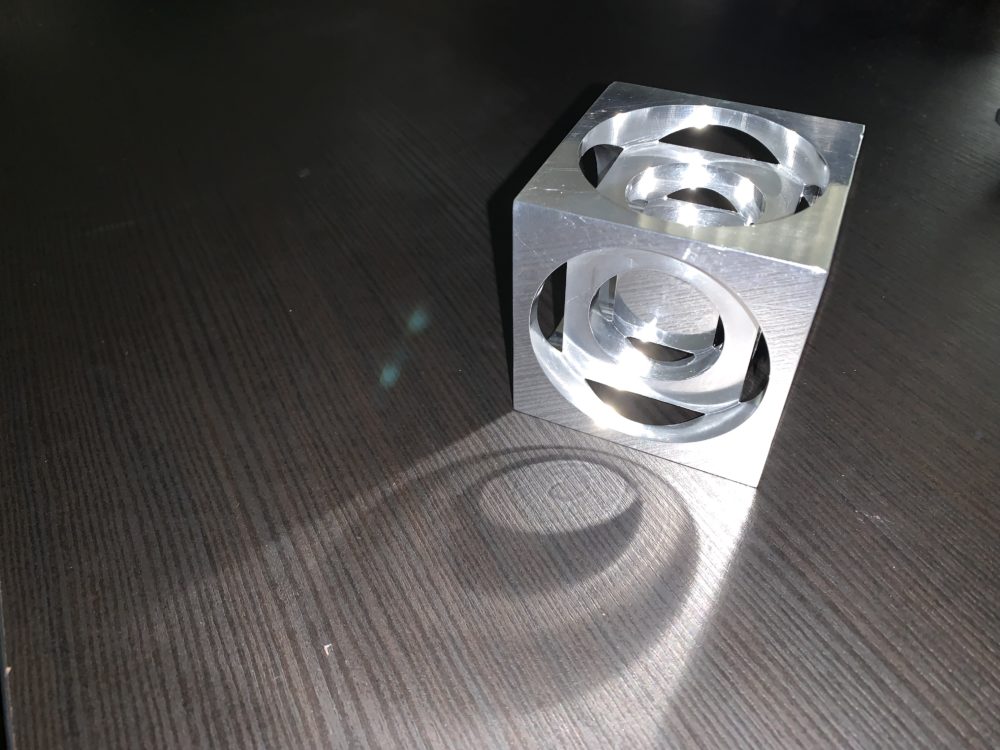
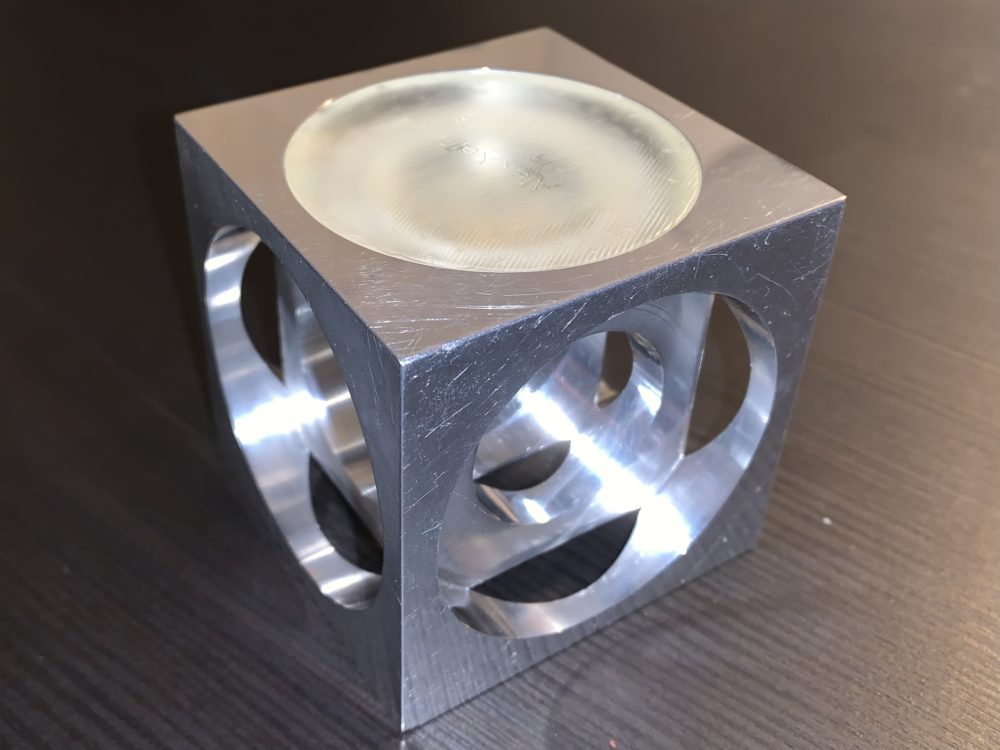
As this project helped me dive in deeper to machining, I designed a stand to hold the cube on my desk. Using SLA resin 3D printing, I printed the stand that holds the cube upright and fits in the holes when stored.

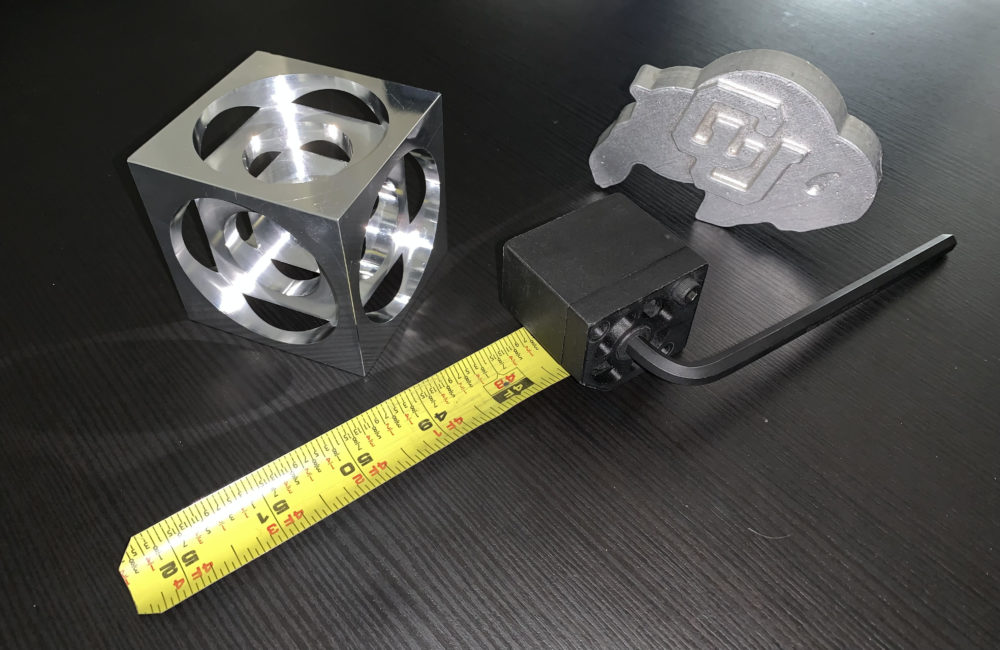
I am proud to have created my own desk toy. I think it fits it to the aesthetic of desk toys I have created at my time in CU’s mechanical engineering program. My Ralphie CU logo was sand cast from aluminum in my Manufacturing class, and my deployment mechanism from my senior design project is 3D printed. The original deployment mechanism was machined aluminum, which would better fit the aesthetic, but that belongs to Sandia National Laboratory now.

2 Comments. Leave new
Alex, fantastic piece. You can really tell the time and effort put into machining your Turner’s Cube. Do you think you’ll cut further layers into this cube, or are you content with how it is now? I think it looks great either way. I also love the stand, great work on a great displayable project.
Alex I really like your project and I would like also to build something similar at some point in the future. Not only is a beautiful “toy” but also a really good exercise to improve machining skills. For being machined without any post processing the surface finish you got is really good, specially for aluminum where you have to be very careful to handle it to not scratch it. Did you consider doing some holes in the little center cube? Did you also build the toy stand that we can see in the images?