As said in previous posts, my upcycling project consists in building a wall hanger with spark plugs and wood following an Industrial design aesthetic. I have been inspired by my appreciation of mechanical components of car engines and by some internet images I found which are referenced in my first upcycling post.
As a first step I gathered the materials needed: 8 old spark plugs from my car and a piece of wood I found in the garage of the home I am currently living in (notice I didn’t use any glue in this build). I convinced myself of using that specific wood board because it shows signs of being used and is a piece of solid pine wood (I guess) and all these fit perfectly with my expectations and the Industrial design aesthetic I already chose. As we will see I finally used 6 of the 8 spark plugs I had due to spacing issues in the wood.
The design and construction process was as follows:
- I first gathered the materials: the old spark plugs and the old wood board
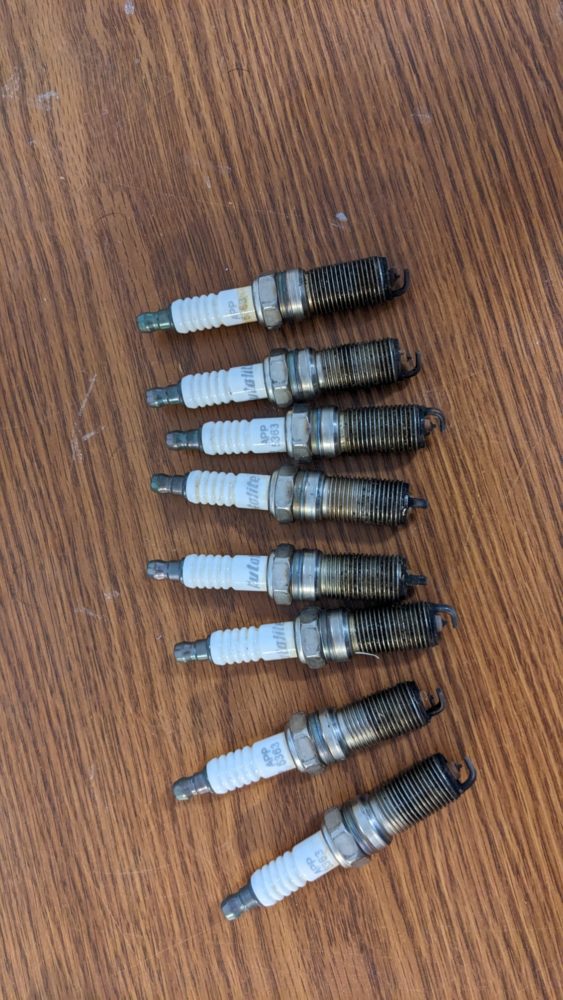

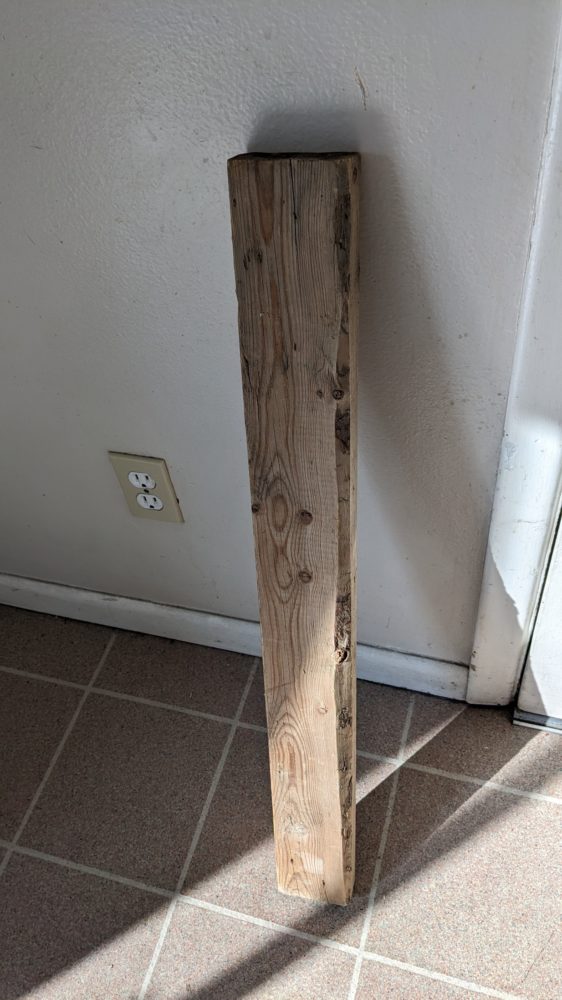
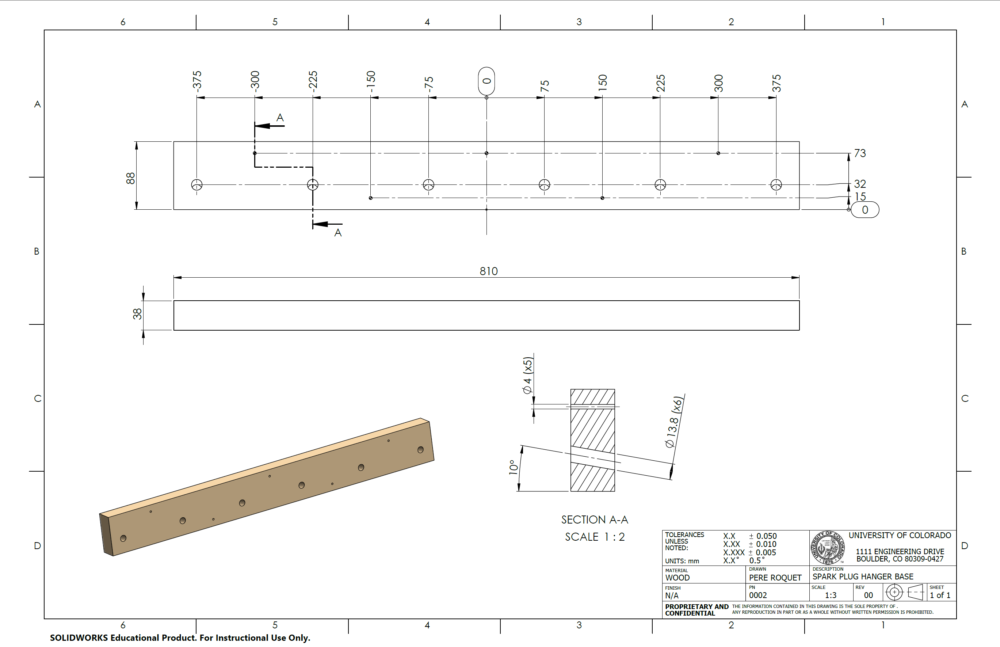
- I measured the board and the spark plugs thread and designed the wood board with the holes that I had to do. For functionality purposes the spark plugs will have an upward inclination of 10º to prevent the coats from falling. I designed it and did the drawings using Solidworks CAD software.
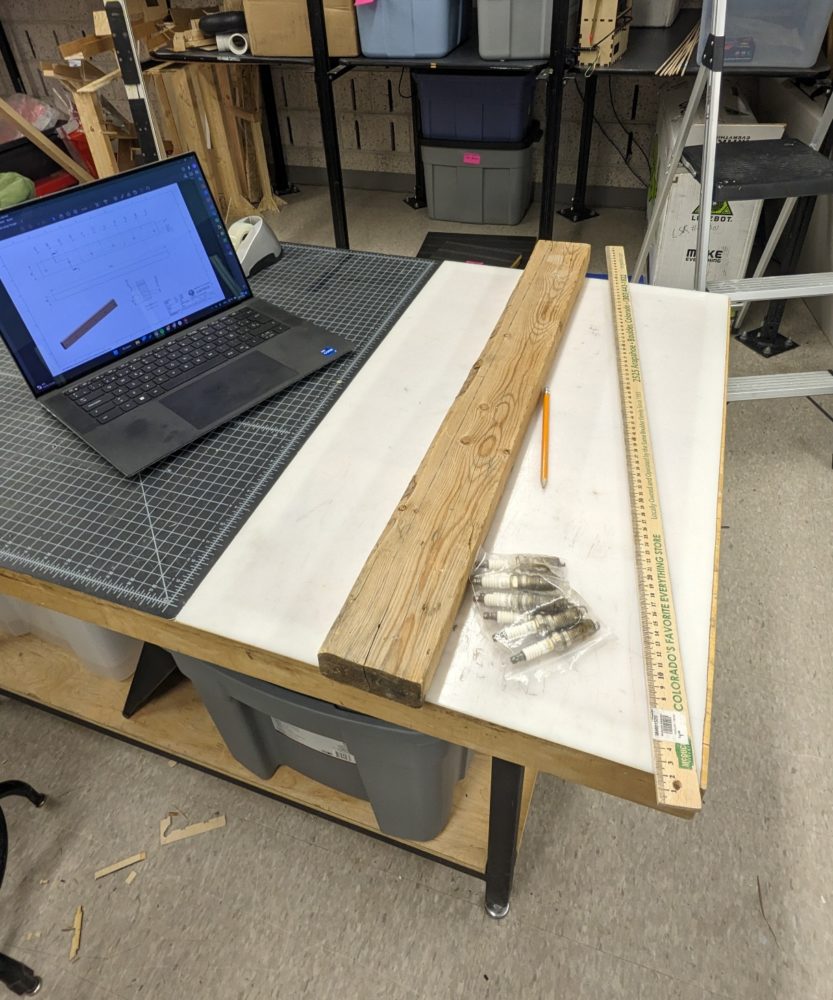
- I went to the Project Depot in ITLL facilities on campus and I marked the position of the holes with a ruler and a pencil following the drawing.
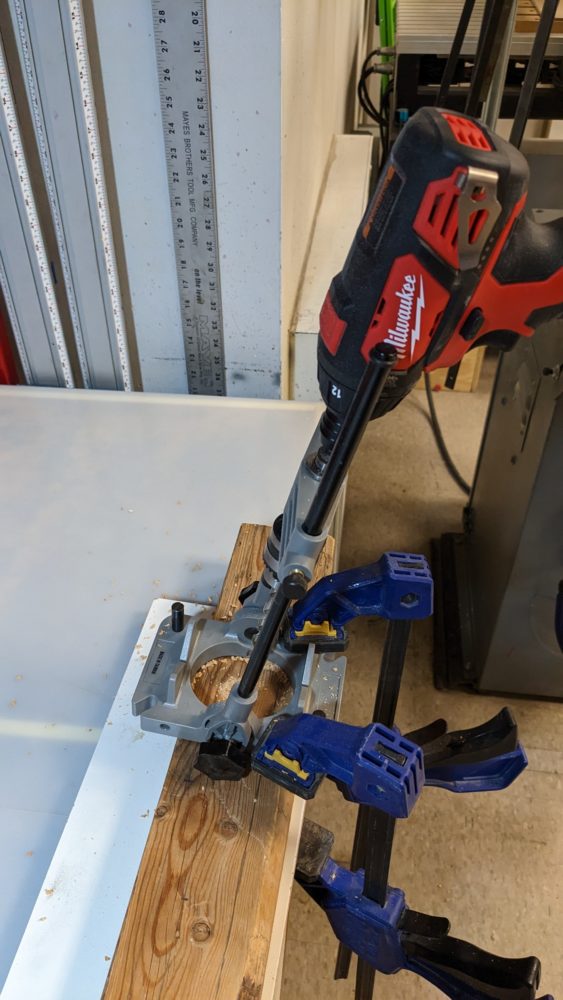
- After marking the position of the holes, I went to the wood workshop also located in the ITLL facilities on campus with my wood board and the drawing and the employees there helped me to manufacture it. First of all, I began making the inclined holes with a small drill and a device that allowed me to do those holes with 10º of inclination.
- Then I got a bigger drill with the final drill bit (13.5 mm in diameter) and made the holes without the guiding device. The already made holes served as a guide.
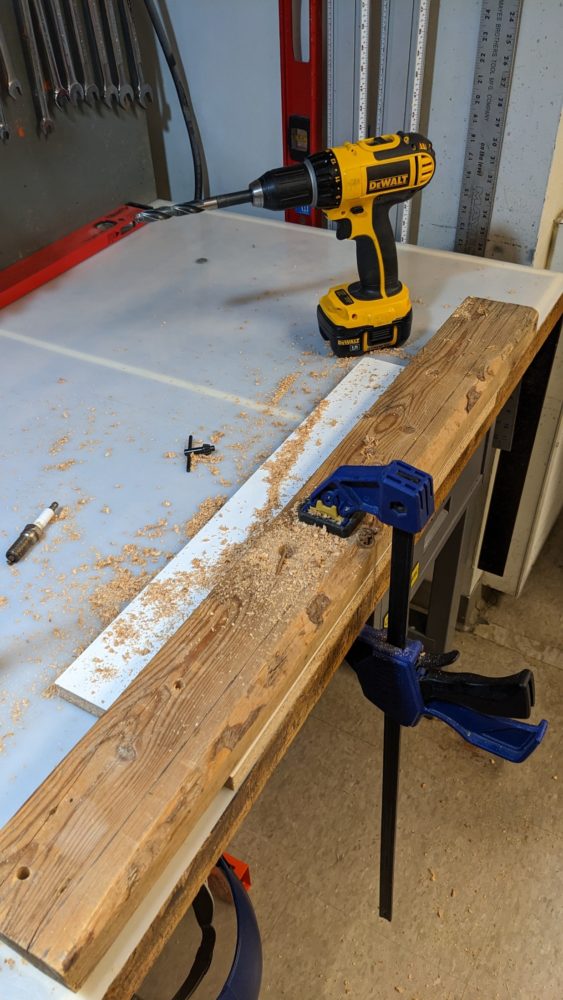
- After having finished the inclined holes, I got a spark plug and tested the fitment. I could thread in the spark plug with difficulty, as I expected. This way the spark plug will be held in place strongly without using glue and it can be disassembled if needed.
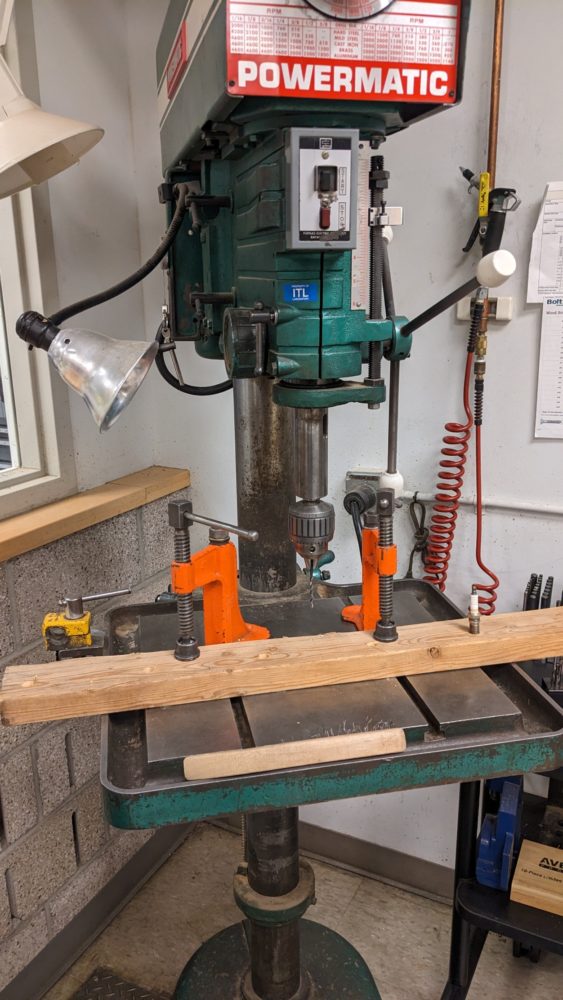
- The next step was drilling the remaining holes meant for hosting the fasteners to attach the hanger to the wall. I used a 4 mm diameter drill bit for those.
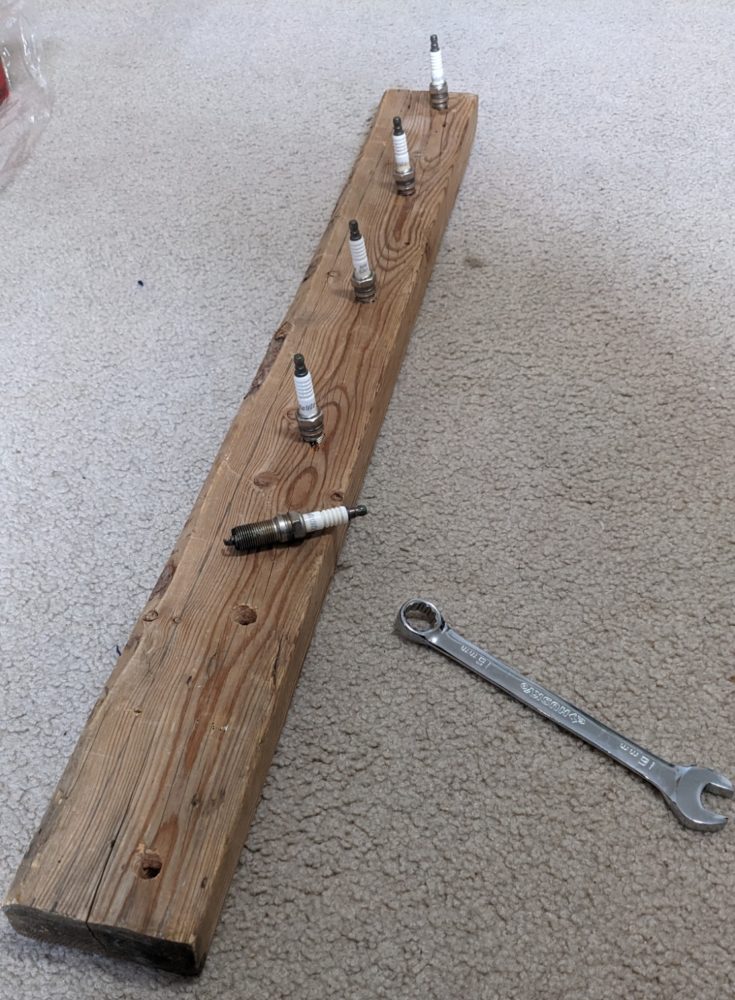
- Once all the drilling done, I went home and assembled the hanger itself threading all 6 spark plugs with the help of a 16 mm wrench.
- Last but not least, I erased the pencil lines used to locate the holes while marking them with a standard pencil eraser.
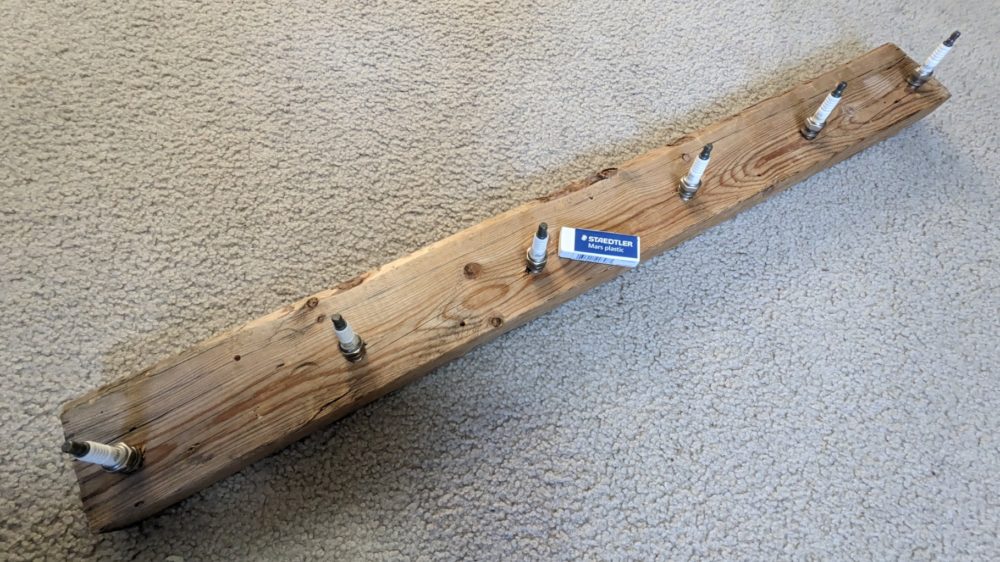
After all this process the result is this Spark plug wall coat hanger. I am proud of how it turned out and how it looks. The only change I might contemplate to do to it is varnishing it in the future, but for now I am convinced with how it looks.
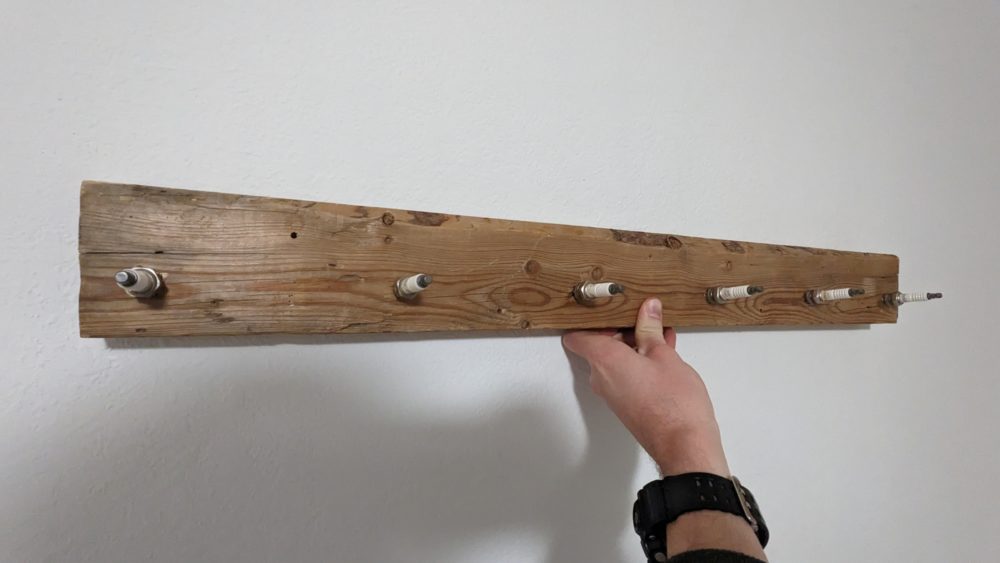
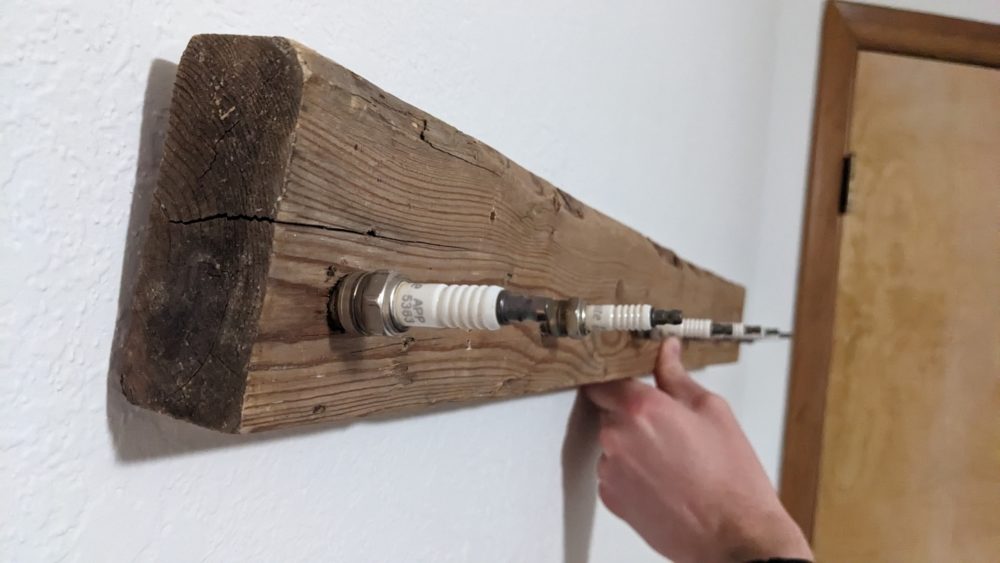
Regarding the artistic goals, it satisfies my expectations and in my opinion fits very well with the Industrial design aesthetic; all the components used were designed with the only intention to be functional, the spark plugs were meant to create a spark in the combustion chamber of a gasoline engine and the wood board was conceived to become (maybe) a part of a building structure or other things not meant to be stylish. I decided not to varnish the wood to emphasize even more the functional purpose the wood board had before becoming a stylish wall hanger.
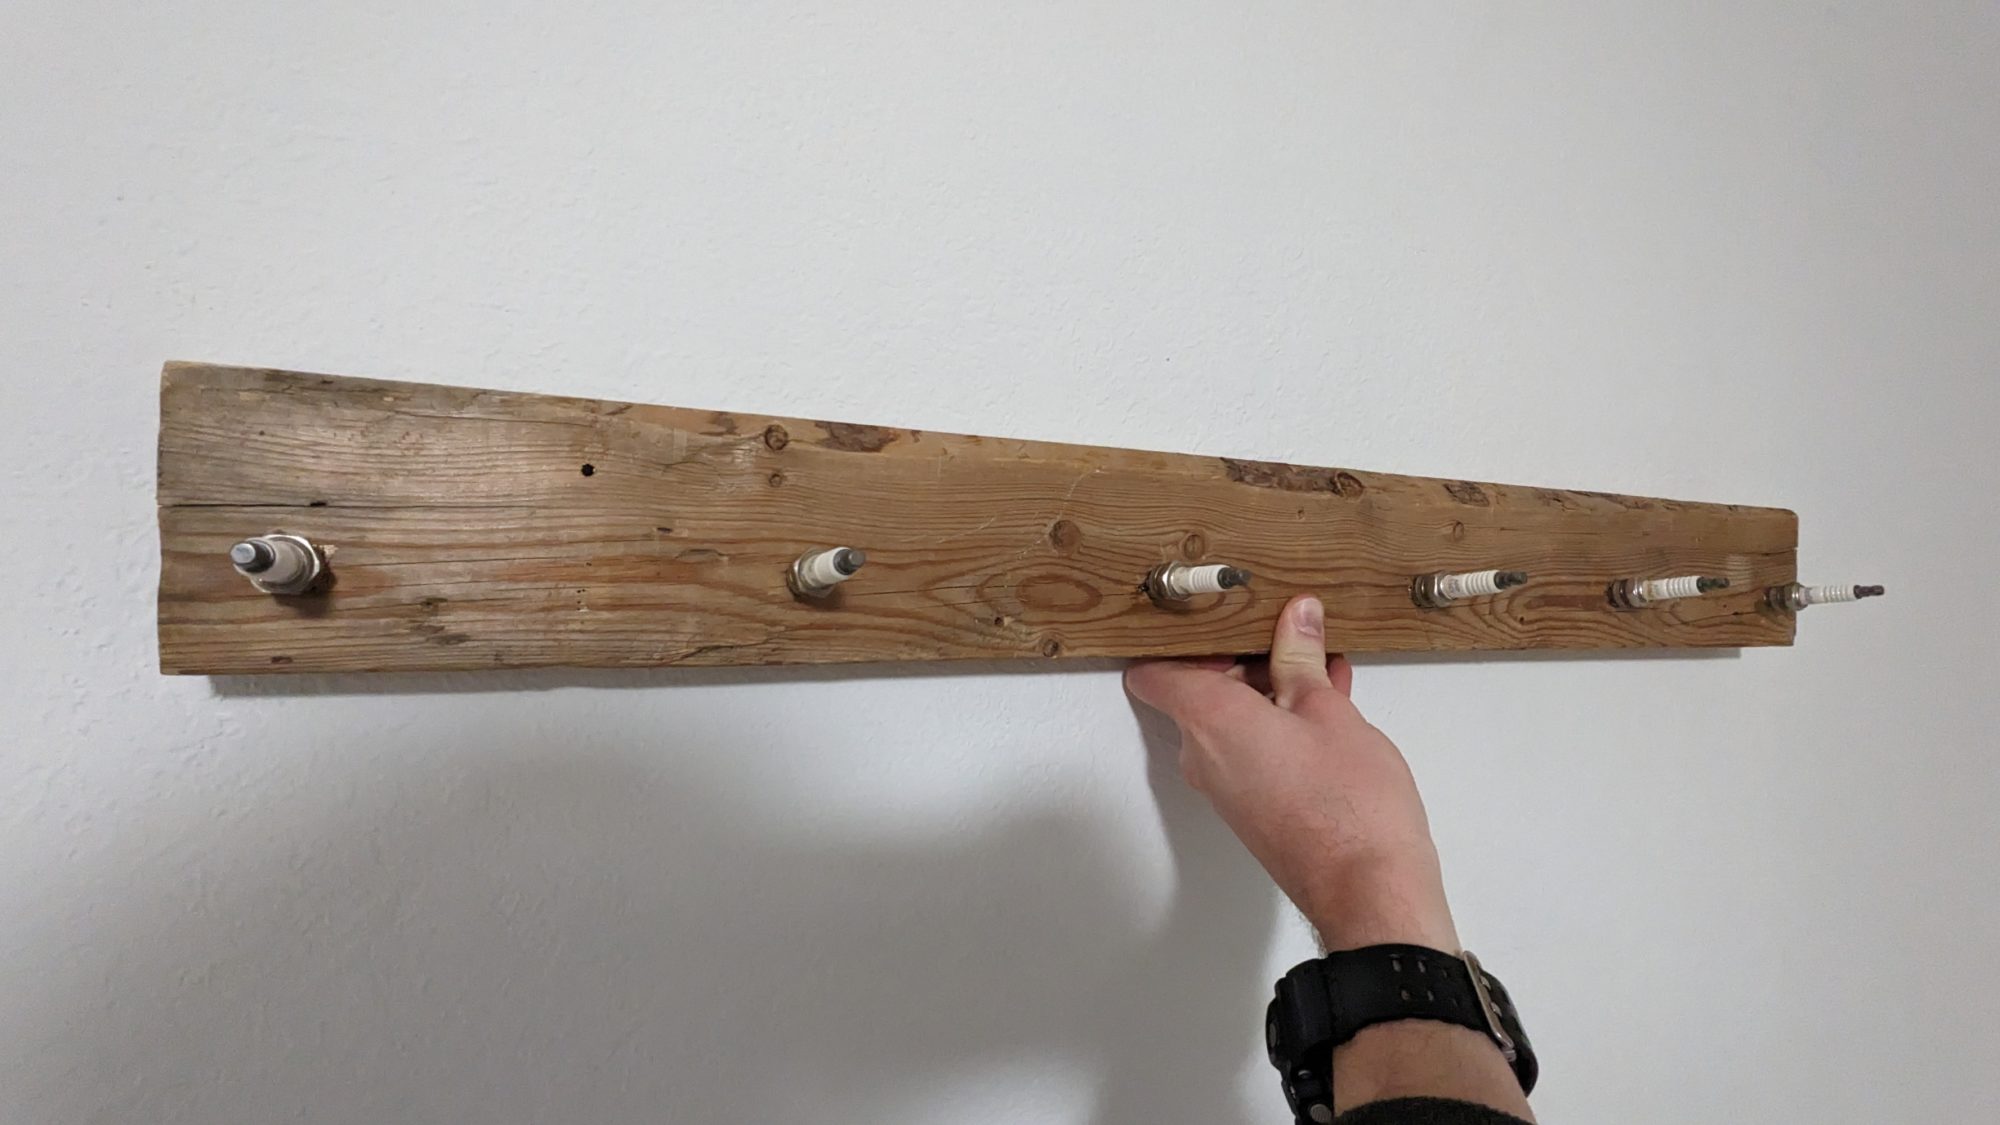
Regarding the functional goals, I am also pleased because I consider I created a sufficient sturdy, big enough (up to 6 piece of clothes) and fully stylish and functional wall hanger without spending a dollar. I haven’t hanged it to the wall yet, but it won’t be long until I do so.
The resulting wall hanger has the following general dimensions: 810 mm long, 88 mm tall and 92 mm wide (taking into account the spark plugs).
The video of my presentation can be found in: https://drive.google.com/file/d/1nV7MaXOYB-bExojUZgSCAOU3vQlQtHMa/view?usp=sharing

2 Comments. Leave new
I love that you could change out the spark plugs if you had to. The functionality compliments the aesthetic very nicely. I would like to know more about why you chose not to apply a finish to the wood?
Pere,
This is a super cool project, I love how much wood working you put into the process. I think you nailed the industrial design aspect of it. Have you decided where you’re going to put it in your home?