For my final project I wanted to create a modern/futuristic style lamp that was portable and was able to articulate into any position that I may need. I am constantly finding myself needing more light when working on various projects and wanted to make something that would look “cool” on my desk. I think that this modern/futuristic aesthetic is also minimalistic and does not have a lot of shapes or curves in the design and this will give the lamp a sleek look that is both simple and functional.
In order to get this modern/futuristic aesthetic I planned on 3D printing all of the pieces using a shiny filament that resembled metal. After some test prints the layer lines were very obvious with this type of filament so I chose to go with a marble filament that did a very good job of hiding the different layer lines. However this marble style gave it a more modern look rather than a futuristic look in my opinion. Below is the final rendering of the CAD model with the material being set to a shiny metal as there was no marble material in SolidWorks.
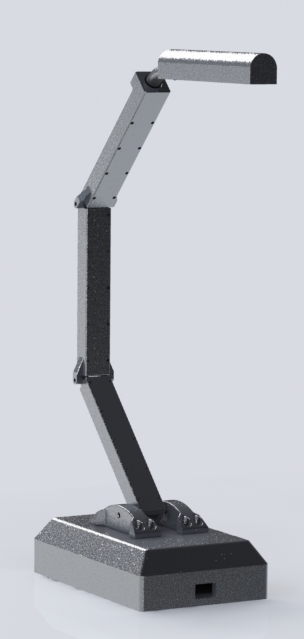
Figure 1: Final Rendering of the Lamp
In order to achieve the modern aesthetic I wanted to make a lamp that appeared sleek as well as hiding all of the electronics and wiring in the base. I used SolidWorks to create three different pieces for the arm of the lamp and then a housing for the LEDs. I purchased a gooseneck that allows be to bend the LED housing in any direction and the arm can be moved in 90 degrees at each joint to allow for extension and vertical placements. Below can be seen the entire assembled lamp neck.
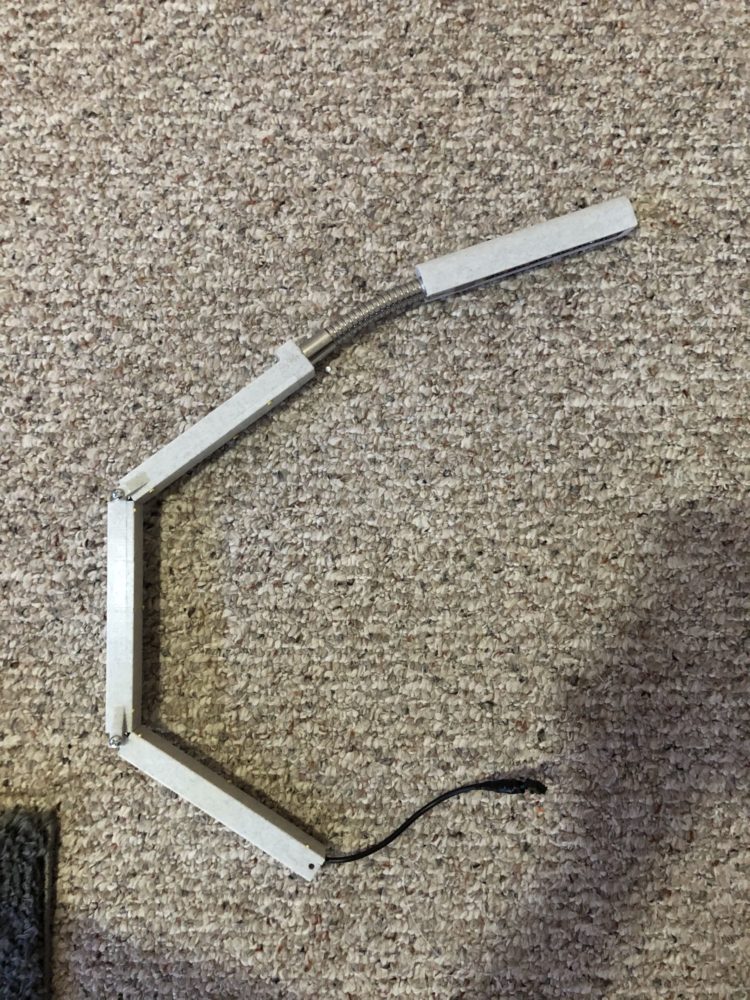
Figure 2: Assembled Lamp Neck
For the electronics I used a 5 volt portable battery pack, an Arduino uno, and some power switches. In the following picture I was coding the Arduino to set the colors of the LEDs to be white for the brightest setting and tested to make sure all of the electronics were working properly.
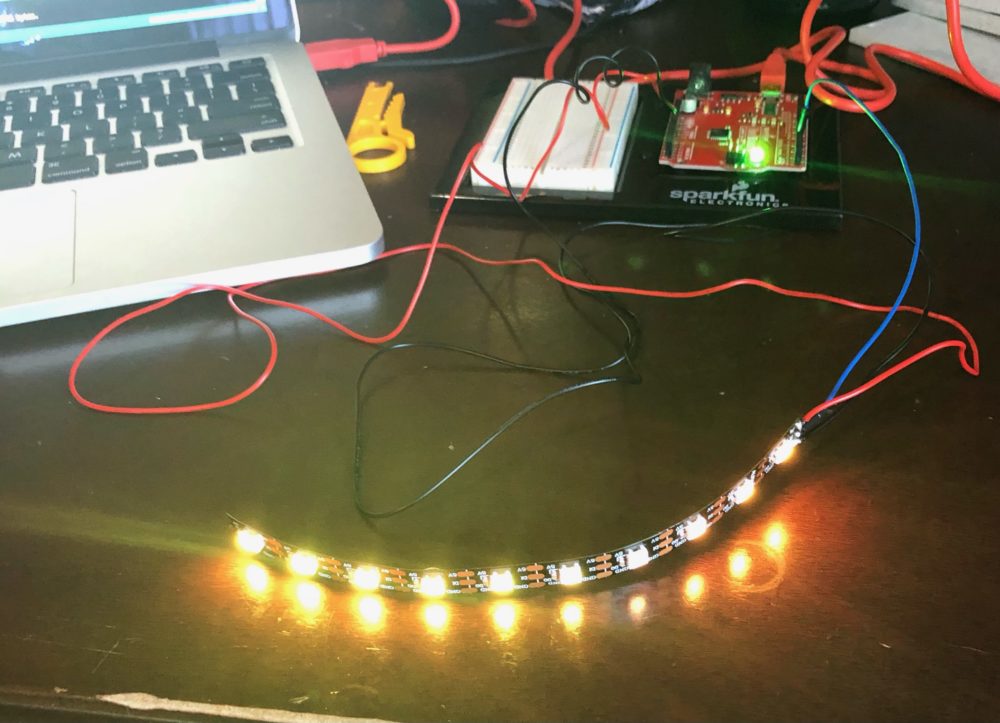
Figure 3: Electronics
Once the electronics were all working I made the base and placed all of the electronics in to ensure that they would fit properly. Now that the base and neck of the lamp were assembled with the electronics I was able to put them together to see the final result.
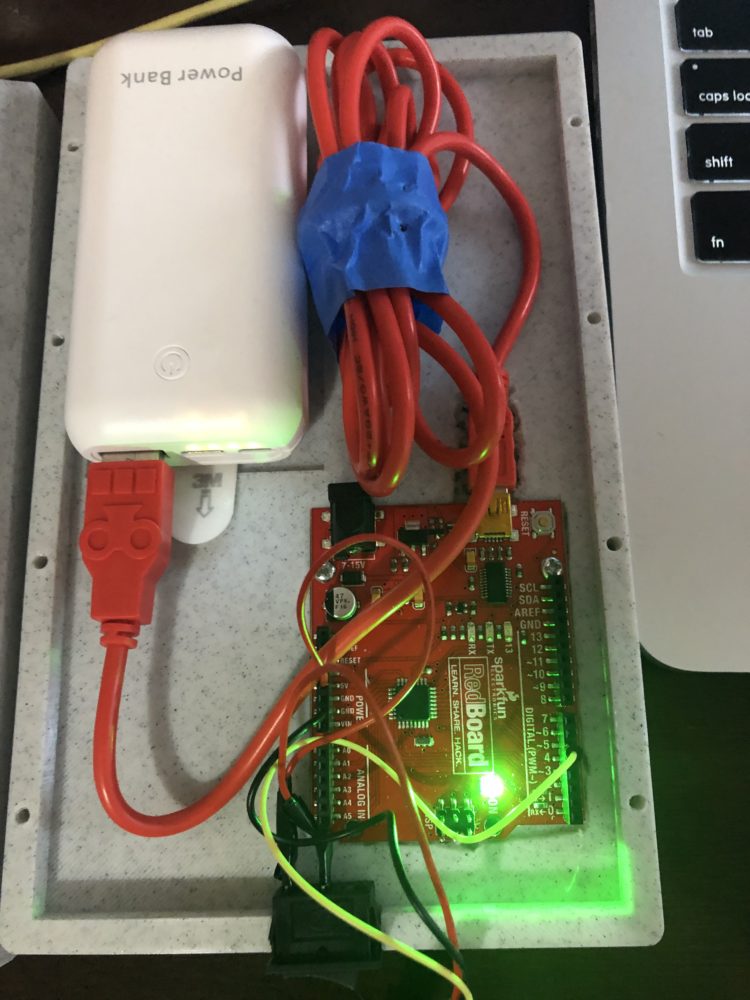
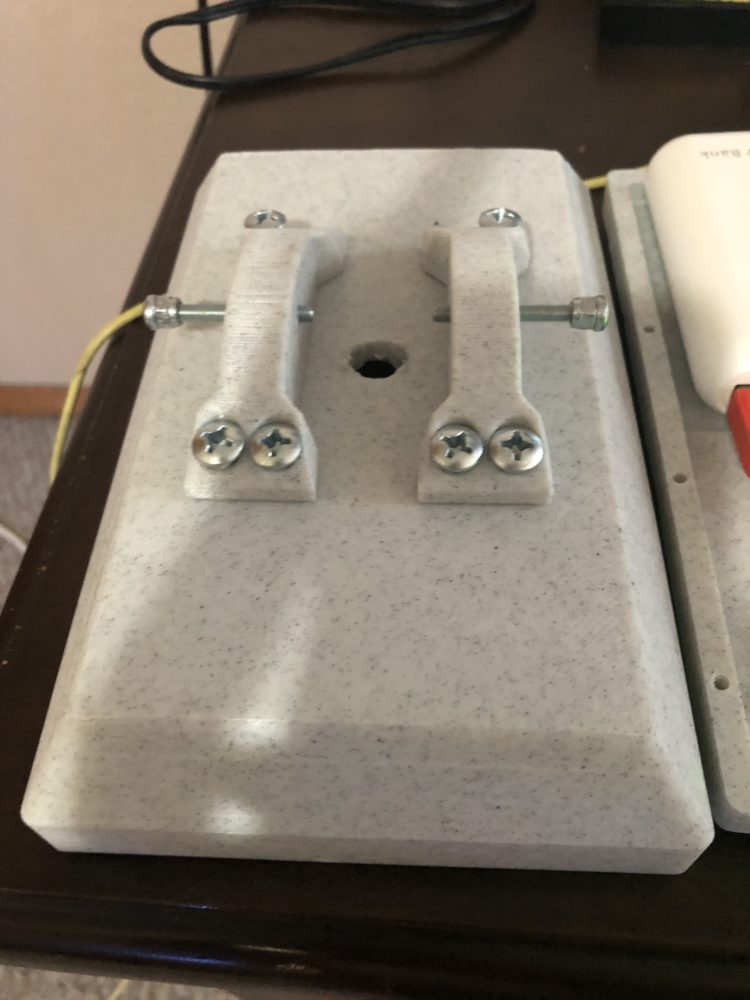
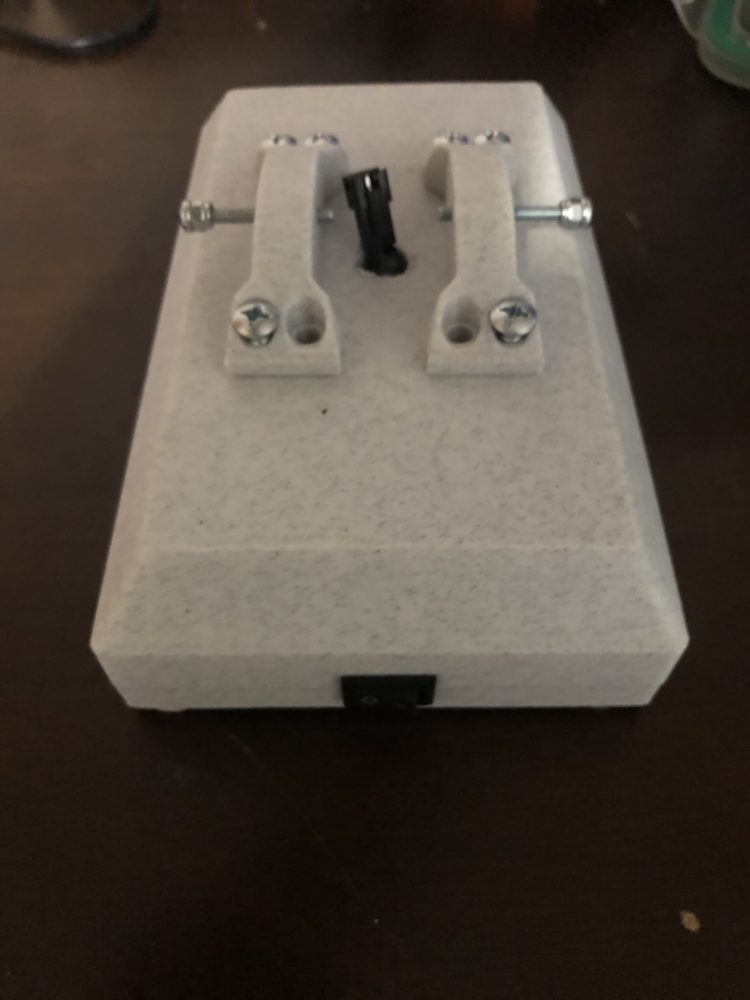
Figures 4, 5 and 6: Top and Bottom of Base with Electronics and Assembled Base
Overall I think the piece achieves the sleek look and modern style aesthetic as well as being portable. I am glad that I went with the marble filament but may reprint the pieces to be a little bit thicker so that the green Arduino LED cannot be seen through the base as well as the light coming from the LED housing. One of the major constraints that I had was the tolerances of each piece, I relied on this close tolerance to create friction between the parts so that each piece will stay in the chosen position. I was able to get the tolerances to work in all joints except for the base. To correct this I plan on putting inserts in the bottom piece of the neck to allow for better holding force when tightened down into a set position. The lamp will function in all ways that I want it to with some minot changes to the base and will be very useful in the future.

Figure 7: Final Product
Link to Final Presentation: https://youtu.be/JU8uiJwcmnc
Sources
Figure 1: Original Image
Figure 2: Original Image
Figure 3: Original Image
Figure 4: Original Image
Figure 5: Original Image
Figure 6: Original Image
Figure 7: Original Image

2 Comments. Leave new
Hey Ryan,
I think your final product looks great. The marble filament was definitely the way to go and achieves your aesthetic goals, in my opinion. I agree that making the base a little thicker to hide the green light of the Arduino would be a good idea since it does clash a little with the white light of the lamp. Overall, the project is really well put together and I think you achieved all the goals you set out to do.
Hey Ryan,
I love the final product, It looks well finished. I think the marble filament was a good way to go, you said it got rid of the noticeable layer lines, and it just looks very good. Do you use it at your desk currently? One thing I did want to add is that with your use of Arduino to set the color of the LEDs, have you considered using a potentiometer to vary the warmth of the light? This could add some more interactivity which would make it even cooler. Overall I think it looks very well made and well designed.