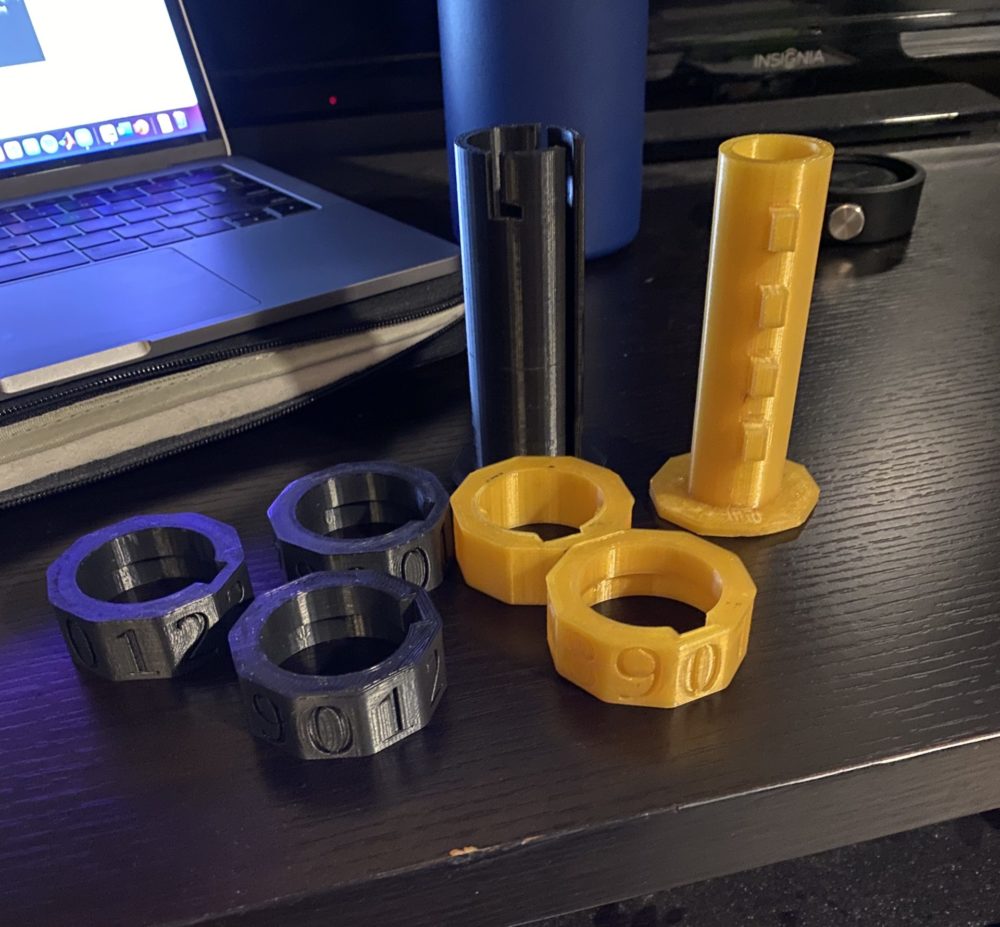
Upon completion of the design preview, I spent a large sum of time working on my cryptex lock to produce my first full iteration utilizing every component necessary. This step took multiple hours in CAD and a few different prints to ensure all the locking number dials as well as both the inner and outer cylinder fit together and rotated freely.

After I built my first fully functioning cryptex lock, it became time to detail out my constraints as well as set specifications which I wanted to achieve for the final artifact. Therefore, I figured the easiest way to decide on requirements was to meet with one of my freshman projects professors and go through my design. This step was very beneficial to the project as I was able to gain insight from a professional as to what may be achievable for my specific design.
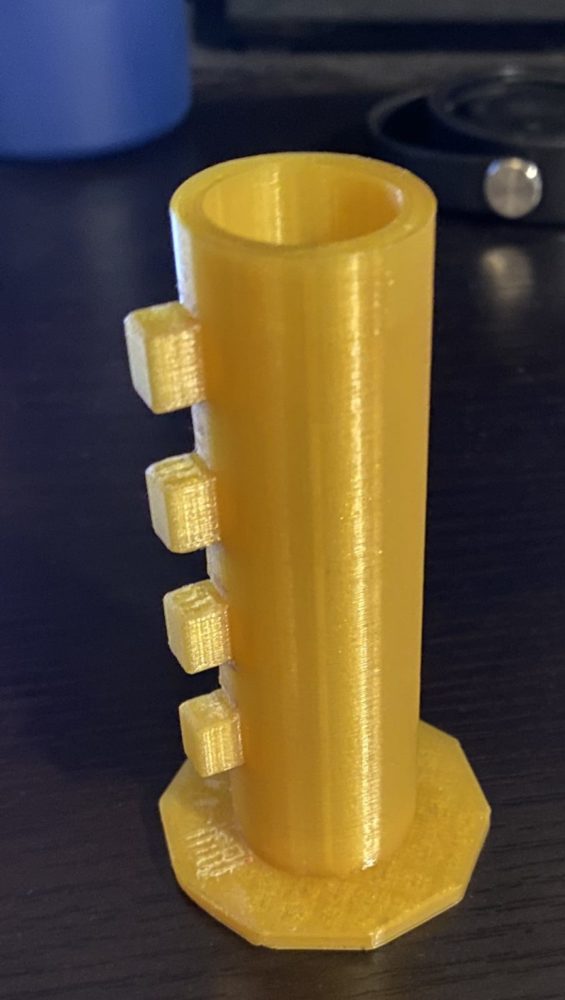
For the first constraint, we needed to detail out how big we wanted the overall lock to be as this would help narrow down the dimensions of the inner cylinder. The first constraint states that the lock can not exceed 4” x 2” x 2” in. overall dimensions for all components. After talking through the design and the current size of the locking number dials it was then determined that the lock must be able to contain a rolled piece of paper 3” in. length and a ½” in. diameter. Although this may not seem like much space, I never wanted this lock to be able to hold large quantities or big items. I have mentioned numerous times in previous posts that this lock is my first crack at constructing a cryptex lock and I would love to elaborate and fine tune a more detailed lock after establishing a solid foundation. Here is the finalized key meeting the design specifications previous discussed and printed in yellow PLA as opposed to black. This will be the only component seen on the final design printed in yellow. This is quite unique to the project as this was decided upon during my design preview by the entire pod.

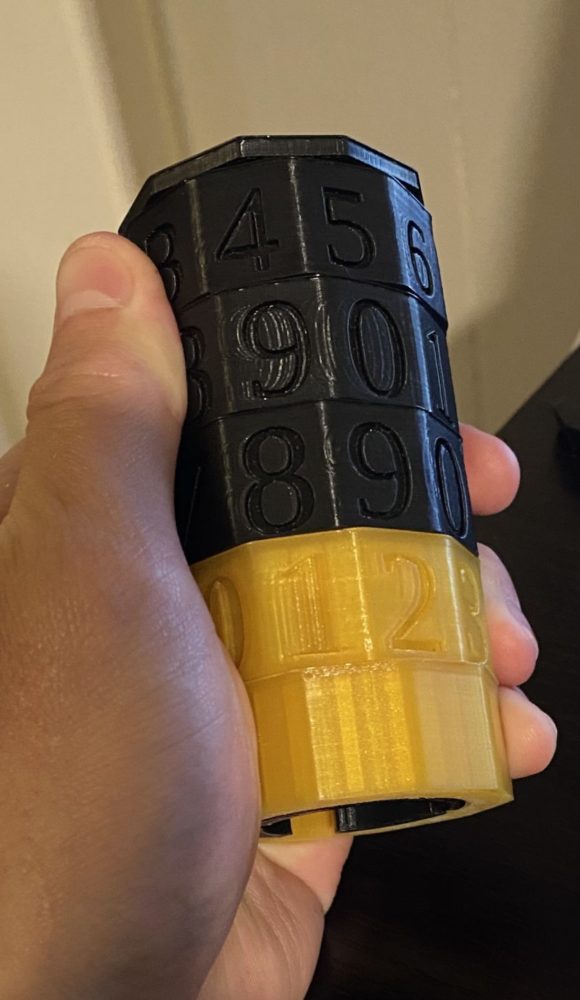
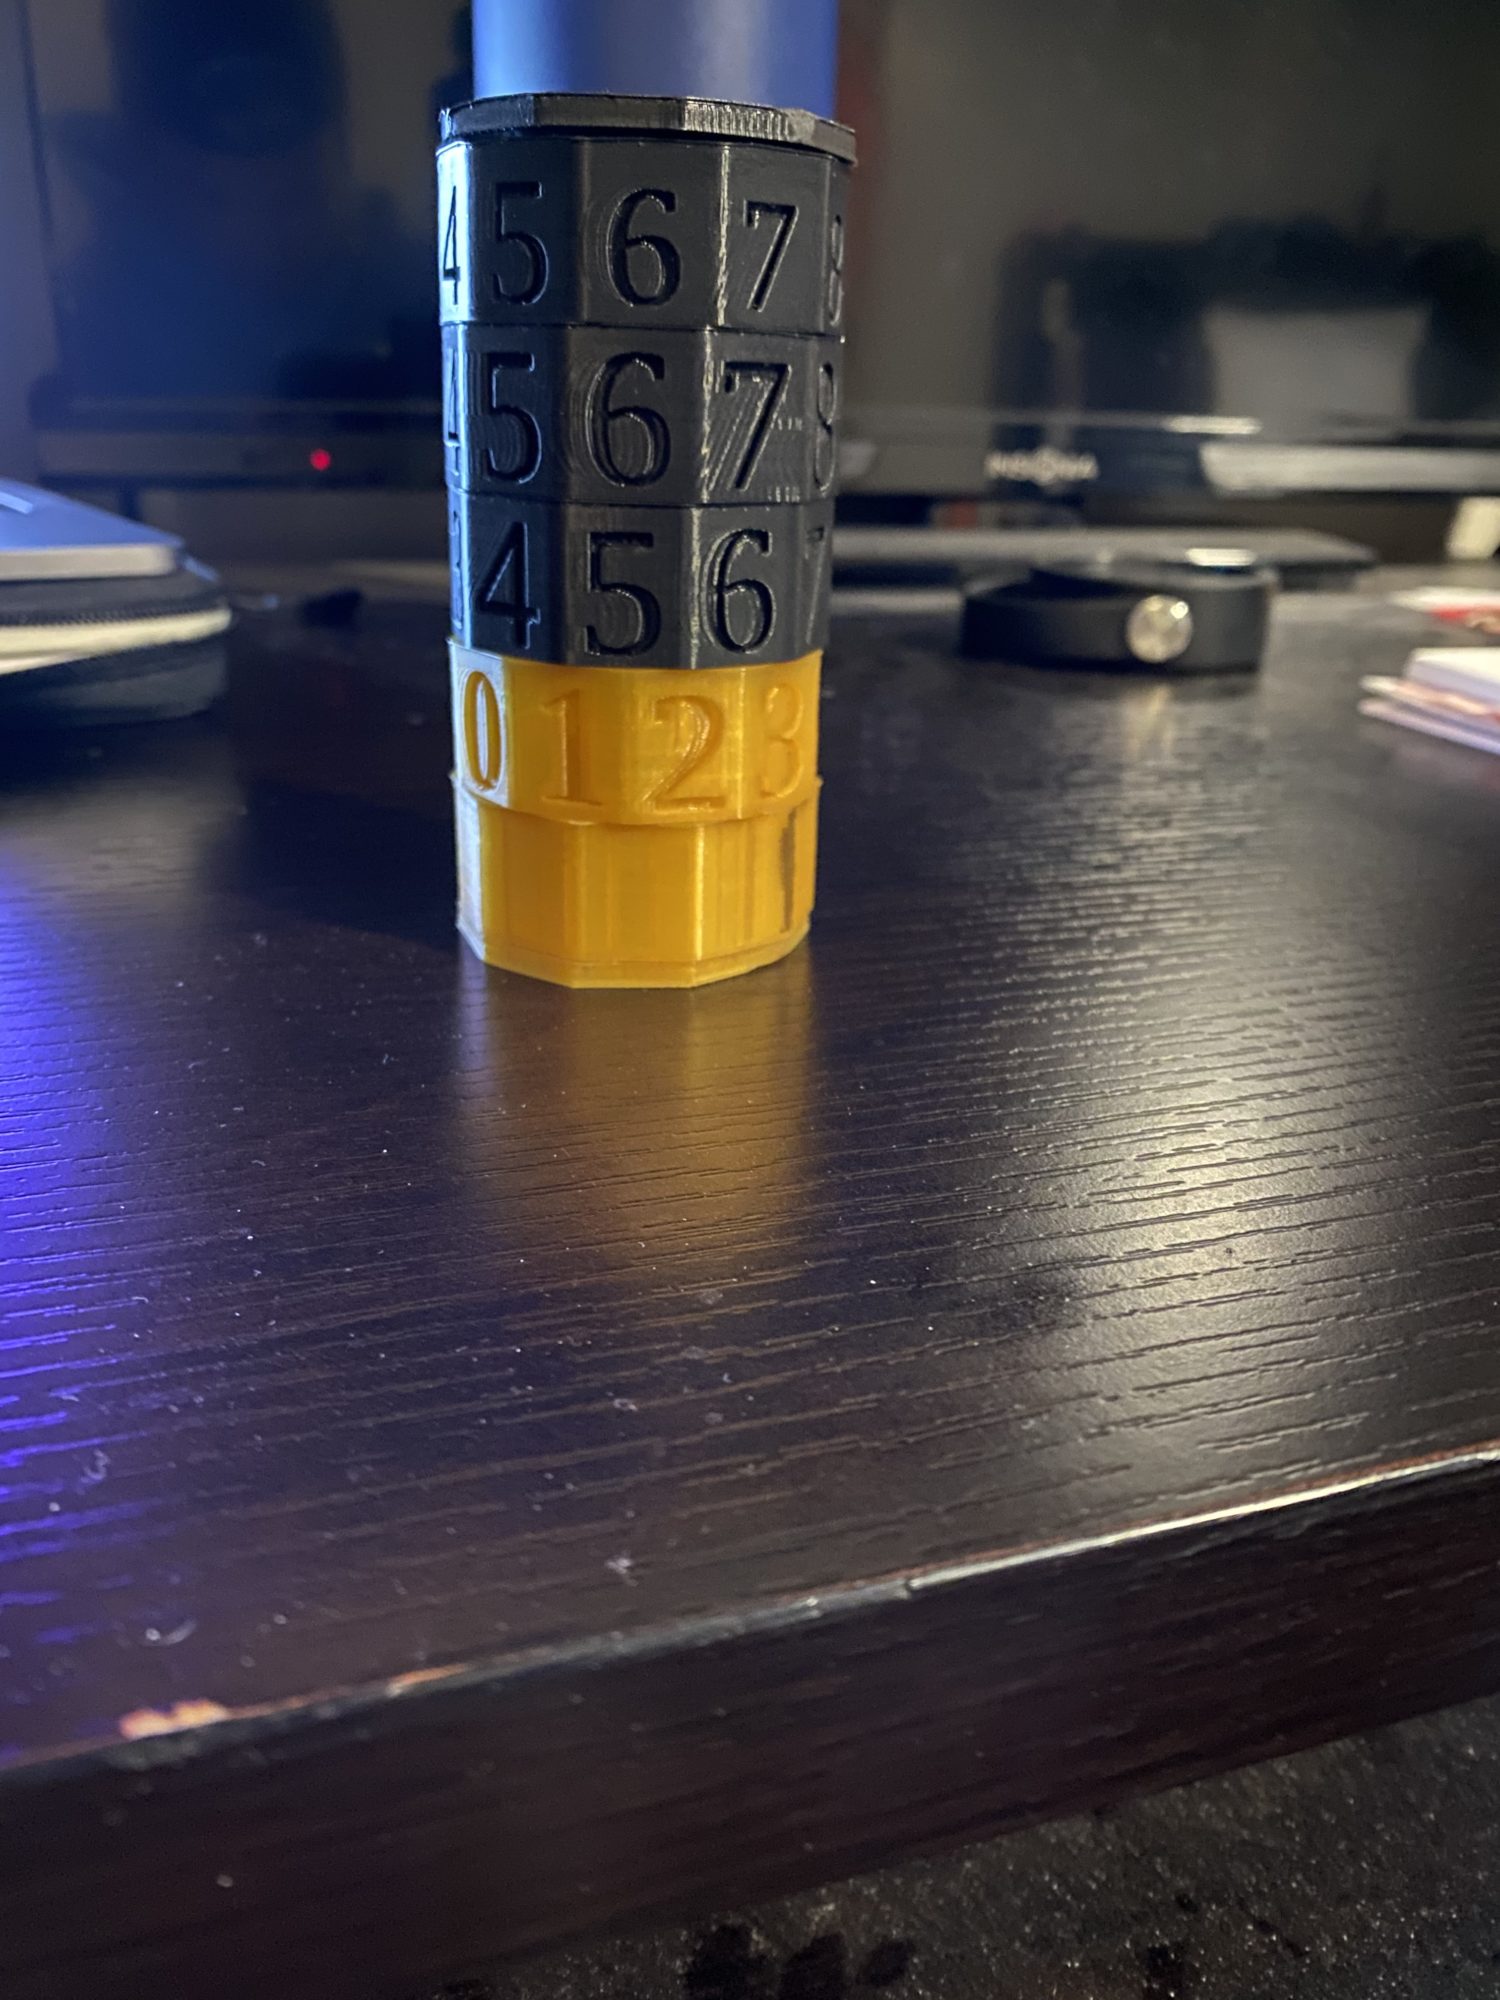
The next design constraint for the cryptex lock will be that the locking mechanism must consist of at least 4 rotating 10 digit dials. This will ensure that the lock has a code detailed enough that it can not be easily guessed and provide a sense of complexity to the overall design. Along with this constraint, and after talking with my professor, it was determined that the fourth constraint is a direct result of the locking number dials. Thus, the fourth constraint states that the cryptex lock must be able to rotate 360 degrees in any direction without damaging the inner or outer cylinders. This might be the most important constraint as it allows the overall lock to function and properly perform the desired outcome for this design.

As you can see from the picture above the locking number dials are showing different numbers trying to depict that the lock is able to rotate 360 degrees in any direction. The last specifications were easy as we decided that the entire lock must be designed in any CAD software and must have a dynamic component. Thus, I will work to meet these specifications as I begin the final push towards finishing my cryptex lock.


2 Comments. Leave new
It looks like you have made a lot of progress on your project so far and I think that the 3D print looks very good. I think the constraint to have at least 4 ten digit dials is a very good one because it gives it the look of a professionally made lock.
Thank you! This project has ended up being super fun and I have spent a lot of time lately working on it! I also agree because it adds a sense of both professionalism and accomplishment to the final artifact!