For my final project, I decided to create a topographical map of Copper Mountain. Copper Mountain is a ski resort that holds a lot of meaning for me, because it is a place where I have a lot of memories from my childhood, and also continue to go to for fun. Currently I have a few ideas of how to express the aesthetic that I am going for with this project.
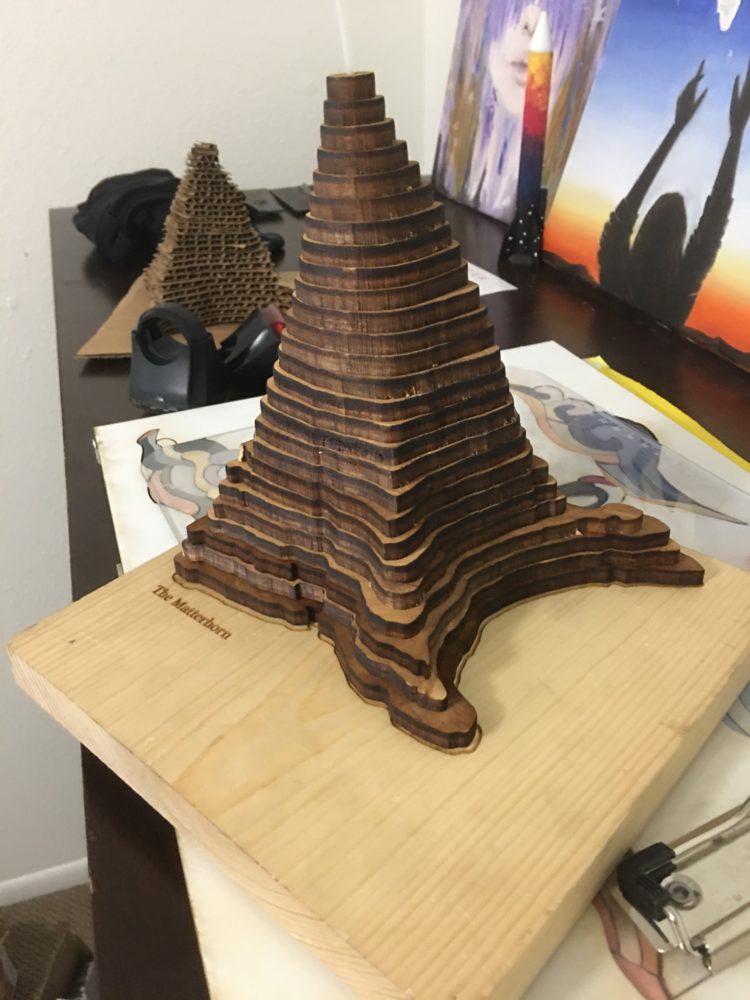
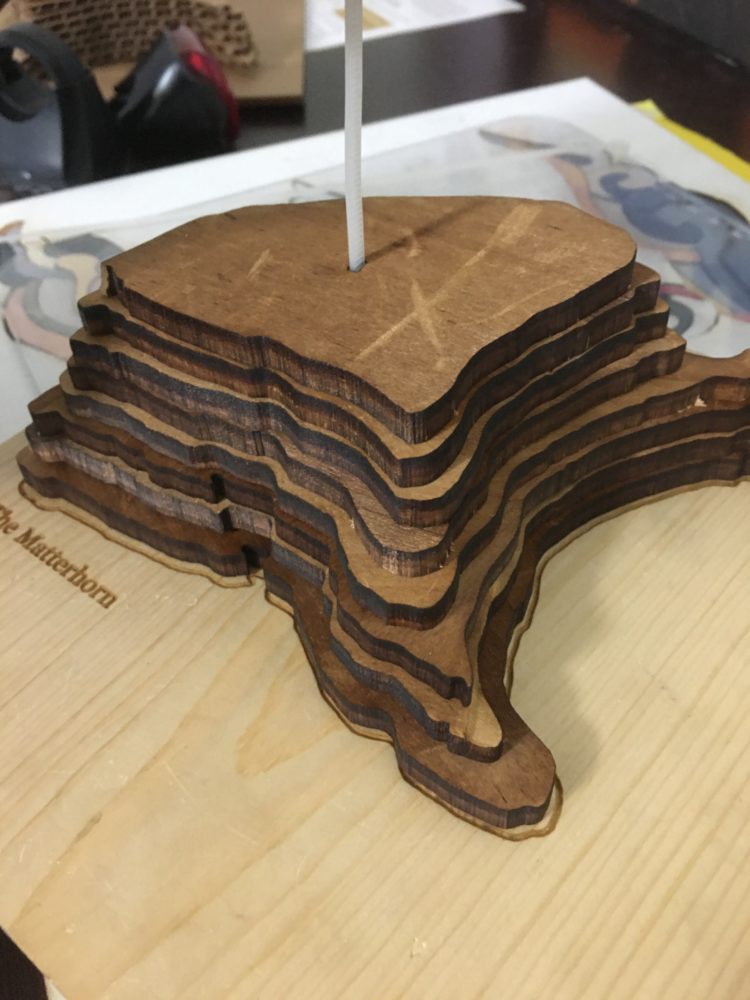
I chose to use laser cutting to create a three dimensional map of Copper. This would involve taking slices of the elevation, and adhering the layers together to build up the form of the final project. I created a prototype of a similar idea several years ago, as pictured below, but I learned a lot from that project that I would change. Creating Copper would be a much different process, because it would be more of a landscape, as opposed to a single shape, which would make it a more complicated assembly. I also want to choose different materials to achieve the aesthetic I want. I would not use chip board or cardboard, because I found in this prototype that I was displeased with the final aesthetic. Finally, I also want to and I would scale the height of the layers properly to the size of the landscape so that the elevation had the correct ratio to the surface area, which I did not do in this case. Finally, I want to use LED lights to illuminate the part of the map that represents the ski village. This goes back to my personal aesthetic post, where I mentioned alpenglow, and the illuminating of the mountains at night time. This is one of my favorite aesthetics, so I want to be sure to include this. I also think that it would look super cool at night time, when the LEDs could illuminate the shape of the mountains. I am also trying to figure out how to capture the color of a ski resort at night, with the glow of the lights on white snow.
![]()
(personal photos)
I used a program to generate elevation lines on a map of Copper, and took the lines to a resolution I was happy with. I decided to use 21 lines, set an equal distance apart. By calculating that the area of land that I took was about 17,900 meters (square) and the peak of Copper is about 2600 meters vertical from the base, I found about a 6.9:1 ratio. From this, I was able to calculate that the thickness of each slice should be a little less than 1/8th of an inch, which I rounded to 1/8 for ease of material location.
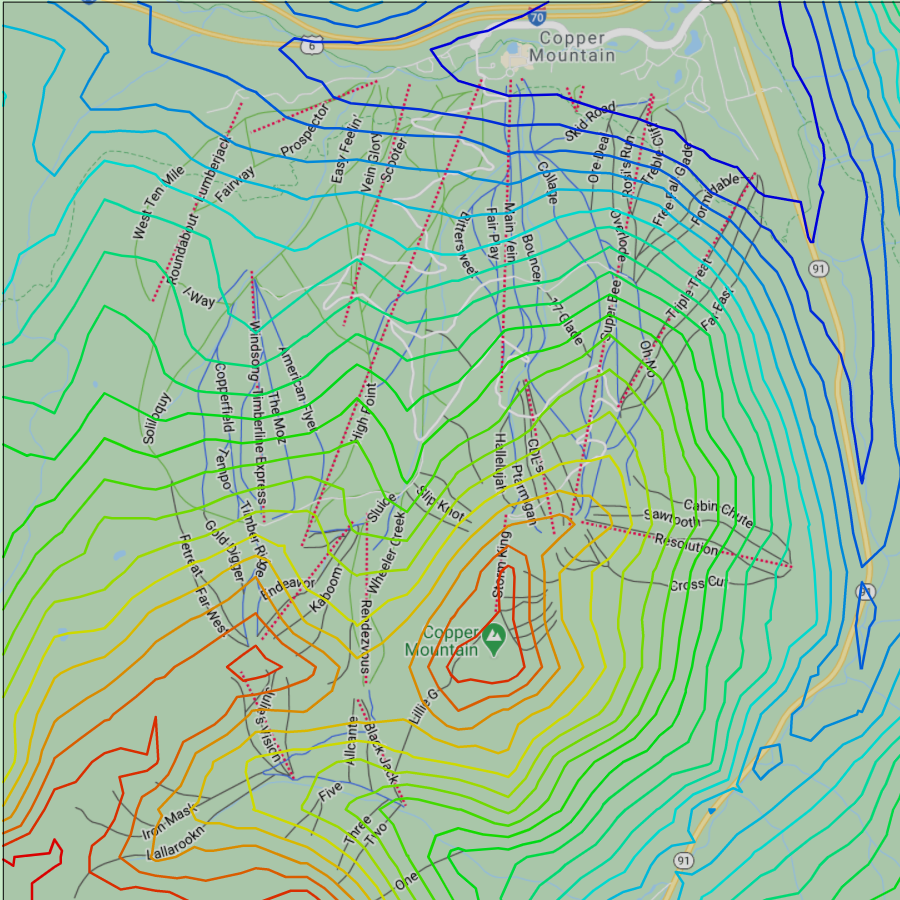
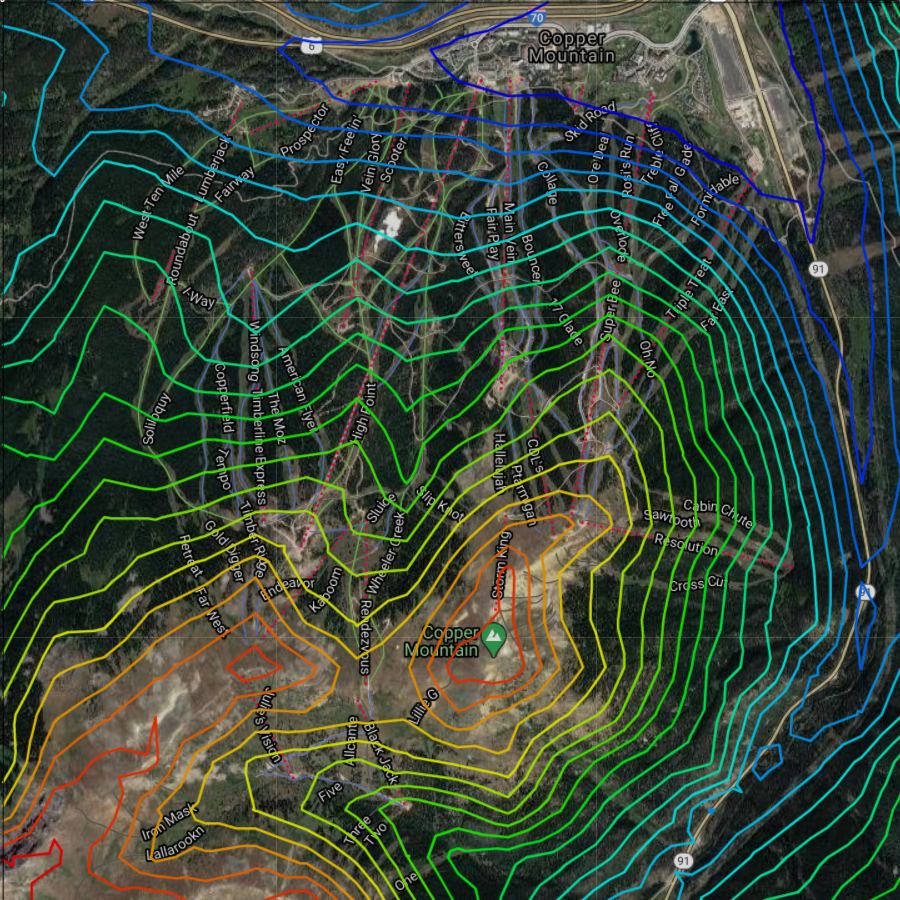
(Images created via Dr. Christoph Hofstetter‘s program at this webpage)
I then took each of the layers from the contour map, and put them on an individual square to be laser cut in the program CorelDraw. I added an additional square cutout in the bottom left corner of the bottom layers (which would get covered up by the upper layers) to leave room for electronics such as a battery pack. I fit the smaller pieces into this cutout to save on material costs. Finally, I added a small rectangle into the highest pieces in order to be able to orient all the layers, both in position and in angle.
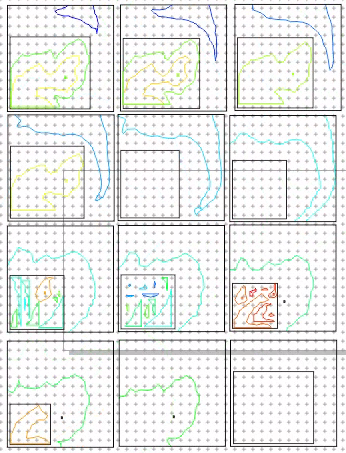
(personal image from CorelDraw2020)
I separated each of these layers into sets of two so that they fit the dimensions of the laser cutter.
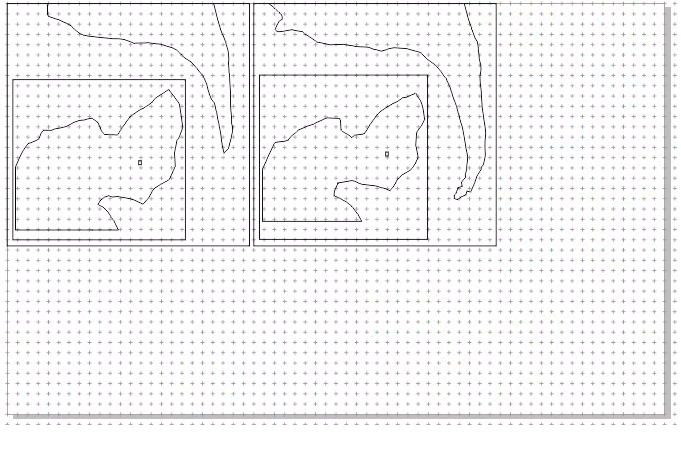
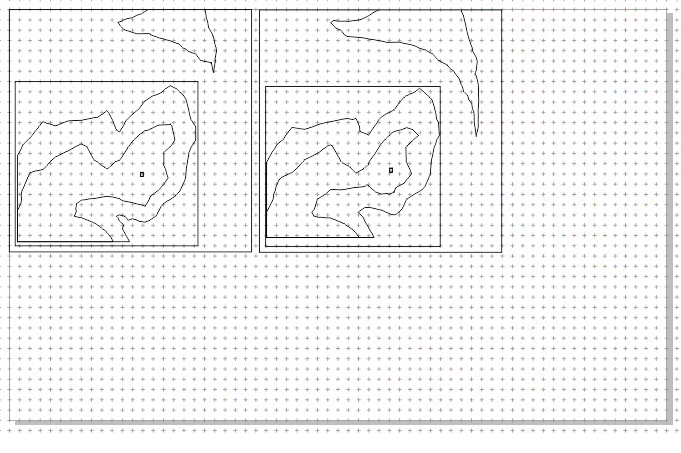
(personal image from CorelDraw2020)
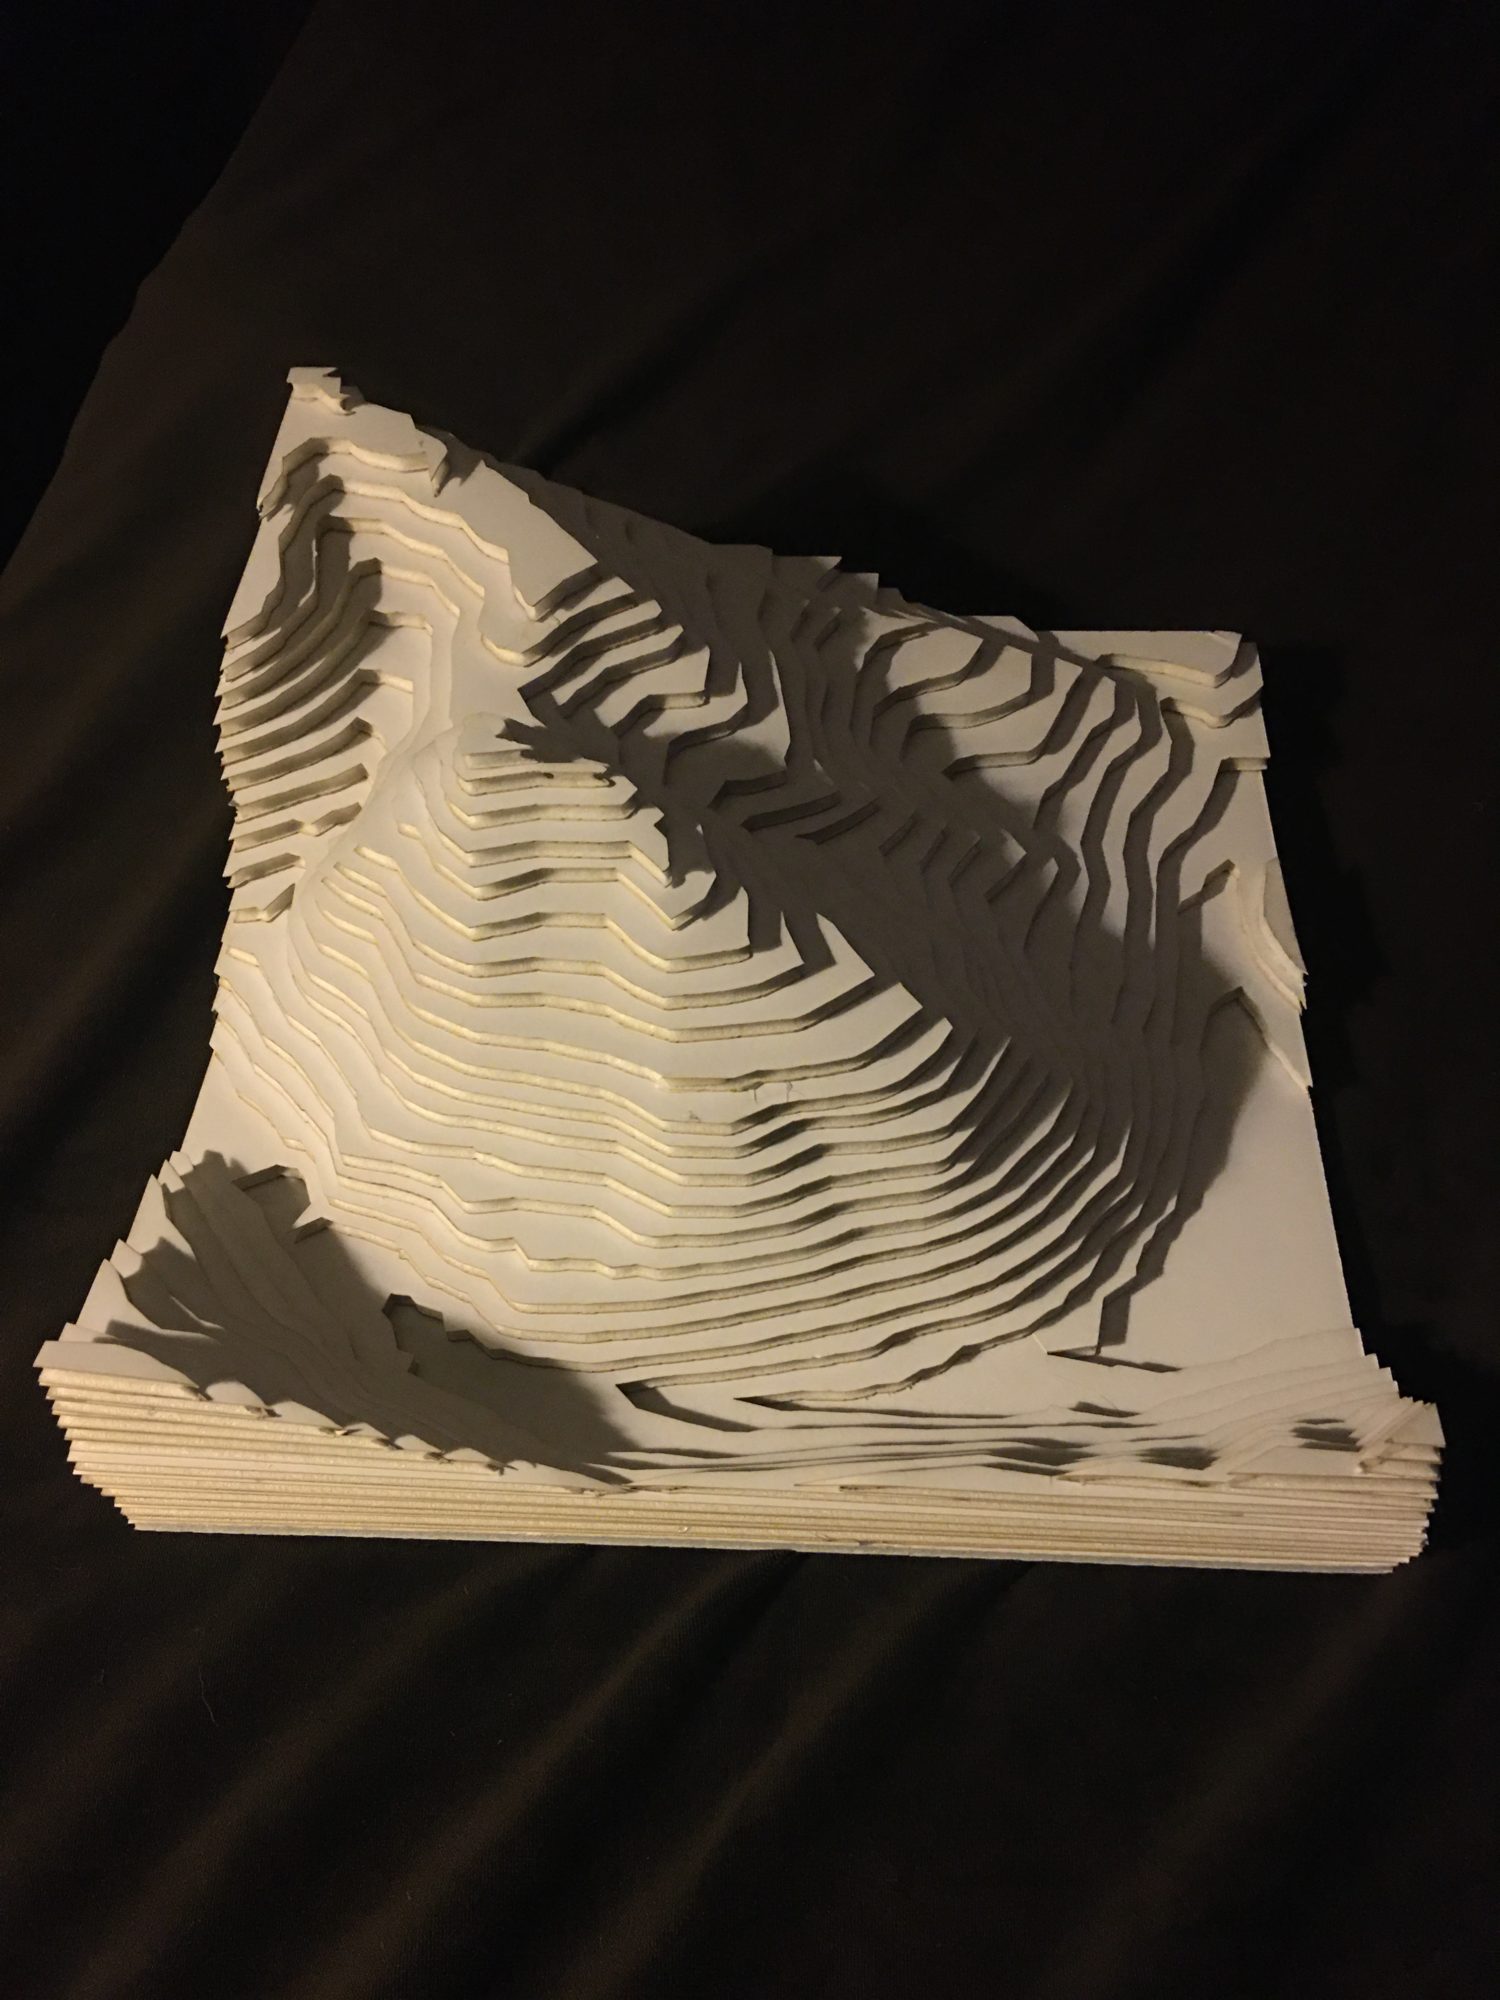
Finally, I cut these layers out of a sheet of foam core. I assembled each of the pieces, and hot glued them together, all of which took about four hours.
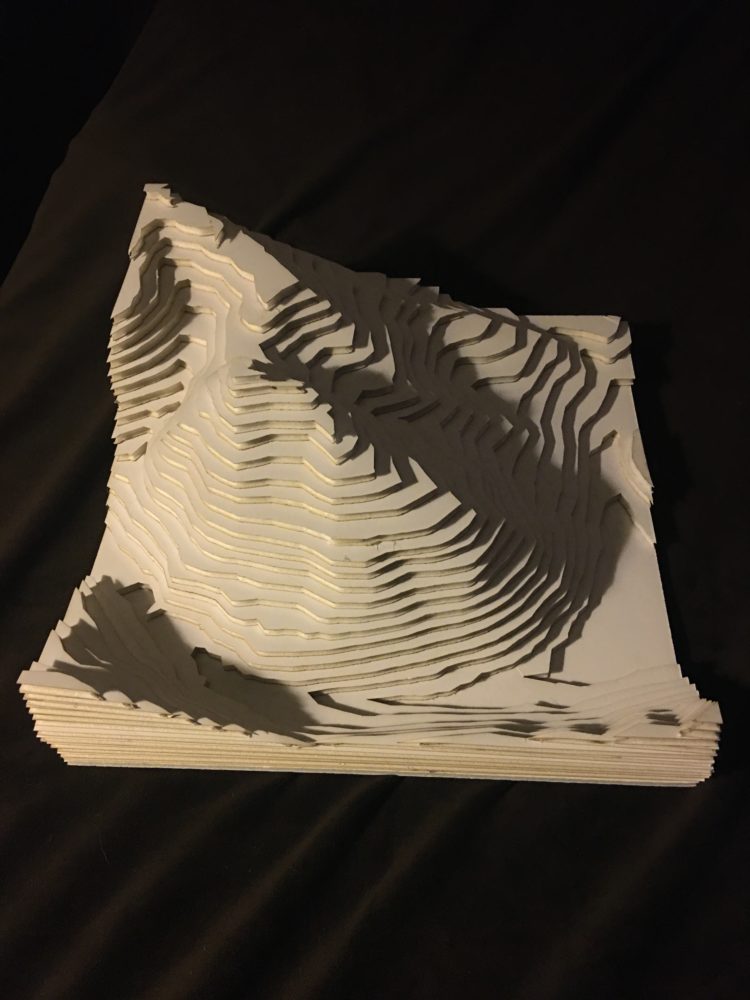
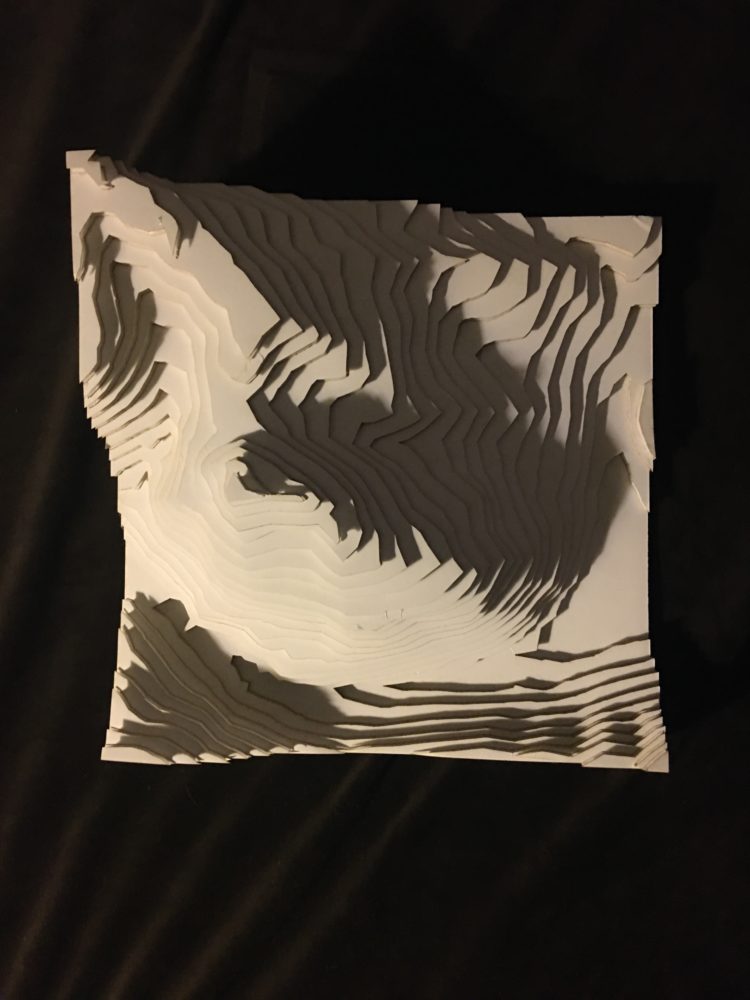
(isometric view, top view – personal photos)
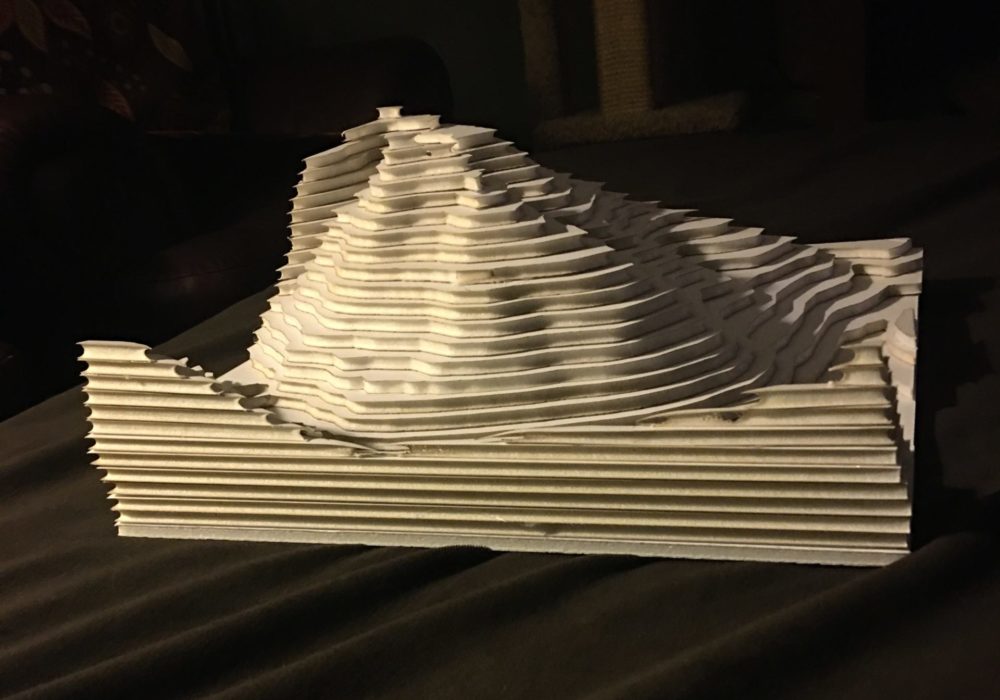

(side view, bottom view – personal photos)
Here, I have shown isometric, top, side, and bottom views. The cut out of the bottom is for the electronics, which I will prototype next. I was surprised by how much I liked the foam core material. I thought that this would be a “throw away” piece just to plan out the wood version, but I quite like the white color, and how the difference in texture and the burning of the foam in the center make for very distinct layers. Once I add the lights, I will decide whether or not to keep this as a final product, or if I feel the wood would be a preferable aesthetic. Another plus of this material is that it is extremely light, and would make it very easy to mount, or leave somewhere.
I will continue to work on this project, and update progress in the next post.

2 Comments. Leave new
Hi Jillian,
This project is super cool and it’s great that you’ve gotten so far on it already! I also love that you’re trying to incorporate your personal aesthetic, alpenglow, into the project. I know you were having trouble trying to decide how to incorporate the LEDs, and I had a thought that you could route individual bulbs up and underneath the mountain and give them their own hole in the surface. That way you could dot the landscape with the lights to represent individual houses/villages, as if you were viewing the mountain top from afar. I’m interested to see how you use the lights and if you stick with the foam as your final material!
Thanks so much for your comment Valerie! I appreciate your feedback, and I’m definitely struggling with the LEDs. That is a great idea, and I will definitely be trying that out to see how it looks. I love the idea of each of the lights being a little building itself. Thanks :)!