Since I have known what I will be doing for my final project for this course for awhile, my overall plans for building/constructing the desk have been set into place. Since this is a larger piece of semi permeant furniture to go into the room, I will be keeping my original thoughts on sticking with the craftsmen aesthetics since that is what the room is styled as. I did decide that the first step in completing this project would be to build the TV lift cabinet first since that will dictate how long the portion that will be the flip down desk is.
After deciding that was my first step I have purchased and received the TV lift mechanism (shown below). I then placed the TV I will be using on the lift to get an exact measurement of what the lowest possible height of the TV could be, this turned out to be 30 inches. This should work fine considering that the average desk height ranges from 28-33 inches. I personally like my desks taller, so I will be sticking to the high range of those numbers. As a reminder, since there are still two other components to be made to fit the wall, the cabinet itself will not be much longer than the TV at 32 inches to give a couple inches of clearance. I will be constructing the cabinet at some point this weekend and will provide a cut list and tool list in the next post.
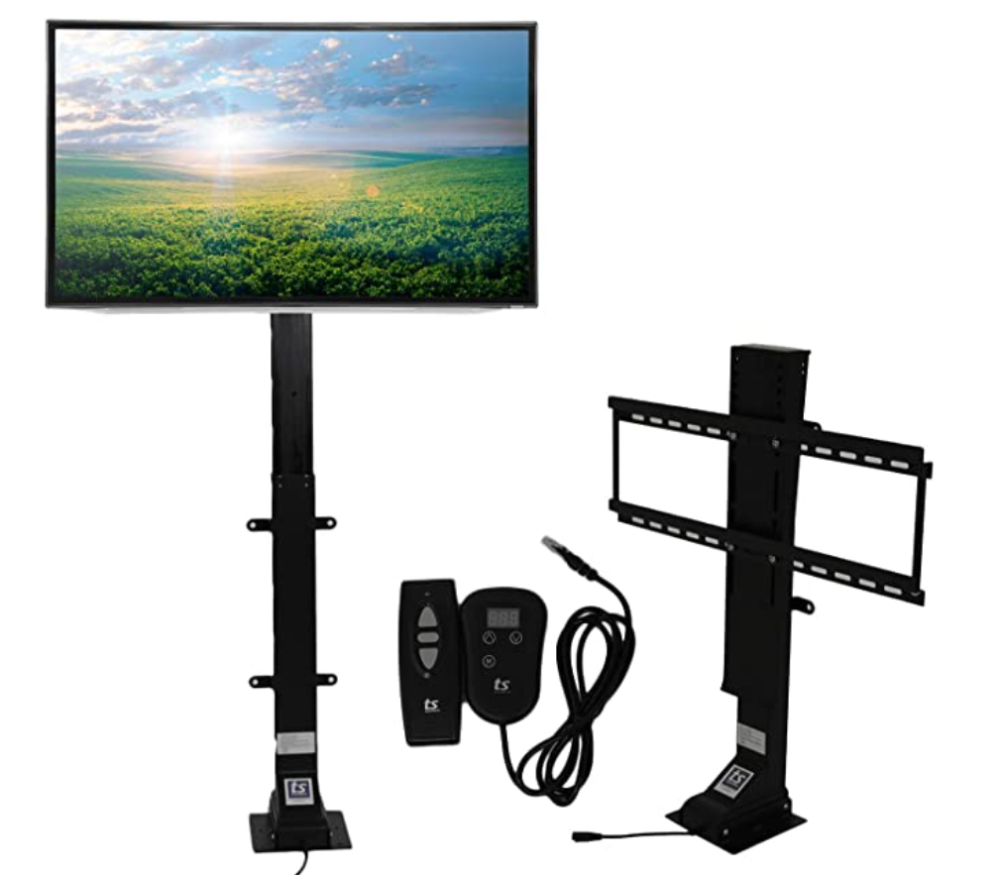
Figure 1: Touchstone Valueline TV Lift on Amazon
Next, I will be showing examples of different paint ideas as well as techniques that I have been considering using since overall the style of the cabinet will showcase craftsmen style building techniques.
The first painting style I am considering can be thought of as using two tones on the same piece of furniture. I think at the very least I want this cabinet to stand out as a interesting furniture piece in the room that isn’t just taking up space. I want it to be interesting to look at too.
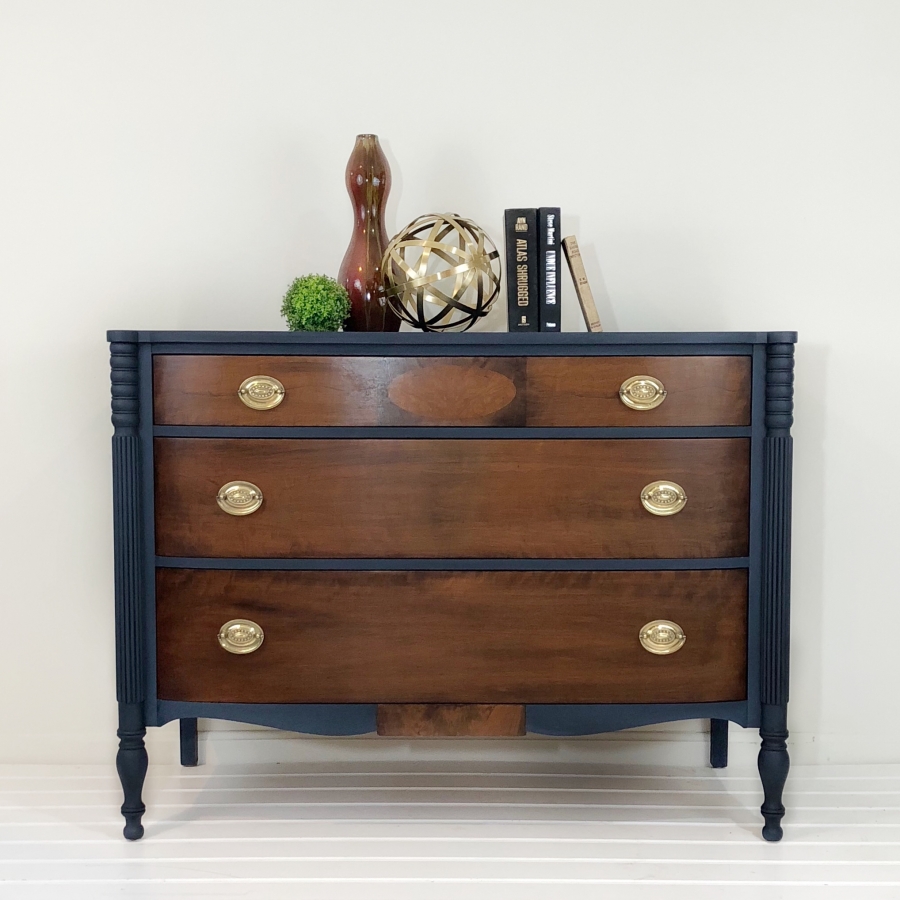
Figure 2: Made by and photographed by Ryan Findley.
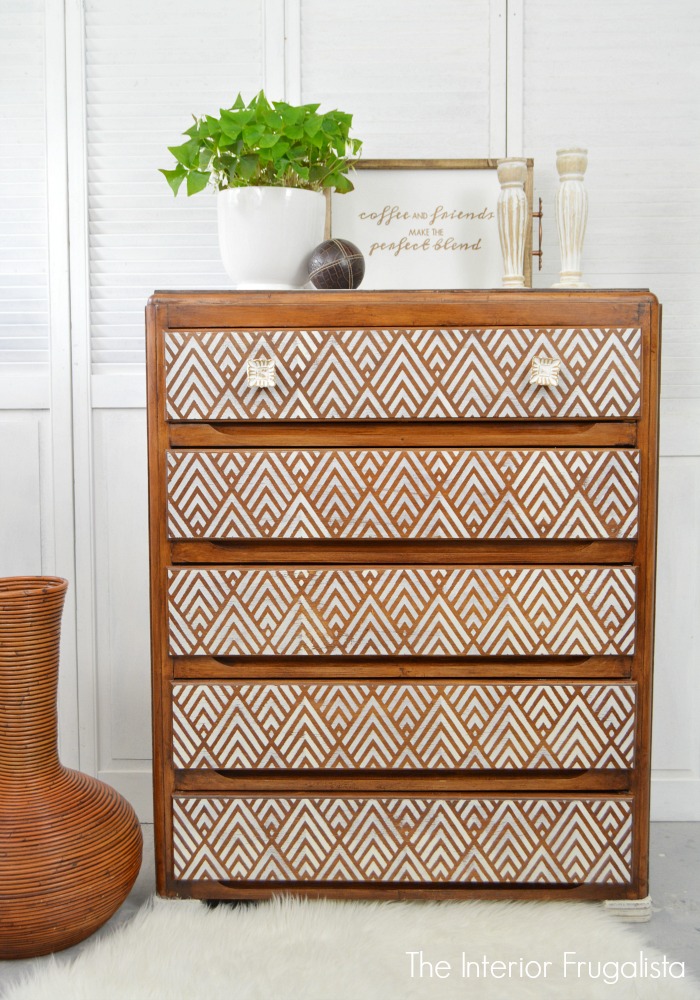
Figure 3: Made by and photographed by Marie at Interior Frugalista.
As for overall color I think I am still going to try to go with darker colors that will add a bit of pop when you come into the room. The colors that the room is current painted in is In the Buff (walls) and Simmering Smoke (Trim).


Figure 4: In the Buff (Right) and Simmering Smoke (Left) on PPG color website.
To simulate what I colors I have been playing with I spent the time drawing out the desk then applying each color to where I am thinking it could go. By doing this I realized I am still so far away from truly picking out what the final cabinet will look like. Below are a few examples of what I have been experimenting with along with the wall color behind them.
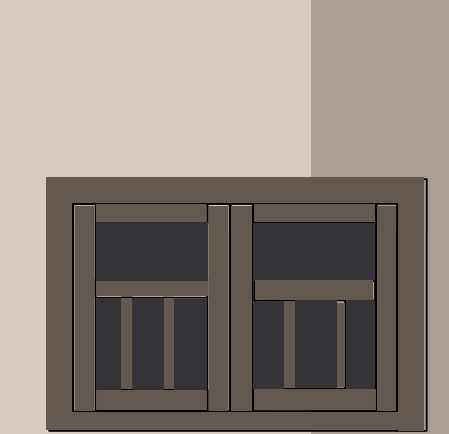
Figure 5: PPG1019-6 with SW 6989 between the slats.
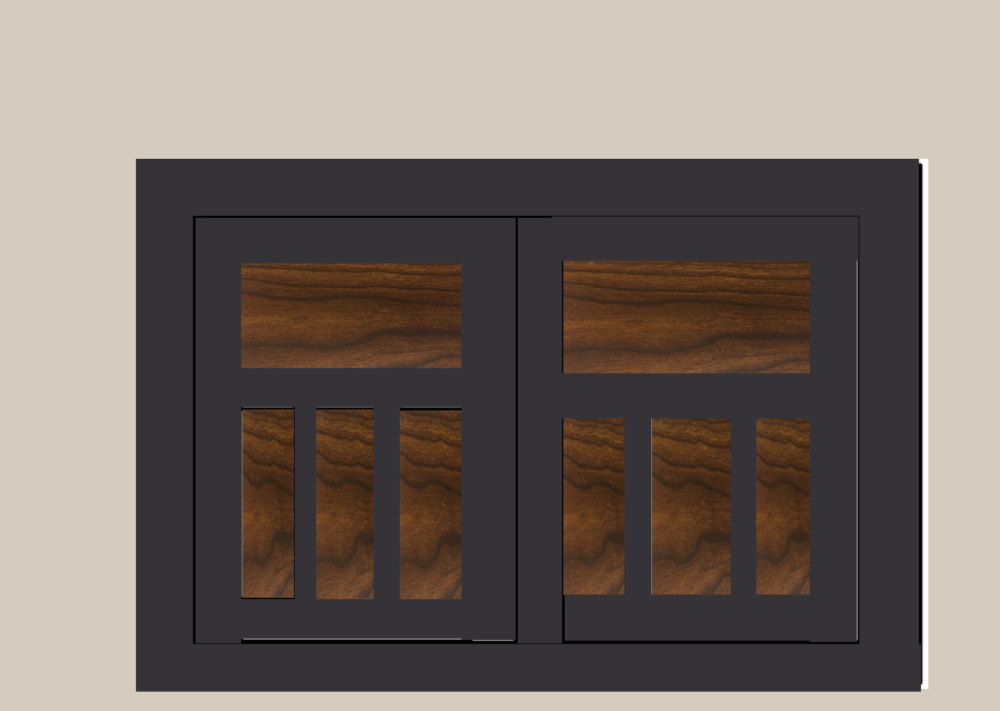
Figure 6: SW 6989 with dark stained wood between the slats.
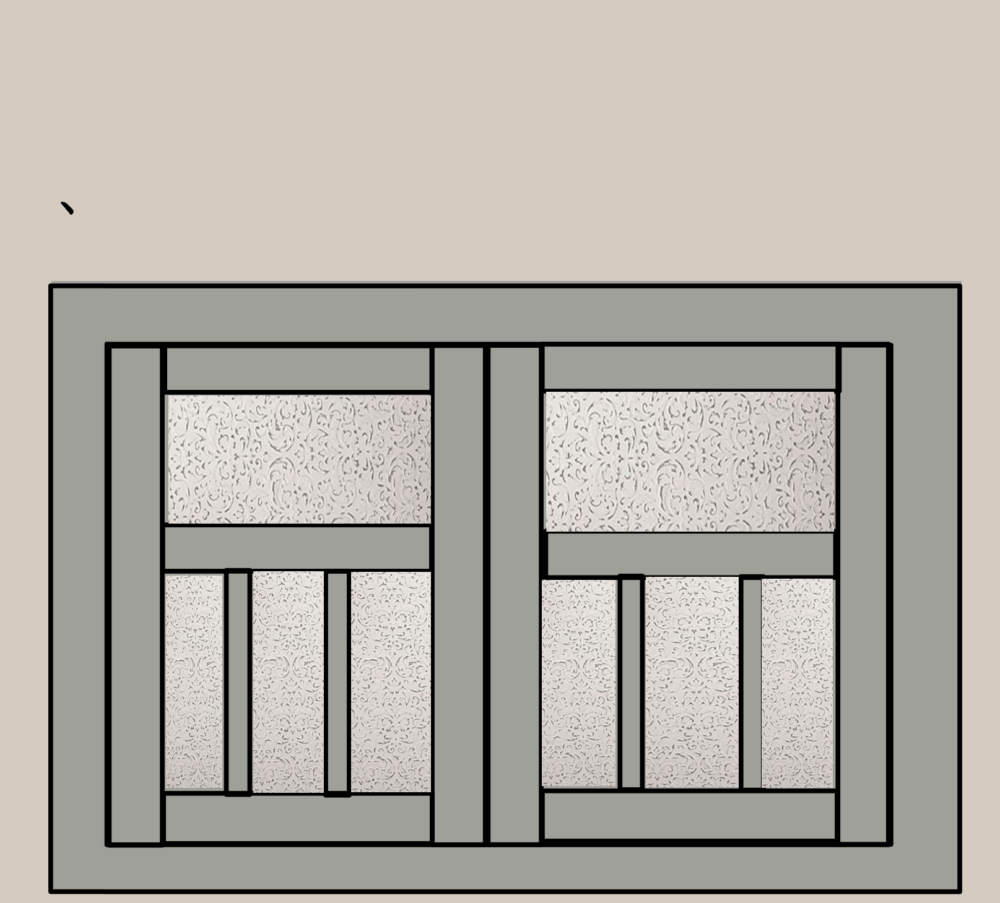
Figure 7: SW 7655 with a stenciled pattern between the slats.
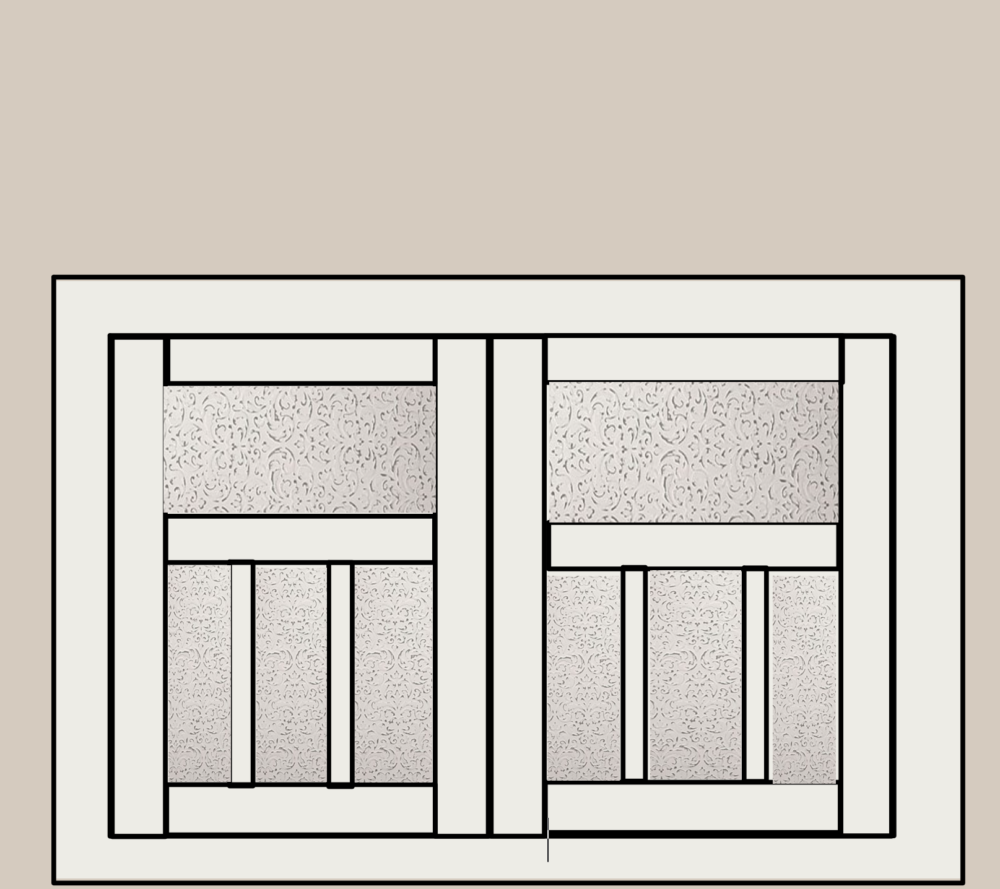
Figure 8: SW 7005 with a stenciled pattern between the slats.
[1] https://www.amazon.com/gp/product/B07L18HDKX/ref=ppx_yo_dt_b_asin_title_o00_s00?ie=UTF8&psc=1 [2] https://contest.generalfinishes.com/entries/2018/navy-meets-natural-dresser [3] https://www.interiorfrugalista.com/2018/07/whitewashed-geometric-dresser-makeover.html [5] https://www.ppgpaints.com/color/color-families/neutrals/in-the-buff
4 Comments. Leave new
Hey Hannah,
I am still not totally sure what this final product will be, but I am excited to see it. I can tell that you are making a cabinet and that there will be some sort of desk component, and that the TV will probably be behind the cabinet, but I cannot picture exactly how all of this goes together. Maybe you have explained in more detail in a previous post that I missed. In any case, I think once you have it completed and in place I will understand the layout better (assuming that you post pictures). As for color, I like the first inspirational image you posted. I think a gray with dark stain will look really good in the space.
Hopefully you’ll be able to understand the gist of it through the design preview post. Essentially, I am making a cabinet that two desks will flip down and rest on. The cabinet is there to hide the TV away while also making the desks seem like a more prominent fixture in the room when in use rather than an after thought.
Hey Hannah, this is a really cool idea you have, and it’s so useful! I had a thought about your final design dilemma. Figure 2 caught my eye first as a more mature and professional looking piece over figure three (even though, I think the pattern on the piece in figure three is super cute and would look great in one of your examples with a stencil pattern on the slats). The dark blue then made me think of like a dark blue slate stone tile that you could use for your space between the slats, with a dark stained wood for the exterior. This would stand out as a very craftsman-esque piece to me using both stone and wood. It could be interesting to play with two different materials as well. Out of what you have already played with however, I think the darker paint color in figure 6 combined with a stencil pattern between the slats would look really nice. The dark paint would make the piece stand out against the light colored wall, and also make a lighter stencil pattern pop! I think whatever you go with is going to look really good though; excited to see the finished product!
I definitely agree with going along with a darker color. The idea of trying to use 2 different materials for the doors appeal to me, but I have to do it in a cost effective way. This is something that I have been playing back and forth with and might try doing a faux stain glass design on mirror. Who knows, guess we will both be surprised in the end.