Completing this upcycle project has definitely been a fun and interesting experience. It is always fulfilling to use low value materials to create something valuable and/or useful. I don’t mean to detract in any way from the value of creating pure art, but I personally find the upcycle process especially fulfilling when one produces a functional object / functional artwork in the end. I think my project fits well within this category. Overall, I am quite pleased with the results of my upcycle spatula and am looking forward to using it for years to come. There were some challenges that I faced throughout this process, but I think in the end the spatula came out well and it does a decent job of fitting the aesthetics that I chose. My goal was to design and build a spatula that fit both a minimalist and a rustic aesthetic. The minimalist aspect mostly applies to the simplistic form of the spatula, and the rustic aspect applies to the raw materials that were used.
MATERIALS
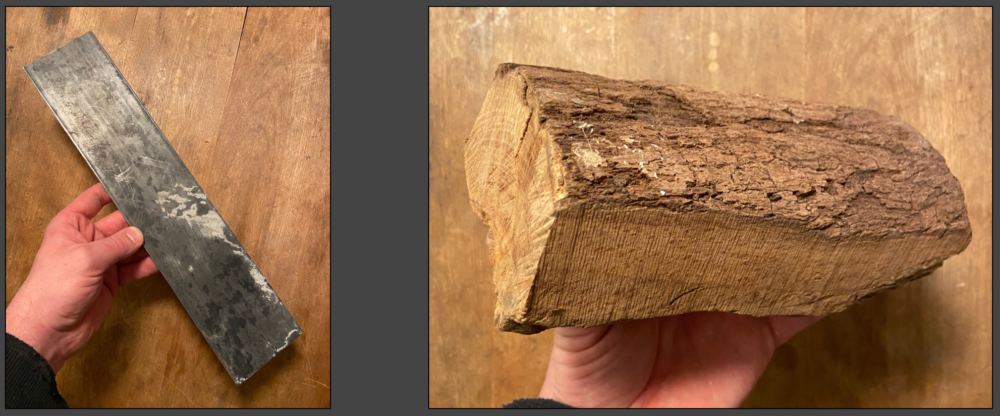
For my upcycle materials, I chose to use a thin steel plate that I had in my garage, and a chunk of red oak which I got from the woods by my house back in DC. The steel was used to form the main body of the spatula, and the oak was used for the handles. These raw materials are a big part of establishing a rustic aesthetic. I did not end up needing to buy any materials for use in this project.
DESIGN

In order to help nail down dimensions and visualize the design, I created a simple Solidworks assembly. To achieve a minimalist form, I used very simple lines, shapes, and angles to to meet the functional needs of the spatula. I also used hidden pins to connect the handle slats to the steel body. Not being able to see the pins in the final assembly also contributes to the minimalist form of the spatula. Although the dimensions were adjusted slightly throughout the building process, this model served as a great jumping-off point.
ROUGH SHAPING
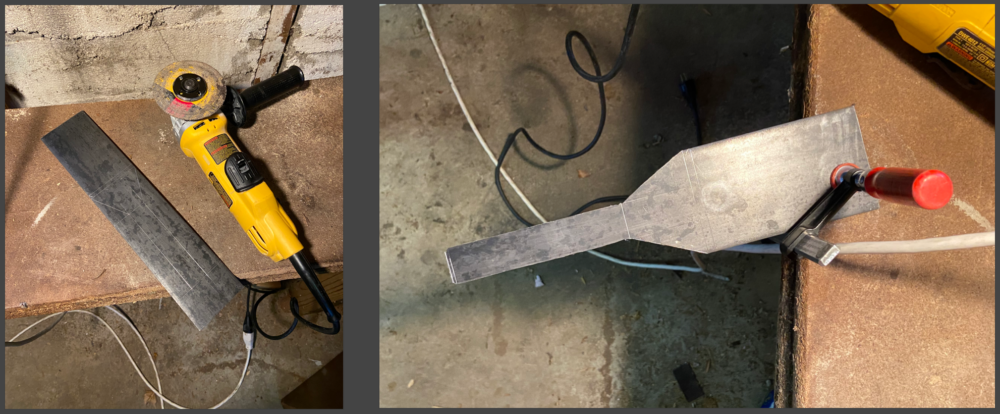
In order to get the general shape of the steel body cut out, I used an angle grinder. I simply scribed the outline of the unbent spatula onto the steel, and then used a cutoff wheel to cut along the outside of those lines.
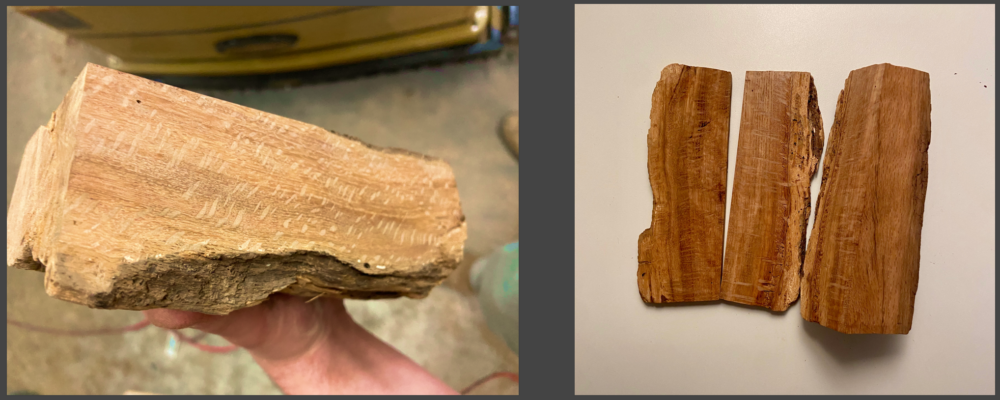
For the wood handle slats, all that I needed were two 0.3″ slices of the oak. I started by creating 2 flat faces on the block using a jointer. I made sure that one of the faces was cut in a quarter-sawn fashion to expose the more interesting grain. Then I simply cut two 0.3″ slices off of this flat face to be used for the handle.
FINAL SHAPING

The next step on the steel body was to clean up the edges with a belt sander and drill out the 3/8″ pin holes. I also added a 30 degree bevel to the leading edge of the spatula and sanded the surface to 180 grit. Creating the bend in the middle of the steel was probably the most challenging step of the entire production process. Actually bending the steel required a lot more force than I had initially anticipated. I ended up using a series of large C-clamps to slowly create the bend in just the right spot, without deforming the flat sections.
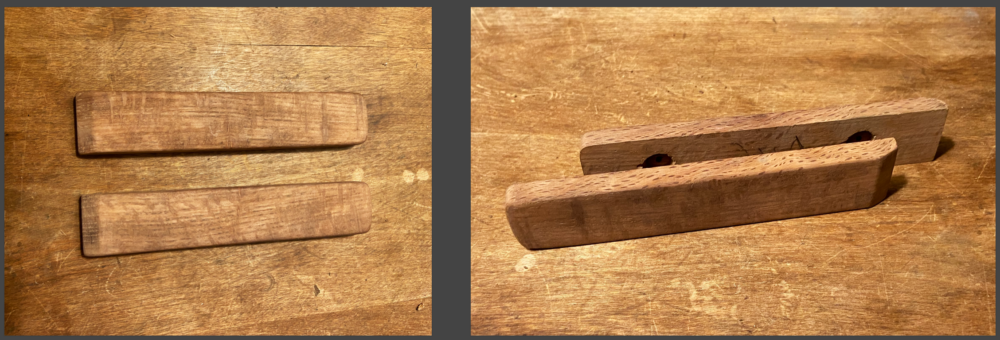
After cutting the handle slats to their basic shapes and drilling out the pin holes, it was mostly just a bit of sanding that was left. Using the alignment pins to hold the slats in place, I sanded the slats flush to the steel handle profile. Then It was just a matter of breaking the edges and sanding the wood up to 600 grit.
FINISHING
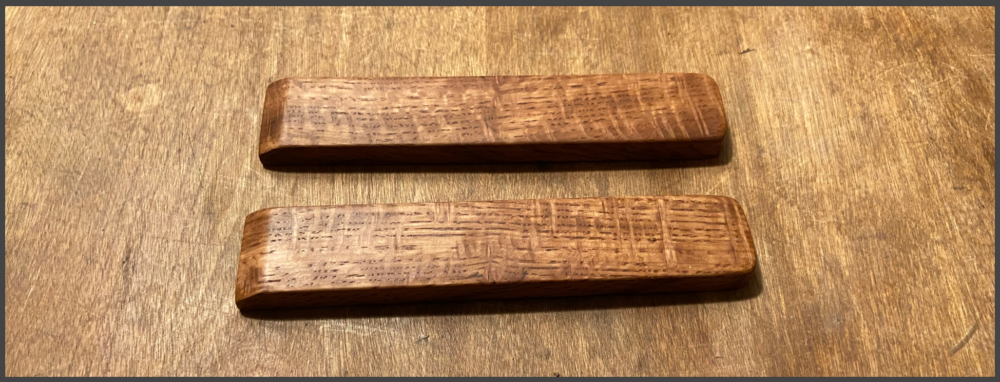
In order to protect against water damage, I decided to seal the grain of the wood with epoxy. Once the grain was sealed, I applied tung oil and a cutting board wax to complete the finishing process.

Since the steel I used for the spatula was not stainless steel, I needed to also seal the surface of the metal to prevent rusting. To accomplish this, I utilized a technique commonly used to seal steel cookware (cast iron, woks, etc). This technique involves burning cooking oil onto the surface of the metal. This both turns the steel black, and seals the surface to protect against oxidation. For my spatula, the process took about a day and a half to complete. I just put the steel in the oven and turned the oven on to it’s highest setting (550F). Then, every hour or so I would come by and wipe a coating of vegetable oil onto the surface with a clean paper towel. As the oil burned, the surface of the steel slowly turned from a straw color to a red bronzy color, then to a darker red and eventually a deep black. Once I was happy with the color of the steel, the finishing processes were complete.
ASSEMBLY
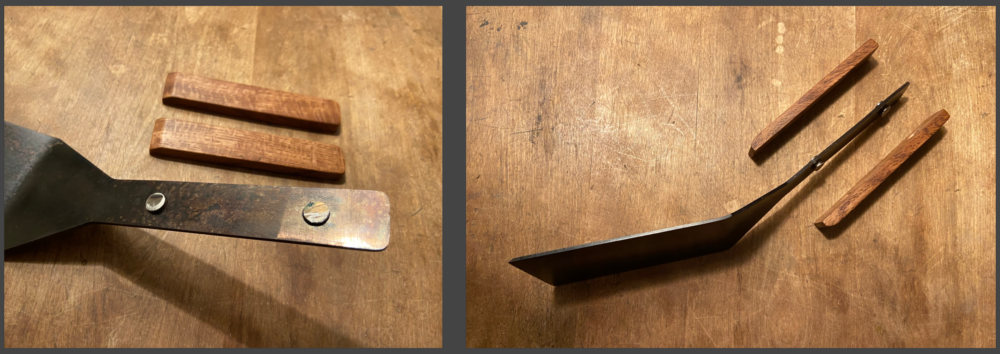
Once I got each individual component finished, the actual assembly was very straight forward. First I sanded the oil off of the gluing surfaces of the steel handle. Then I simply applied epoxy to the pins and in between the slats and then clamped the assembly together, making sure to clean up any squeeze-out right away since the components already had finished surfaces. When the clamps are removed, we have a spatula!
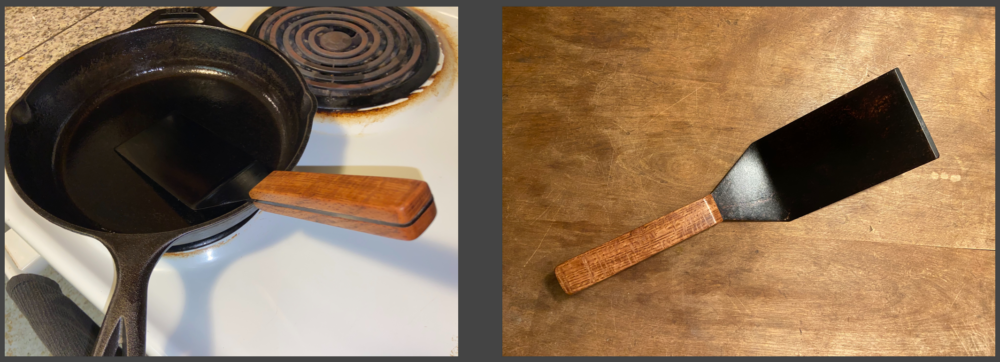
In the end, the spatula works well and I am happy with the overall aesthetic. Although there could definitely be spatulas which are more minimalist, and ones which are more rustic, I like how the two aesthetics work together to create something which is simple and functional, yet still interesting to look at.
Presentation link : https://youtu.be/I_wNB7xpeME

4 Comments. Leave new
Erik , this is awesome! I worked in kitchens for a long time, and I know some people who would probably pay a lot for handmade kitchen tool like this. I’m curious about the final assembly. Did you only sand the oil off the end of the handle or was it the entire contact area? One critique I would offer is that the steel could probably be thinner unless this is exclusively for large pieces of meat.
Hey James, thanks for the comment! In response to the to the assembly question, I did sand the entire contact area. I realize the sheen in one of my photos makes it look as though the end was sanded, but I think that was just weird lighting. Also, yes I agree, the final spatula was rather heavy. I would definitely use a thinner gauge steel if I were to do it again using purchased stock materials.
Hey Erik
I really like the way that your project turned out. It will be really nice to have a functional spatula that is flimsy like most of the ones that you can but these days. I think the most interesting part of your project is the way that you put the coating on the steal. Does that process also make it non stick like a cast iron pan along with protecting it form oxidation?
Hey Ben, thanks for the comment! Due to the fact that I sanded the steel pretty smooth before applying the coating, the finished surface did end up having some nice non-stick qualities.