For my Upcycle Project I used cardboard to create a model car. The aesthetic that I tried to achieve was a modern supercar style and based the car off of a Lamborghini Aventador. The modern supercars have a distinct look with their sleek lines and low profile to the ground giving them a very noticeable aesthetic that is hard to miss when you see one.
When making this I found getting the proportions correct as well as the lines of the car to be particularly difficult. I initially wanted to have functioning doors on the car but this proved to be very difficult to do without having an existing model to work off of. I instead decided to have the hatch on the back but no doors. I started out by finding cardboard boxes that I had laying around and cut them into strips that I could use to put stencils on to allow me to cut the cardboard to the correct shape. Additionally I peeled the construction paper of the cardboard off to use as the skin of the car as this was easier to manipulate and get the correct shape that I wanted.
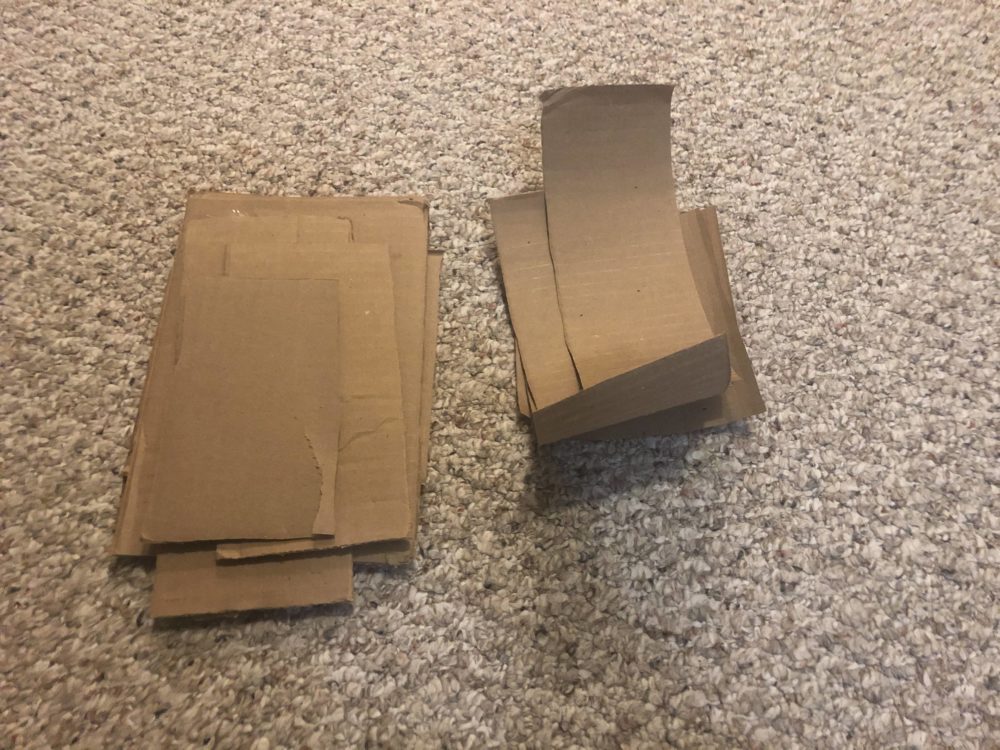
Figure 1: Material
Once I had all of the pieces that I would need I used engineering paper with a grid to draw on some stencils so that I could get an idea of the sizing of each piece as well as how big I wanted the car to be overall.
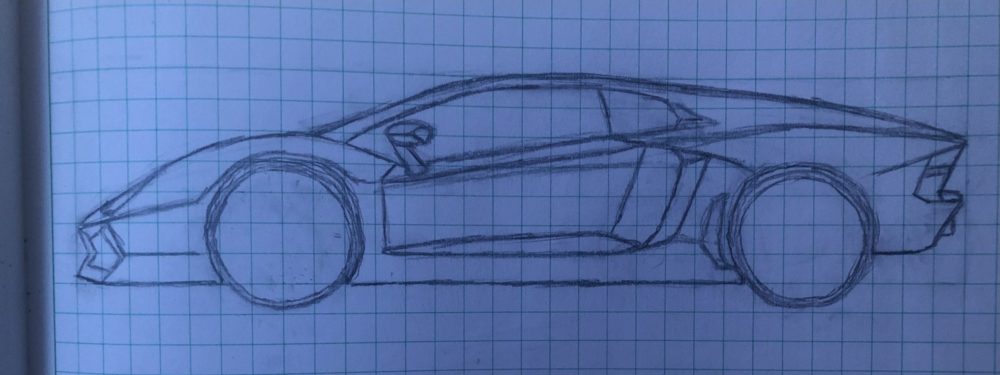
Figure 2: Example of a stencil used
Using these stencils I was then able to cut out the cardboard pieces and start glueing them onto a flat piece of cardboard. After all of the pieces were glued on I was then able to use the construction paper, from the cardboard, to create the outside of the car.
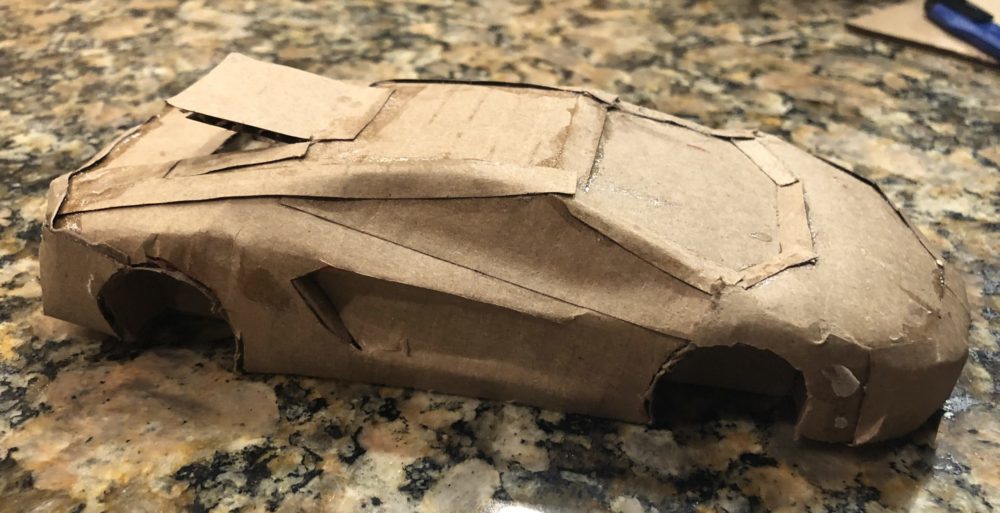
Figure 3: Assembled Car
After I was happy with the shape of the car I then decided how I was going to paint the car for a better aesthetic. I decided on painting the whole car black as a base layer and then covering up the windows and hatch on the back with tape.
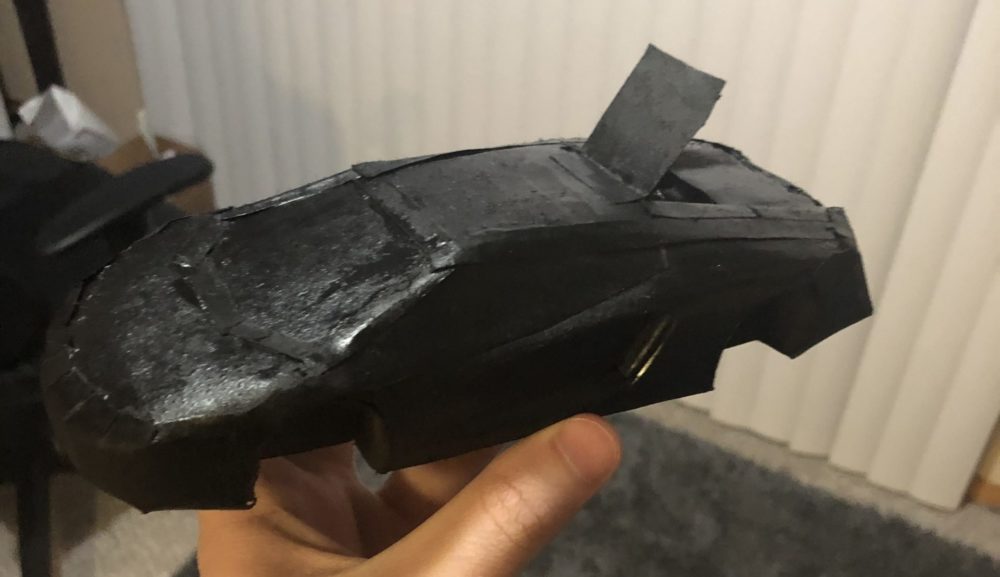
Figure 4: Base Paint
After the base paint had been completed I then made the wheels and the spoiler. I painted them separately and then glued them to the car after the paint had finished drying.
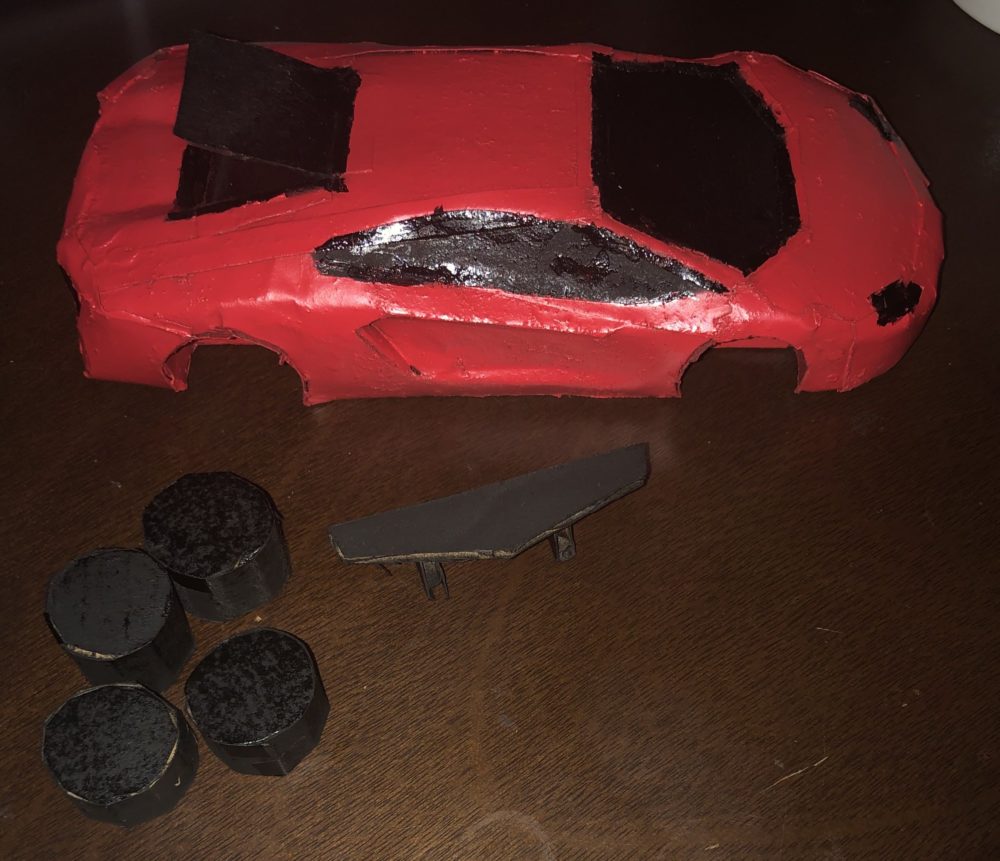
Figure 5: Adding the Wheels and Spoiler
Lastly I attached the wheels and the spoiler to give the finished car. Overall I thought that the car turned out pretty well but there are still some parts that I may want to fix in the future. The wheels seem a little small and I would like to try to get rid of some of the overlaps where I glued the cardboard pieces together.
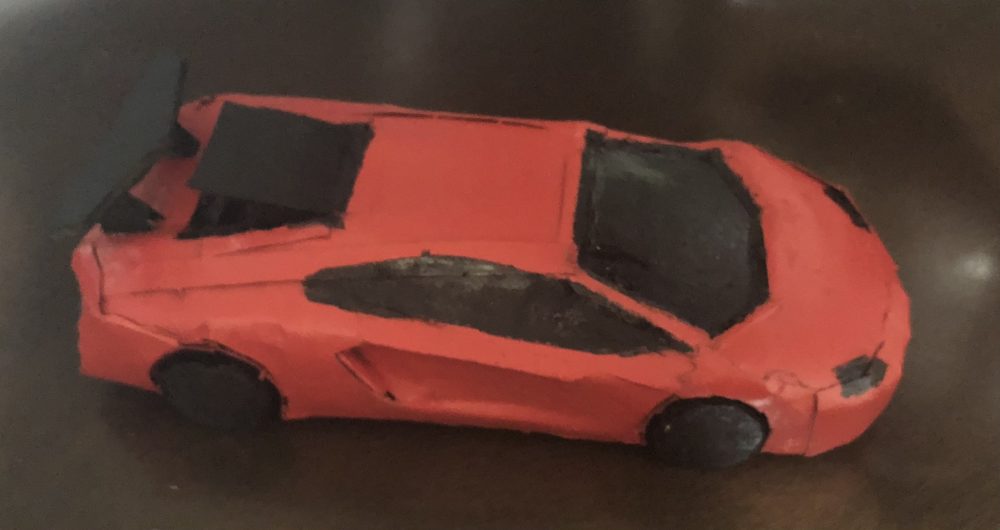
Figure 6: Finished Product
Sources
Video of the presentation: https://youtu.be/a1dGLjfPp0k
Figure 1: Original Image
Figure 2: Original Image
Figure 3: Original Image
Figure 4: Original Image
Figure 5: Original Image
Figure 6: Original Image

4 Comments. Leave new
Hey Ryan,
This final product looks great! My project was also made out of cardboard so I know it can be surprisingly difficult to work with at times. You did a very good job assembling all of the pieces together in a way that looks natural. Something I might have recommended would have been to paint/color the cardboard before assembling all the pieces so the colors don’t bleed together as much. Overall I think it is a super well done build.
Hi Callum,
Thank you and I think that would have been a good idea for the painting. I was also thinking about using a sharpie to maybe outline the areas next time to help avoid bleeding in the areas.
Ryan,
This looks like a project that took a while to complete as getting organic shapes out of cardboard does not come easy. I want to applaud the fact that you made it look so symmetrical. I am curious as to know what your plans are for this project in the future, as although it looks finished is it just going to be a fancy paper weight, or perhaps a trash decoration, all in all impressive job!
Hi Josh,
I did not really have any plans for this in the future. I think it may just turn into a fancy paper weight or just have it sit on my desk for some decoration. Thank you for the feedback