We have all been spending far too much time in our homes recently, and if you’re anything like me, you may have rearranged your entire apartment 3 times by now in hopes that you would feel like you were in a less stagnant environment. Well there’s only so much reorganizing one can realistically do before running out of things to change, so what’s another good outlet…? WINE! Wine, in moderation of course, is a great way to get through the sorrows of solitude. But what to do with all the leftover bottles? Upcycling of course!
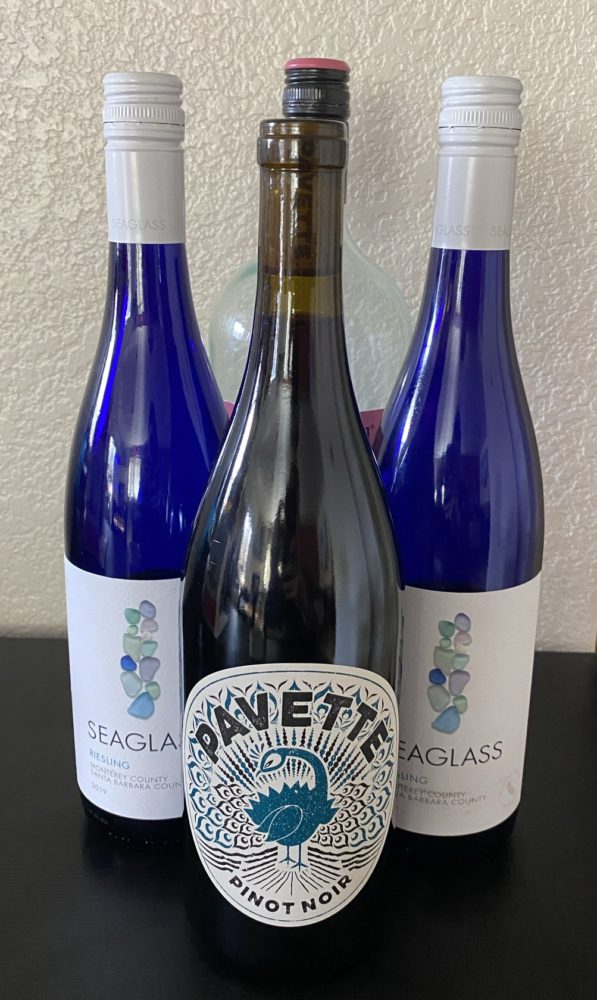
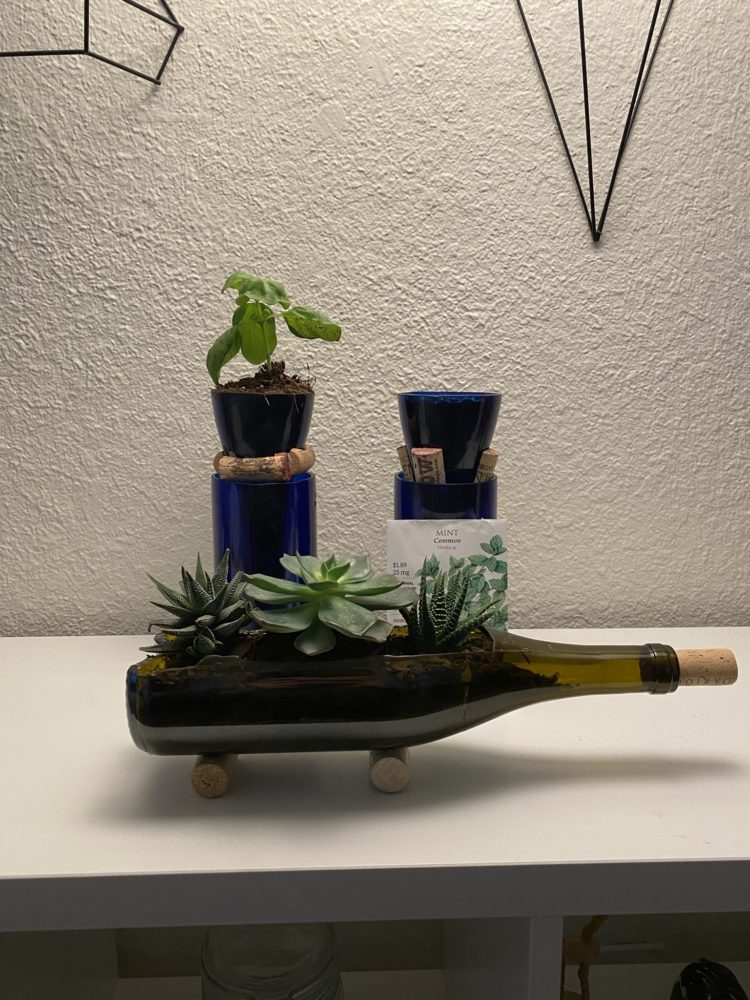
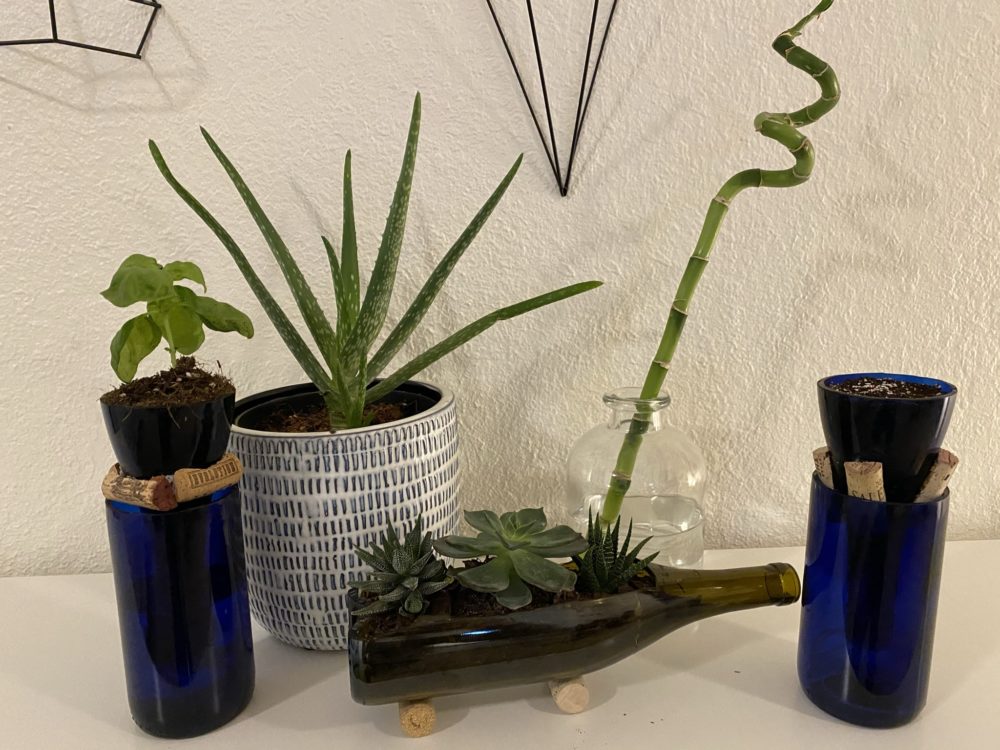
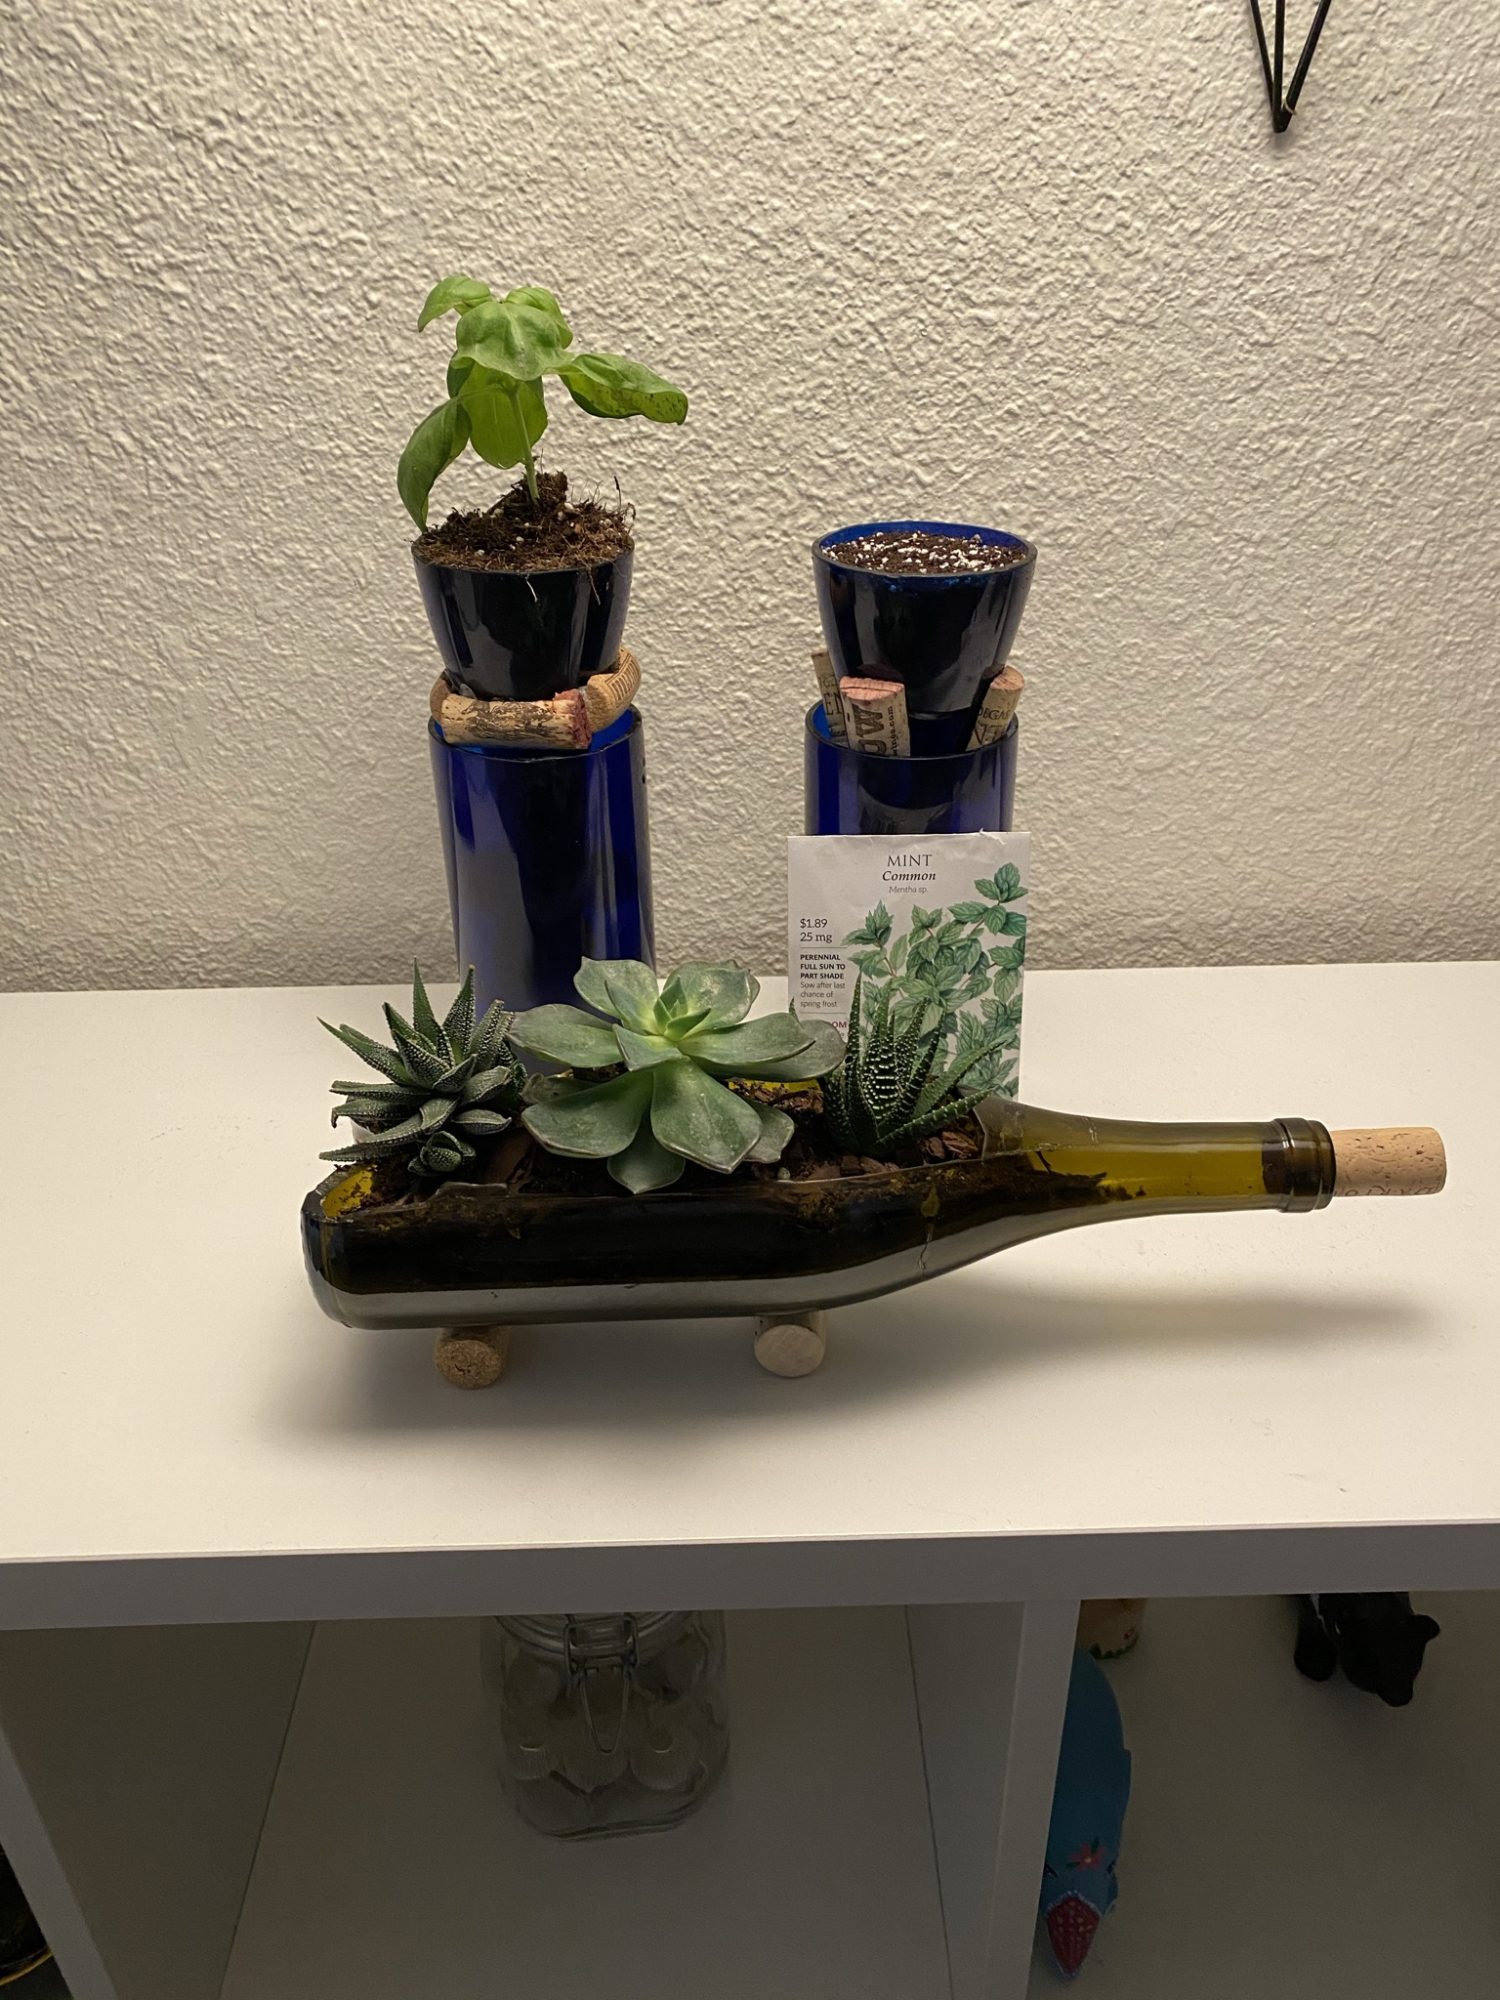
For my upcycle project I decided to take three used wine bottles and upcycle them into planters for some fresh new home greenery. My inspiration truthfully came from my parents. For as long as I can remember they have kept the house full of flowers and herbs both for decoration and for cooking. Plants bring a fresh natural aesthetic to any space, and depending on the planter they’re in, can play well with a sustainable modern aesthetic. I wanted to bring that to my college apartment, so i began scouring the internet for some ideas of how to turn my leftover wine bottles into beautiful upcycled planters. In my research I found a very cool idea for self watering planters for small herb plants, as well as for a boat type planter for succulents that I was able to modify and make my own. So what did I decide to create? Two beautiful self watering herb planters for Mint and Basil to use for cooking and mixology, and a sleek looking succulent boat to give as a gift to my girlfriend Emily. The self watering planters would be made by cutting off the tops of bottles and inverting them into their bases. Then by balling up string and dangling it into a reservoir of water located in the base, you can feed water directly into your plant’s root system. The succulent boat would be made by cutting a wine bottle lengthwise, and would be planted with some nice store bought succulents. I figured as long as the glass was smooth and the edges weren’t dangerous that my specifications would be met, so with my ideas in hand I got to work procuring materials.
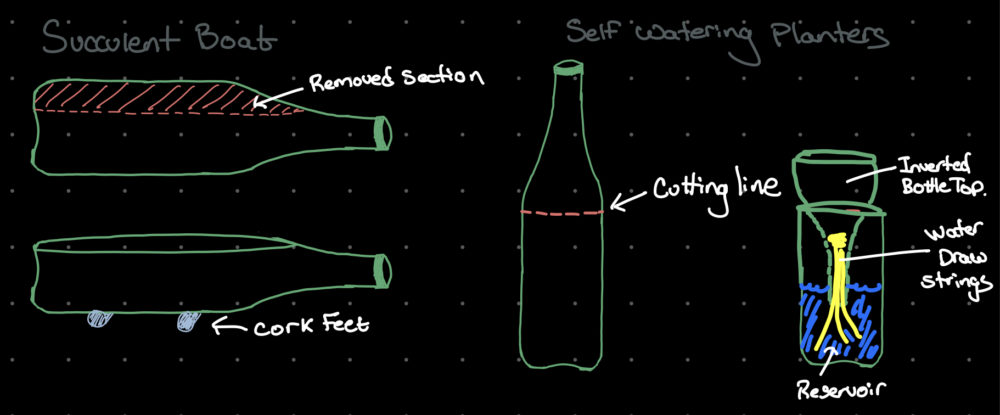
This project does not require many materials. As a matter of fact most of the things I needed, I already had in my apartment. The only materials you need are : A glass scoring knife, a lighter, an ice cube, some super glue, a glass saw, some sand paper and your old wine bottles (with their corks). I purchased a glass scoring knife on amazon for about 8 dollars, and borrowed a glass saw from my roommate, who likes to make cups out of old beer bottles, and I was ready to go.
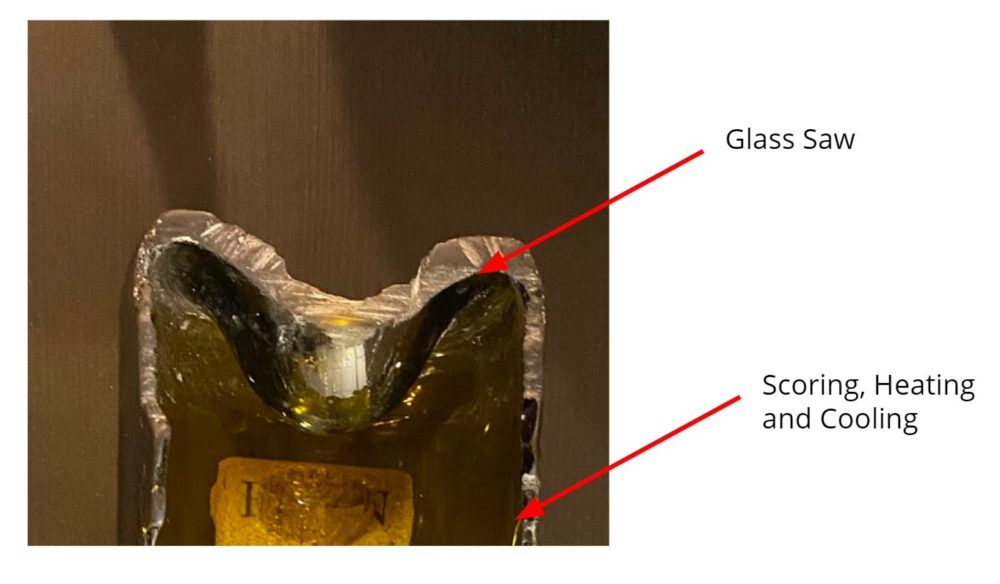
Cutting glass was an entirely new process for me to learn, and there was certainly a bit of a learning curve involved. The process I used was fairly simple. First you score a line in your glass bottle along the path you would like to cut with the glass scoring knife. This step is tricky, you must be careful not to slip and scratch the bottle in random places. The scoring process weakens the glass in specific points so that it is encouraged to break along those points, making extraneous marks can cause cracks to propagate in all sorts of directions leading to a very jagged edge ( I learned the hard way that it is far too easy to accidentally make a shank). After scoring the glass, I began an iterative process to cause the bottle to crack along the line I scored. To do this I used a lighter to heat up the scoring line and then immediately applied ice to the line to rapidly cool it down. Repeating this process causes a crack to propagate along the scoring line and eventually, the glass breaks cleanly. I used this process to remove the tops of the two wine bottles that I eventually turned into the self watering planters.
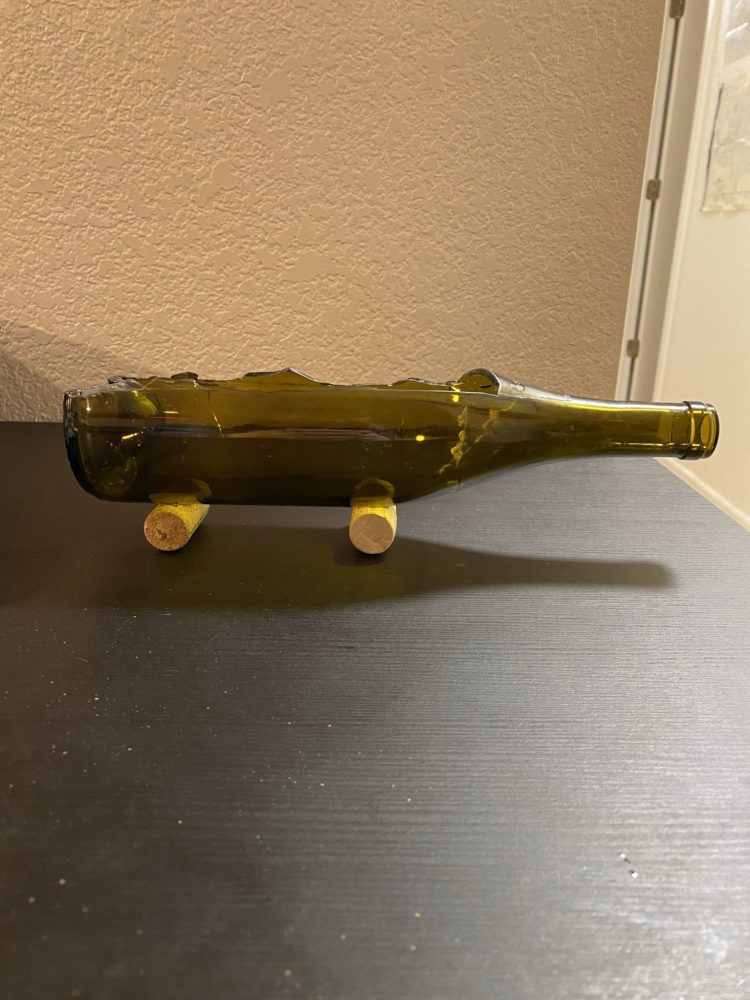
To cut the bottle for my succulent boat I had to get a bit more creative. I wanted to use the same cutting method as I used for the self watering planters, but needed to cut through the thicker glass at the bottom of the bottle, where that method would have proven ineffective. So I got out the glass saw and got to work, sawing through the thick bottom glass until I was to a point where the glass was thin enough to employ my heating and cooling method. Starting from the end of my sawing line, I scored the glass along its vertical centerline, and then heated and cooled it until it broke. Unfortunately the sawing process created some unexpected weak points, so when I began to propagate the cracks, some of them took wonkey paths. The end result was close to what I wanted but not quite perfect. I decided that through some sanding I could get it to look pretty cool, despite its imperfections.
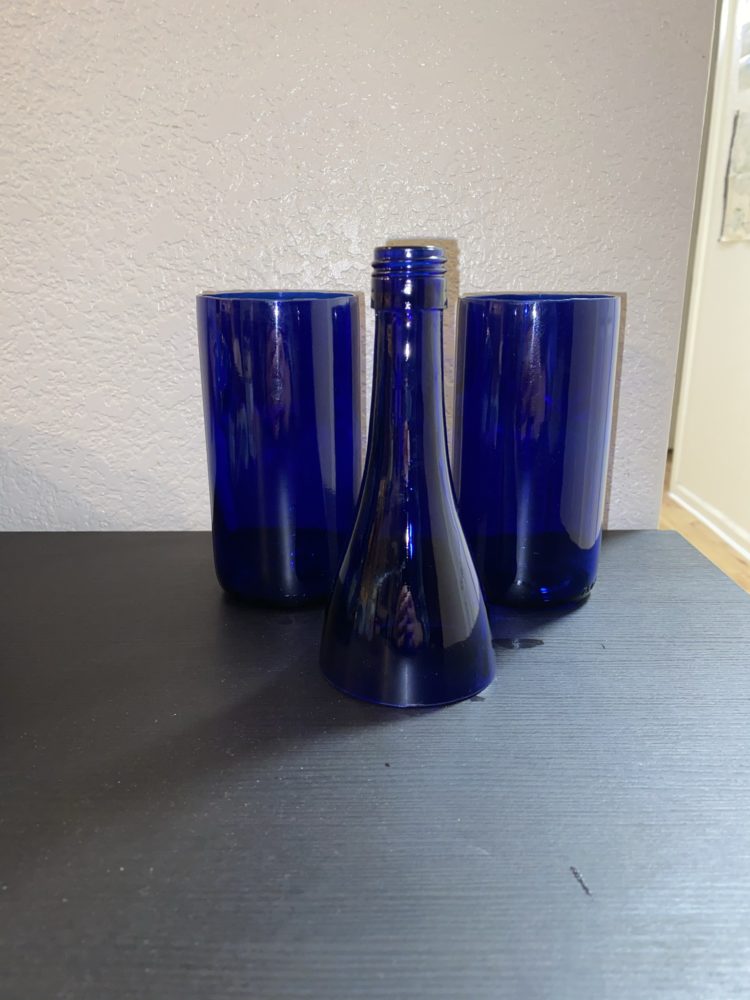
The next step was to sand down any sharp edges on my freshly cut bottles. The succulent boat took the longest as it had the most jagged edges. To sand glass you must start with a relatively coarse sandpaper and move up incrementally to get increasing levels of polish. All the while it is important to keep the glass wet, so as to minimize glass dust, and improve the effectiveness of the sandpaper. I started with 80 grit wet or dry sandpaper and worked my way up to 400 grit and slowly but surely removed all the sharp edges on the self watering planters as well as the succulent boat planter.
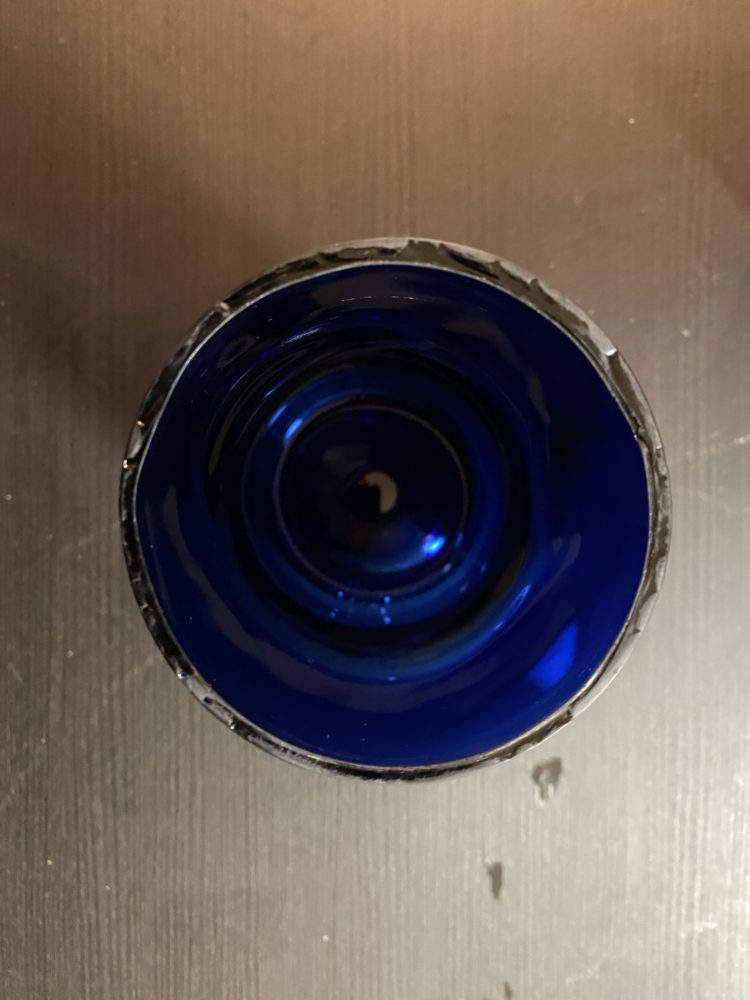
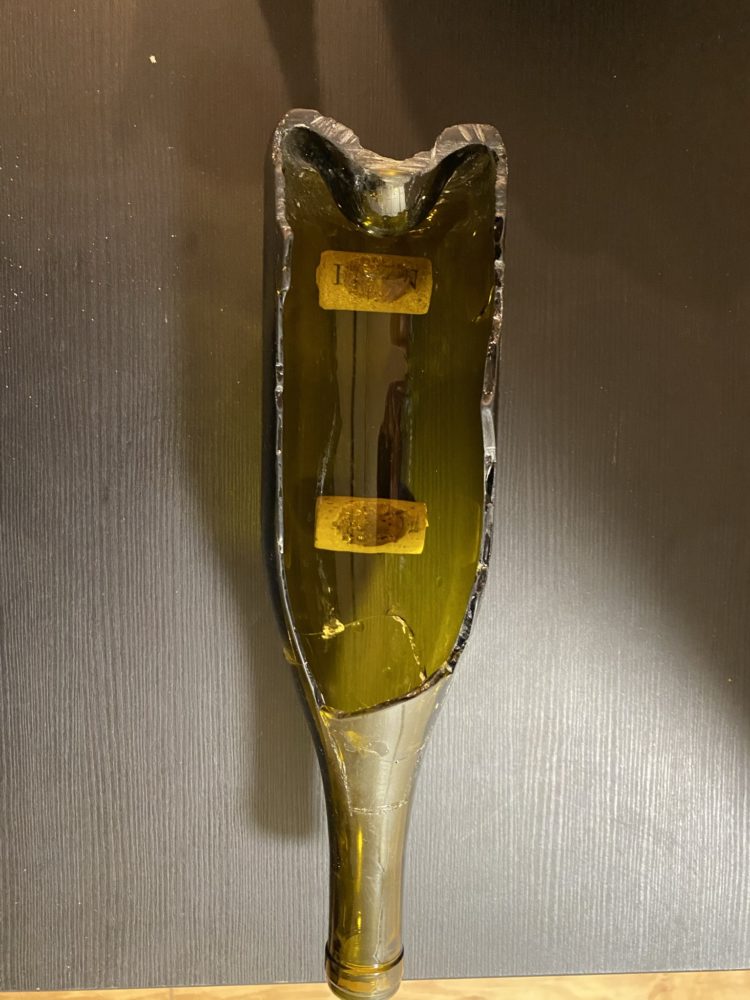
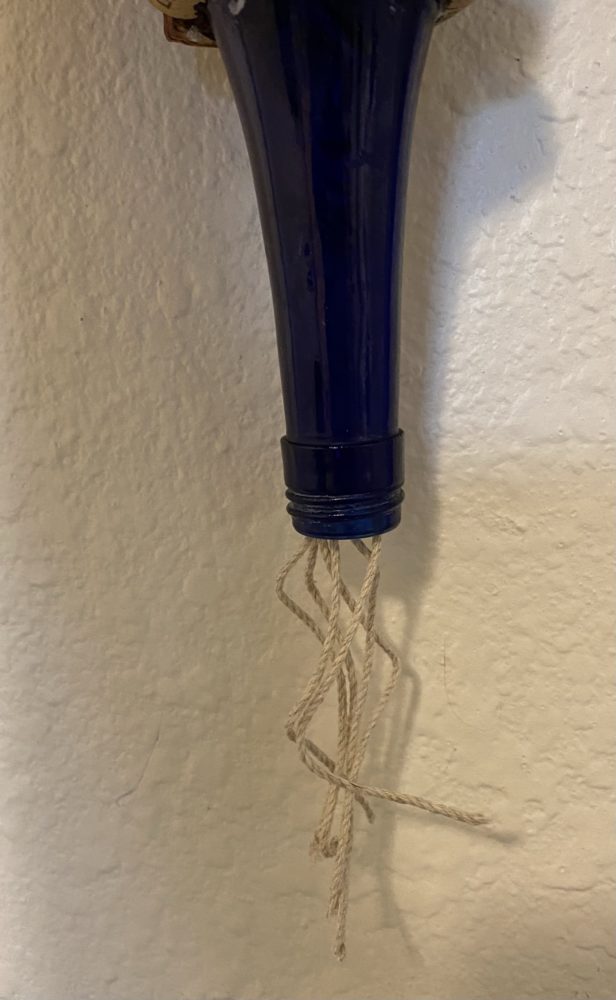
With sanding complete I realized I had a problem. The point at which I had cut the bottles for my self watering planters was too low, so the bottle necks were too long and did not sit well when inverted into the bottle bases. For the solution to my problem I turned to some old corks. I used an Exacto knife to cut two wine corks into fourths then used superglue to secure them to the sides of the bottle necks and act as spacers, giving the inverted tops a snug fit into their bases, and allowing enough clearance for water to be drawn up into the plant’s root system. I also used corks to create some feet for the succulent boat to keep it from rocking back and forth. As a final touch for fabrication I created two large string knots with dangling tails and placed them inside the bottle necks to draw up water from the reservoir of water in the base.
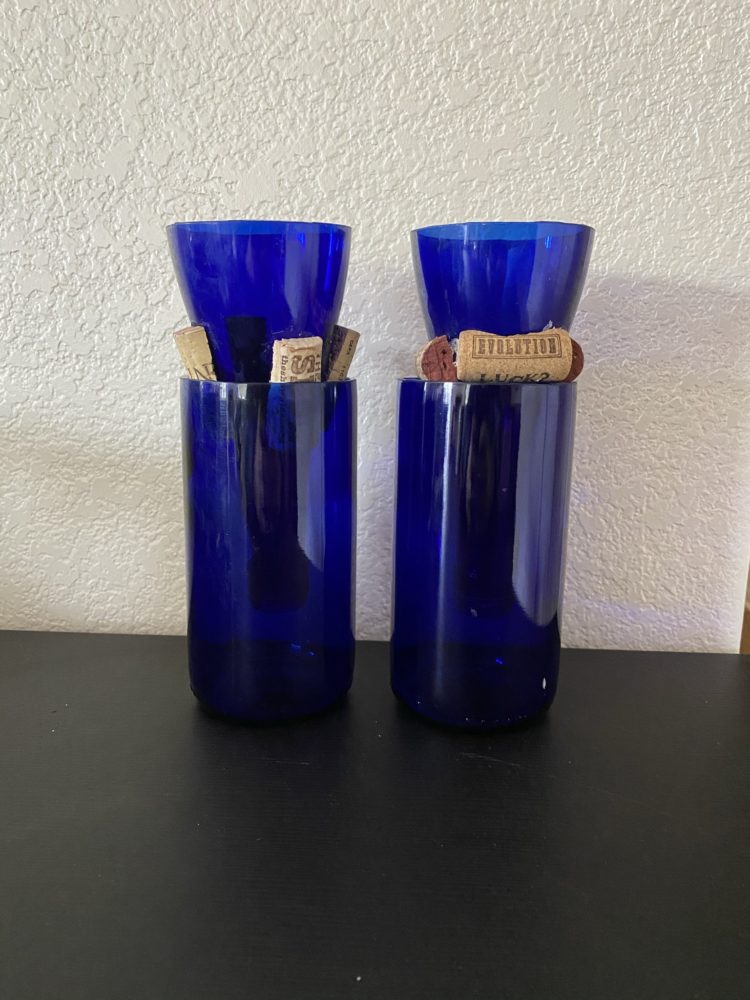
I was finally ready to plant. I went to Ikea in Centennial to pick up some cheap succulents for the succulent boat, and hit up Walmart to grab a live basil plant, and some mint seeds to plant in the self watering planters. I borrowed some potting soil from Emily and put my green thumb to use potting up my new creations. The end result was awesome!
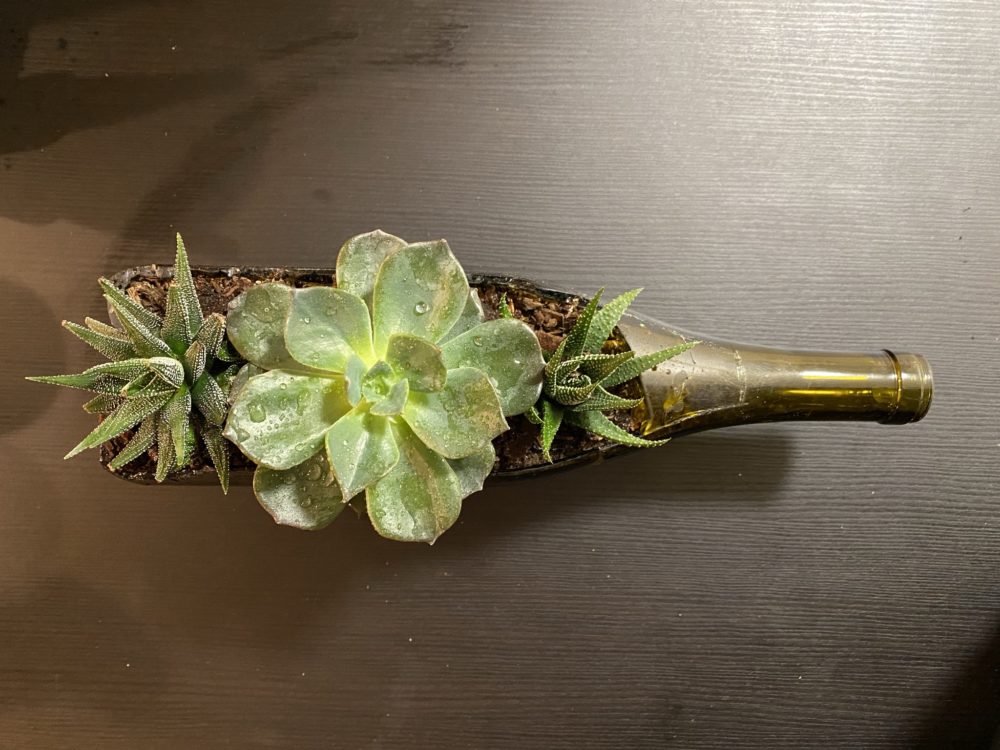
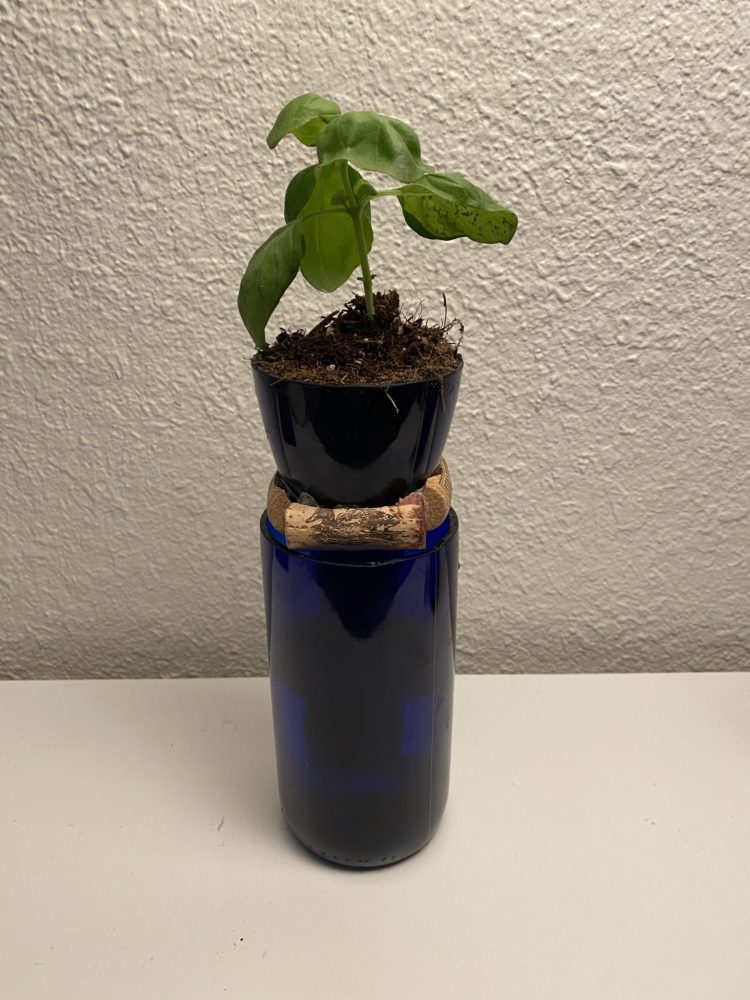
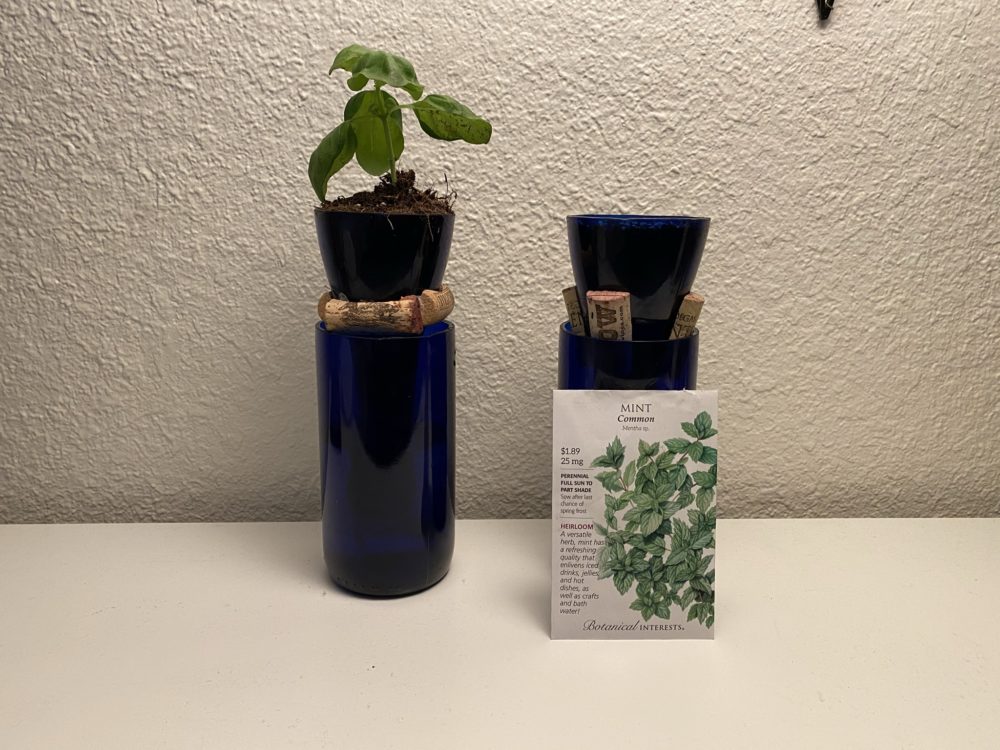
The final products are very close to what I was hoping for. In terms of functionality the self watering planters have kept my basil plant alive, and while the mint seeds have yet to sprout, I am confident that they will be growing like wildfire soon. The succulent boat holds three succulents very nicely and is very aesthetically pleasing. Its jagged edges actually add to the look of the piece, and I think hold it ture to the virtue of upcycling. The planters certainly don’t look factory made, but they do look modern and sustainably produced, exactly what I was going for in my initial ideation.
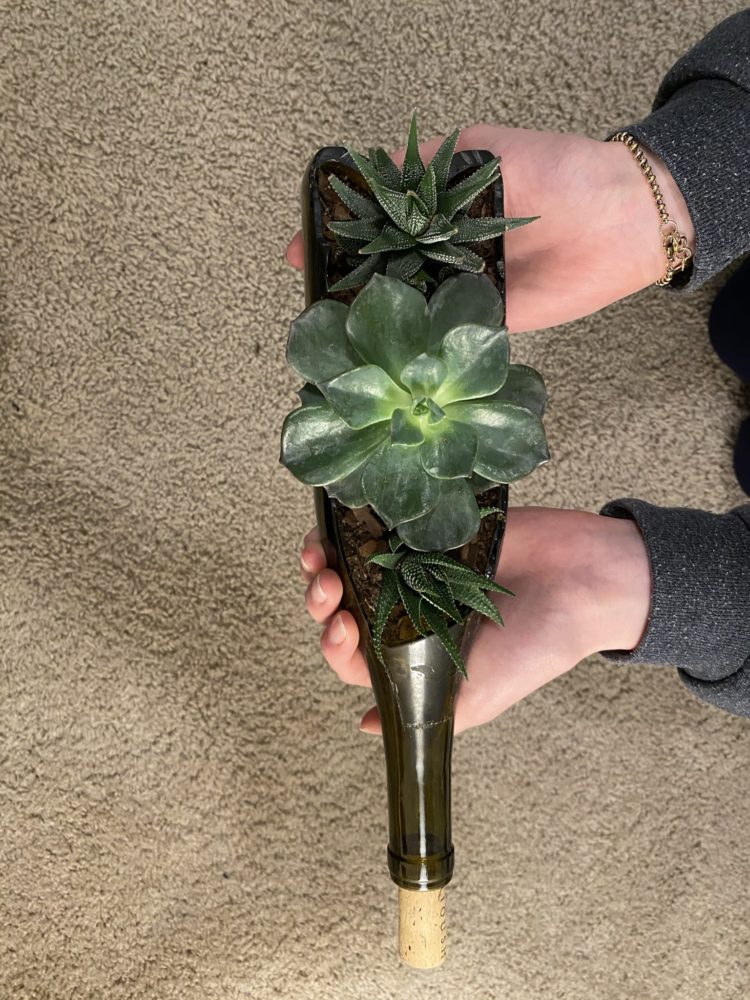
Because my project is living, I will need to keep taking care of it as the semester goes on. I handed off the succulent boat to Emily to add to her extensive succulent collection and may even try to recreate it with a different color bottle, a cleaner edge, and some cooler looking succulents. As far as refining my design, I got a recommendation on a recent blog post, to etch some sort of design into the side of the planters. While that might be difficult to implement this time around, If I ever try to remake this project again, I will certainly add some more artistic elements to the glass.
Overall, this was an awesome project. It was so fun to learn how to properly cut glass, and to try my hand at a little cut rate college apartment botany. I would highly recommend this project to anyone looking to spruce up their decor, or use up some old wine bottles. Check out my video presentation for some more pictures and description. Until next time!

2 Comments. Leave new
I think that you did a great job with your project overall. One think that I enjoyed in particular was your description of your glass cutting process. I also used glass in my project and have a hard time breaking it in the way I was hoping. One question that I have is what type of plants you might be able to try out other than succulents in the same container that you made?
Hey Jake!
I think you did an awesome job with this Upcycle project and I think the plant holders turned out really nicely. I like what you did with the wine bottles and how you were able to score and cut the blue bottle to give it nice finish. On a different note I think the green bottle has a nice rough finish to it which gives your overall project a bit of a different feel. Both a smooth and a rough finish that serve the same purpose. As the semester progresses I will be curious to see if these self watering plants are able to be preserved and how they will grow in the coming months. Overall, I think you did a great job with this project and presented some unique artifacts!