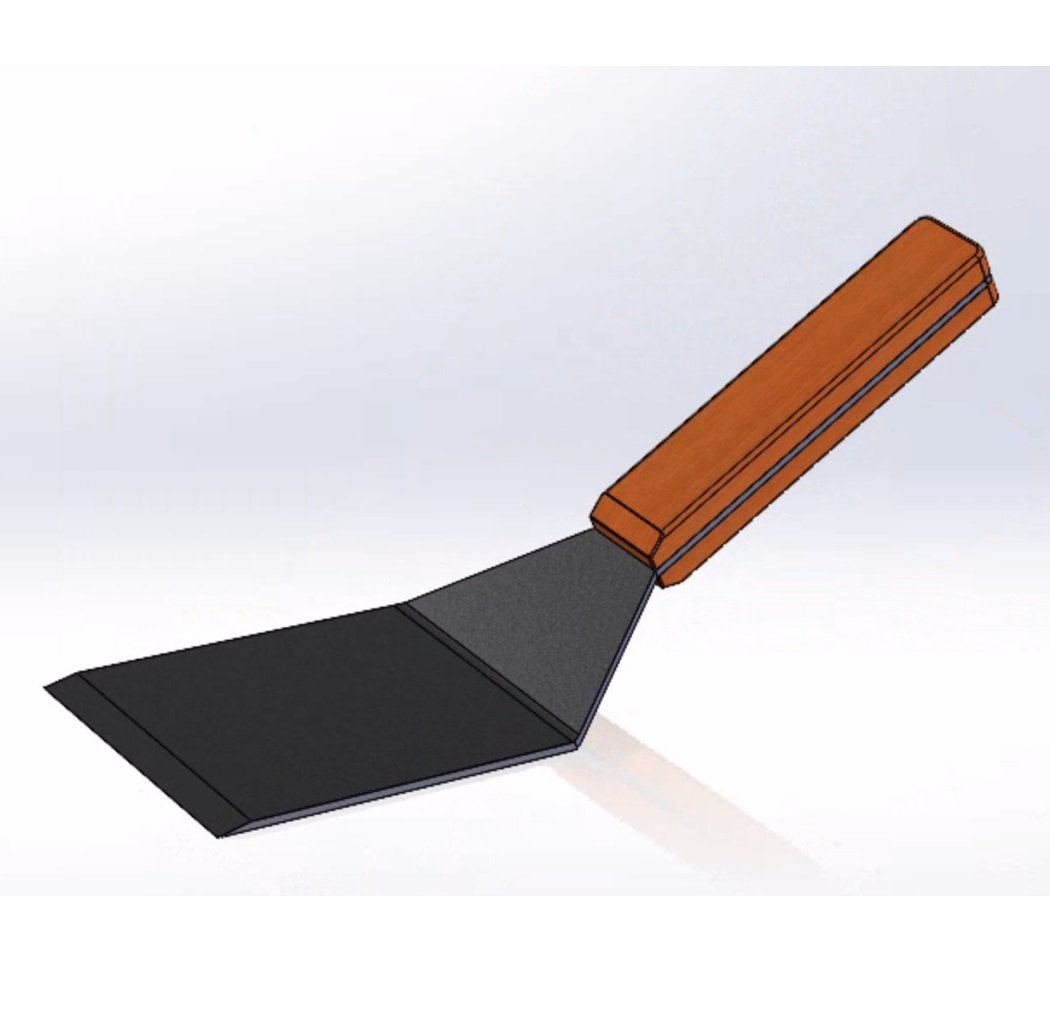
Since the last post, I have come up with a set design for my upcycle spatula. I have also finalized my plan for actually building and finishing the spatula. I have not gotten to the building process yet, but I plan to get started in the coming week. For now, I will just describe my design and my plan for implementing it.
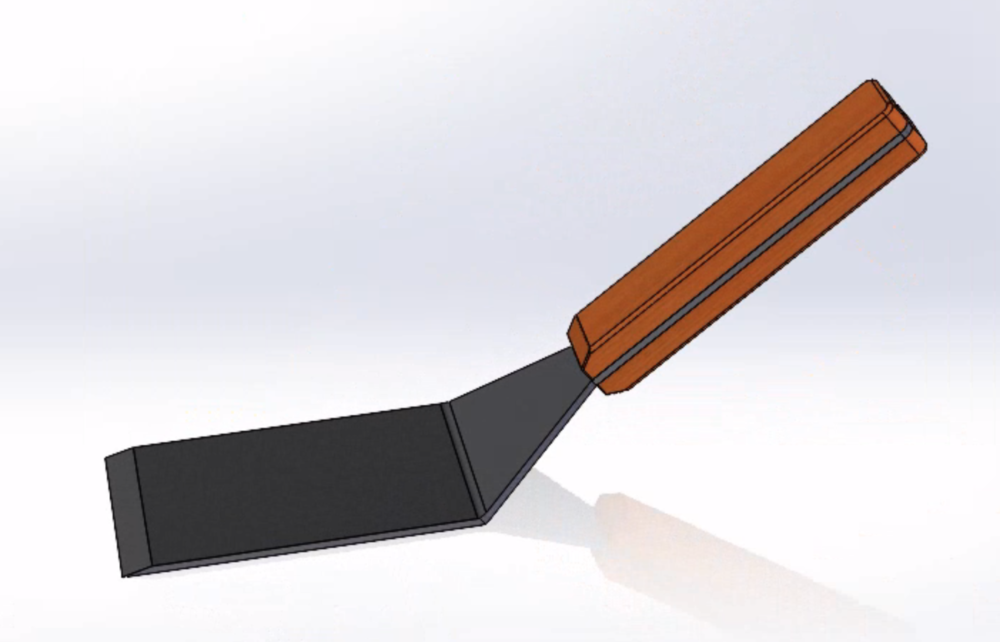
DESIGN
The design is composed of only 3 distinct components, 5 components total. There is the central steel body, 2 identical oak slats, and 2 identical steel pins. The pins will not extend all the way through the wooden handle slats, remaining hidden in the final product, but they will serve to prevent shearing failure once the slats are glued onto the steel body.
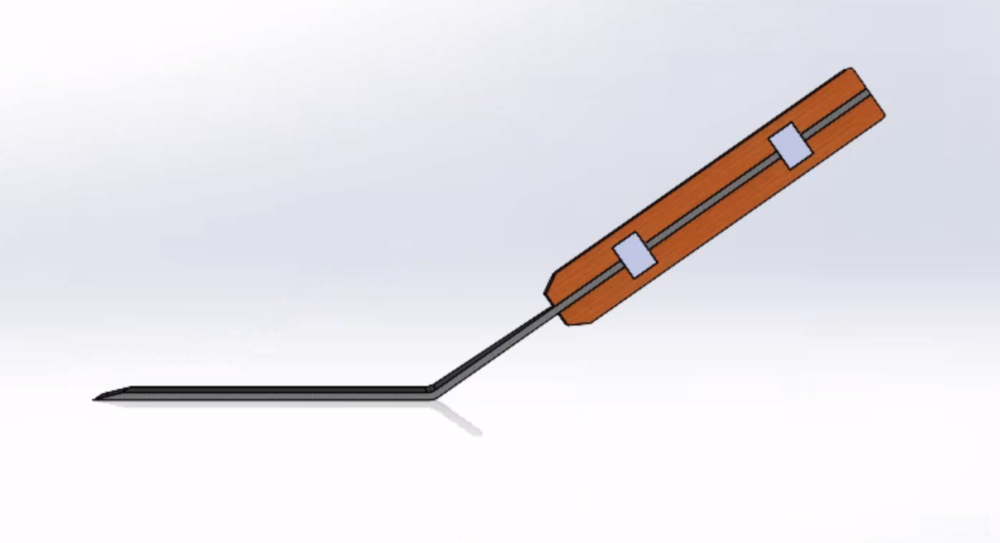
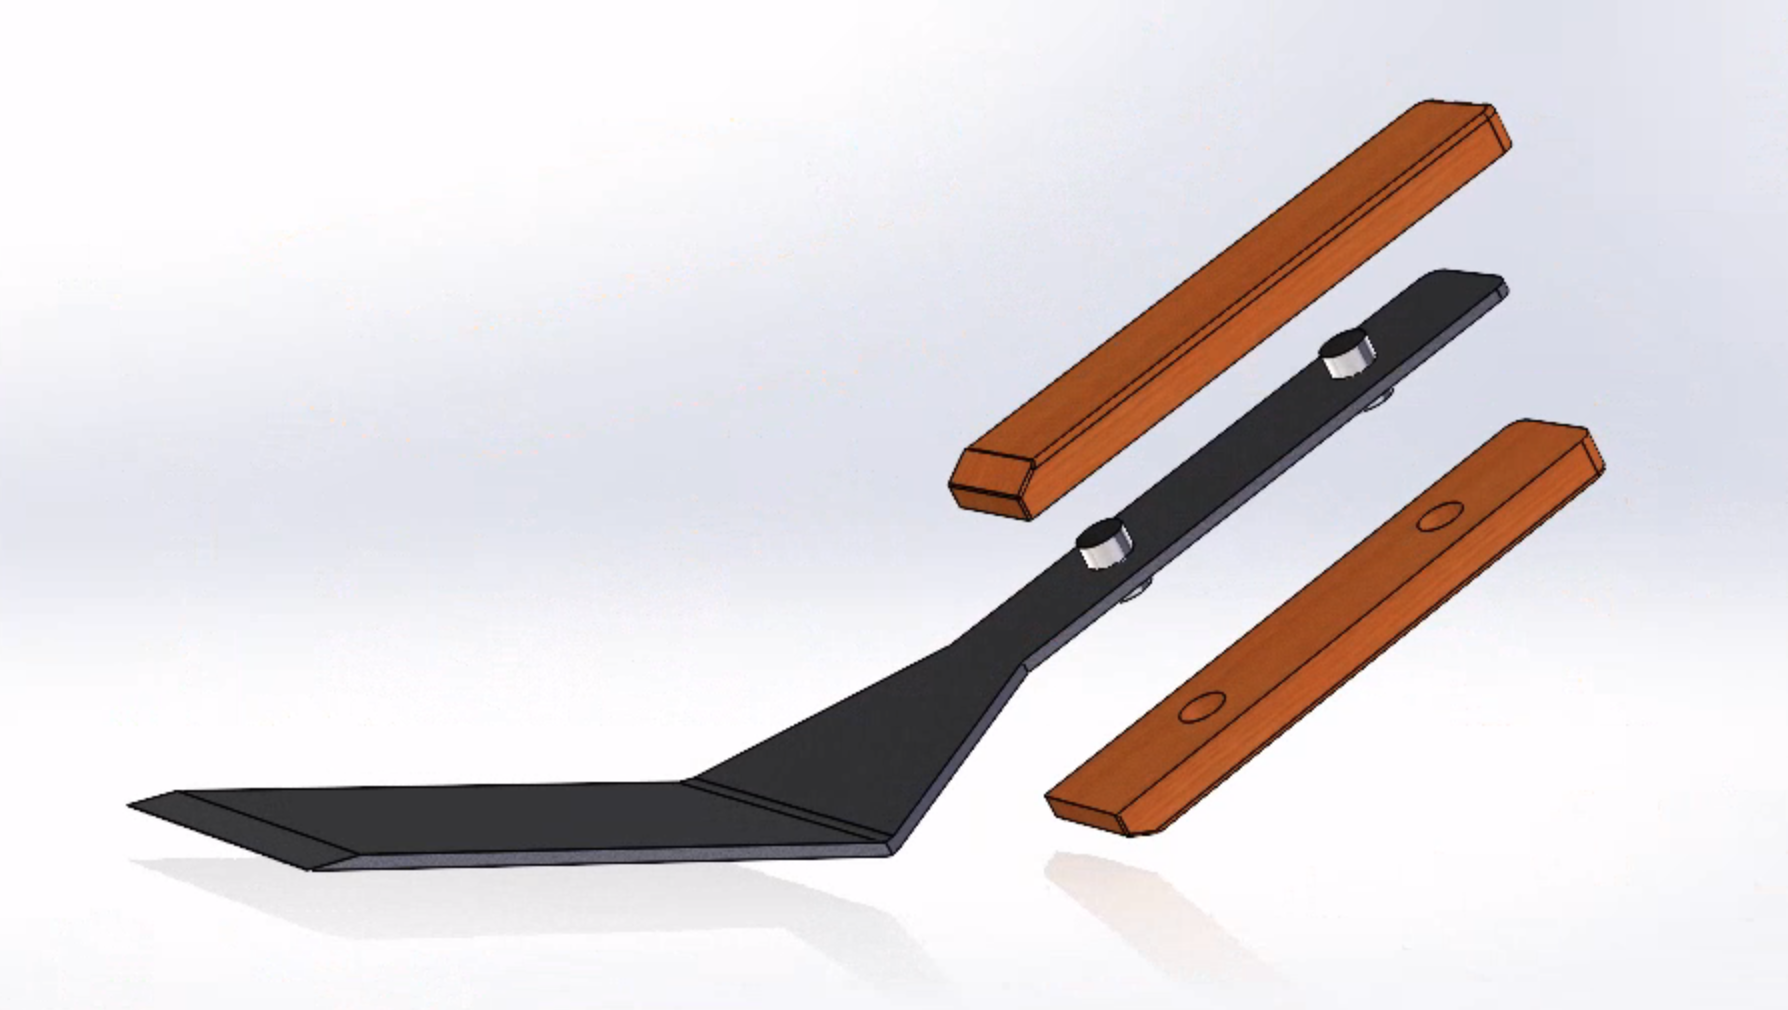
SHAPING and SURFACE PREP
The first step will be to scribe out the shape of the spatula onto the flat steel plate so that I can cut it out with an angle grinder. Once the basic shape is cut out, the edges can be refined with a file. Next, 2 holes will be drilled out in the handle for the pins. The bevel can also be added to the front of the spatula using a file/sandpaper. While the steel segment is still flat, this will be a good time to sand the surface down to 180/220 grit with a hand sander. This will leave the metal smooth to the touch, while creating a course enough surface to hold the seasoning oil in the steel finishing process. Now the steel body is ready to be clamped and bent sharply at the handle junction.
The next step will be to prepare the oak handle slats. After cutting out 0.35” thick slices, I will trace the handle shape onto the wood and drill out the pin holes. After cutting out the rough shape with a bandsaw, I will use the pins to temporarily align the oak slats for final shaping. Finally, the oak can be sanded up to 600 grit to prepare it for finish.
FINISHING
Since the steel body needs to be finished with oil at high temperatures, the wooden and steel components will be finished separately. The steel will receive a coating of vegetable oil, which will be baked on to blacken the surface and prevent rusting. The oak will receive an oil finish. Once both finishes have set, the wood handle can be attached with the pins and a thin layer of epoxy, making sure to avoid any glue squeeze out onto the finished surfaces. When the epoxy sets, we’re finished!
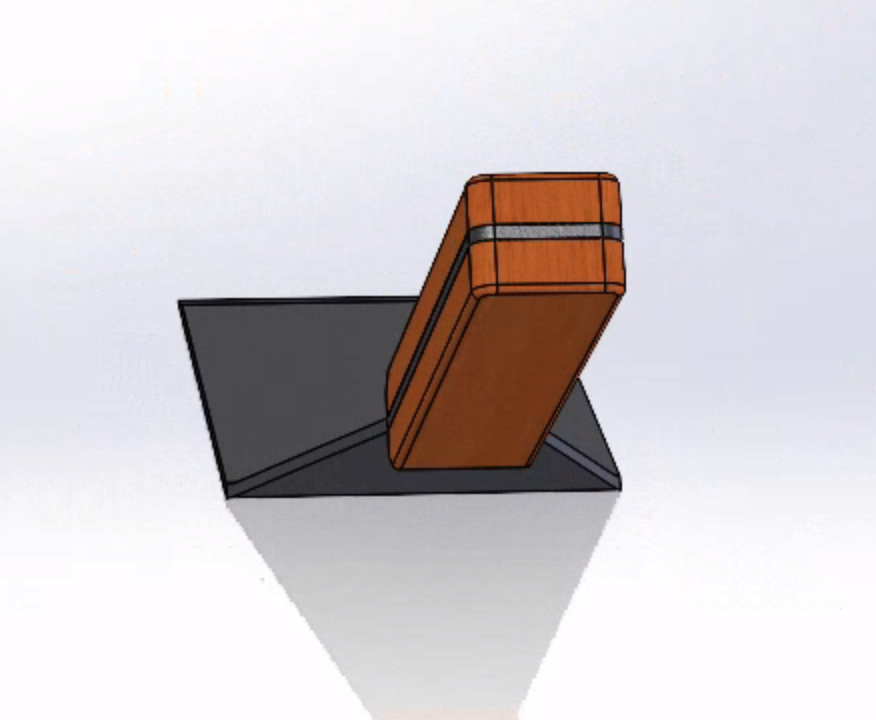
Overall, this is a pretty straight forward design. I think it will achieve the goal of creating a minimalist form, while using rustic materials.

4 Comments. Leave new
Hello Erik, this design looks incredible. I’m impressed with the progress you’ve made and I’m excited to see how the finished project looks. I was wondering where you learned how to do this type of finishing? I had never heard of coating steel with vegetable oil and baking it.
Hey Callum, thanks for the comment. Burning oil onto metal as a surface finish is a common method for sealing cast iron.
Hey Erik,
I love this design, it looks like you have everything really well thought out for when you go to make it. I haven’t read your other posts where maybe you answer this, but what material/upcycle-scraps are you using for the parts? To me, it seems like maybe on of the more difficult parts would be the pins, do you have those already?
Hi Maya, thanks for the response. My upcycle materials were a scrap piece of sheet steel and a chunk of oak that i have had for a while. As for the pins, I’ll just be cutting a couple segments off of a length of 3/8″ stainless steal rod stock that I have laying around from a different project.