Inspiration
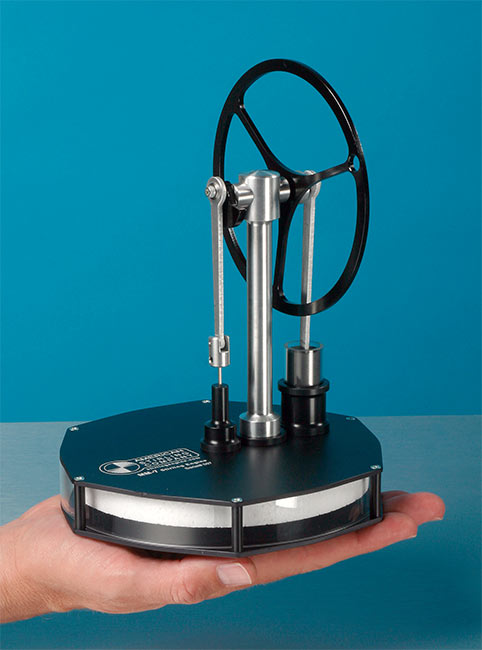
My initial inspiration came from when professor Hertzberg spoke about the final project and said that it needed to have a dynamic component. When I was a student in Heat Transfer Professor Knutson always mentioned and showed the class these little machines that operated off of a small heat differential called a stirling motor. I immediately thought about the Stirling Motor and wanted to build a functioning machine that would run and serve as a small desk toy.
Aesthetic
Beginning this project I wanted it to have a very clean, industry ready, professional looking aesthetic. It was my vision and goal to have all custom machined parts, with relatively high tolerances to ensure functionality. I wanted to use mostly metal for the components, which would additionally help the overall aesthetic. I wanted to show largely the connecting rods and linkages that moved very dynamically to really catch the eye of the observer.
Project Pivot
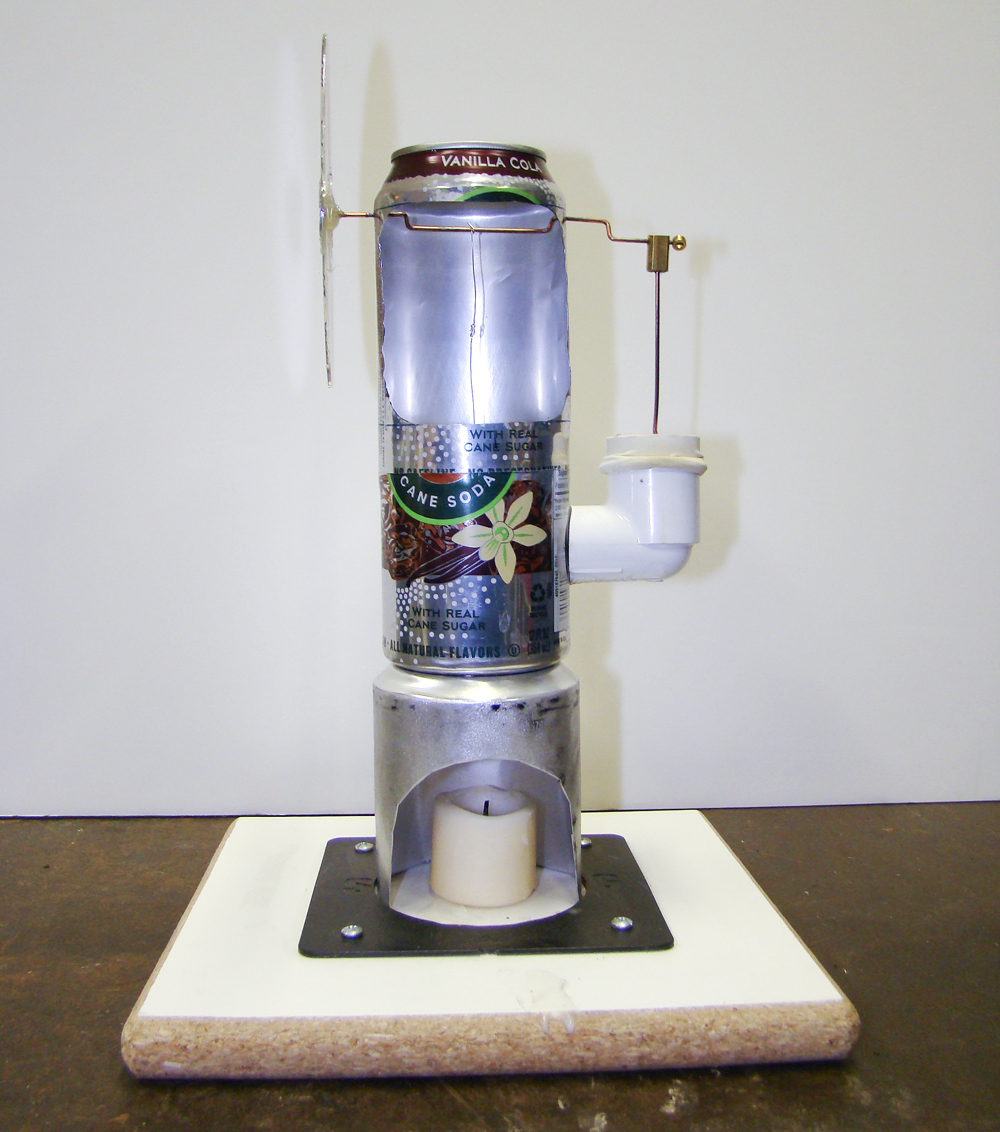
Unfortunately, due to COVID-19 my project was heavily impacted in terms of being limited to resources and most importantly the access to the machine shop. I was planning on using the Idea Forge machine shop to make all of my parts as well as seek out help from Chase and other faculty who have experience in Stirling Motors as they can be extremely tricky to make. When all of classes moved to remote learning I was unable to use these resources which made it very difficult to achieve the initial goals of this project. I still wanted to make a functioning Stirling motor and build something with my hands, so rather than making a virtual CAD rendering of a model I went the route of using materials that I had and youtube videos I had seen of people making some out of every day household items. The image below shows an example of some of the designs that I was going off of from videos I had seen on youtube.
Design Process
I began construction by using an old monster can as many of the videos I had seen been using. However the problem that I was having is that the walls of the cylinder were extremely flimsy and I was having very hard time mounting any components to it. Additionally, it was permanently deforming as I continued to add components so I began to look for a better housing for the displacement cylinder.
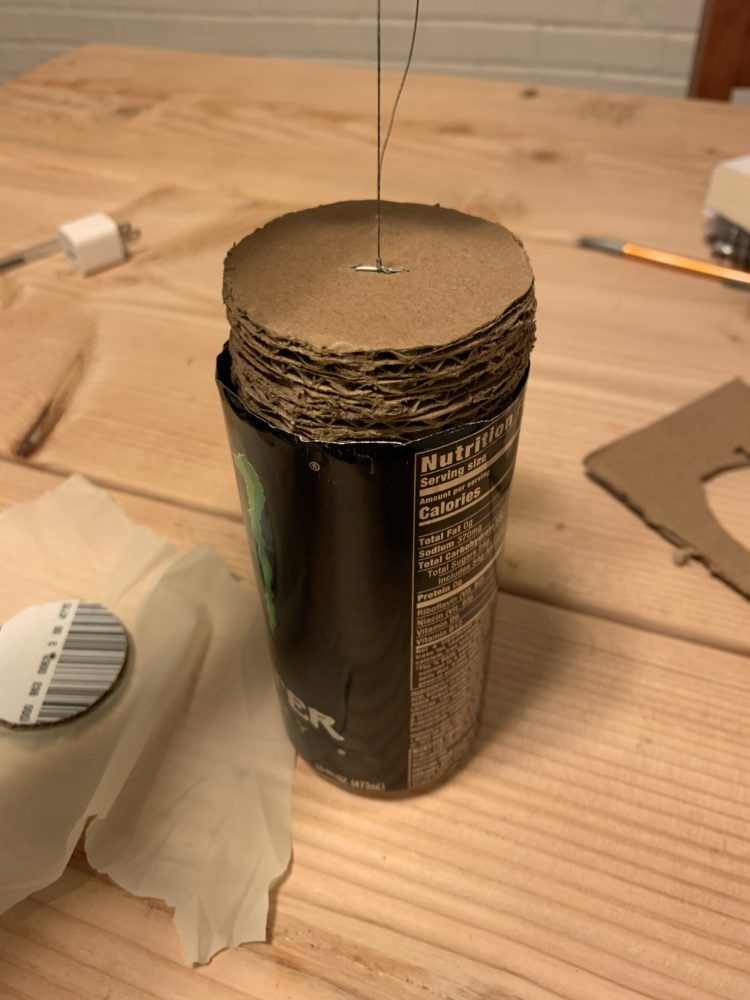
I used an old soup can as the new housing for the displacement cylinder and this seemed to begin to work much better. I also decided not to use the stacked pieces of hardboard as the displacement piston as it was too heavy for the overall system. I used steel wool instead, which I had seen been used in other designs, however after several attempts I was unable to find the type and size of steel wool that I needed to work to displace the heat. I used a balloon fastened over the top of the can as the power piston and Popsicle sticks attached to the sides as well as connected to the crank shaft as linkages. As I began to spend lots of time working on functionality of this project I began to lose sight of the aesthetic component by getting too tunneled into making the darn thing work.
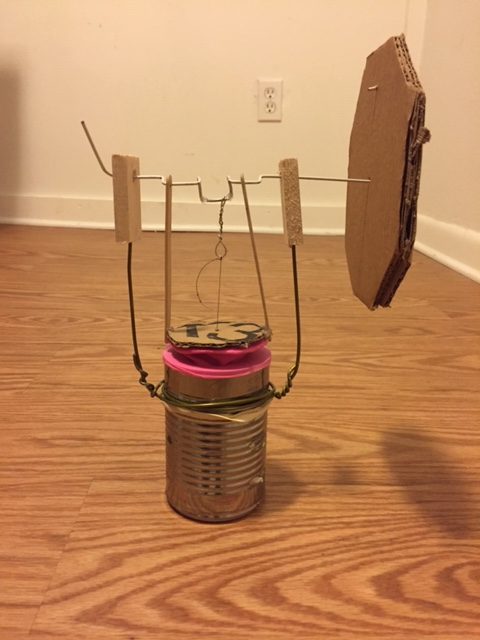
The next iteration featured bent coat hangers as the mounting point for the crankshaft. I used more coat hanger wire as the connecting linkages to add a more uniform aesthetic to it. My goal was to reduce the amount of friction in the system to hopefully achieve success in the functionality, however to my dismay it still did not work. At this point moral was low, and I felt that I was very close to success as the fly wheel did spin and turn over several times when spun by hand. However even using a large camping stove flame, it was unable to run.
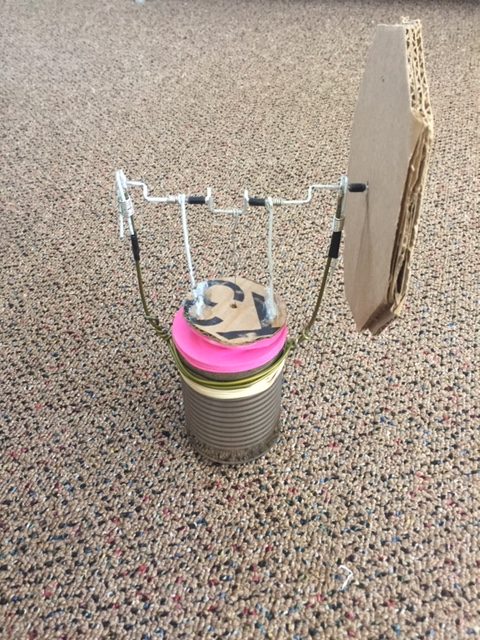
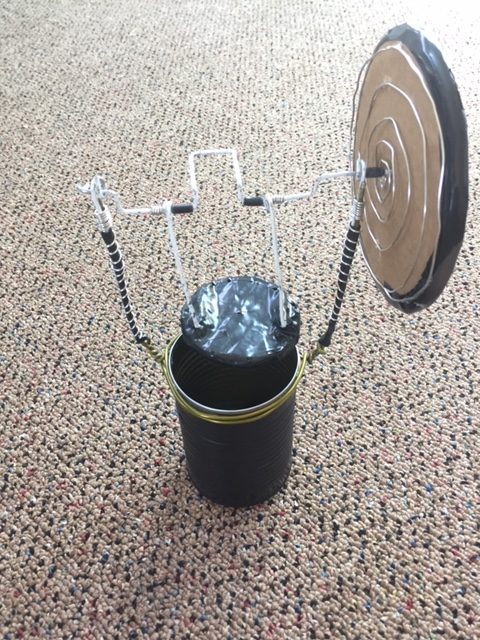
Finally, I realized that I had a very unfinished looking product, and limited resources in terms of how I could significantly change the aesthetic of the design. I did what I could with what I had, and using the advice from Professor Hertzberg I decorated it as shown below. I really liked the way the wire wrappings looked, and the black with silver trim did give it a more finished and put together look. I also made the fly wheel an actual circle which made the overall look of the motor much better. Looking back, I think I would have picked a different project if I could have – also I would have not had a global pandemic 
*Note there is no video as the recording method on zoom failed without the recorder knowing.

