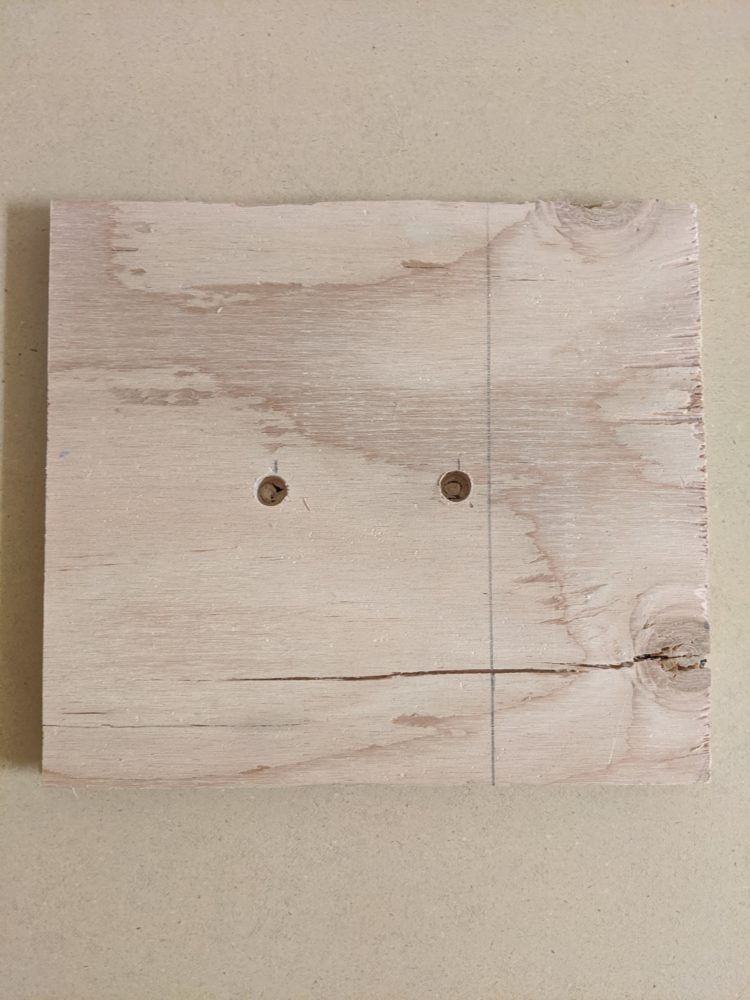
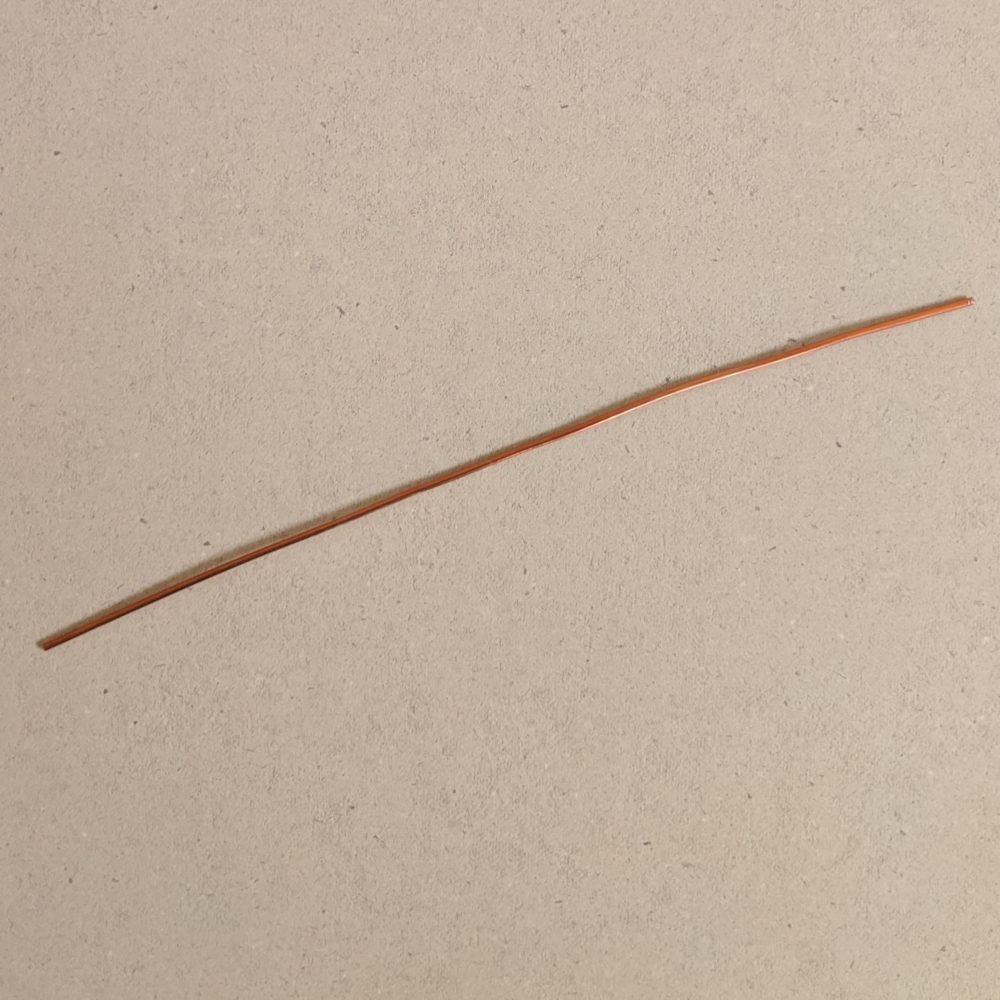
The fabrication process for my final project was fairly simple, and I was able to complete most of it over spring break. Since I was staying at my parent’s house for the week, I was able to use their tools in the fabrication process. The pieces that required specific manufacturing were the wooden base, and the two wooden dowels that would act as the posts to hold the crankshaft and trinket. For the base, I used a circular saw to cut it into the square shape. After I had cut it into shape, I used a drill to bore two holes, where the posts would be glued in. As for the dowels, I used a saw to cut slits for the crankshaft to rest in. I also cut a length of extra wiring that my parents had, which would eventually become to crankshaft. I chose to use this wiring because it was sturdy enough to hold its shape, but also flexible enough to be bent into the shape I needed.


The second phase of my fabrication process revolved primarily around the crankshaft and the trinket. Once I glued the posts into the base, I bent the wire into the desired shape. This took a couple tries to get right, because it often ended up not perfectly aligned, and required me to re-bend the different sections to make sure it fit within the posts and was able to produce the up and down motion. As for the trinket, I went with a print-out of the design I had originally intended to use, which is the spider off of My Chemical Romance’s Danger Days album. Since paper is easy to work with, all I had to do was cut it out and poke a hole through the top for the ribbon to go through.
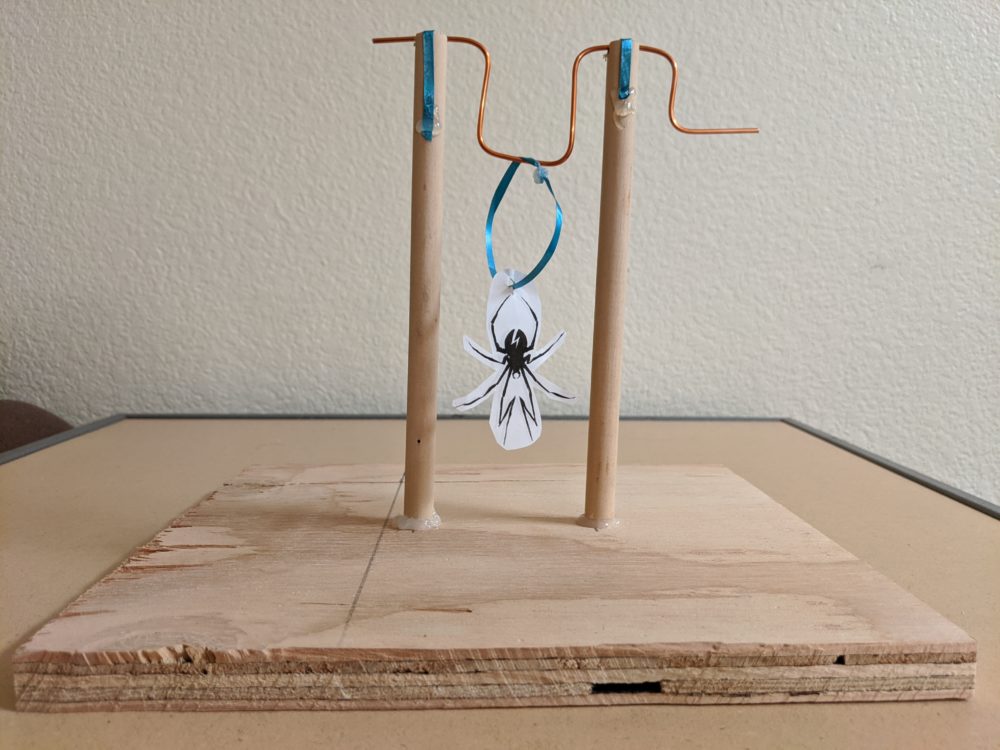
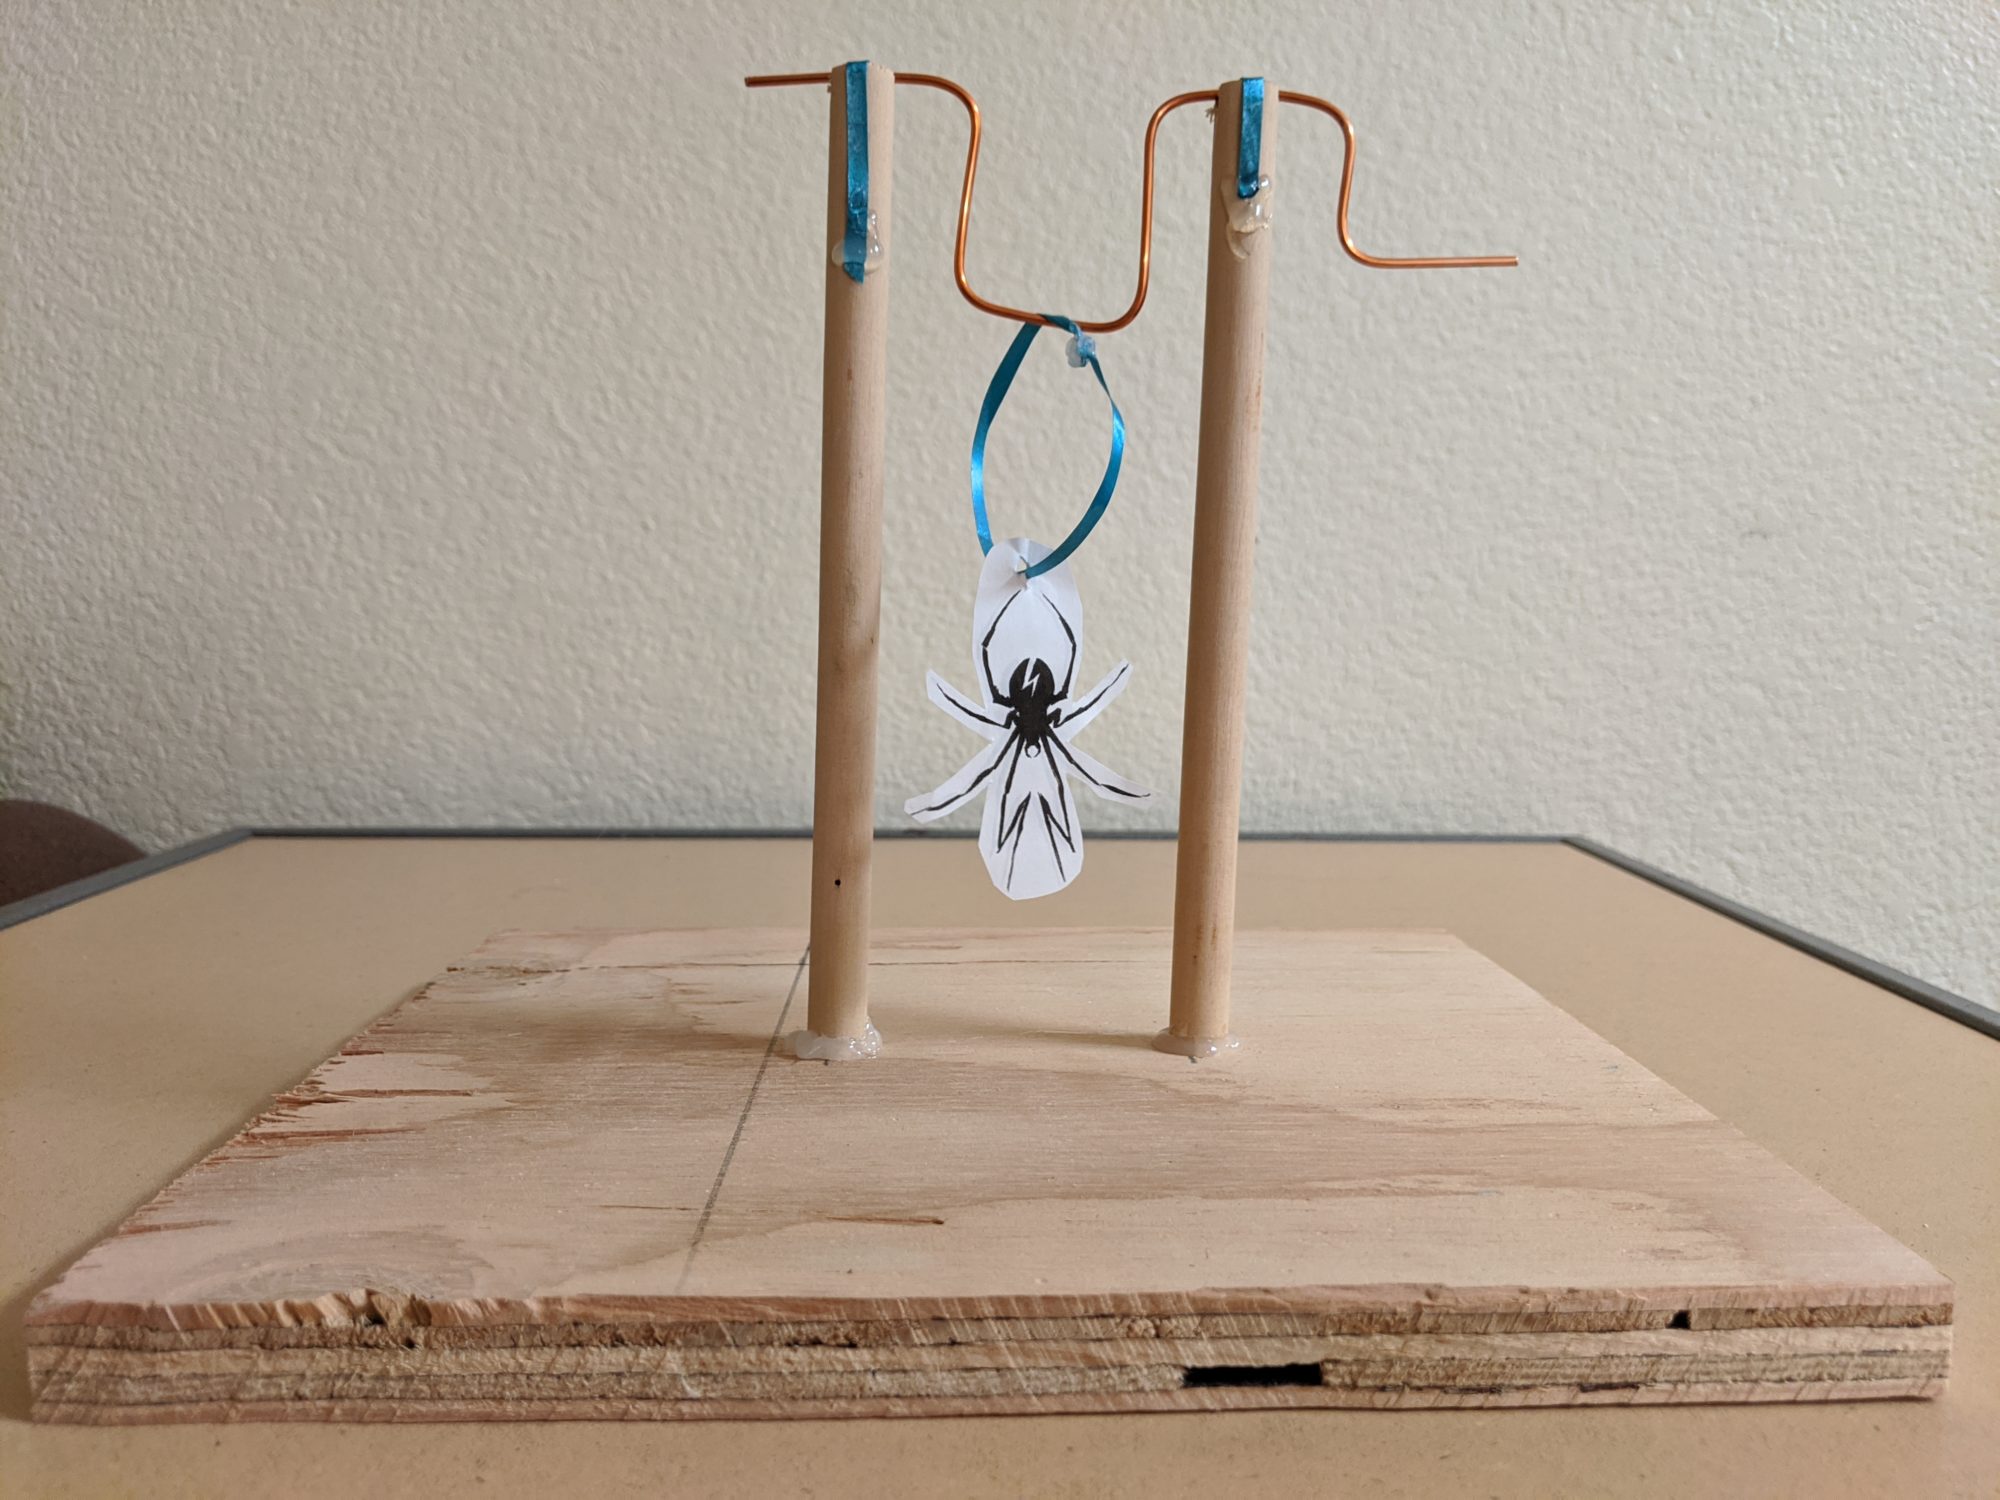
The ribbon itself was leftover from a gift I had gotten at the end of my internship last summer, and although I knew I would be using it to tie the trinket to the crankshaft, I hadn’t originally planned to use it over the tops of the posts. This decision came about when I was testing the dynamic component of the project and found that the wire was constantly popping out of the slits in the posts. I needed something that was strong enough to hold the wire in place, but not so strong that it hindered the spinning motion. So I used the last scraps of ribbon and glued them over the top. The final product can be seen below.

Looking forward, I’d really like to revisit this project once workshops and other design centers open back up. I was looking forward to making my original design, and it really bummed me out to have to scale back my scope like this. Hopefully over the summer, or in the fall, I will be able to find the resources to make my original idea a reality. Since I will be graduating, I won’t be able to use the resources at the ITLL or Idea Forge, but there are a number of off-campus/community design centers that would work well for my purposes.
Presentation
https://youtu.be/KjZAIUH45bs


2 Comments. Leave new
Hey Mary!
I think your final product is such a great adaptation to your original design, given the stay at home order. Your initial designs were really thought out and I think portrayed your aesthetic perfectly, and I’m sorry you didn’t get a chance to engineer it! But your final is dynamic, functional, and well designed so you should be proud of your overall process. I think the simplistic features create an “arts & craft” style of this project. Your ideas moving forward are very innovative as well, do you have any plans further plans to create your original design? Great job!!
I’d like to revisit this project over the summer or in the fall and create something that is more like my original design. There are a few community workshops in Boulder and near where I live that would probably be good fits for what I aim to create, so I’ll be looking into those and making plans as soon as all this craziness clears up.