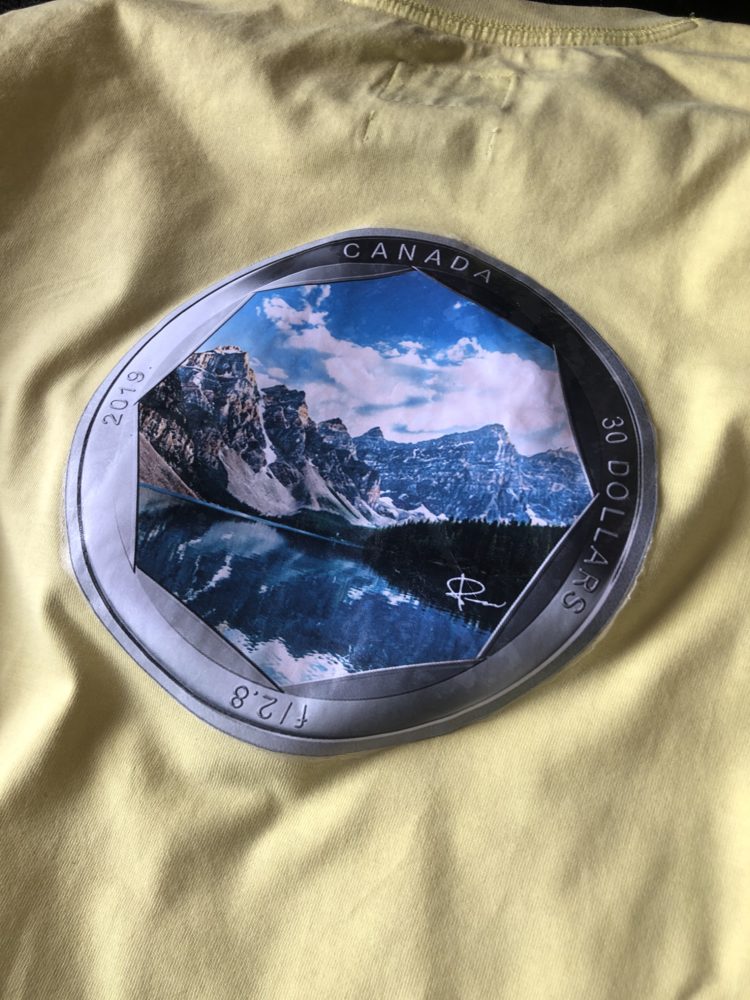
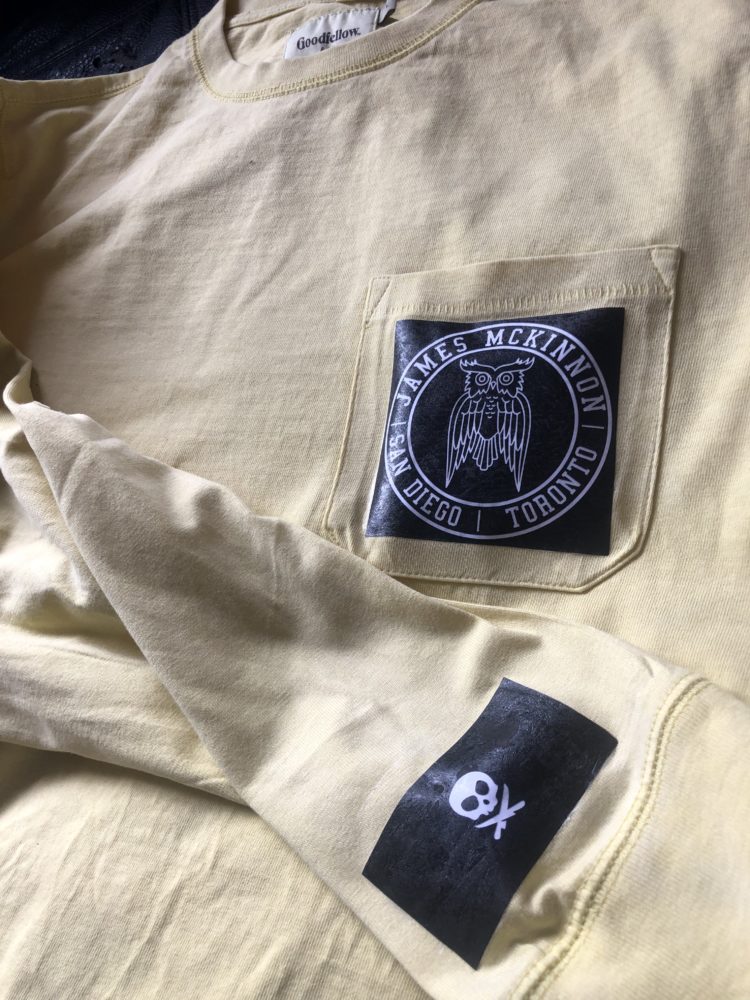
For my final project I am designing some clothes that are minimalist in style. This was not my original project plan I had planned to make a neon sign but with the developments of COVID and campus closing I have shifted to something I can complete from home and that I think is pretty cool. So to start the project I wanted inspiration for the ideas of what I wanted to put on my shirts. If you look back at an old post of mine I made one about the ‘Peter Mckinnon” aesthetic. So going off of this I figured why not make a Peter Mckinnon inspired shirt.
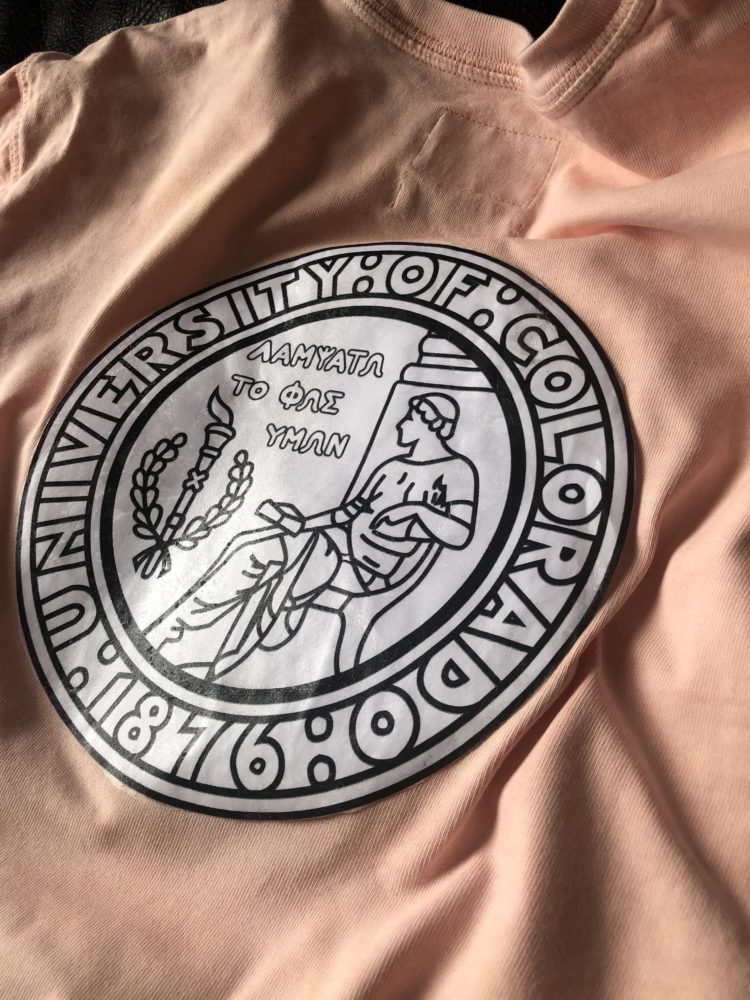
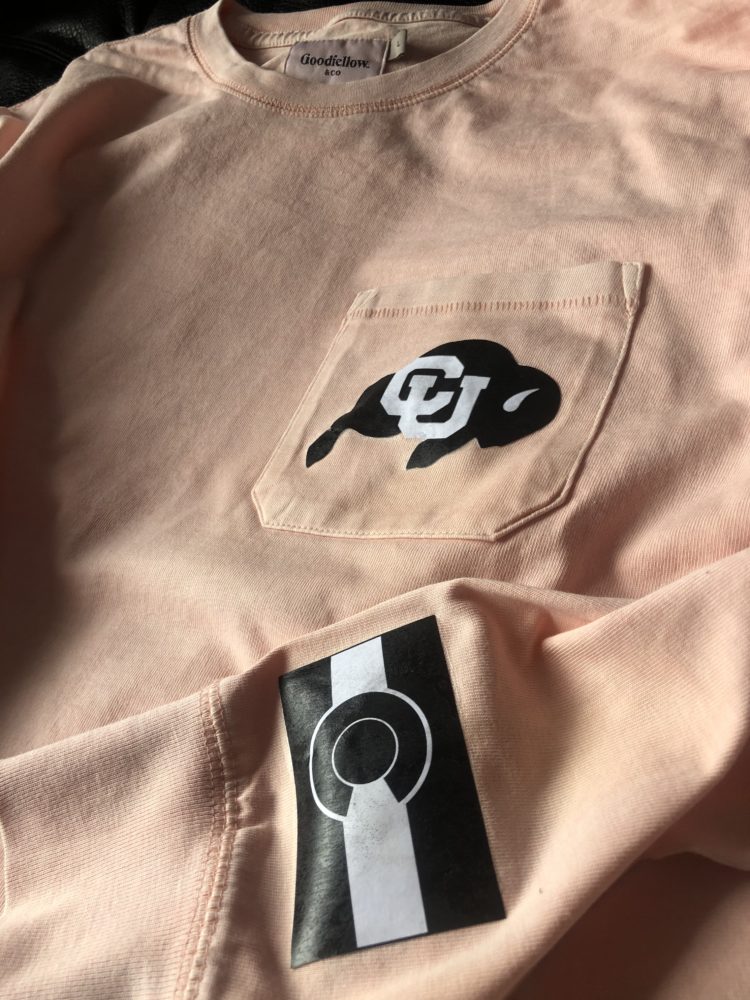
I also have always wanted more CU clothing because I just simply don’t have that much and I mean it is my school! So the other shirt I am making will have CU logos on it.
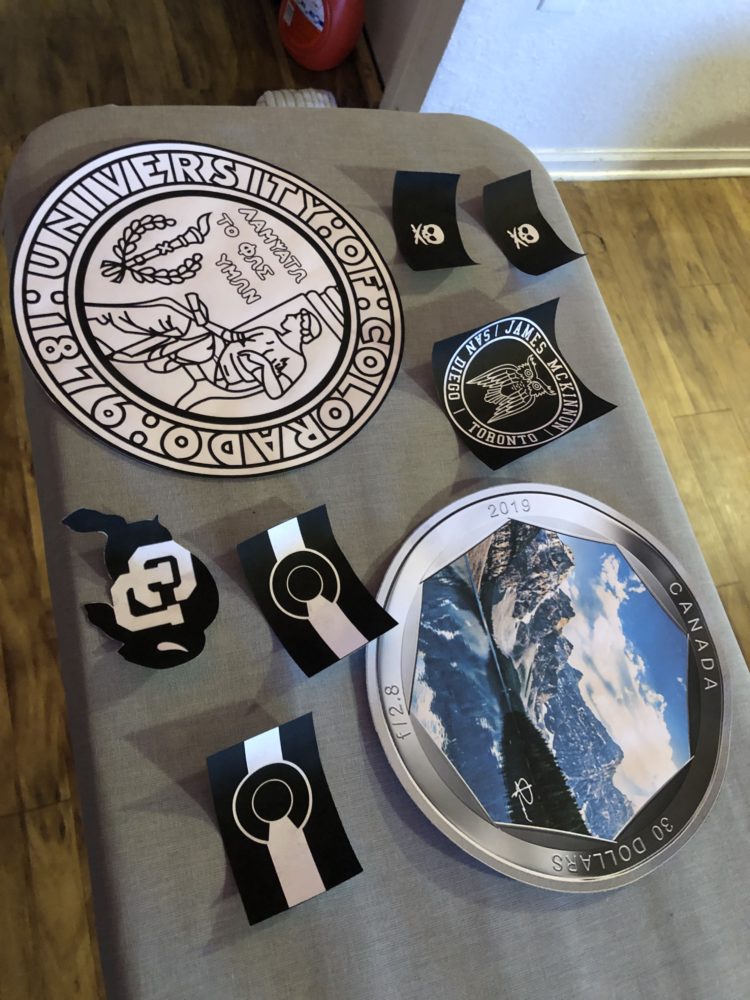
Pictured here are the cut out designs that will be placed on the shirts.
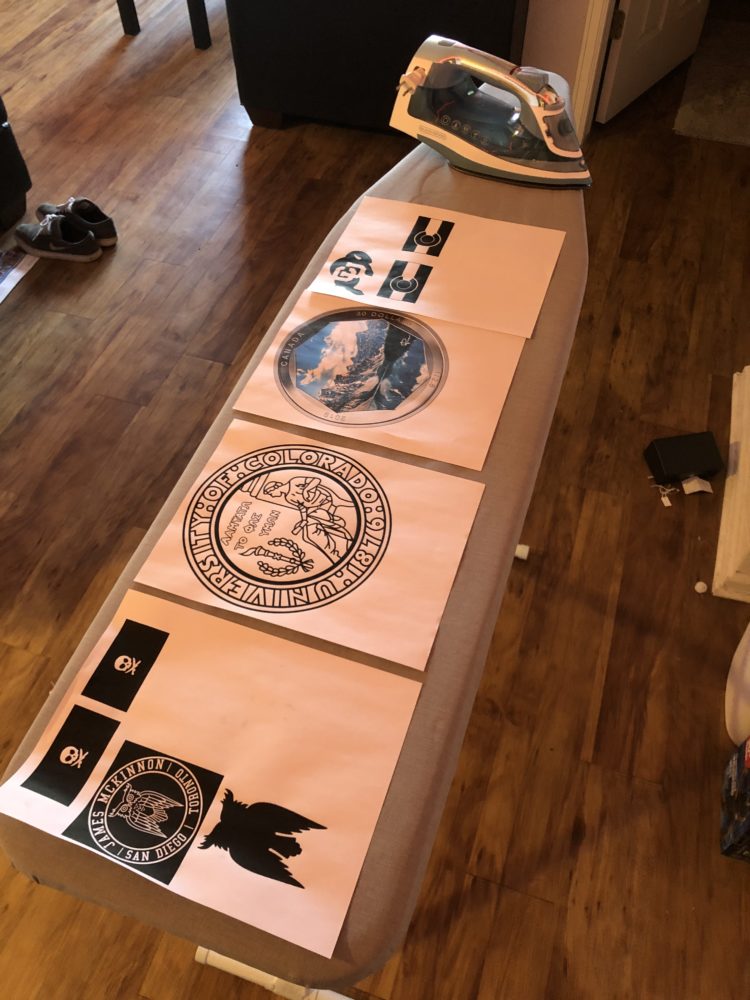
So after cutting out the designs you have to wrap them in cling wrap, as i learned wrap it twice for a better application. Pictured below is one of the designs wrapped in the cling wrap ready to be applied to the shirt.

So to apply the design you simply align it where you want and then use parchment paper over top of the design to protect it from an iron. Place the iron settings to cotton and make sure that once you start to apply heat you DO use steam on the design. If you do not then the design wont stay on. Seems kinda crazy that just heat doesnt do the trick and you need water even when you have parchment paper between. Below is a picture of applying on one of the designs.
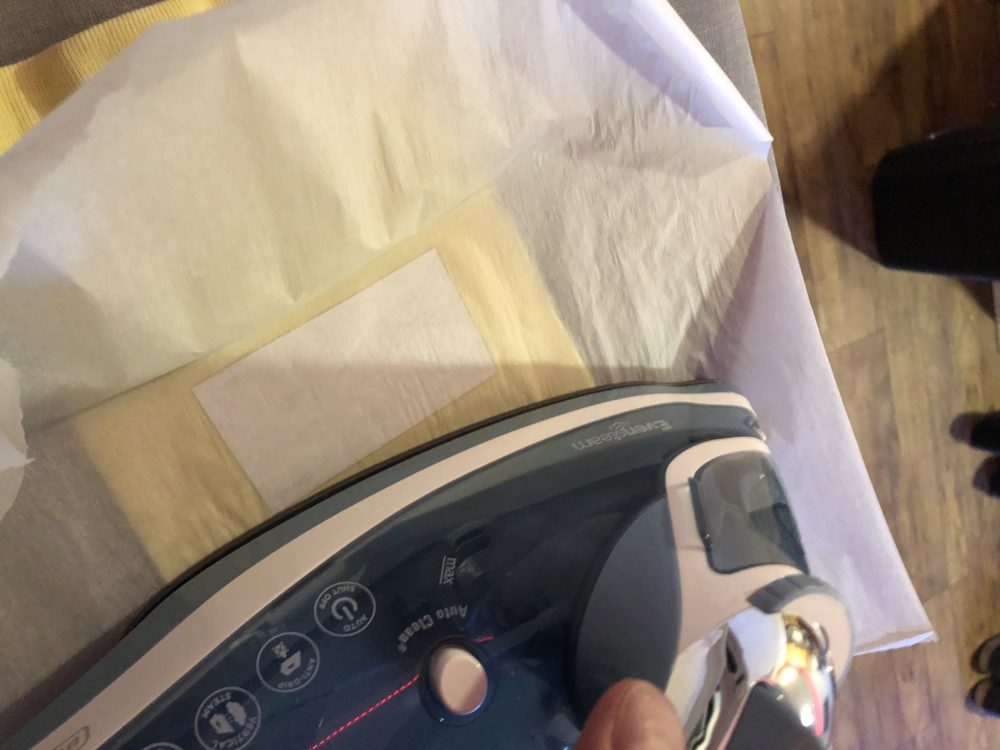
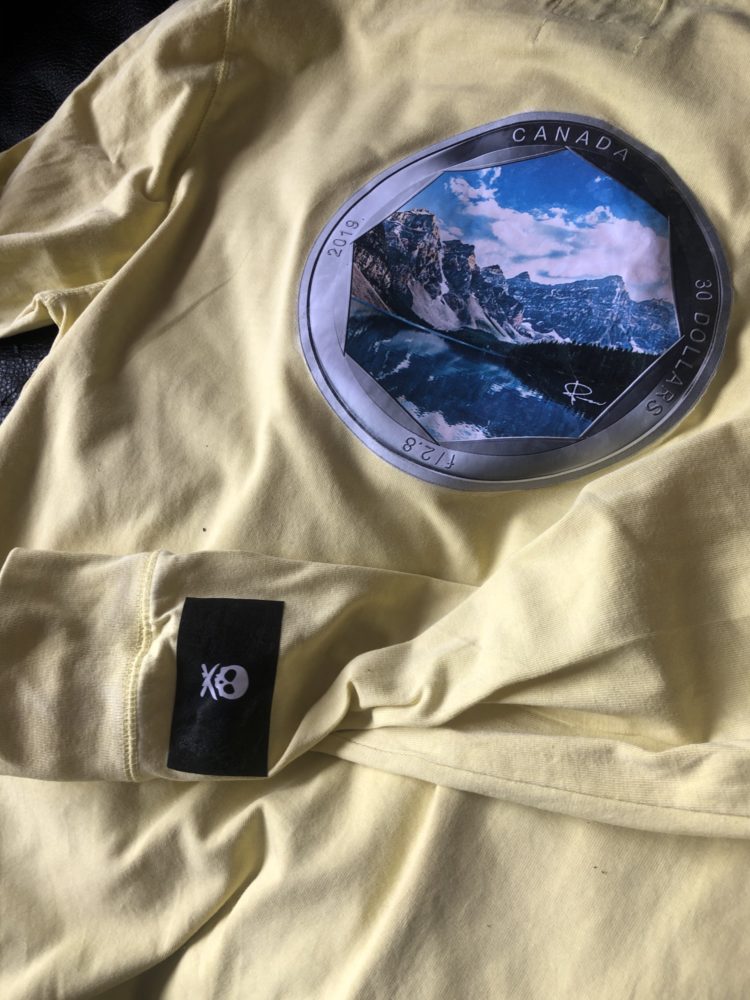
You need to heat the design for around 45 seconds but the bigger the design the longer you will want to heat it. Lift the parchment paper and once there is no longer any cling wrap remaining you are all good to go! Here are some photos of the shirts with the designs applied.
A video of me presenting my project!

1 Comment. Leave new
Hey Chris. This project seemed really cool and honestly after reading through your blog post and watching your presentation, I might go give this a try myself. I wonder, do the prints come over relatively quickly when you wash the shirt over time or are they pretty secure? Seems like this is a neat and inexpensive trick to create one’s own custom shirts rather than ordering them online through design websites, and or buying a big name brand shirt as well. Overall, looks dope!