For my final project I am making an LED “neon” sign with the two aircraft I will fly at pilot training and the unit/program name.
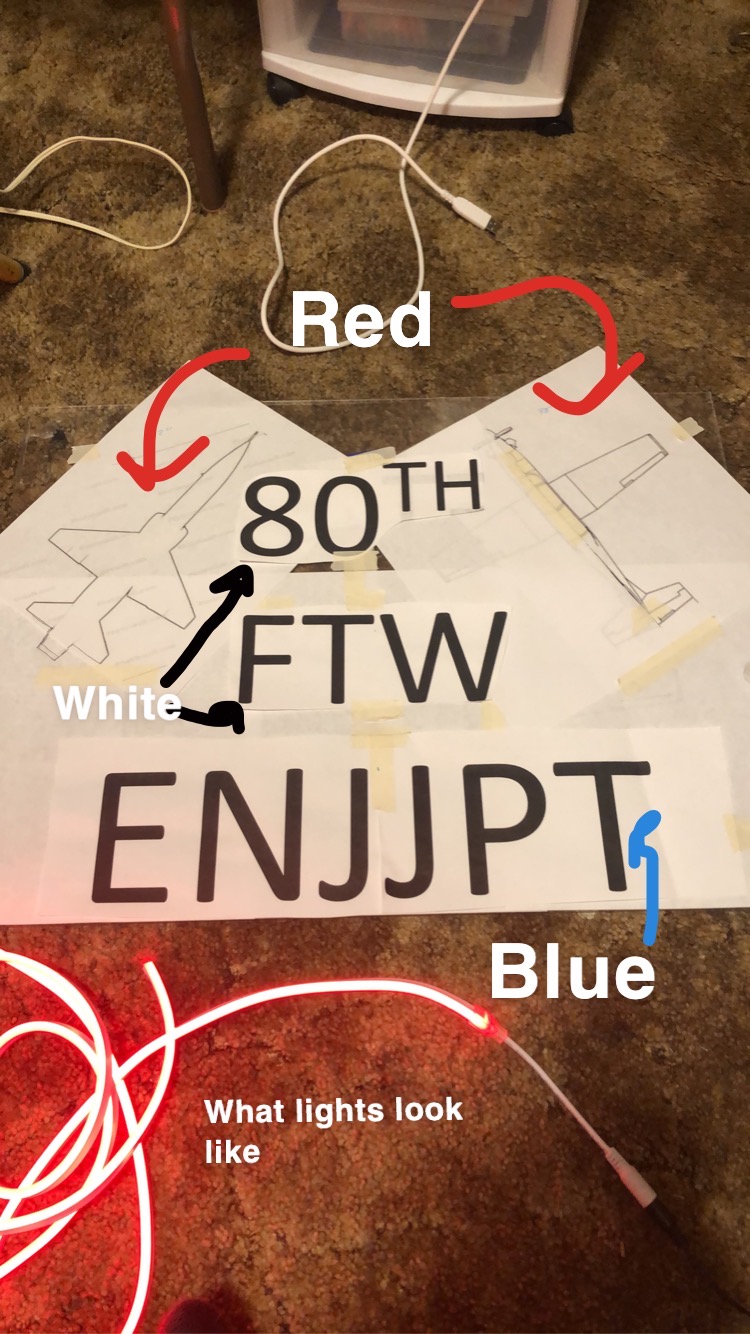
Before I began construction I had to finalize my design. I originally planned on making a wooden propeller, but due to COVID-19 I had to pivot to a new creation. This put me behind because I had to catch up to the rest of the class. I was able to finalize my final design last week, which can be seen below.
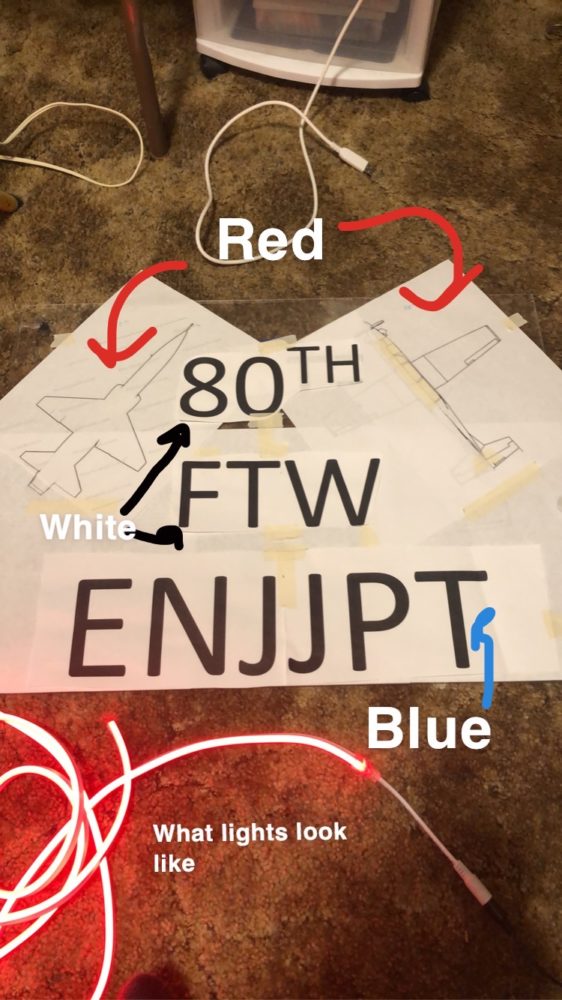
I came to this design after several iterations of design. My first vision was to do an american flag with “80th FTW” instead of stars. After some thought I realized that this may not look as good because the stripes would be disproportionately small compared to the size of the flag. Next, I came up with the design to have the two jets and the word “ENJJPT” underneath. After I laid this out on paper I decided that I really liked it, but that there was too much space in the middle. This lead me to add “80th FTW” between the jets and above “ENJJPT”.
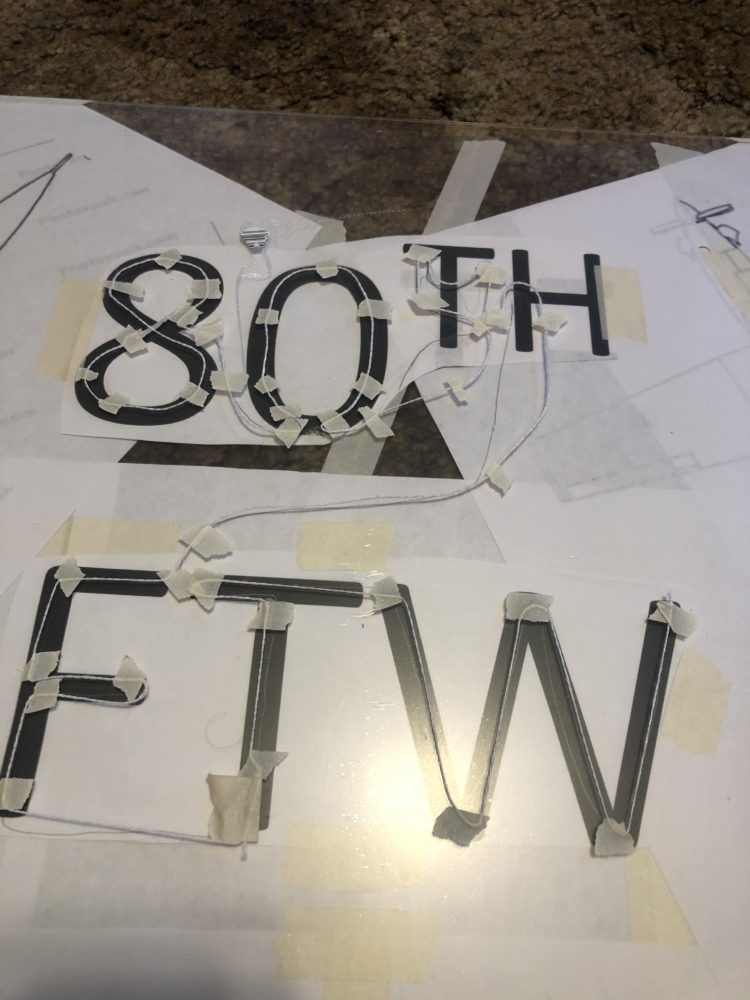
Next came the task of determining how long each light strand needed to be for each segment. I decided to trace the outline of each section with string in order to find the exact length. The text is split into two segments that are going to be continuous strands with black tape covering the sections between letters.
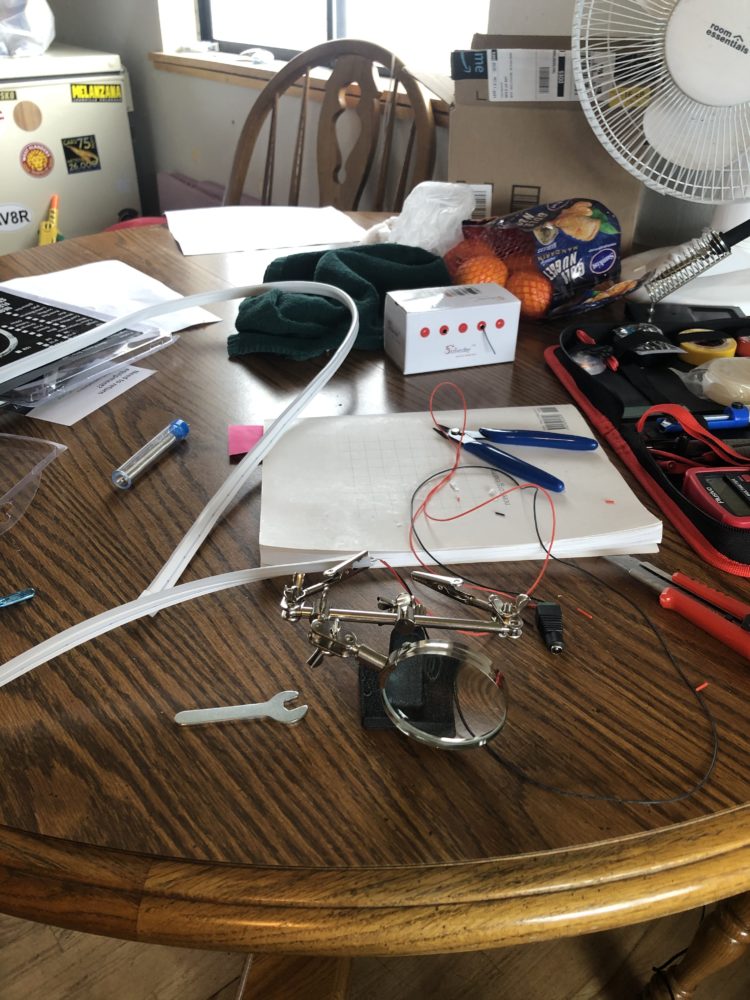
After I cut the light strips to length I had to solder wires to them. I have never soldered LED strips before, and it took some trial-and-error to figure out exactly what I needed to do. I tried to figure out where I needed to solder on my own first, but that did not work. I ended up doing some research and I found out that LED light strips have groupings of lights split by “cut points” which have exposed surfaces to cut and solder. After dissecting a small strip I cut off the larger spindle, I figured out that I needed to cut the LED strips at exactly one inch intervals. Once that was figured out it was smooth sailing.
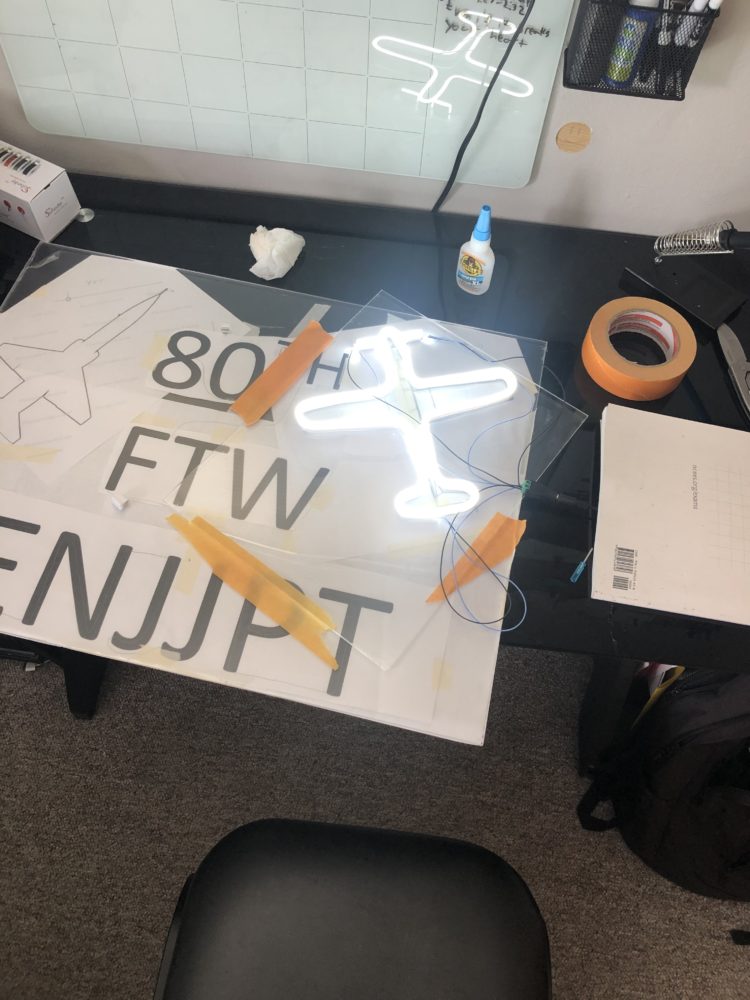
Next came the task of attaching the light strips to the acrylic backing. I was concerned if superglue would actually work, and It just so happens that my roommate’s birthday is this week, so I decided to make him his own LED neon sign that also served as a less-expensive trial run. The string method I used to determine the length of lights ended up working perfectly, and the lights were securely attached to the acrylic.
Now all that is left to do is glue everything down!

2 Comments. Leave new
It seems like the restrictions imposed on Colorado didn’t stop you or hinder you in any major way. It’s great you already had so many of your materials. Are you going to be able to eventually add a propeller, or is it a mute point now anyway because you added design in the center. I love neon signs and think making your own is awesome. Good job!
Hi Noah, what are you going to do with the sign. I know you may have said before, but Id be interested to see if any of those plans have changed. Basically the plans once you are finished with the product. What are you going to add to hang it up? Or how will it be displayed. This could be described in this post more too. Other than those critiques, I think it turned out really good! I wasnt too sure about the small size of the led at first, but it has grown on me!