Ordered Component Progress
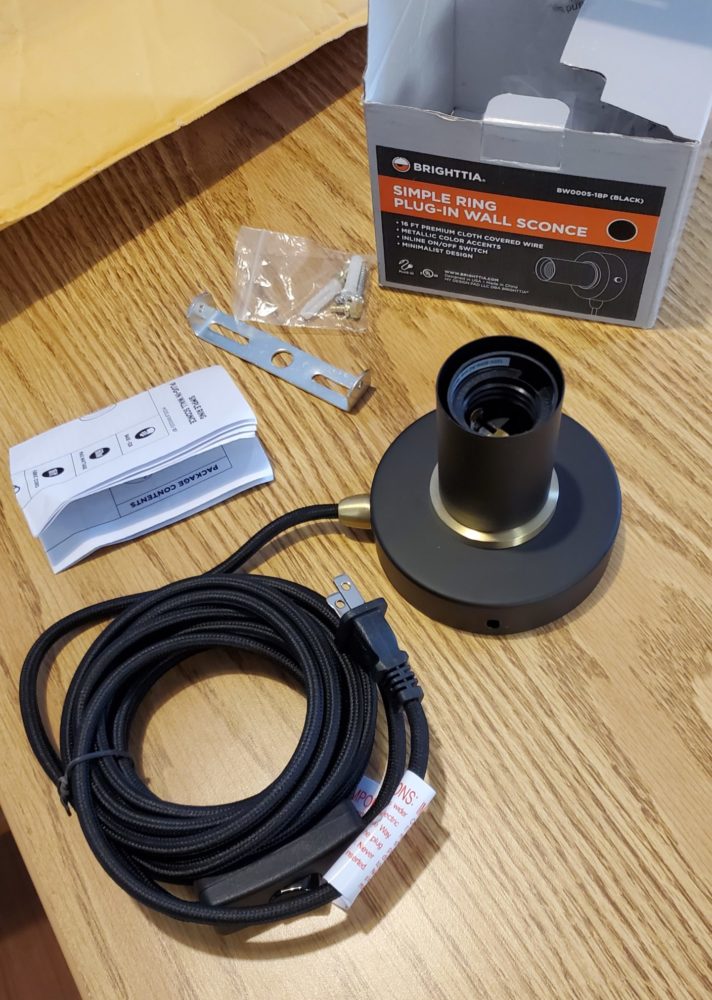
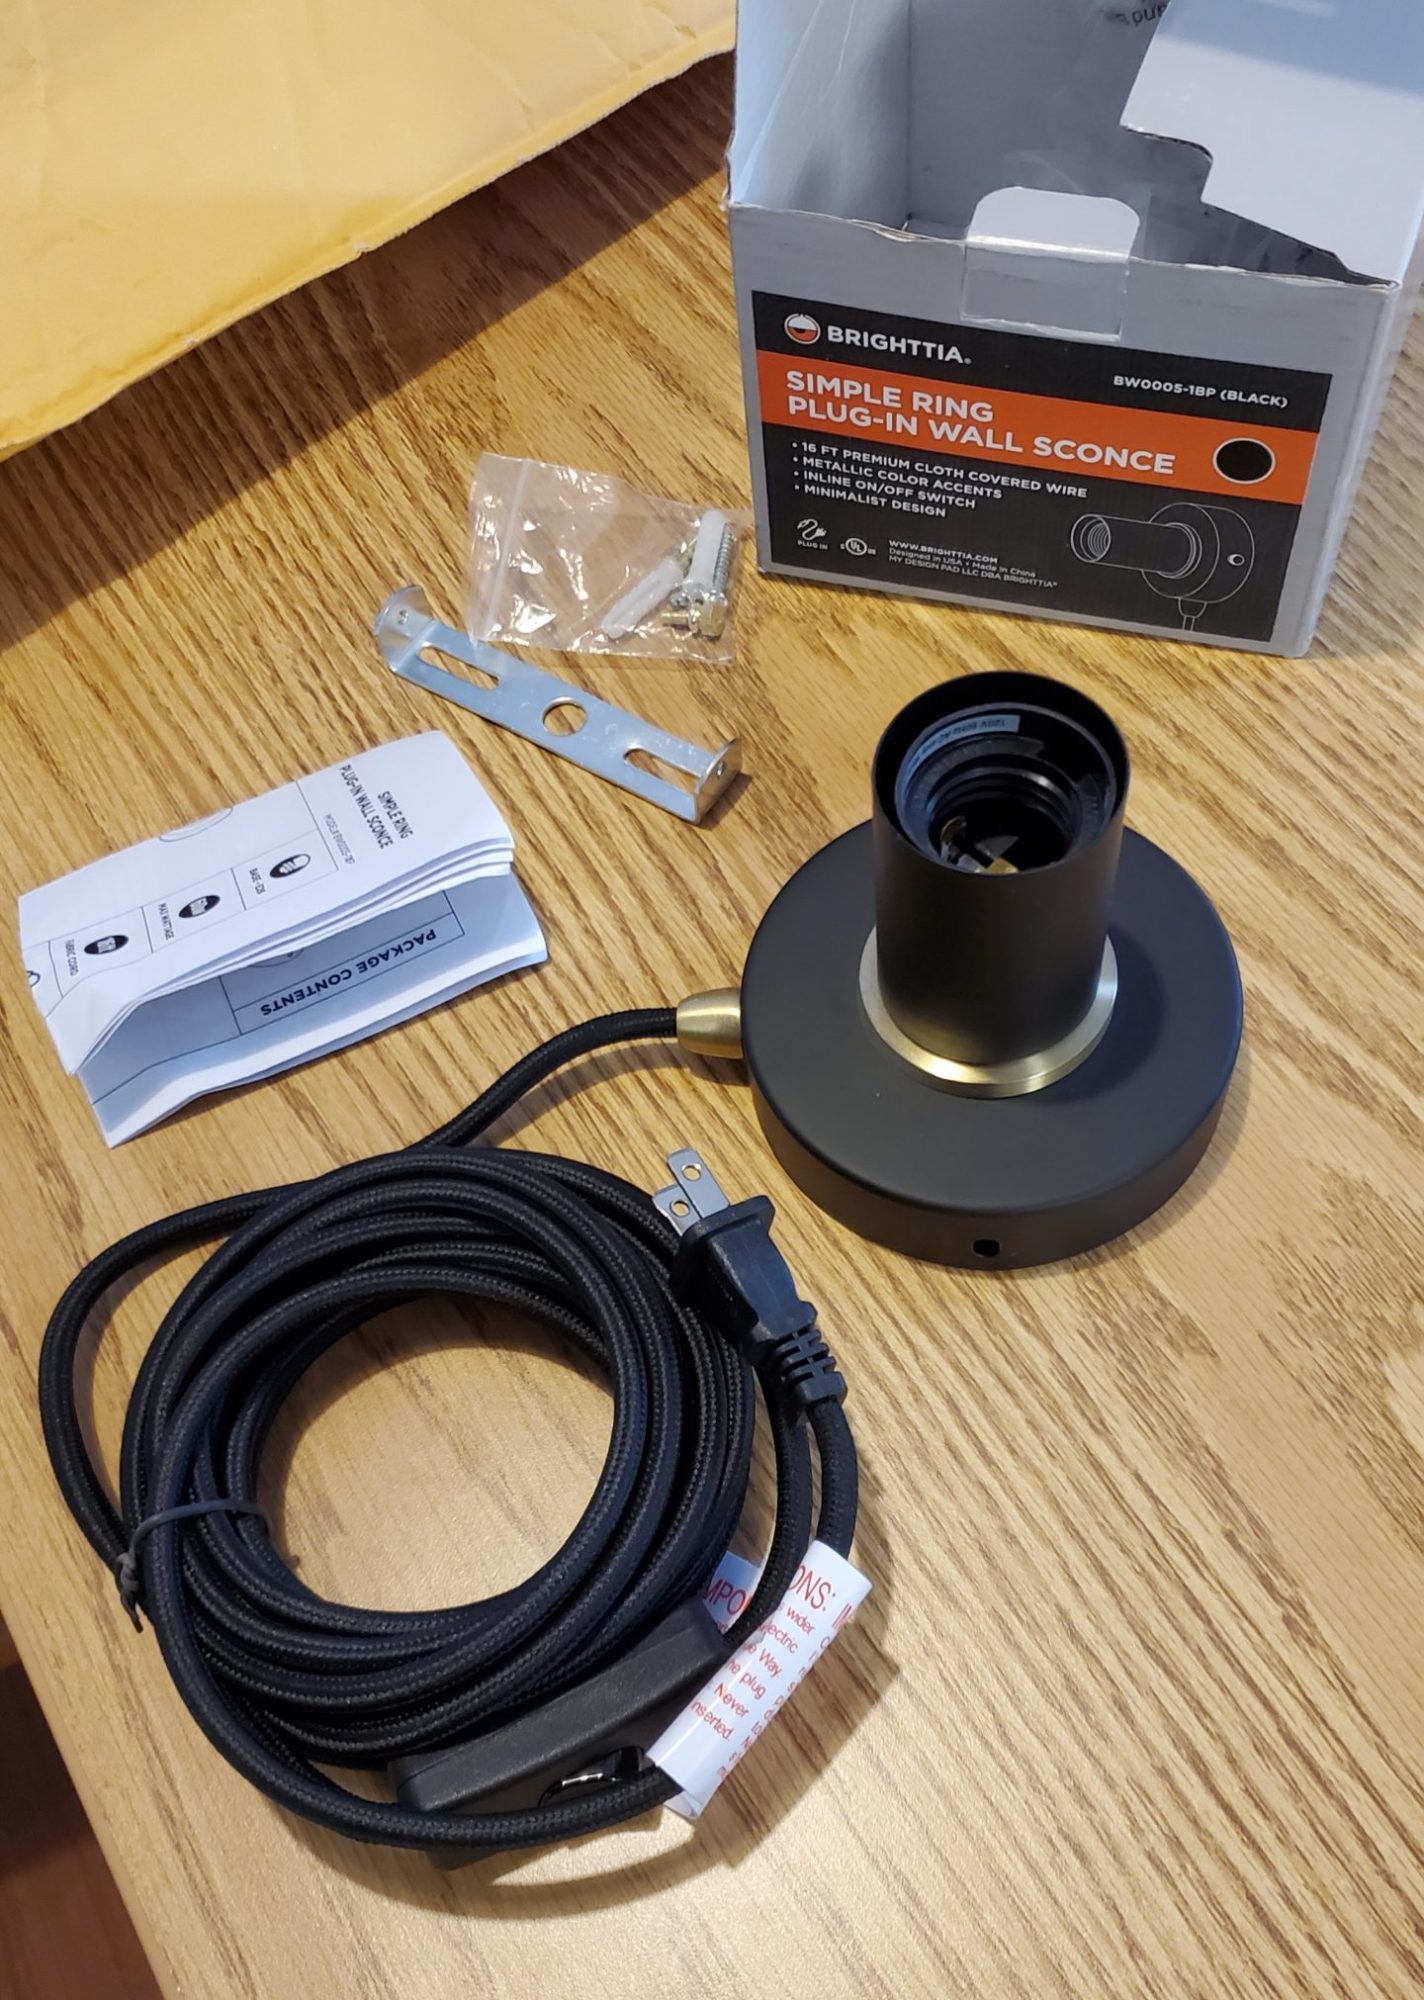
The major progress so far has been the arrival of the light socket and plug that I ordered [1]. In order to expedite the placement of my decorative panel laser cutting order from Ponoko, a side view of the light base was used with a pixel analyzer.

With information on the website that the fixture’s overall base was 4″ in diameter, comprising 444 pixels in the analyzer, while the brass ring took up 222 pixels, I then knew the brass ring was around 2″ in diameter. I used this information to update my decorative wooden frame DXF, and submit my Ponoko laser cutting order five days before my light base arrived, with the frame hole diameter sized to 2″ + clearance.

This was a calculated risk, proving worthwhile as the light base brass ring was confirmed to be 2″ in diameter upon arrival, and my Ponoko laser cut wood enclosure order has taken longer than expected to process and ship.
Laser Cut Enclosure
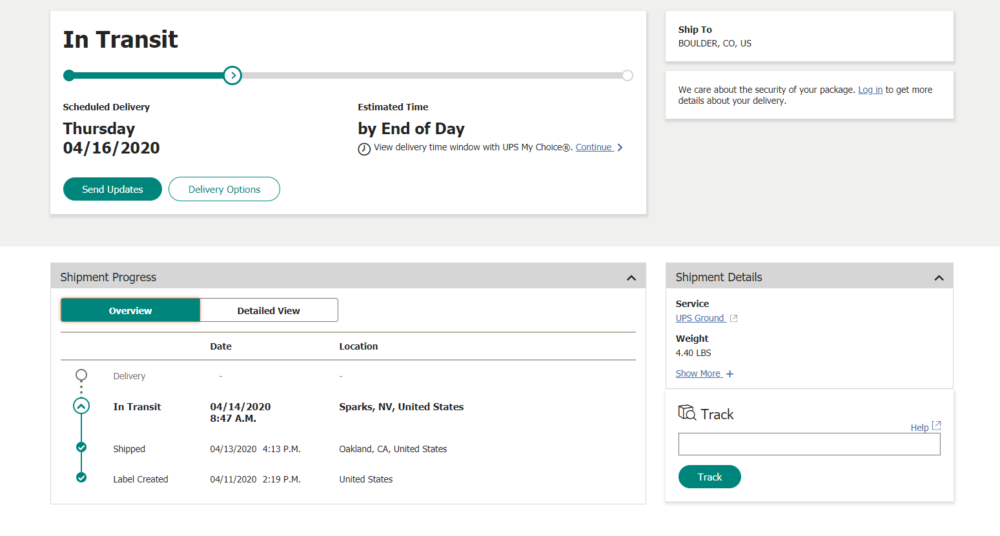
I placed my order for the wood panels to make my enclosure on March 30th, and while an order invoice on the Ponoko website initially showed (and still does) a delivery date of April 13th, a UPS tracking number revealed no transit activity until today (April 14th). My decorative panels are currently in transit, and the expected delivery date is Thursday, April 16th.

This will unfortunately leave me only four days to add any paint or finish to the panels. If anything is wrong with the order, there’s not sufficient time for reordering to have a functional finished project by April 20th.
Light Bulb
This week my focus will be on selecting a light bulb for the lamp. My light base limits me to medium E26 bulbs and I figured it would be prudent to get an LED to minimize fire hazard in a wooden enclosure. I would like to adhere to a modern or futuristic aesthetic, and the challenge will be selecting one that would look great with both the unaltered amber coloration of the bamboo plywood, and a silver metallic coloration if I choose to proceed with application of a paint to my decorative panels. Another consideration is possibly selecting a diffuse bulb, as the angle of my panels won’t fully obstruct the direct view of the bulb. Finally, I must also decide if I still want a warm-hued light as I identified as a central aesthetic goal at this project’s inception.
Updated CAD Assembly
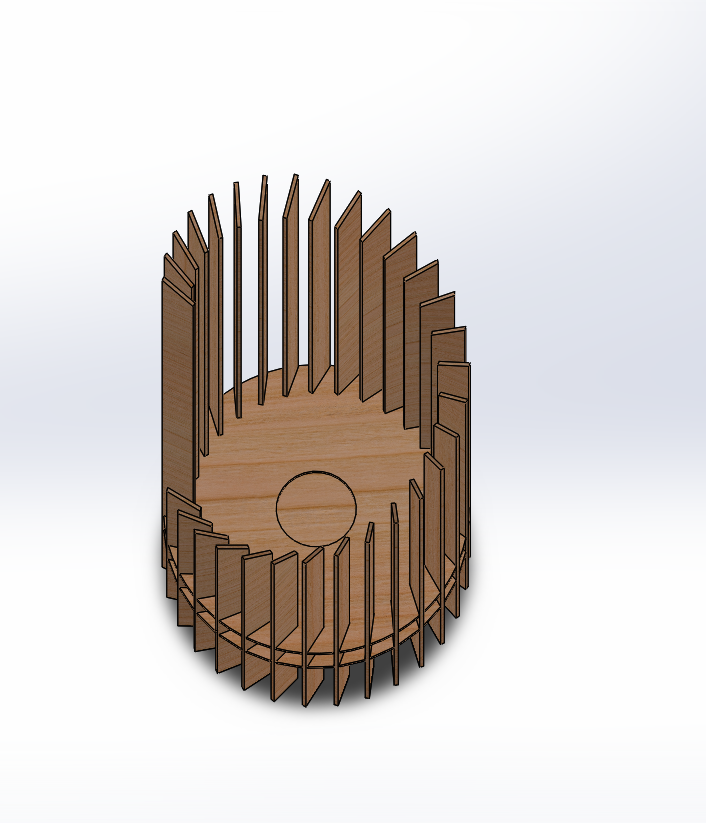
Throughout the process, I have been updating a SolidWorks model of my desk lamp to be consistent with all changes to DXF file dimensions and changes in material and associated thickness. Below is the final model of the desk lamp.

Image Citation
[1] “Black Plug In Wall Sconce Light With Brushed Brass Ring – Flush Mount Wall Lamp Fixture – Mid Century Industrial Modern Edison Bulb Lighting” Brighttia. Accessed 25 March, 2020 from https://www.brighttia.com/product/black-plug-in-wall-sconce-light-with-brushed-brass-ring-flush-mount-wall-lamp-fixture-mid-century-industrial-modern-edison-bulb-lighting/


6 Comments. Leave new
Hey Justin,
The CAD looks great I love the movement that is seen through the changing heights of the pieces. I think it is great that you are able to get them made for you! I am excited to see the final results.
Hello Jamie! Yeah I tried to create a visual cascading effect with the outer panels. I hope I can create a cohesive look as my intended futuristic look is appearing less and less likely since the enclosure panels probably won’t arrive until Monday morning, leaving very little time to paint.
Hi Justin! I am really looking forward to seeing the final assembly once your laser cut pieces come in. Instead of silver paint, have you thought of using gold paint to match the metallic accents on the light base you purchased? Will those metallic accents be visible when you place it in the wooden enclosure you created? Anyway, I hope your enclosure comes soon!
Hello Fiona! A gold or brass colored metallic paint would definitely look cohesive with the lighting socket. The plywood is 0.11″ thick, so the brass ring should be visible even when placed into my enclosure. Unfortunately my UPS tracking number has revealed no progress since the evening of the 14th, so hopefully the enclosure arrives Monday morning.
Hey Justin,
It is awesome to see you are making good progress towards your lamp! And way to go on taking that calculated risk! It seems it paid off for sure, since now you will be able to finish your project by the due date. Question/suggestion, would painting the wood a reflective metallic color add to your futuristic aesthetic?
Best of luck!
Ben Robles
Hey Ben! I had planned to add metallic silver paint, but the arrival of my enclosure panels has been significantly delayed to the point that at the earliest they’ll arrive is Monday morning. I may see how the enclosure looks unaltered and try to find a bulb that matches with the more rustic unpainted wood before adding a coat of metallic paint. I had initially planned a more futuristic aesthetic, but I don’t think I’ll have time to add multiple coats of metallic paint to all 32 panels Monday morning.