Timeline

Process
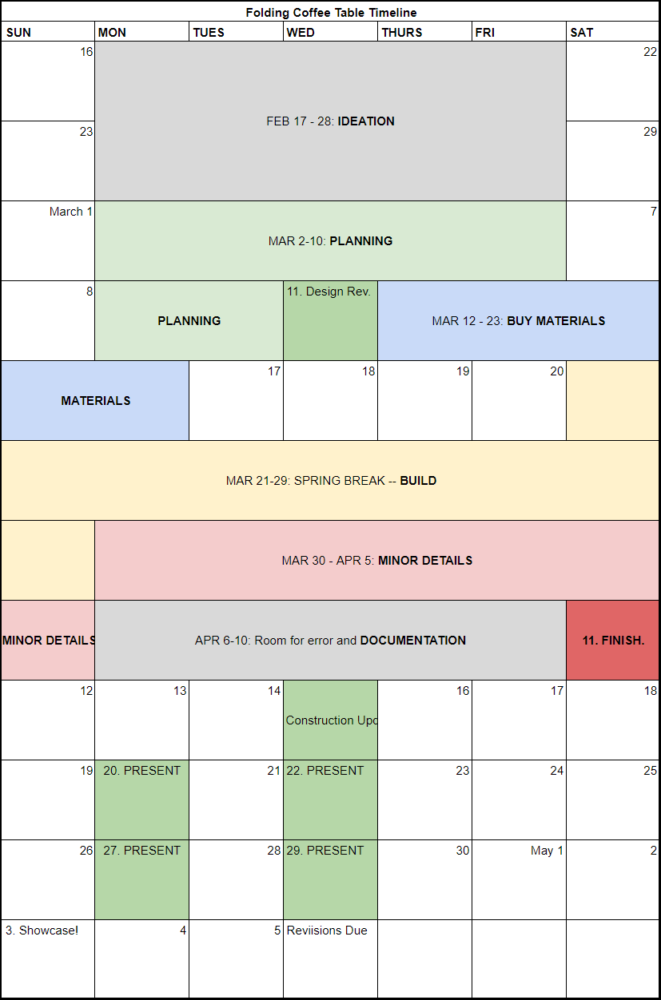
I plan to obtain all of my materials on the weekend of March 13-15. The following week will be spent seeking resources and knowledge to put everything together but for the time being these are the steps I am going to take.
- Measure, cut, and sand table top piece of wood
- Drill hinges onto bottom of table top
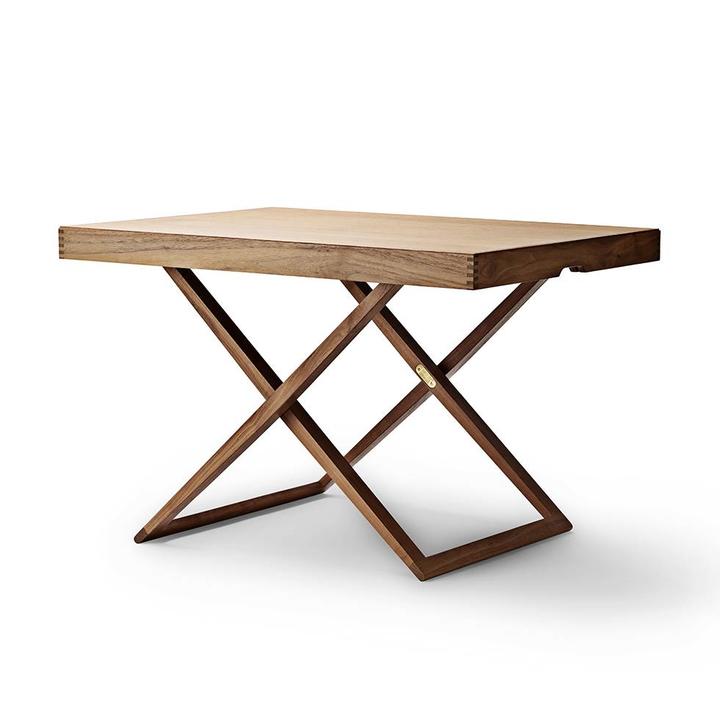
- Cut copper pipes to appropriate length. Depending on what it is like working with the material, I may bend the bottom corners into squared off U shapes on the bottom. See image below but image rounded copper pipes instead of wood. If I don’t bend the metal then I will cut four individual pieces and cover the bottom with rubber to prevent slippage.
 [https://www.workbrands.com/en/carl-hansen-son-carl-hansen-son-ch417-tray-table-c.html]
 - Drill holes into intersections of pipes to loosen or tighten in order to adjust the height.
- Secure pipes to hinges at the bottom of the table top
- Apply a finish to the table so that it is sleek and smooth.
If there are unforeseen circumstances, which I think there will be, I have given myself the two weeks after Spring Break to find solutions. Time within these two weeks will also be dedicated towards documentation. If I do not finish by April 11, I still have three more days to sort out any disasters.
Video
COVID19 UPDATE:
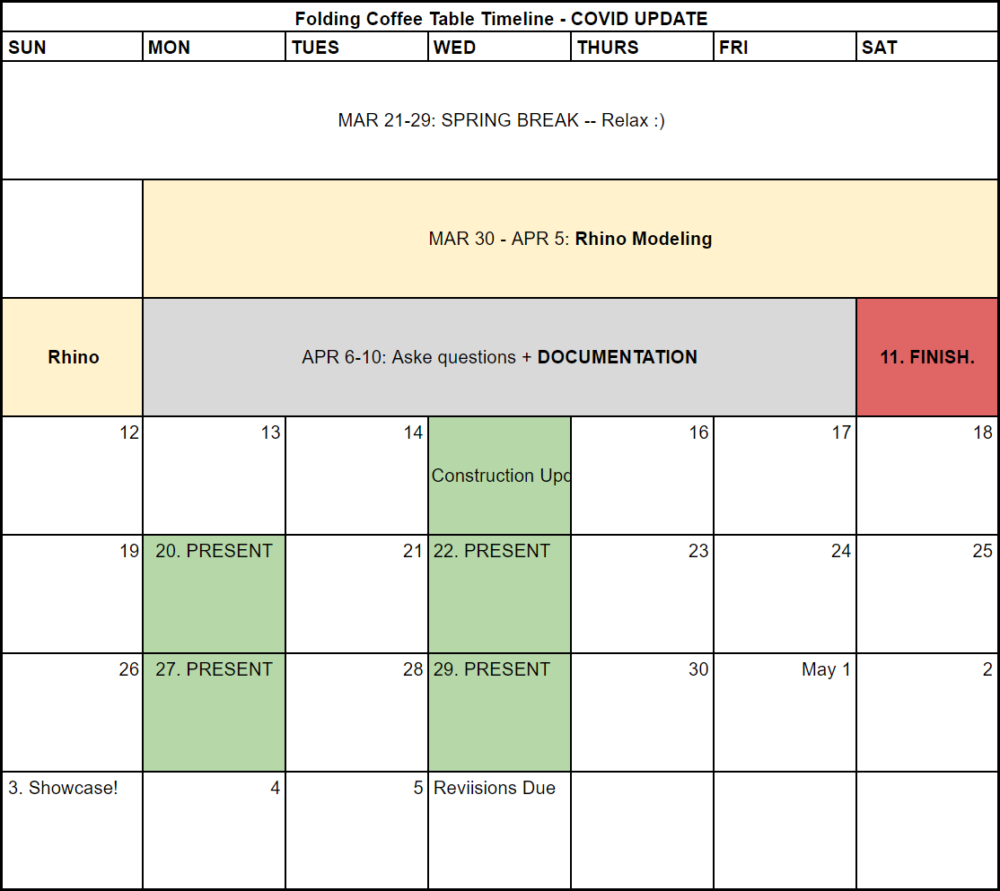
Due to new social distancing protocol and closure of stores, I was unable to purchase my materials within the dates I originally planned. After speaking with Professor Hertzberg, she is allowing me to create a fully digital version of my folding coffee table instead of a physical product. Since making a digital model will take less time, I made modifications to my calendar.

Instead of building during Spring Break, I will take the entire week off from school work (as one should) and will spend the entire week after classes resume working on my digital model. Since I am most familiar with Rhino modeling software, I will create the model there and export it to CAD to add textures and lighting.


4 Comments. Leave new
[…] 1: https://www.aesdes.org/2020/03/07/main-project-design-review-part-1-folding-coffee-table/ Part 2: https://www.aesdes.org/2020/03/12/design-review-2020-part-2-folding-coffee-table/ Construction […]
[…] Main Project Design Review Part 2: Folding Coffee Table – COVID19 UPDATE […]
Nicole,
I love this idea and it looks as if you have planned out the whole process very thoughtfully. This will be an awesome project that you can use all of time. Super excited to see how it all turns out!
Thank you Nathan!