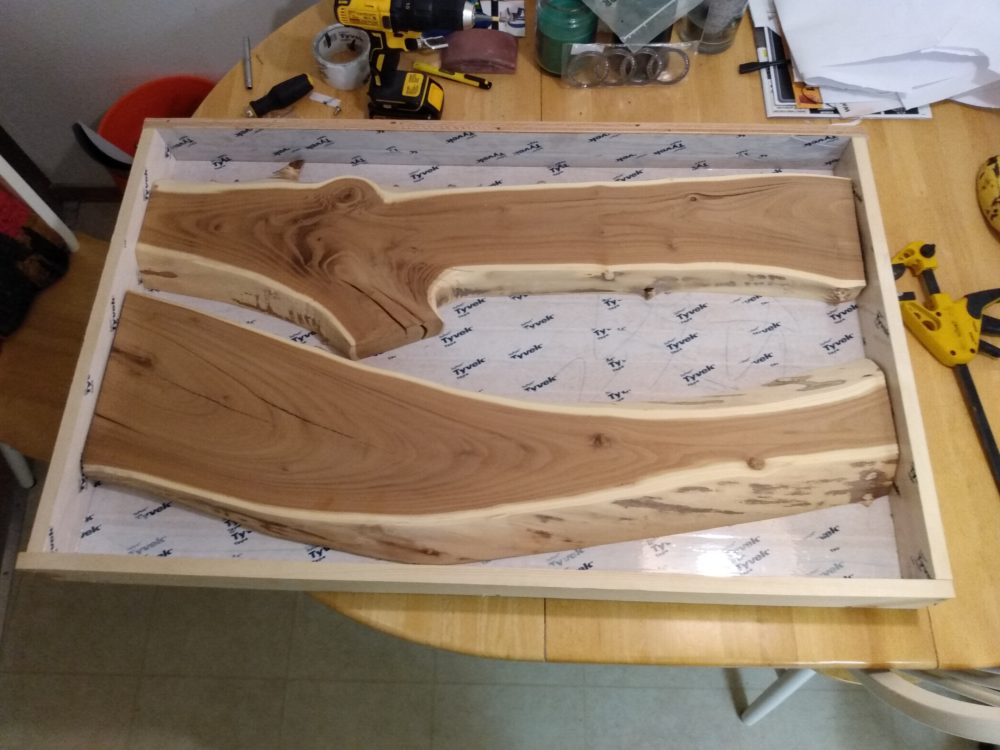
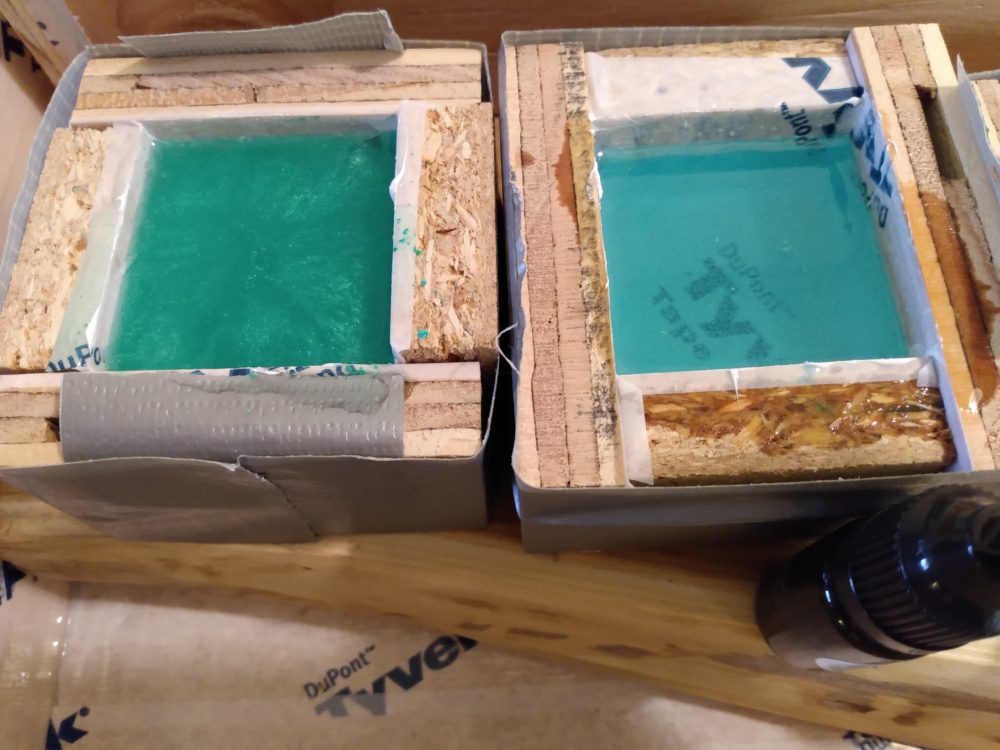
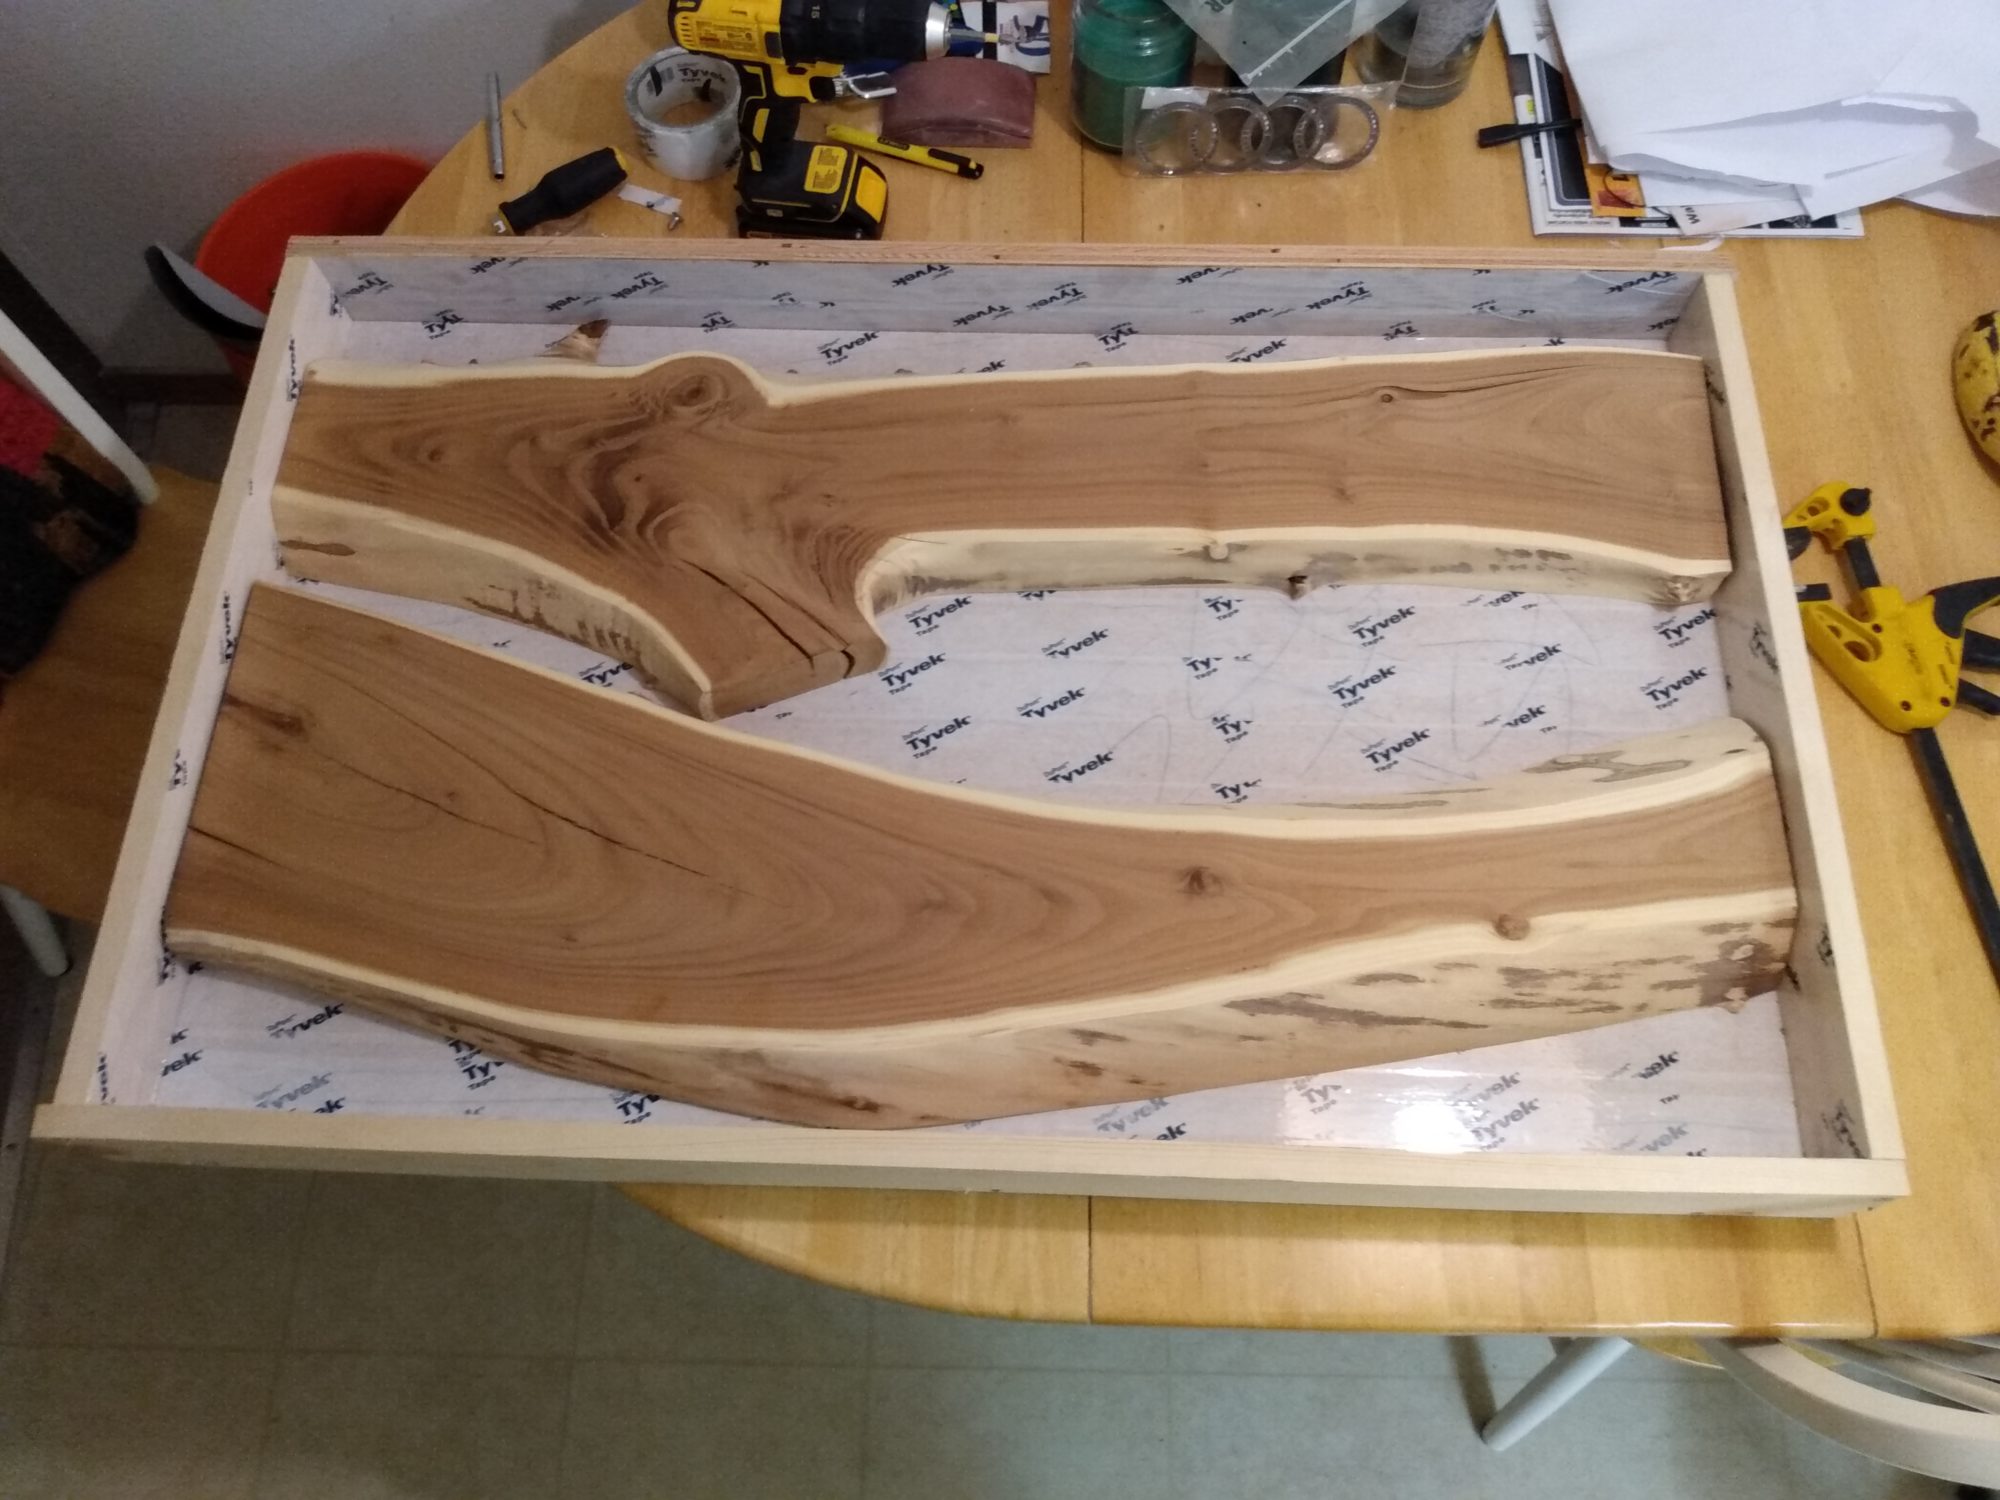
The above picture is where I am at today. This is my piece of wood sitting in the mold where the epoxy will be poured in. I will get to this more later in this post, but I wanted you all to see it right away.
So first I want to show you guys my inspirations. In the last couple years I have seen countless river tables shown all over the internet and I have always wanted to make one myself. When I first started thinking about this project I knew that I wanted it to look more like the ocean rather than a river. That is why I am calling it the Rustic Ocean River Table. I want the epoxy to be a blueish green that looks similar to the way the ocean water looks in Cancun. I want it to be clear, but sparkly. This is going to give it the ocean aesthetic that I want.
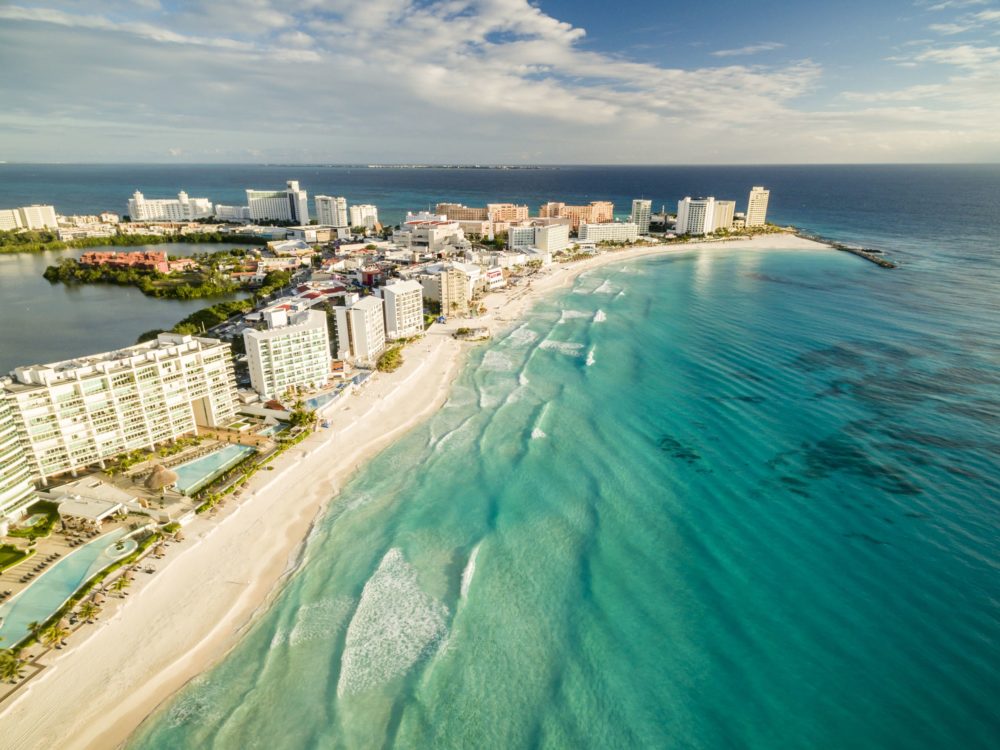
https://www.tripsavvy.com/cancun-travel-guide-1588615
Besides the ocean aesthetic that I am giving it, the river tables naturally have a rustic aesthetic due to the fact that we are showing the wood in a raw form. So the combined aesthetic is a rustic ocean. The main vision I have other than it looking like an ocean, is that I want the wood to be dark, have white edges to mimic beaches, and be thicker than 1.5in. Below you can see a picture I got off of the internet that really represents what I want my table to look like. It includes all of the aspects I want.
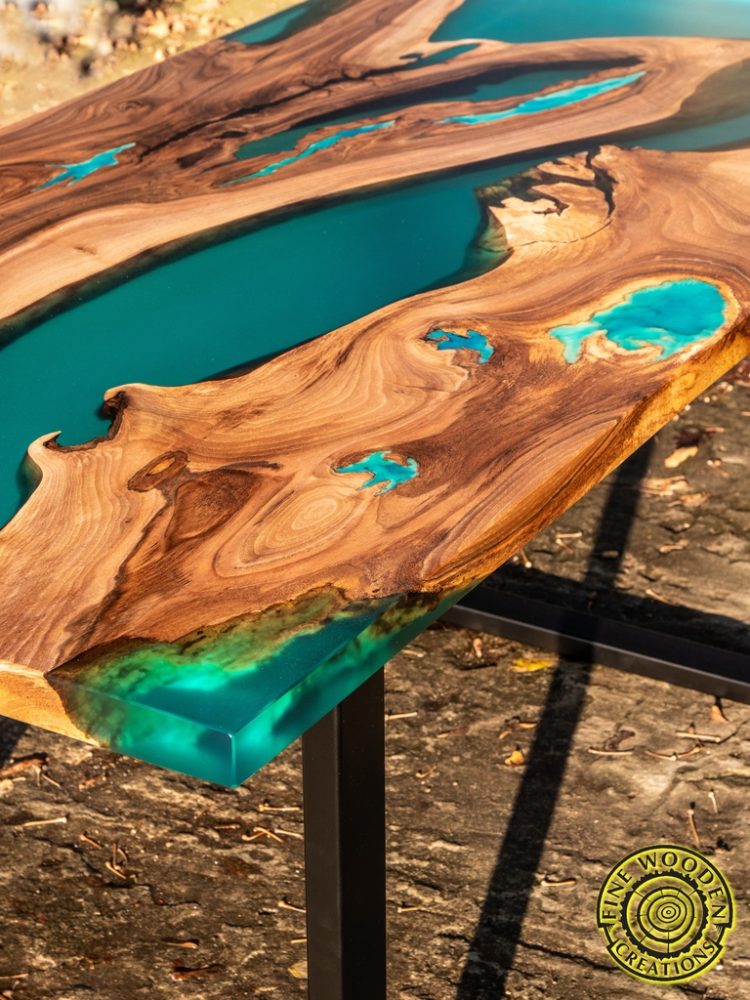
FineWoodenCreations – http://finewoodencreations.com/portfolio-item/turquoise-resin-dining-table-with-glowing-inlay/
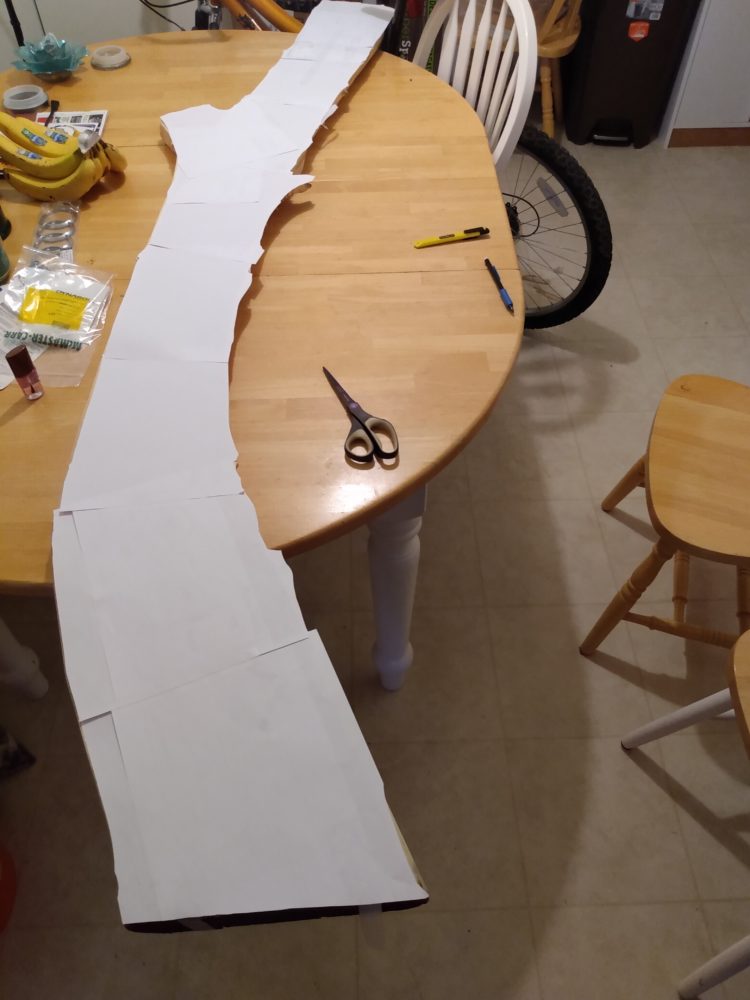
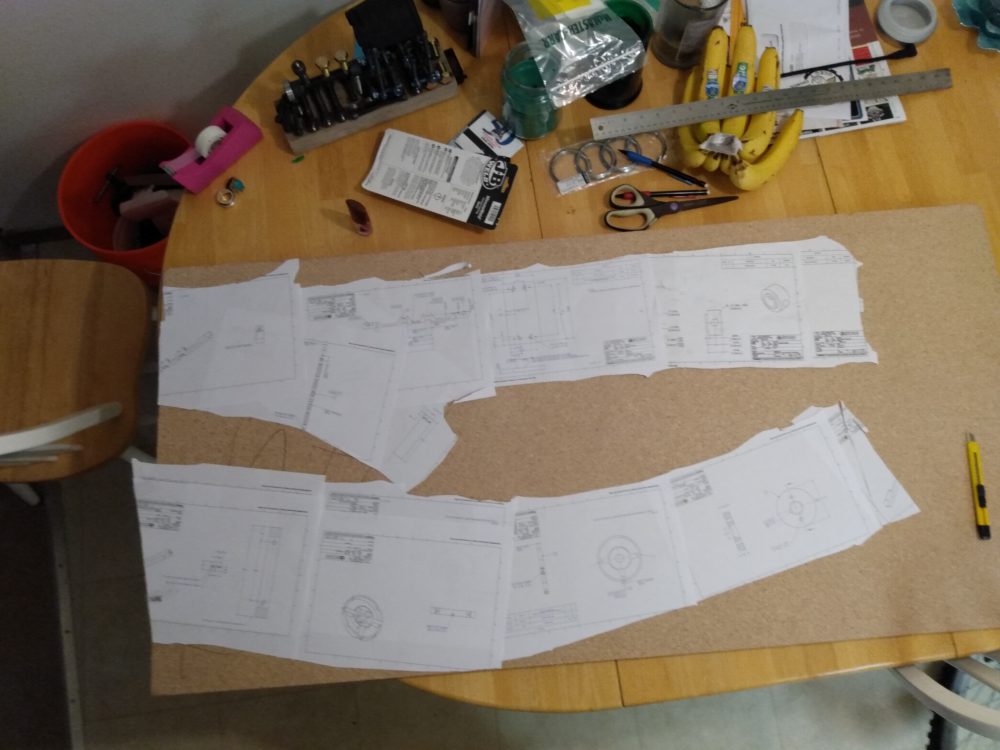
So far I have gotten my piece of wood along with all other supplies, created a prototype made out of paper, cut and prepped the wood, created the mold, and have tested making the epoxy with several different colors. Below is a picture of the paper prototype that I made in the shape of the wood that way I could cut it and orient it in such as way that I knew how I needed to cut the wood before I took it to the machine shop. I did this so that i would waste the least amount of wood possible, given that it was pretty expensive.
In the picture below you can see what I decided on as the final position of the wood for the table.
now that I knew how I wanted the wood and cut it, I needed to create the mold. I did this using MDF board and sealing tape that I got off of amazon. This does not stick to the resin, so once the resin has cured, I can remove the mold.

I received multiple colors in the mail from amazon. I knew I wanted some sort of blue green combination so I separated all of those colors and begin testing. In the picture below you can see all of the colors that I am going to test.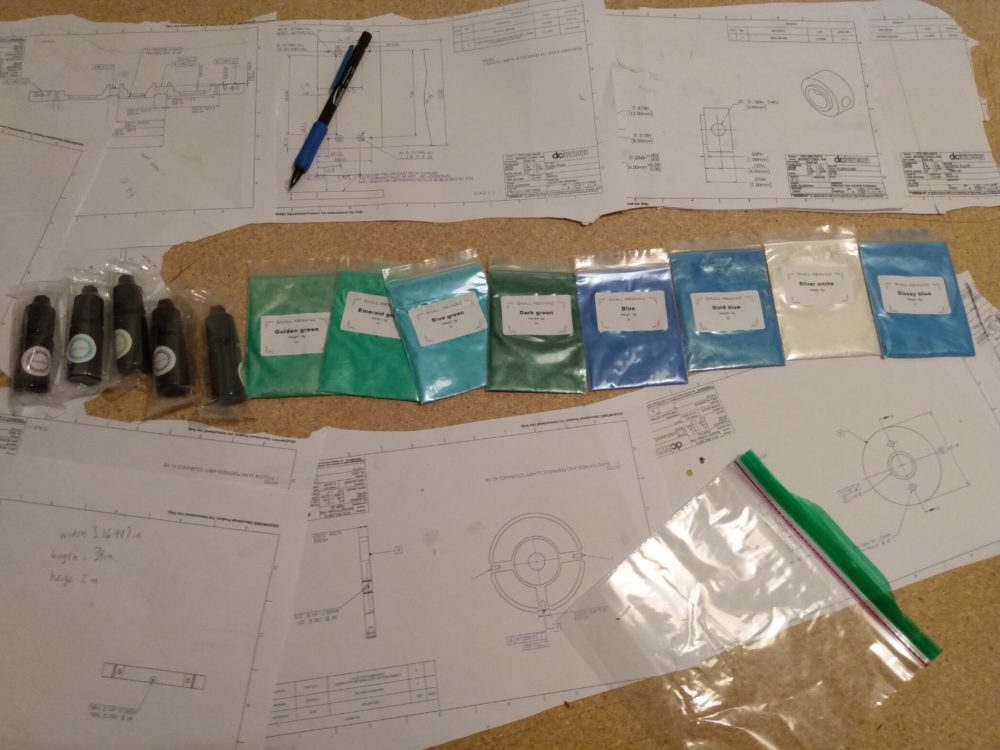
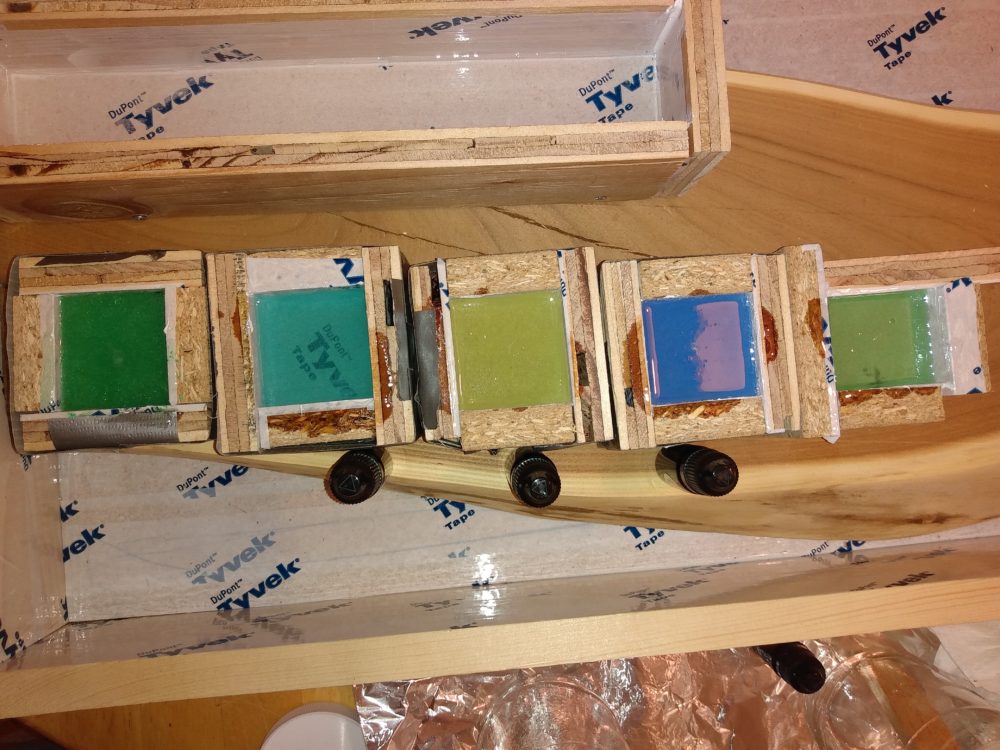
In the following two pictures you can see the molds I made in order to prototype the different colors. So far I have made a combination of 12 different colors. I have two favorite ones so far. I need to do further testing though in order to figure out exactly what I want.
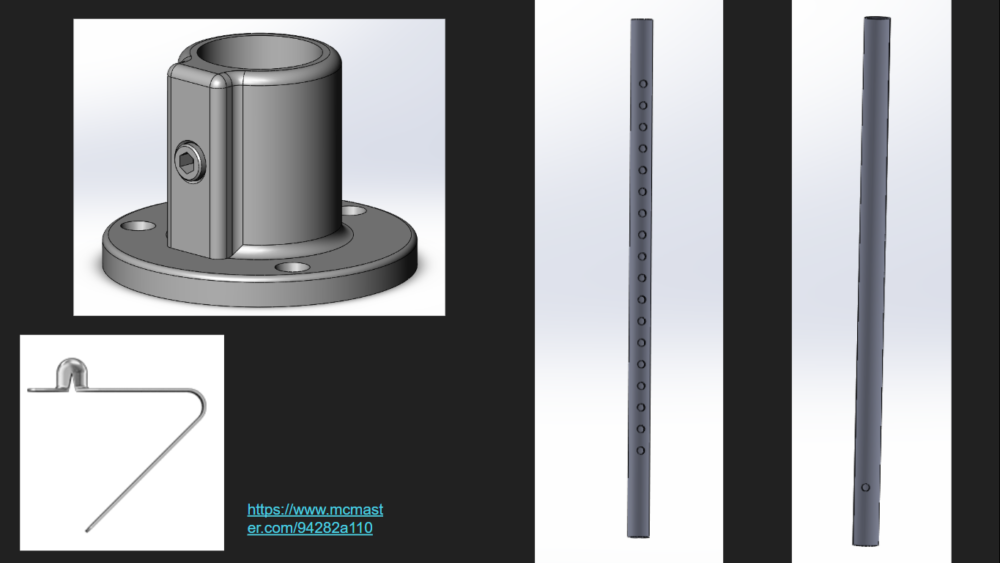
Finally the design for the dynamic portion of the table is shown below. I will purchase a surface mount, aluminum pipe, and buttons from Mcmaster Carr in order to create legs with adjustable height. I will then machine the holes in them that I will need and use a button in order to provide for the adjustability. I haven’t decided if I want to paint these, but for now I think that I wont.
Here is the link for my video presentation. https://www.youtube.com/watch?v=Zkhz1gYh9fA.

9 Comments. Leave new
I really like how you are doing something new that does not seem particularly easy. I have seen stuff like this on Instagram a lot and I have always wanted to do something like this! Have you put any though into the finishing process or possibly embedding some thing into the resin?
Really cool project, man! I’d really like to see you think about how you can incorporate your initials into the final table if possible to make it more special to you but whatever you end up doing I’m really excited to see it!
I still haven’t decided yet.
I absolutely love this project! I cannot wait to see how this turns out. I can also tell that you are very passionate about this project too due to the fact of how far ahead you are compared to other projects with fabrication. You are very knowledgeable about all components of your project and again I cannot wait to see how this turns out. I personally love these artwork types and am again very excited to see how yours turns out!
Thanks!
This project puts all the rest of ours to shame, it looks incredible. I’d suggest finding a way to make smaller holes in the wood to give it more of a beach/tide pool aesthetic. Plus the examples of existing tables really add to the aesthetic. The issue will be making the holes look natural instead of man-made
I decided not to do that because the wood grains wouldn’t follow the holes and I wouldn’t like that.
Statement of Meaning:
I would see if your project alone counts as dynamic before you drill into your table just for the requirements sake.
As of now, I am not going to put any specific legs in. I am going to wait till next semester to decide.