Initial Design Process:

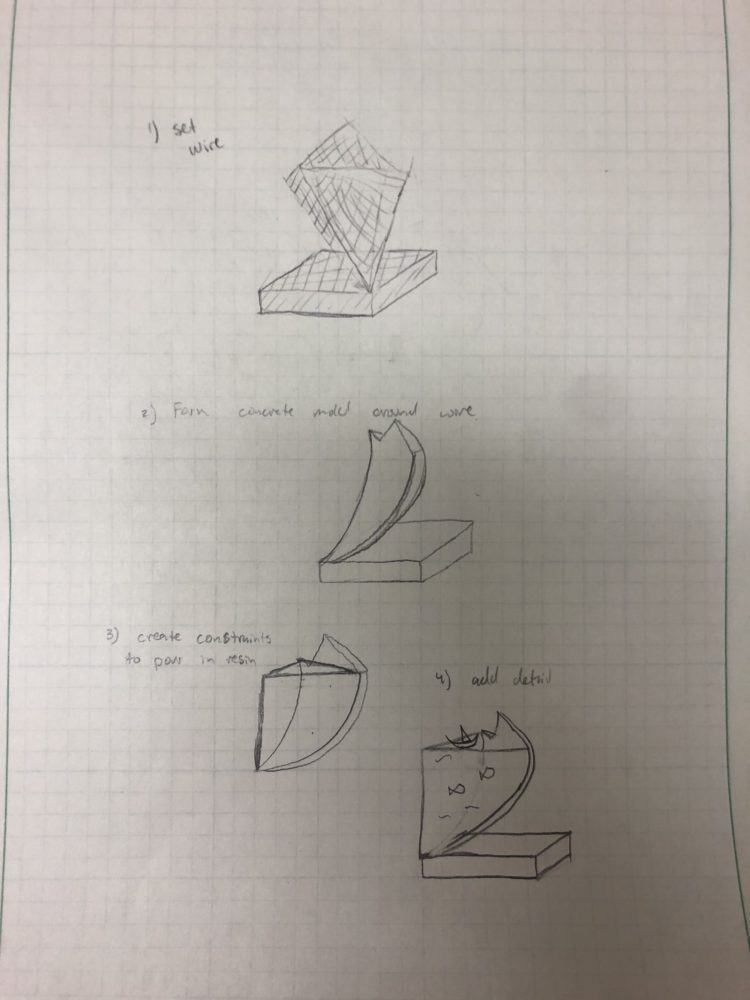
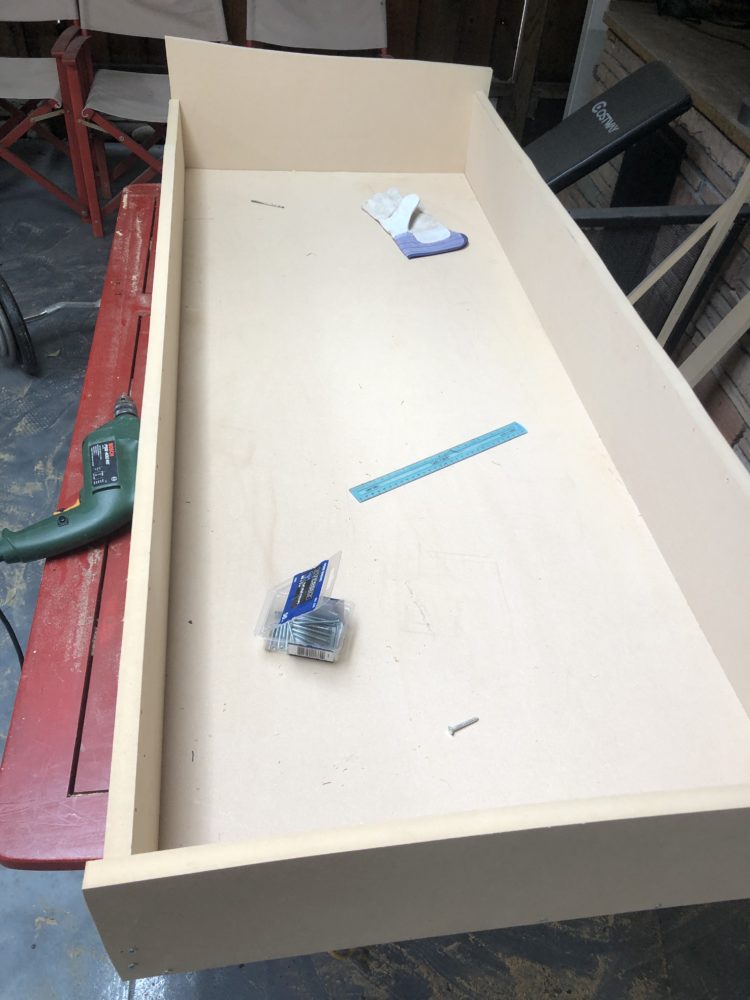
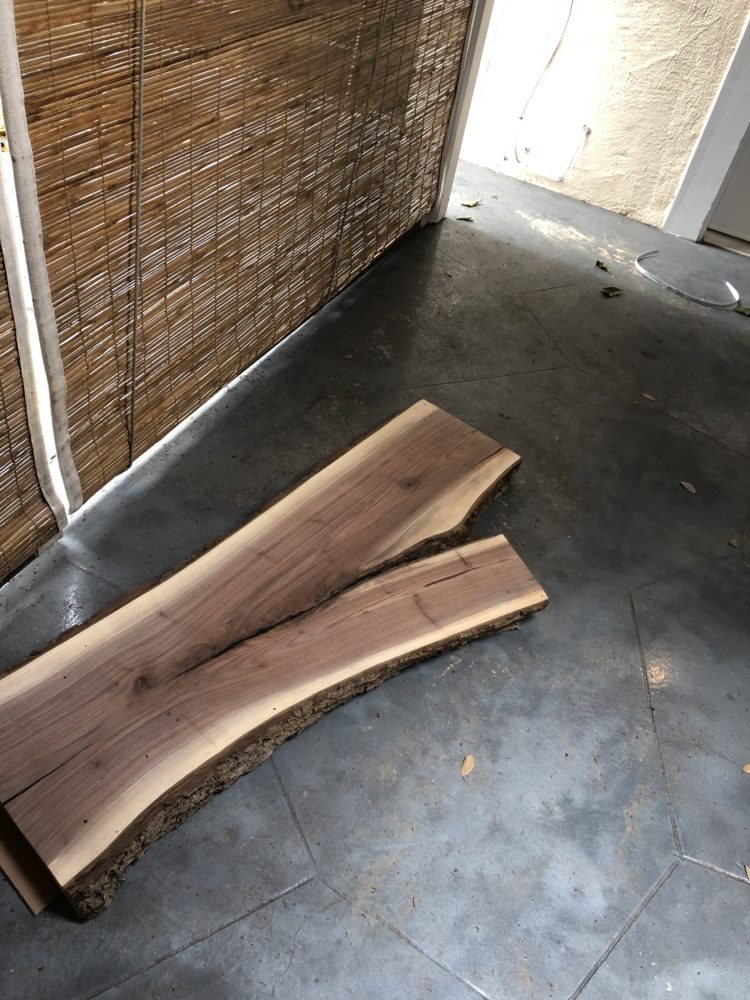
With this change that has been going on, my project has changed as well. I am here in California and it has been problematic obtaining some of the tools to complete this project. However, I will be falling back to one of the project ideas I mentioned in my alternatives, utilizing wood and epoxy resin to make a wood resin table. There is a similar process to this as my initial project; making a mold, shaping the structure, coloring and pouring the resin. I have made the mold for the table and was lucky enough to have my father obtain for me a slab of black walnut wood from one of his buddies.


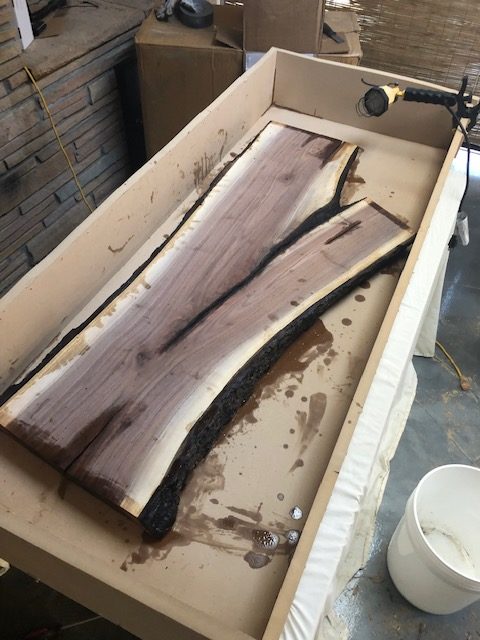
I then sprayed the mold with silicone spray in order to easy removal of the mold after the resin has cured. After 3 coats of silicone spray, I covered the sides of the wood with epoxy in order to hold the bark in place as well as easy bondage to the main epoxy pour. Now that the wood and mold are properly treated, we are ready for the main pour and the finishing process. This will come in design phase 2.


3 Comments. Leave new
I love that you are exploring how to use epoxy resin to make art. I think it’s awesome that you’re gaining this new skill! And a beautiful slab of black walnut
I like this project because I have worked with epoxy resin and surprisingly it is fairly simple to work with. I am curious to see how you do the final project. Have you thought about placing and type of lighting alongside the piece.
Thanks for the comment Chris! I won’t be incorporating lights, but I want to work with resin that has a glow effect. My plan is to fill the resin on the outside of the piece of wood with a blue color and have the cracks filled in with the glow resin.