For my final project I am planning on making a propeller out of wood. I would like to make a propeller for my final project because I love all things aviation. Ever since I was young I have been fastened by flight. Some of my earliest memories are of planes; a majority of my toys growing up were even aircraft. I would fly them around all day and pretend it was me “behind the stick”. This lead me to want to become a pilot. I even had the opportunity to get behind the controls of a real airplane in 5th grade! To commemorate my love for aviation I want to make an art piece to hang in my office.

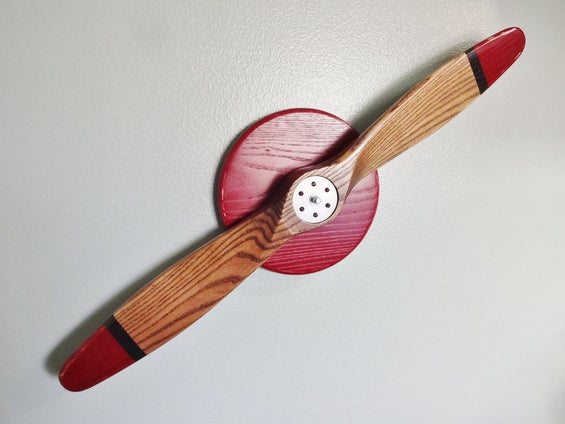
I plan to make the propeller out of wood. From my preliminary research I have found that there are several ways to go about making the propeller blades. One method that I have seen is to use a band-saw to cut out the general shape and to make rough cuts, then use a belt sander to further refine the curves on the blades. This method is what the creator of the propeller seen above used. Another method that I have seen is to layer sections of different shape to form the general curvature of the blade, then sand the layers to form one continuous form. I have not decided on which method I am going to use.

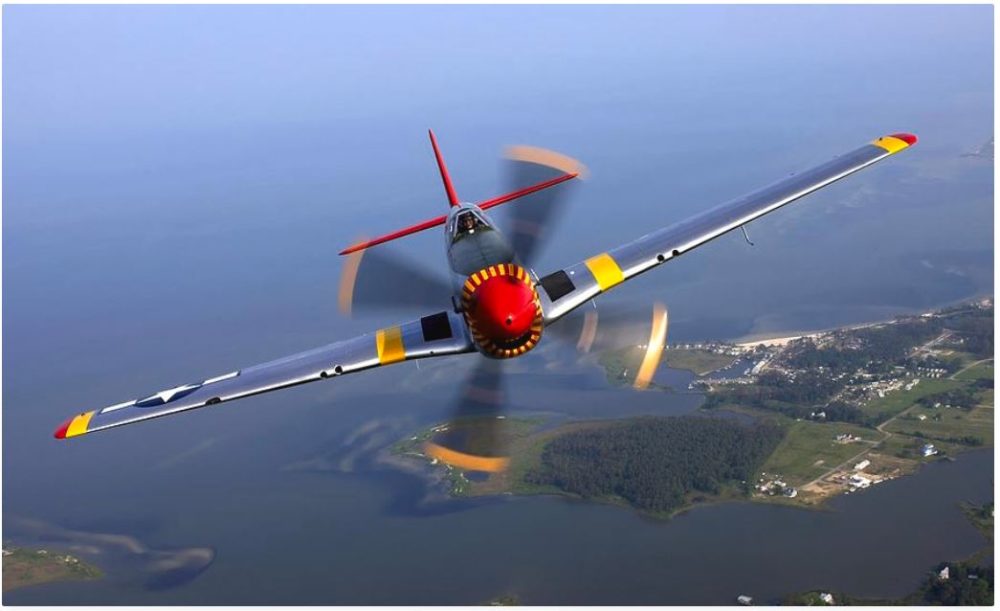
I also have not decided on the type of propeller I want to create. I like the aesthetic of simple blades, but I also have thought about creating a replica of WWII fighter aircraft propellers as well. The simple propeller is aesthetically pleasing because of it’s simplicity. These propellers are more common in general aviation and were also used in early WWI fighters. The nostalgia of this design is what attracts me to it most. On the other hand I also am considering making a replica of a WWII fighter propeller. I would want to do this because WWII aircraft are some of my favorite planes. Their powerful stature and sleek lines are also aesthetically appealing to me. The main drawback against the latter option is that it would require a far more complex design and at least double the manufacturing time.

Image Citations:
Moon, Mery. “North American P 51 Mustang Flying Propeller Motion Blur Sea Trees Forest House Aviator.” Pixels, 19 Oct. 2017, pixels.com/featured/258518-nature-aerial-view-airplane-men-pilot-face-helmet-wings-north-american-p-51-mustang-flying-propeller-motion-blur-sea-trees-forest-house-aviator-mery-moon.html.
Seamster. “Make a Wooden Propeller.” Instructables, www.instructables.com/id/Desktop-Fidget-Spinner/.
“HOW TO IDENTIFY HISTORIC AIRCRAFT PROPELLERS.” HOW TO IDENTIFY HISTORIC AIRCRAFT PROPELLERS, hartzellprop.com/identify-historic-aircraft-propellers/.
“Curtiss P40 Warhawk+.” Palm Springs Air Museum , Https://Palmspringsairmuseum.org/p40-Warhawk/.

4 Comments. Leave new
I thoroughly enjoy that you are undertaking a project related to woodworking! I think it will prove to be a challenge to make the profile but with enough elbow grease it will be possible! Have you put thought into where you will acquire the wood or what species would suit your aesthetic best? Furthermore, when it comes to displaying this piece have you put any thought into adding on a functional aspect such as a clock?
Miles,
I have not done much research into the type of wood I will use, do you have any recommendations? I have seen others work with ash wood but I am open to other options!
As far as functionality I think that I am just going to have it spin. I do like the idea of it telling time, but since it will only be one “hand” of the clock I would rather just keep it simple.
This is an awesome final project idea! I am very excited to see how this comes to fruition! One thing I am wondering and would love to see moving forward with this idea, is how will you manufacture/fabricate the curves and shape of the propeller since they are very precise so that they can grab the air once activated. I think that will be the hardest part of this project, is to get the blades of the propeller to look visually accurate and stunning since it is a hard geometry.
Austin,
Thank you for the comments!
For manufacturing processes I am either going to layer cutouts and sand them, or I am going to do rough cuts with a band saw and refine with a belt sander.