Abstract
The upcycle project is intended to get our feet wet in creative thinking. Its purpose is to create something artistic or functional or both out of unwanted materials. This means creating the project out of as many reused materials as possible, and trying to eliminate the need for purchasing parts or supplies. I started with a materials first approach, which lead me to try and use wine bottles to make a series of terrariums. When this didn’t work, I went on to try another plant based project because I had already selected and purchased them. Other than the plants, I used entirely materials that I already had in my apartment to build the camera bag planter. Although it wasn’t the project that I had planned on, it still turned out well and I’m glad to have made something that looks nice in my apartment.
Background and Inspiration
When we were tasked with this project, I spent a while thinking about the task and what I wanted this project to be. My biggest constraints were that I wanted to make something that I wanted to keep. To me, there is no point in upcycling materials just to have them end up in the garbage after a lot of work. Next, I started thinking about the materials that I had on hand. Because my apartment is decorated in a less than classy way, I have a significant amount of wine bottles and other glass bottles at my disposal. Combining this with the “indoor plants” aesthetic that I had explored earlier in the semester, I thought about making terrariums as a possibility. One that really caught my eye is this set:
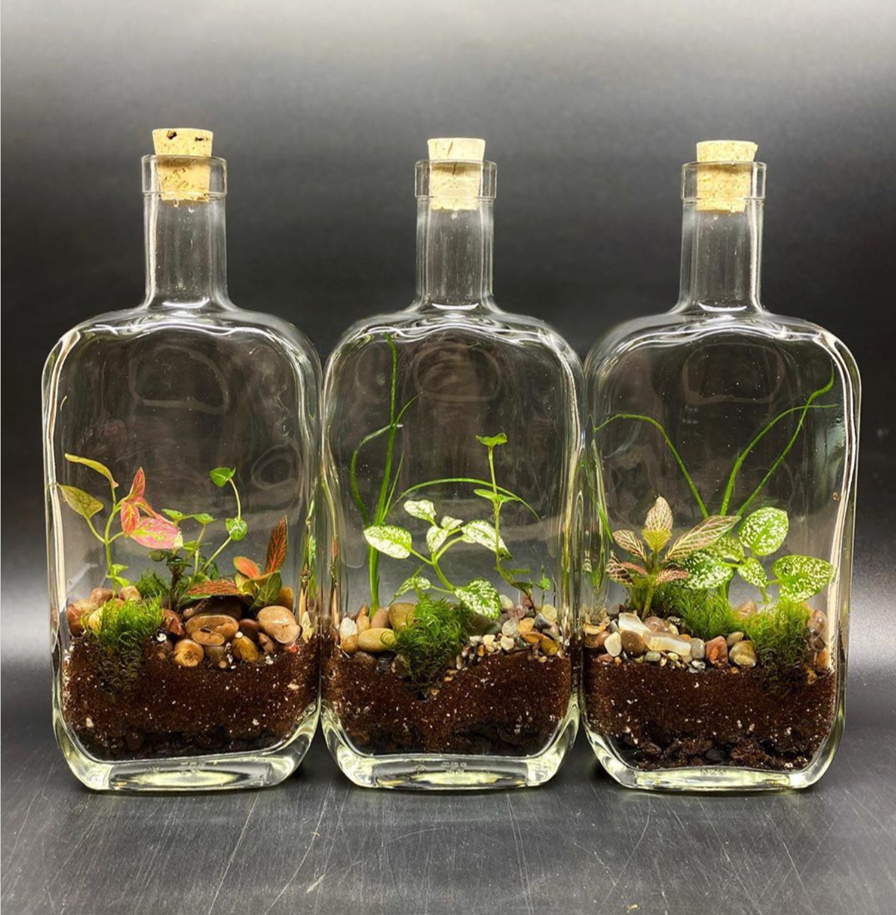
Image courtesy of: [1]
Another one that I found really cool is this funky geometric designed terrarium that houses moss:
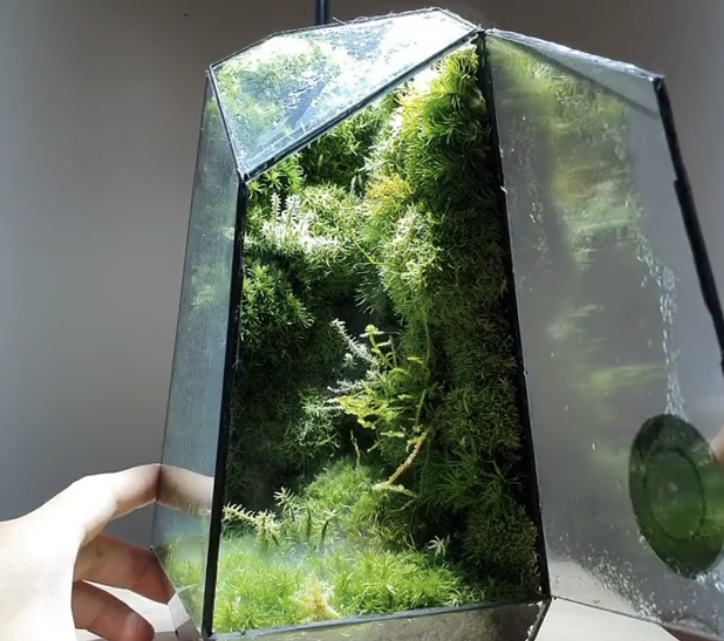
Image courtesy of: [2]
The next plan was to combine the terrarium idea with a wine bottle holder of some kind that would be mounted to the wall. This kind of rack was what I was initially interested in:
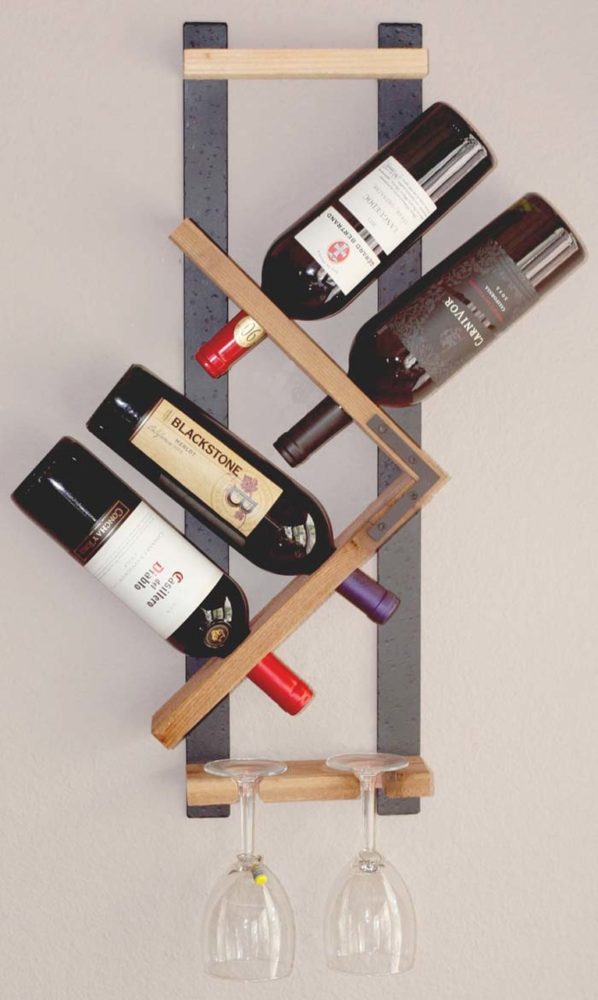
Image courtesy of: [3]
From these ideas, I had a pretty clear direction which just left cutting the glass bottles and prepping the holder. As I will talk about later, this did not work out for me. So it made me totally pivot and change my plan for the project. When the glass didn’t prove possible to make cooperate, I was left feeling really unsure about what path I needed to take. This lead me to try and figure out what skills I had and what resources I had on hand that could be used to salvage the project. I still wanted to make something functional that included the plants that I had already bought, but beyond that I was left without much of an idea. After some brainstorming, I was reminded of the fact that I have been upcycling vintage suitcases into speakers for the last 5 years. An example of one of the speakers that I built is shown here:
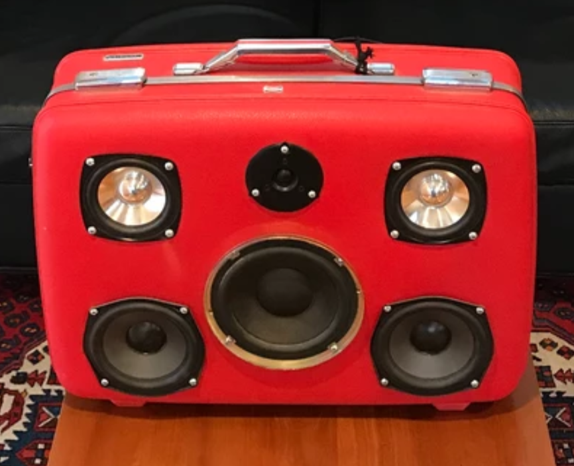
Along with building these upcycled suitcases, I had purchased an old camera bag ($9) a couple years ago to try and turn into a miniature version of the speakers. However when it arrived, it was much smaller than I had anticipated, so I couldn’t use it for its intended purpose. As a result, it was sitting around gathering dust in my room since early 2018. Therefore I decided to take the vintage camera bag and try and work it into the terrarium / plant holder idea.
Supplies and Materials
- Materials Expended:
- Vintage brand-less camera bag (bought used 2 years ago)
- RGB LED strips (receiver burned out and the strip was gathering dust on top of the kitchen cabinets)
- 12 V power supply (came with the LED strip)
- 1/8″ balsa wood (left over from a previous project)
- Female DC power jack (left over from a previous project)
- Plants in 2″ pots (purchased from Sturtz and Copeland)
- 20 Ga wire (I have plenty floating around)
- Tools used:
- Epilog laser cutter (ITLL)
- Soldering iron (at home)
- Hand saw (at home)
- Drill motor & bits (at home)
- Hot glue gun (borrowed from ITLL)
Vision
This project took a sharp turn near the end of the process. I had collected wine bottles, purchased a glass cutter, collected and cut into a wooden mount and started cutting the bottles before I realized that it wouldn’t be possible. My intended vision had been based off of using a standard sloped wine bottle holder design to hold the terrariums. I picked up a really cool looking piece of wood while I was out on a hike and had purchased the hole saw necessary to cut 1.5″ diameter holes through the wood. I then went on to cut the bottles to the correct shape. This meant that I would score the bottles along a marked line with the glass cutter and then heat and then rapidly cool them to make the glass break along the score. The first 2 bottles that I tested resulted in shattering in multiple places outside of the scored lines. I then tried to make the temperature transitions smaller which only resulted in nothing breaking at all. Next, I tried the technique where a piece of twine is soaked in acetone and set on fire while wrapped around the line that you want the bottle to break on. Once the twine has burned away, the bottle is dunked into ice water. This causes a temperature change right on the region where the twine was burned, supposedly causing a break. Unfortunately this resulted in absolutely nothing over the course of several hours of attempts. Next, I went back to the first process and continued to shatter more and more bottles in my futile attempts to make an open terrarium/ planter. Although I was really safe when handling the glass, I am surprised that I didn’t get cut just from the shear volume of bottles that I broke.
As discussed previously, I was left with basically nothing other than the plants that I had purchased and just a couple of days to finish this project. This lead me to assessing what I had on hand and what skills I had. My vision was almost exactly what the project ended up being, although with more time I might have mounted it to the wall some way other than by the shoulder strap.
I wanted to create something practical, that fit within my room both in terms of space and feeling and I wanted to do it in a beautiful way. I don’t think of myself as much of an artist but I do believe that when I am building something I must strive for beauty, even when something purely practical is called for. Therefore, I tried to mix a minimalist aesthetic with the indoor plants aesthetic that I had explored previously. Also I needed to include lights, because these plants cannot handle direct sunlight, but aren’t completely low light plants.
Design
Because I have a decent amount of experience working with vintage leather containers and a really clear vision in my head, I got right to work on the project without giving it too much thought or planning. It’s unfortunate that the project that I wasn’t able to do was the one with a bunch of sketches and design ideas and clear inspiration. However, when I’m feeling confident and I have the resources at hand, I would much rather go straight into building something than to do a ton of planning. This obviously is a limited thing to experience as an engineer, because I promise I am normally more careful in my design process.
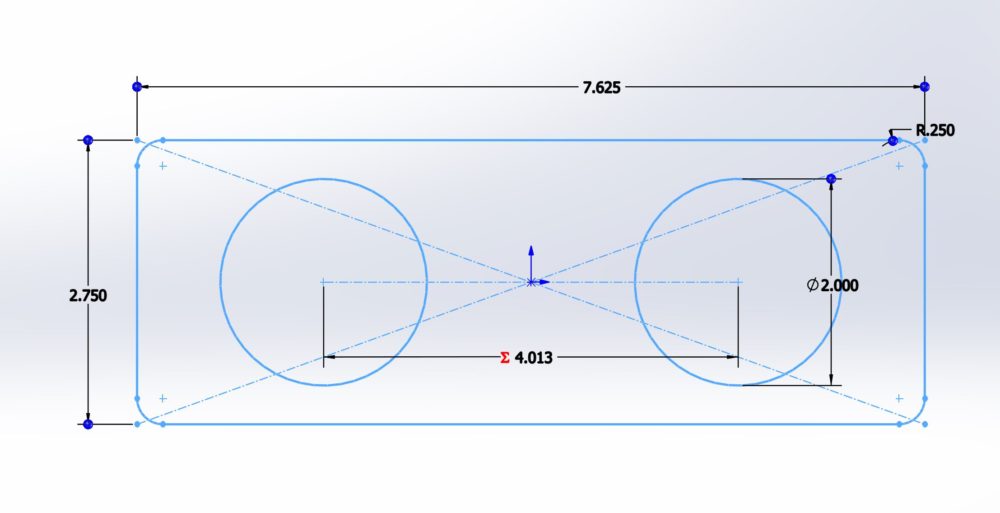
There was only one real decision that I had to grapple with in this process, and that was deciding how to plant the two plants that I had. The original idea was to make an inner container that was removable and perforated that I could fill with soil and would allow for proper drainage when I watered the plants. The other idea was to just have the two plants in their own pots suspended by a piece of wood in the center of the bag. In the end, I couldn’t find a material that could be feasibly upcycled into the inserted planter, and I did have the leftover balsa wood. Therefore I went with the second idea. Plus it helped make for a minimalist feel by keeping the simple wood look going. Below is a Solidworks sketch that I used to laser cut the lower piece of balsa wood:
Fabrication
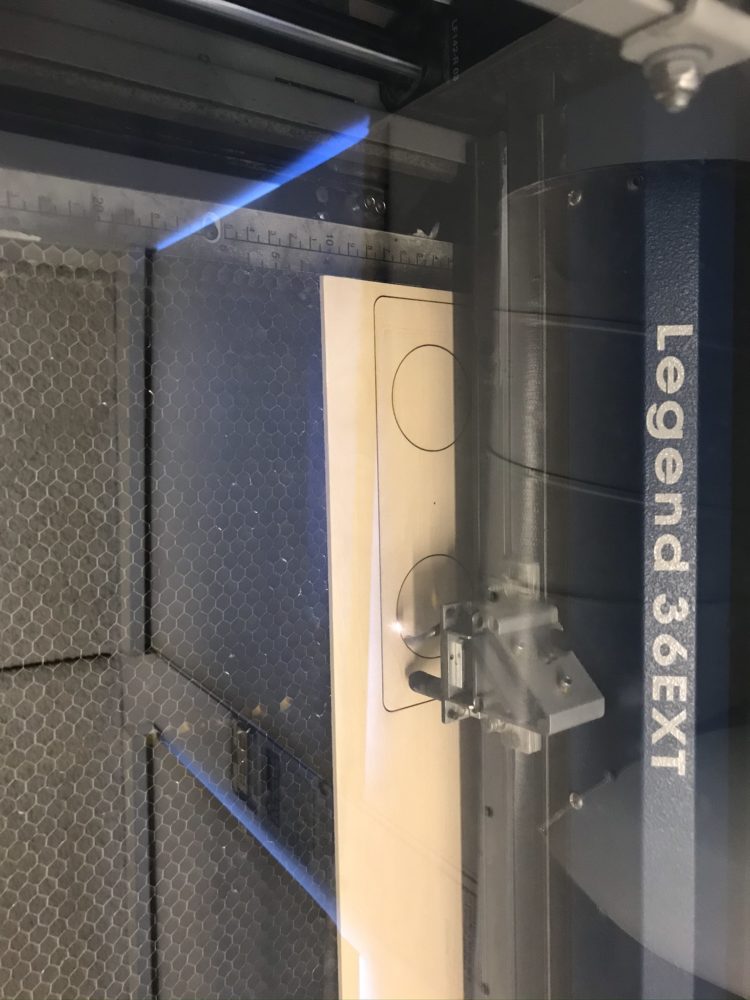
Using the laser cutter
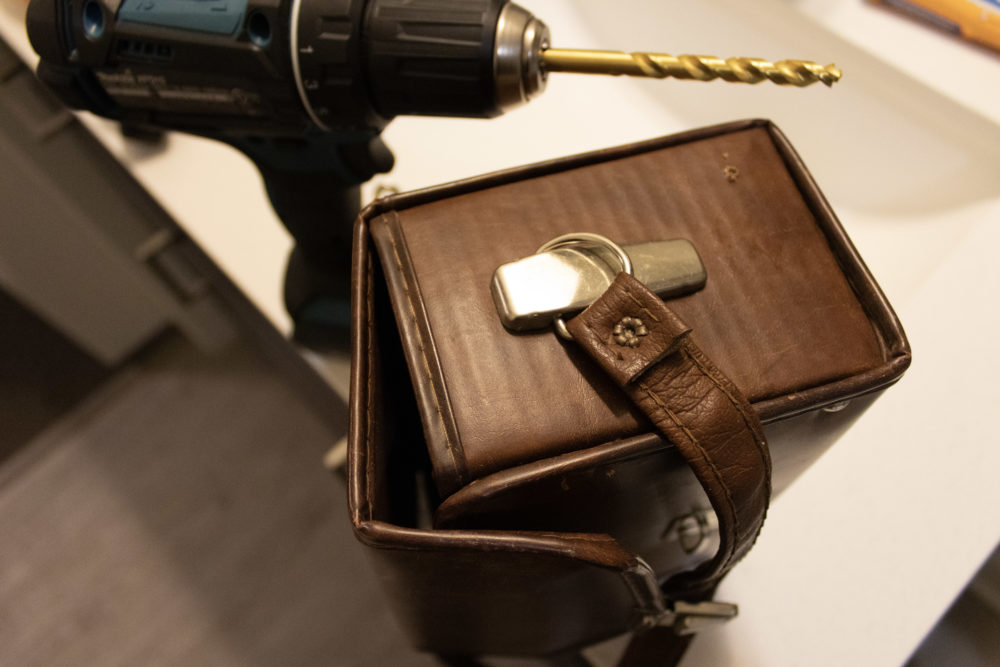
Cutting a hole for the power inlet

Installed power port
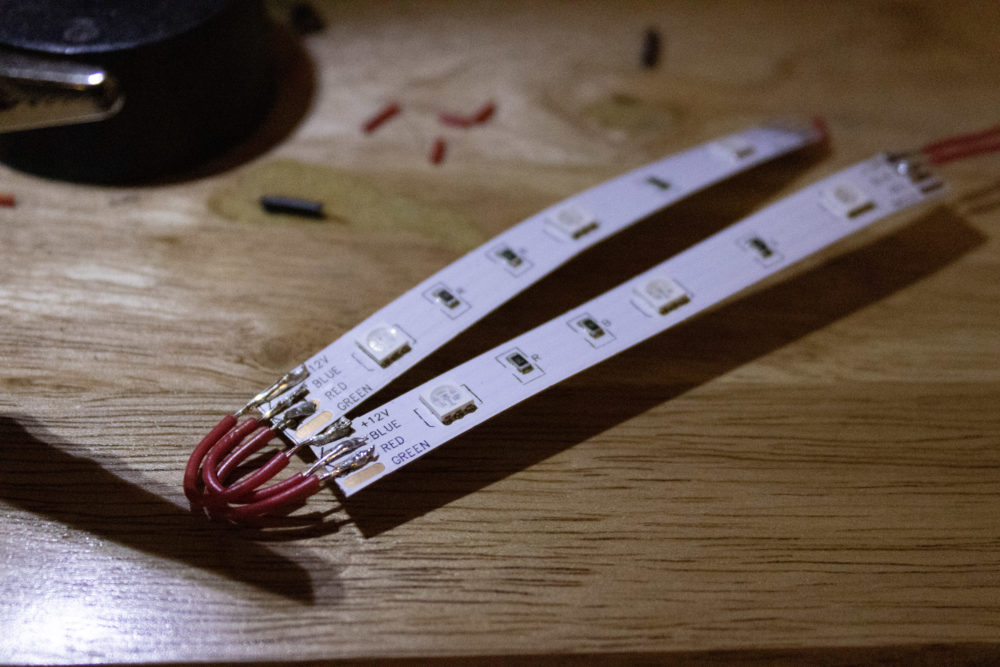
Soldered LED strips *
* The LED strips work by connecting a high voltage to the +12v channel and then running whichever color or combination of colors you want to the ground line. With these cheap LED strips you can get a decent range of colors. I chose purple by running blue and red to ground.
Final Result
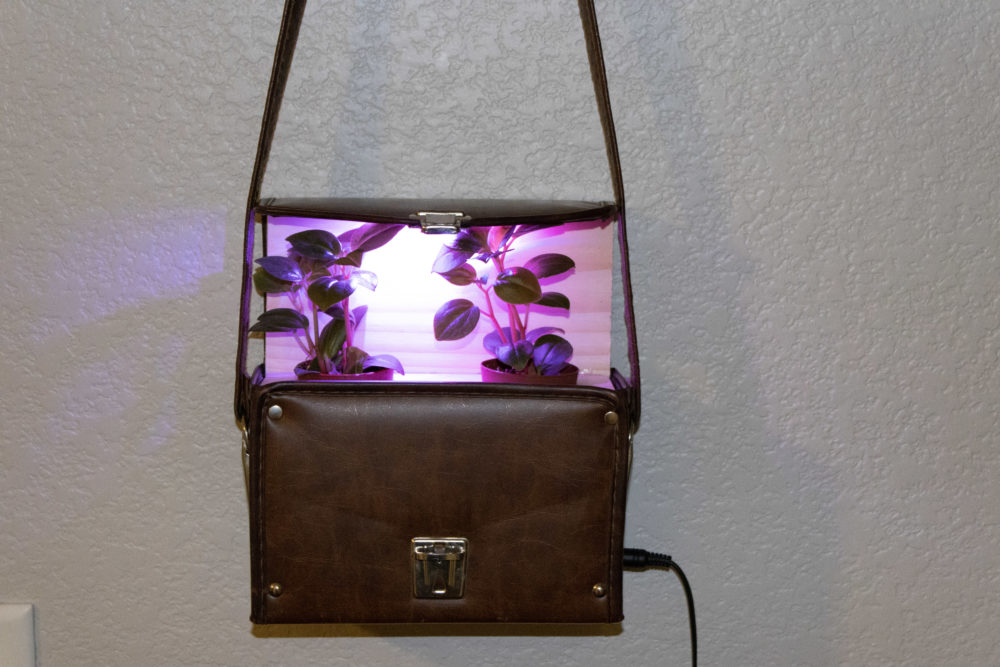
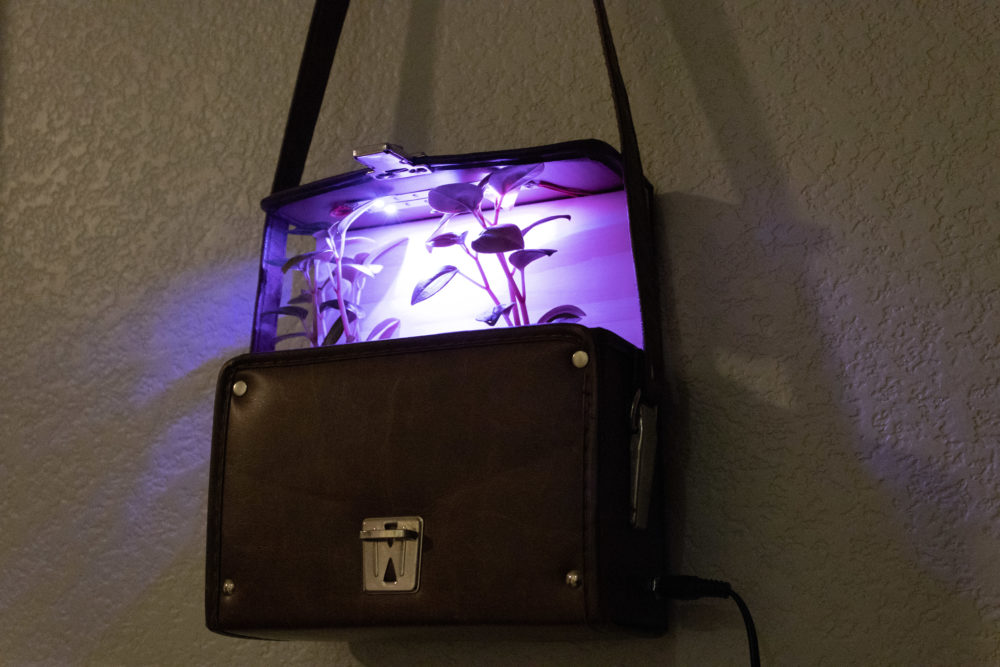
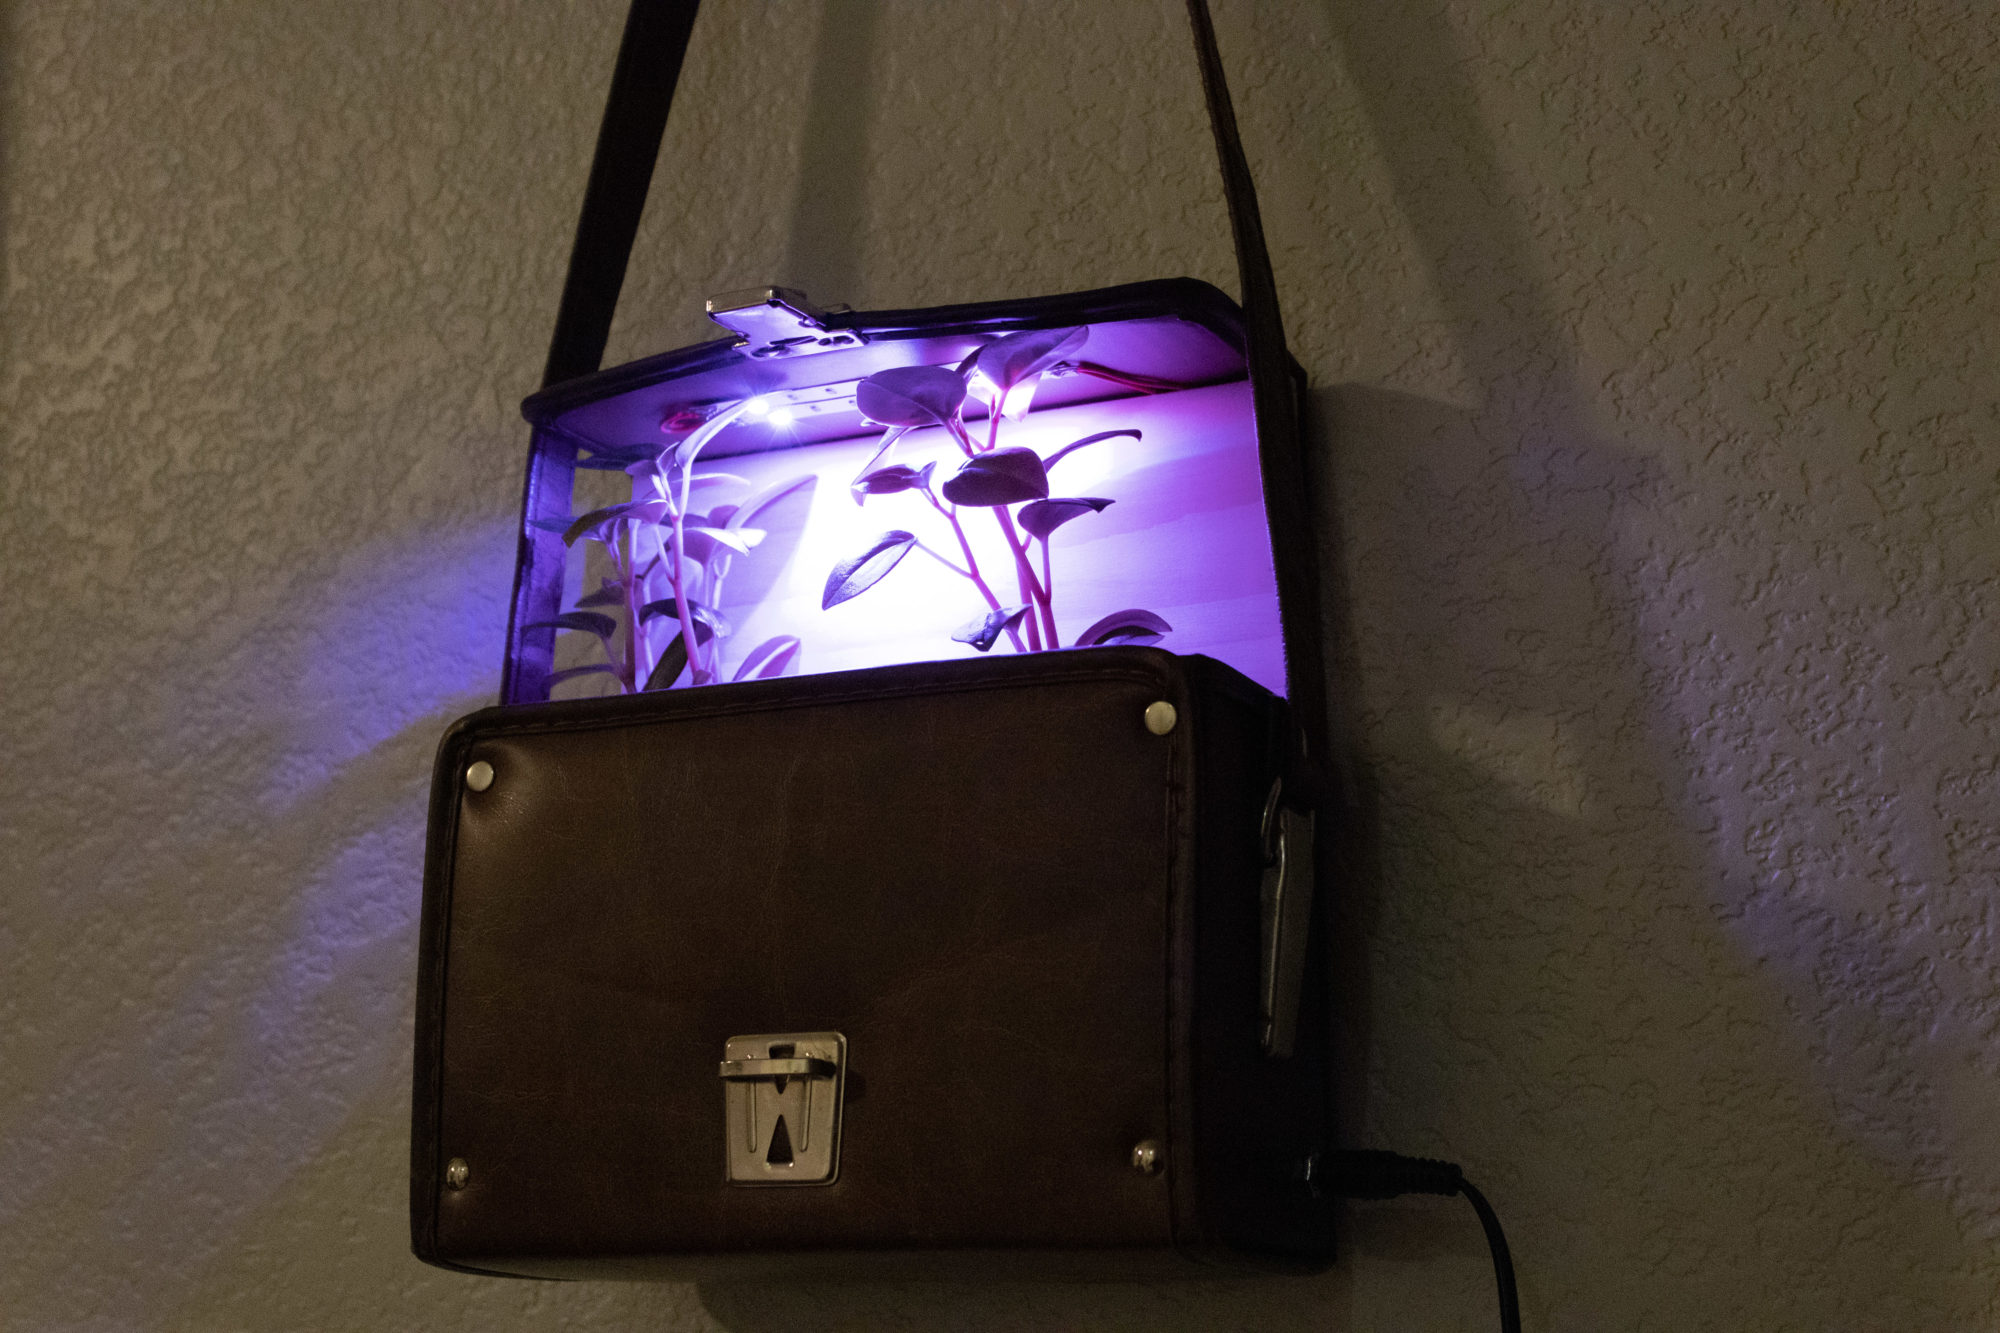
Functional Result
The planter came out really well and will work perfectly for these two little plants! The purple light is great for growing most plants and is more efficient than white light because plants just reflect green light. It doesn’t take up very much space but also provides a nice little light for that corner of my room. This is also great for the plants because these are very sensitive to direct sunlight, so it is good to give them their own dedicated more gentle light.
Artistic Goals
I feel really good about the mixture of aesthetics that I pulled off here. I kept the design fairly simple and minimalist while mixing in the plants and the lights. I think that it is a good combination of art and functionality. In terms of what I was talking about earlier in the vision section, I feel that I accomplished creating something beautiful. I get that often times art should be useless, but as an engineer, what makes me feel best is to strive for beauty mixed with functionality.
What’s Next
I think that I am going to try and build the insert so that I can actually pot the plants inside of this. Otherwise, I would move the lower wooden insert down lower so that the plants aren’t as crowded towards the top of the box.
In the future I may set up a mounting system other than the shoulder strap that I am currently using.
Presentation Video
Video will be posted here when available.
References:
[1] Image courtesy of James Harris on Instagram [2] Image courtesy of TerraLiving on Instagram [3] Image courtesy of Home Decor Creations [4] Image courtesy of
10 Comments. Leave new
I absolutely love this project! Such a unique idea and an awesome implementation. I currently have a homemade hydroponics installation in my living room and this project makes me want to build a portable version in a bag. I also really like how you implemented the lighting system as well. You could have gotten away with not adding that in, but it definitely improves the overall project as well as the aesthetic.
Max,
This is a very sleek art piece. I love the idea that you had a bunch of materials on hand and constructed it all together. I also love the LED idea that you added to give it a lot of character. I think my only critique is that the plant could sit lower. I think it’d be cool to make a bigger version so you can have more plants and go towards your original idea of a terrarium. I also worry that if you were to water the plant if there are electronics that could get fried. I think it’d be wonderful to have more room to elevate your project. Otherwise this is a very wonderful and creative project.
The product looks amazing with the plants in it. It is definitely a product that you would love to keep it in your apartment or anywhere you want it to. I really like how you transformed from your original vision and moved over to creating this. Using the leftover products for your upcycle project is the way to go.
Cool project, man! Love the antique and sleek aesthetic that your project encapsulates so well! I would definitely be interested in seeing the original idea of the wine bottles if you were to go back and work more on this project. Otherwise, I think the direction you took was a really cool one and I hope the plants live on your wall happily for a long time! Haha, nice work!
First of all, very sleek project! The minimalist aesthetic is quite neat, and good pivot despite the initial issues with your project.
I am curious why the plant pots were left open instead of covered with a “moss” or another material. The tone of the project is very brown, with only the green of the plants and color of the lights to illuminate. The plants remain rather shadowed, until lit. How does the simplicity and somewhat darker brown colors interact with the minimalist aesthetic?
Overall, very very cool! Perfect to spruce up your window in your apartment.
Max, great pivot in such a short amount of time. Despite your lack of time I feel the project looks very sleek. The moss idea would be cool, but as you were saying the wood does look really good. In the future I would make it a full planter and use it to grow seedlings. That would be perfect. Are you very into plants? It seems you could be, but I cant quite tell.
Even though this wasn’t your initial design, you improvised very well and the final product looks extremely purposeful. As part of your aesthetic, I think this was a better result than the original because it can stand or hang out of the way. Your presentation was concise and informative, and your pictures antithetically pleasing.
Max,
Nice work. Really love the rustic look from the handbag, and I think you nailed the upcycleness of this project using materials laying around the house. I think something that would make the project a bit better is having the plants sit lower in the handbag as you discussed. Nice work!
Max, I think it’s so cool how you made this project truly out of random stuff you already had. The final product looks so minimalistic and modern, while also being really interesting. I think it would be interesting if you added some design on the wood that holds the planters, or even some design on the planters themselves to add a little more color, but overall this was really well done!
Your presentation was very well put together. I especially liked the part in the presentation where you discussed your initial plans to put planters inside wine bottles, and how that that idea didn’t work the way you thought it would. This really put your thought process and iterative process into perspective and really help everyone understand how you arrived at the final product. Your ability to flex and still provide a great, sleek looking project is great. The addition of the LED lights is also impressive. Your final product is very well put together and is simple to the eye to understand what it is and how it was created. Overall great job!