In the beginning, there was darkness… then God said “let there be light.”
We were given this “UpCycle” assignment at the beginning of the class. To make something out of cheap or even better, recycled materials. In the description of the assignment, there was a line that read, “it is okay to do art for art’s sake.” So the first question I faced was, do I want to make a more traditional “fine arts” project, or a very functional artifact?
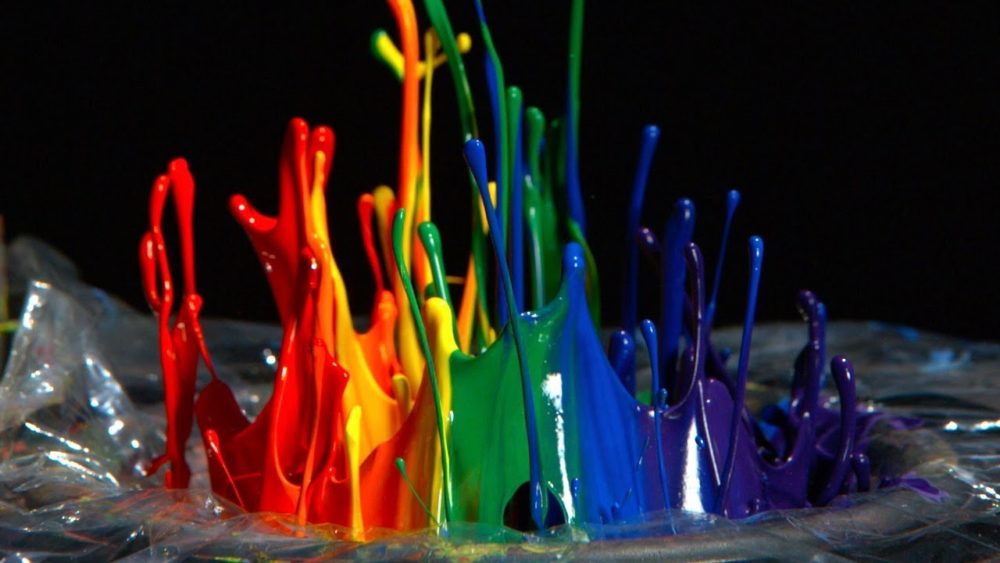
Figure 1. Color paint in slow motion. Example of more of a “fine arts” project. Reference below.
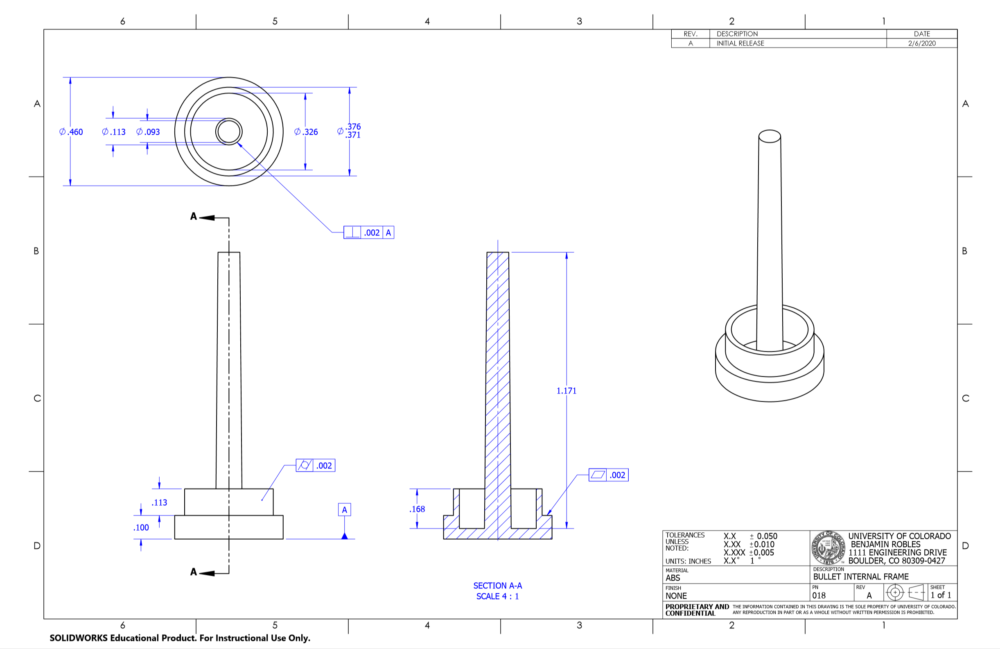
Figure 2. Solidworks drawing. Example of a pure engineering artifact. Reference below.
But in reality, “art” and aesthetics are in everyday useful engineering objects or building. Such as the Art Gallery of Alberta building in Canada.
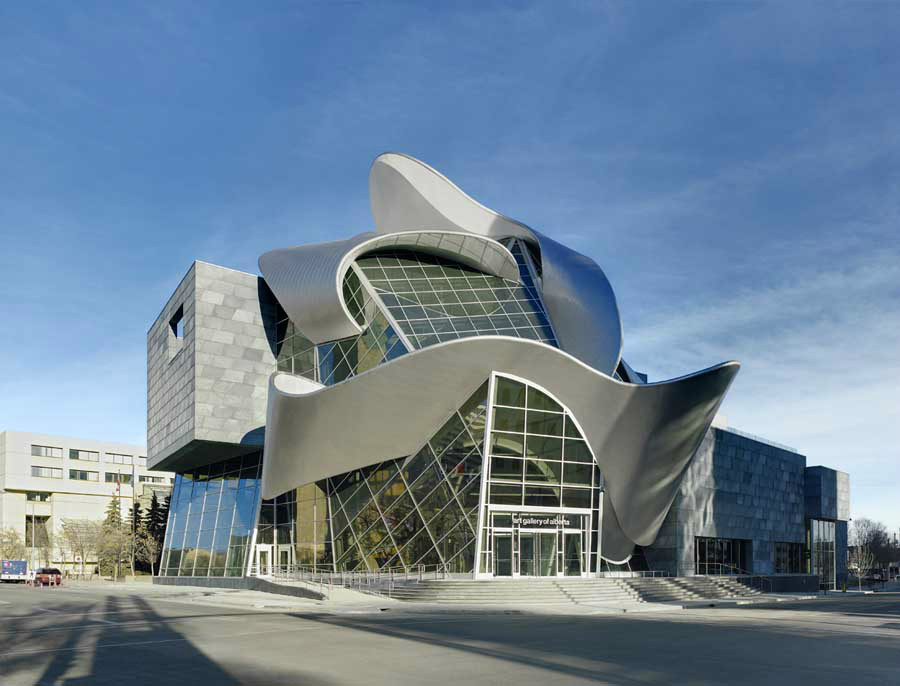
Figure 3. Art Gallery of Alberta, Canada. Reference below.
And isn’t that what this class of “Aesthetics in Design” is all about?? Yes!
I decided to make something practical and useful, yet it had a delightful aspect to it, that it would bring calmness or even inspiration.
Inspiration
“Let there be light” -Genesis 1:3
I have always been inspired and fascinated by lighting. Particularly, warm lighting can be very calming and inspiring. So I knew immediately I wanted to make a lamp. I began to look for inspiration and different design ideas in Pinterest. Take a look at some of the images I found on Pinterest and gained inspiration from.
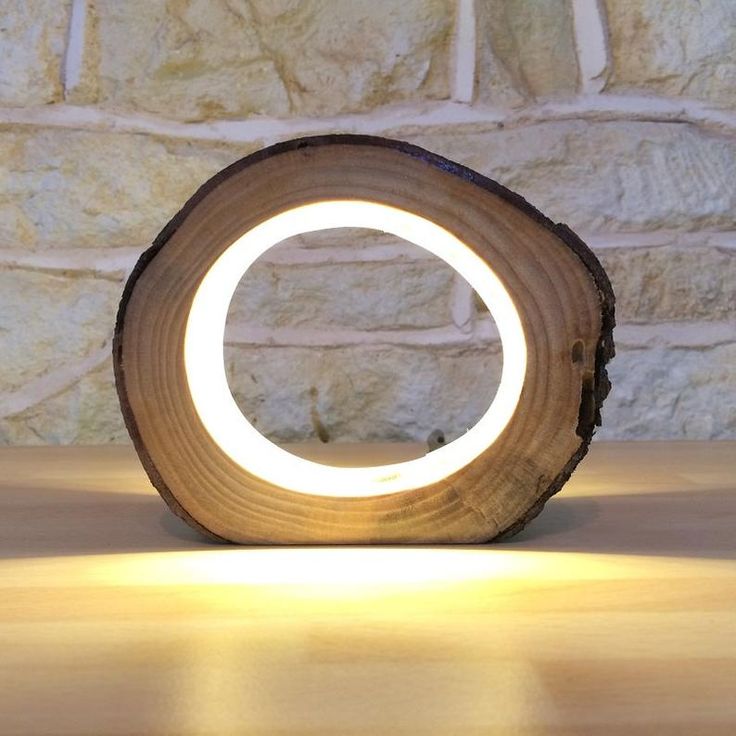
Figure 4. Images of log lamp from Pinterest. Reference below.
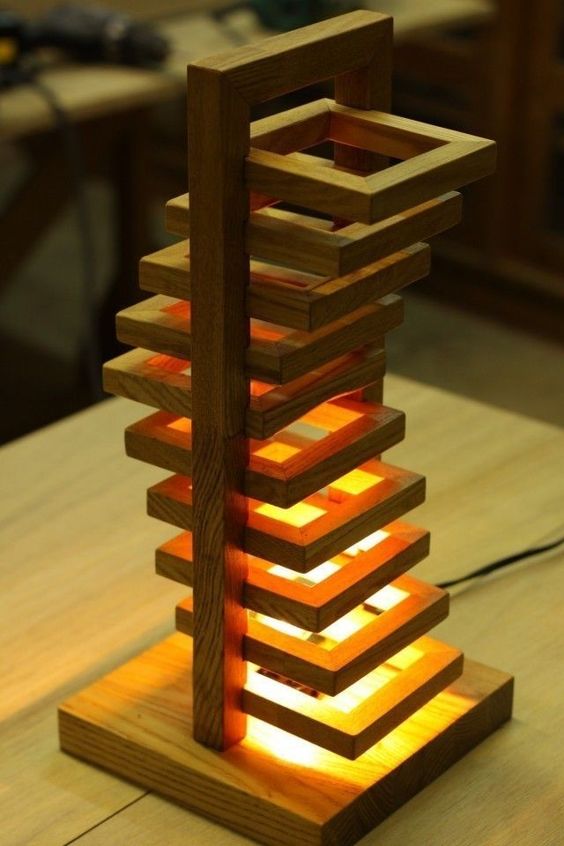
Figure 5. More geometry wooded lamp. Reference below.
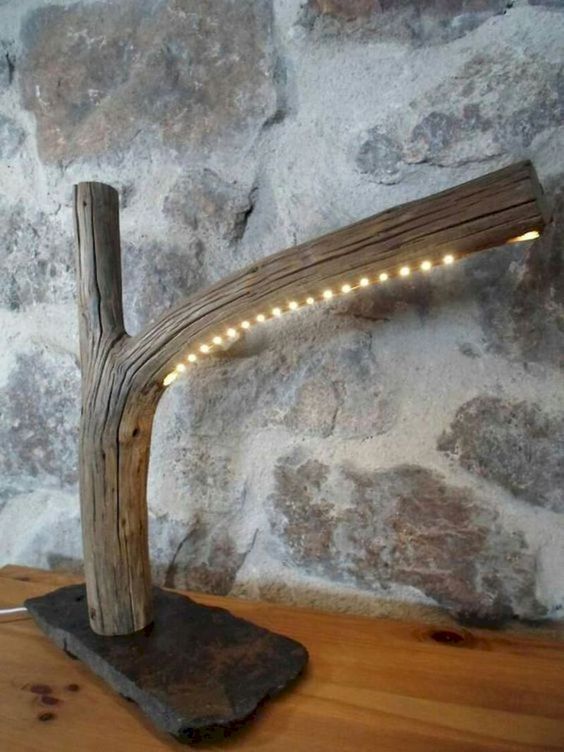
Figure 6. Branch desk lamp. Reference below.
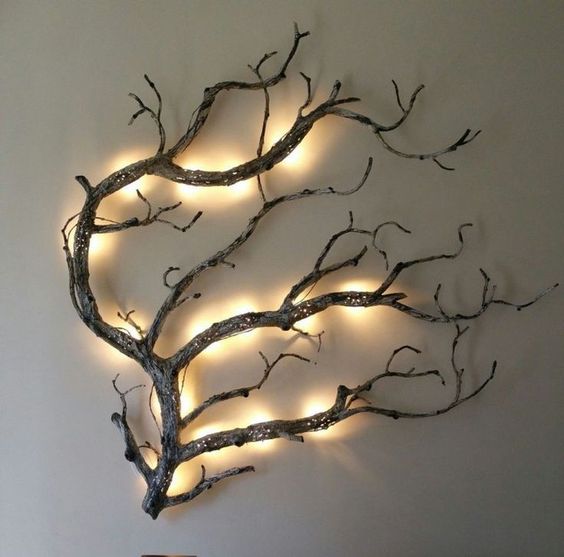
Figure 7. Wall mounted branch light. Reference below.
I quickly realized that other than the “warm lighting” aesthetic, I wanted the lamp to have a natural/organic or rather rustic aesthetic to it, which pointed me to wood as one of my primary materials for the design. I then saw some lamps used hemp string to create some warm tones and intriguing light patterns and I chose to add it to my design. Here are the images I saw on Pinterest.
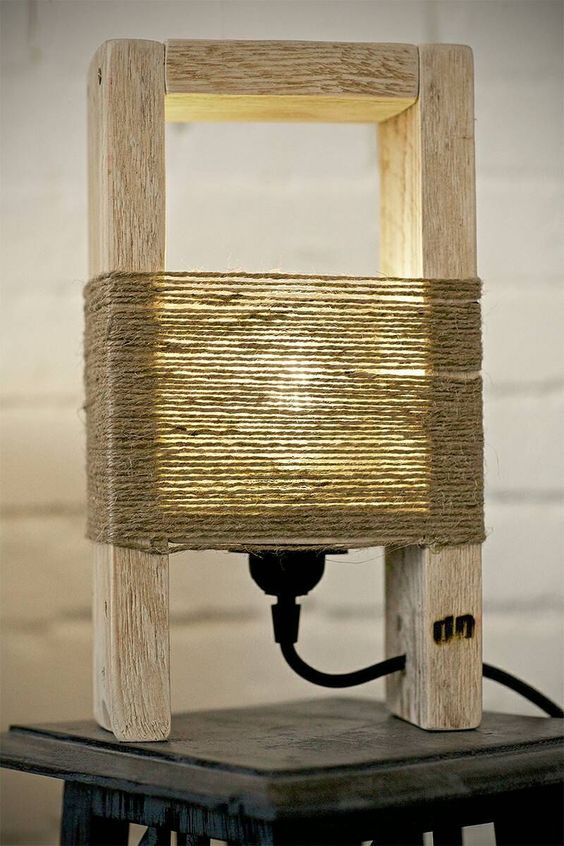
Figure 8. Hemp lamp with 2×4. Reference below.
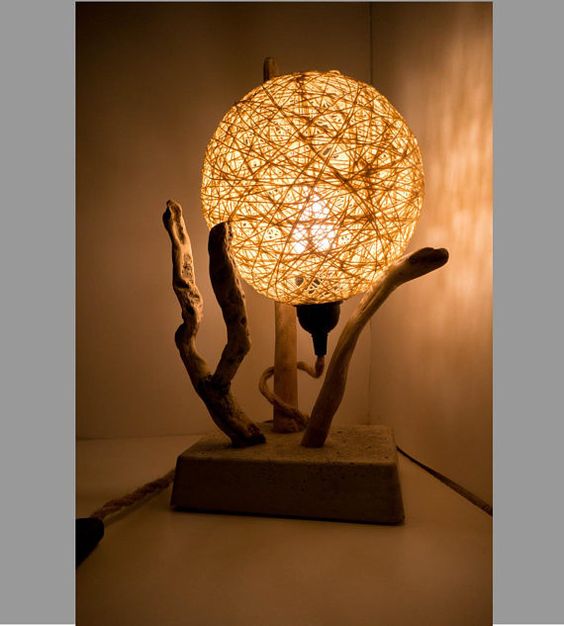
Figure 9. Spherical Hemp lamp. Reference below.
Before beginning the design and the building process, I was suggested to used old bike parts to make a lamp, since I work at a bike shop and have access to lots of unused bike parts. Some inspiration I found for this can be observed below.
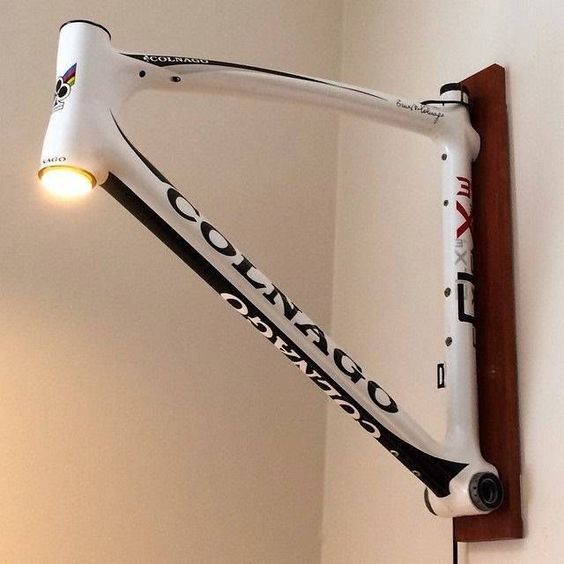
Figure 10. Bike frame light. Reference below.
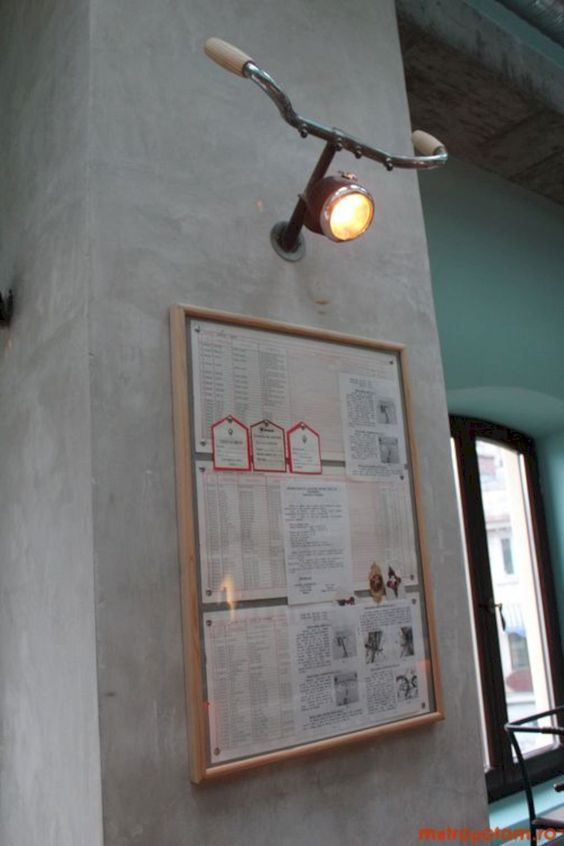
Figure 11. Bike handlebars light. Reference below.
I moved away from this quickly as I realized I really wanted to keep the natural/rustic aesthetic in my design.
With this knowledge and inspiration in mind, I drew my initial design drawing, which can be observed in the image below.
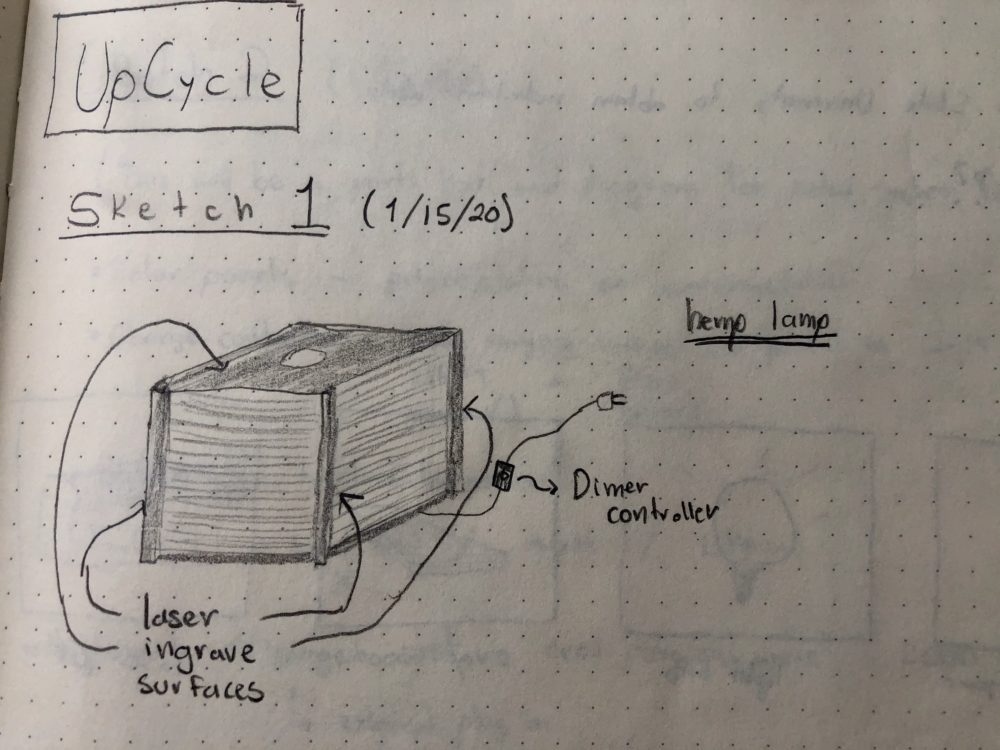
Figure 12. Initial design. Reference below.
As you can see from my original design, I wanted the lamp to have a dimmer for the light source, and this ended up being the only material I purchased, as I could not compromise that part of my design. You can also see that I wanted to laser cut and engrave the wood. Up to this point I had not used the laser cutters before, so it was a skill I really wanted to put in my bag.
Then next stage of my design process was just getting to know CorelDraw, the software used by the laser cutters at school, and to practice laser cutting and engraving with different types of woods and thicknesses. This was a big stage of my design process. I download the free trial to CorelDraw on my personal computer and quickly became confident with the software. I practiced cutting with different woods on the laser cutter with all the wood scraps from the ITLL wood shop. I made several (and unrelated) engravings and cuts just to practice.
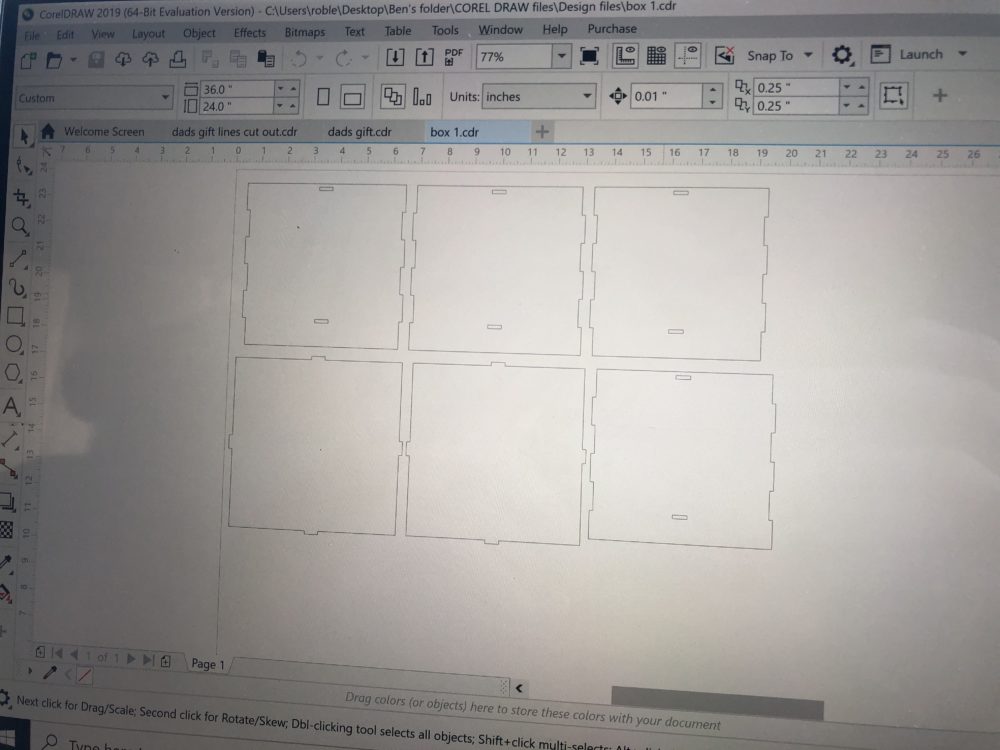
Figure 13. CorelDraw software.
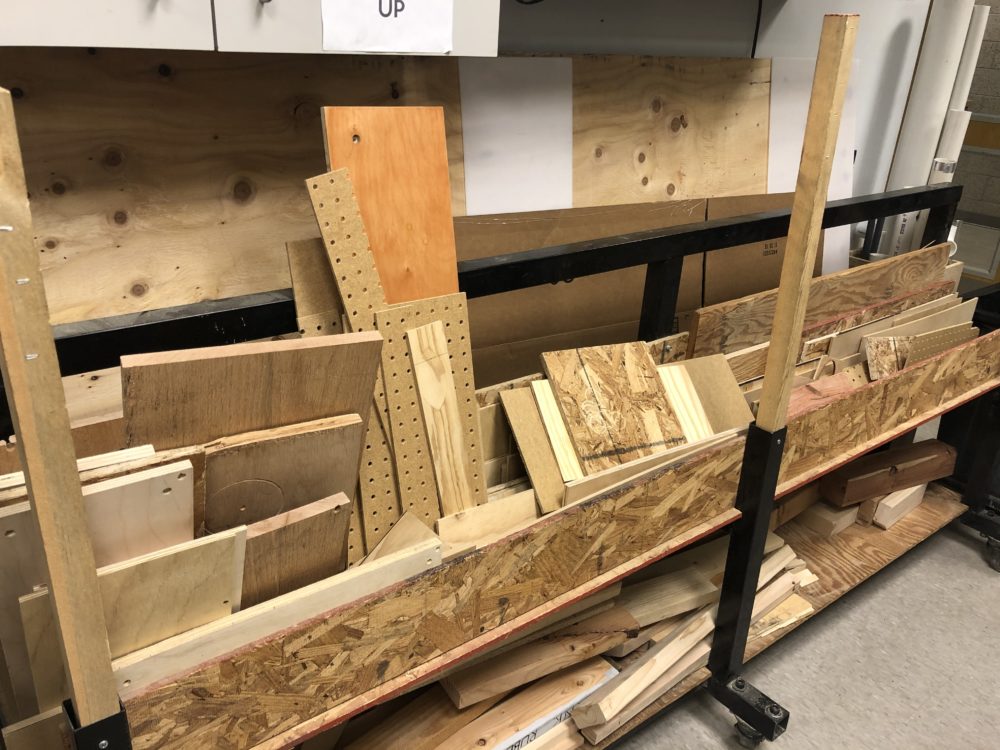
Figure 14. Wood scraps in the ITLL wood shop.
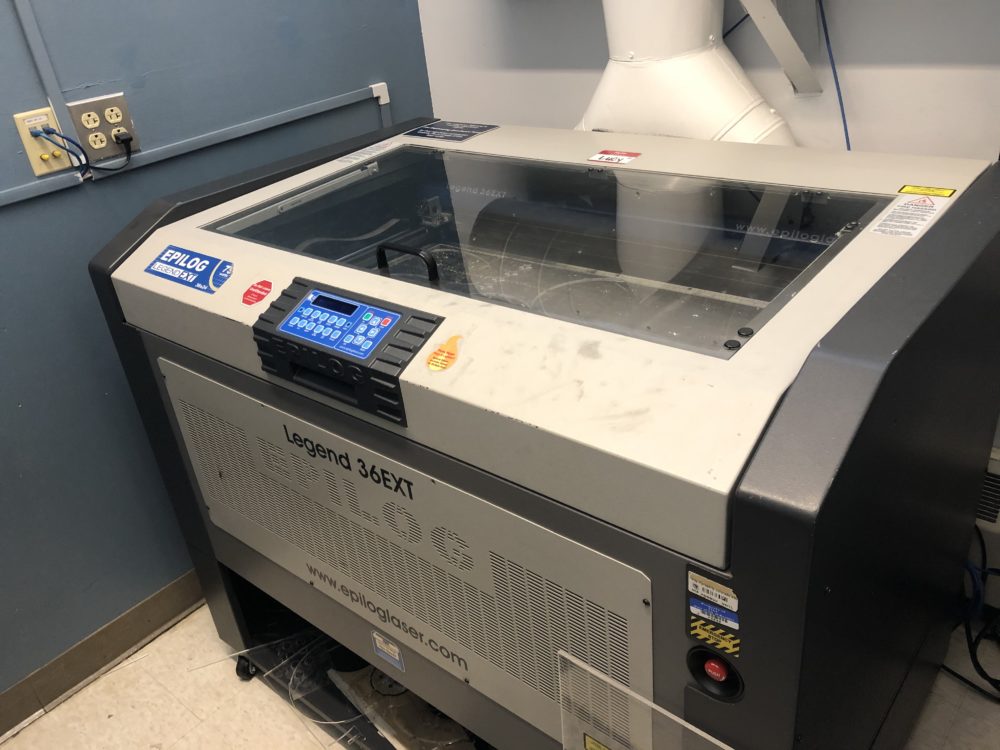
Figure 15. Lucy the ITLL laser cutter.
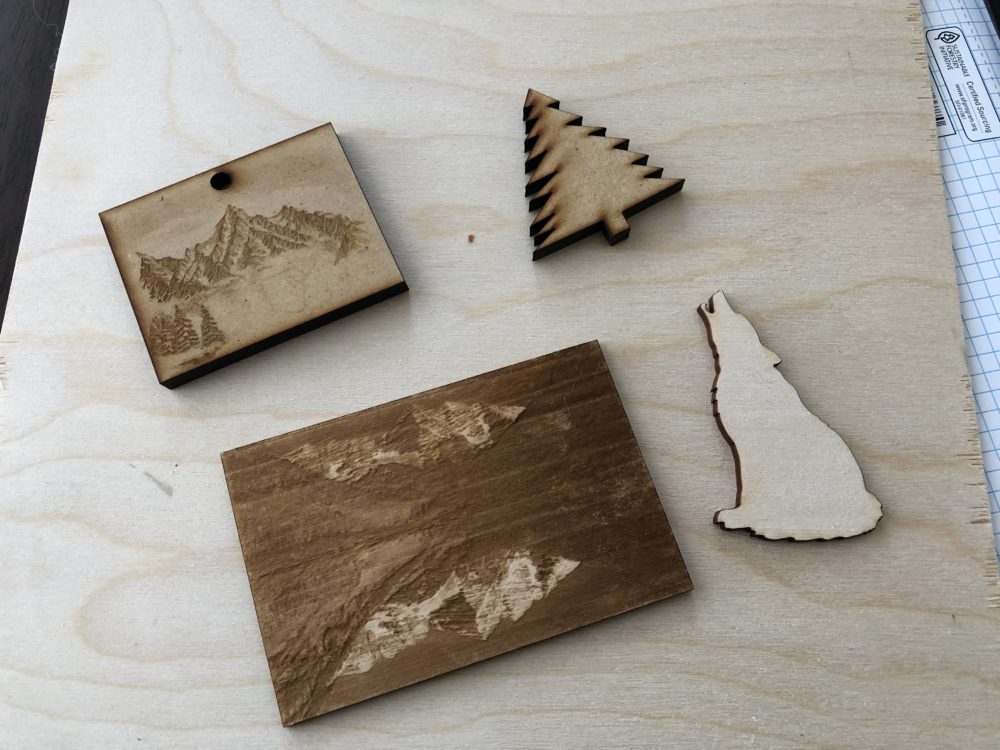
Figure 16. Different engravings and cuts for practice.
This stage was the more iterative stage of the process. My preliminary design process graphic (pictured below) was more or less based on the design process I learned in Advanced Product Design taught by Professor Greg Whiting last semester. This is slightly different from the design process I utilized for my UpCycle process since I did not get user feedback and the material of the artifact was a primary driving force of the design process, while in the APD process, the need is the primary and materials follow. The APD process calls for lots of product iterations after prototyping. In this project, I did do a lot of iterations but they were done during the CorelDraw design phase, as opposed to after the prototype was produced.
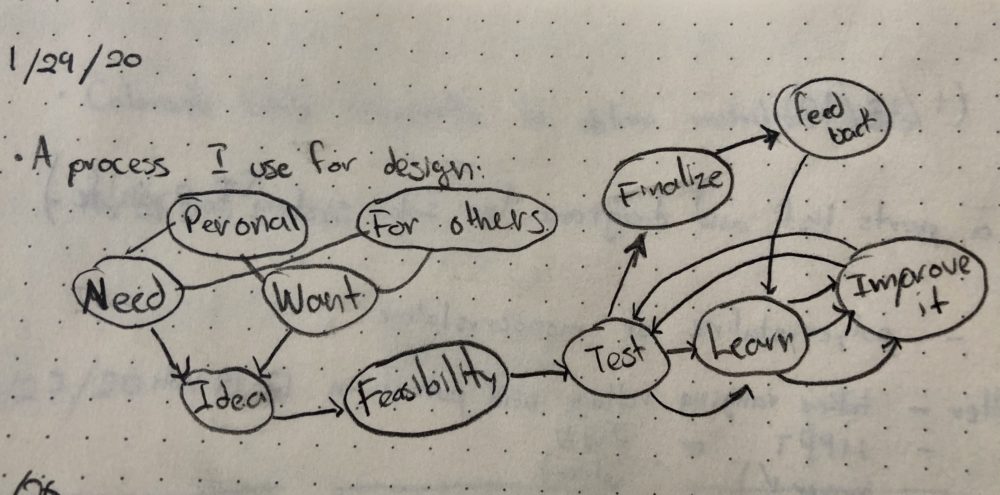
Figure 17. Design process learned in Advanced Product Design class.
Once I finalized the design, I continued forward with building the lamp with confidence and excitement. I gathered most my materials from the Project Depot in the ITLL as can be seen below.
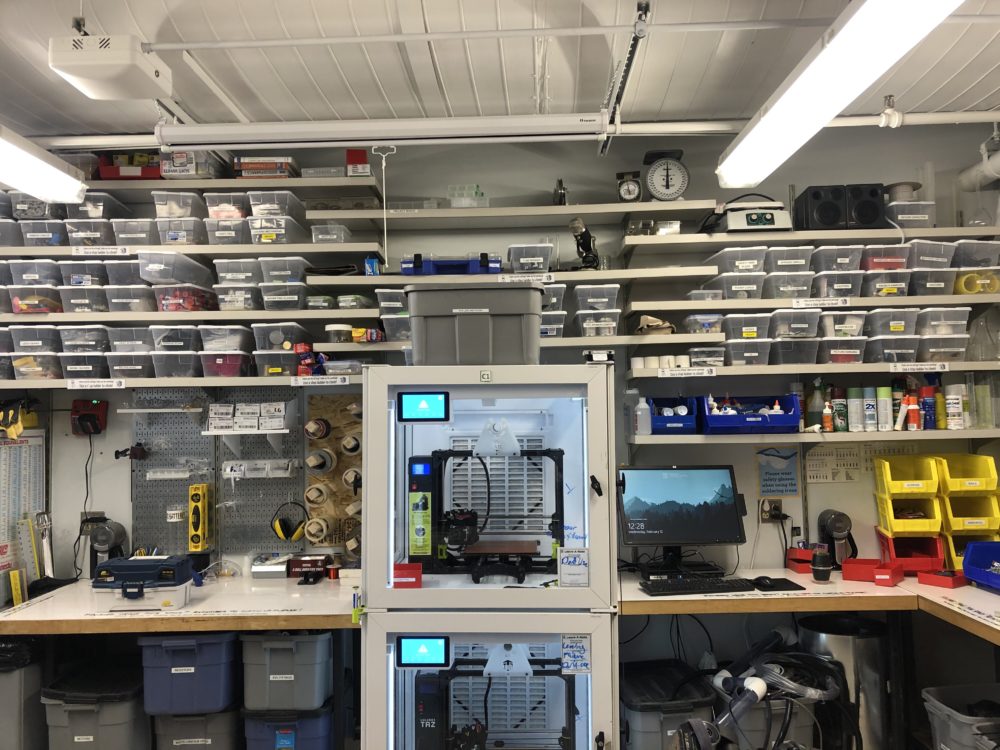
Figure 18. Project Depot in ITLL.
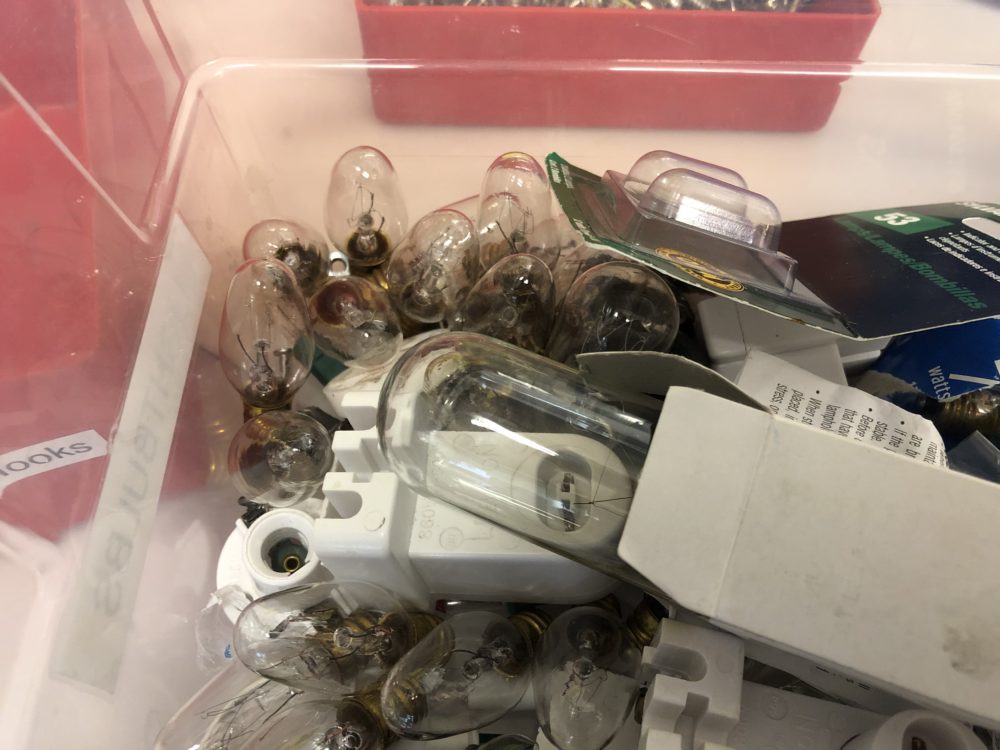
Figure 19. Light bulbs and materials obtained from Project Depot.
I also made a video documenting the design and building process. I uploaded the video to my YouTube channel. Here is the link:
Video 1. Hemp Glow, the manufacturing process.
A picture of the final product can be observed below. I turned out great!!
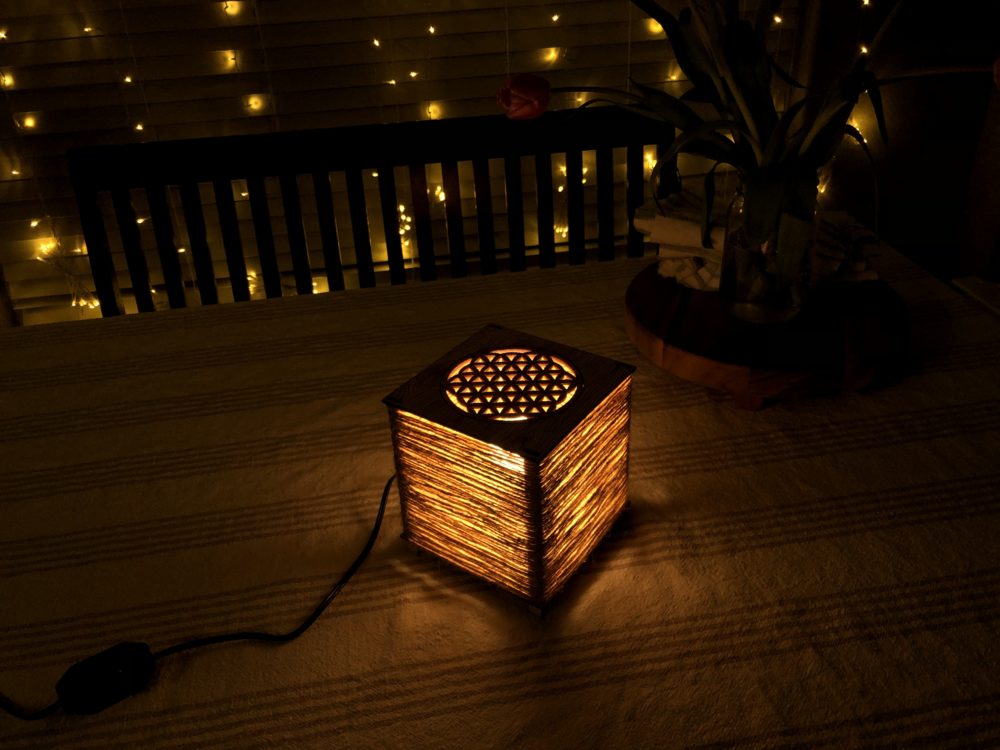
Figure 20. Final product: Hemp Glow.
I am satisfied with both the functional and aesthetic goals. I set out to create a useful artifact from cheap and recycled materials, and this was achieved as the lamp provides a practical use to illuminate an area. I wanted my project to have a delight factor, which was achieved by the peaceful warm lighting that pierces through the hemp string and up the laser cut design at the top.
What’s next?
I will most likely gift this item away or perhaps sell it. I do plan to further refine this product, to improve the assembly process and quality of frame stability. After putting it together (with super glue), I noticed it was really hard to perfectly align the column supports to the top and bottom of the lamp, plus it takes time and patience to super glue this together. Featured below are my second and third iterations of the frame.
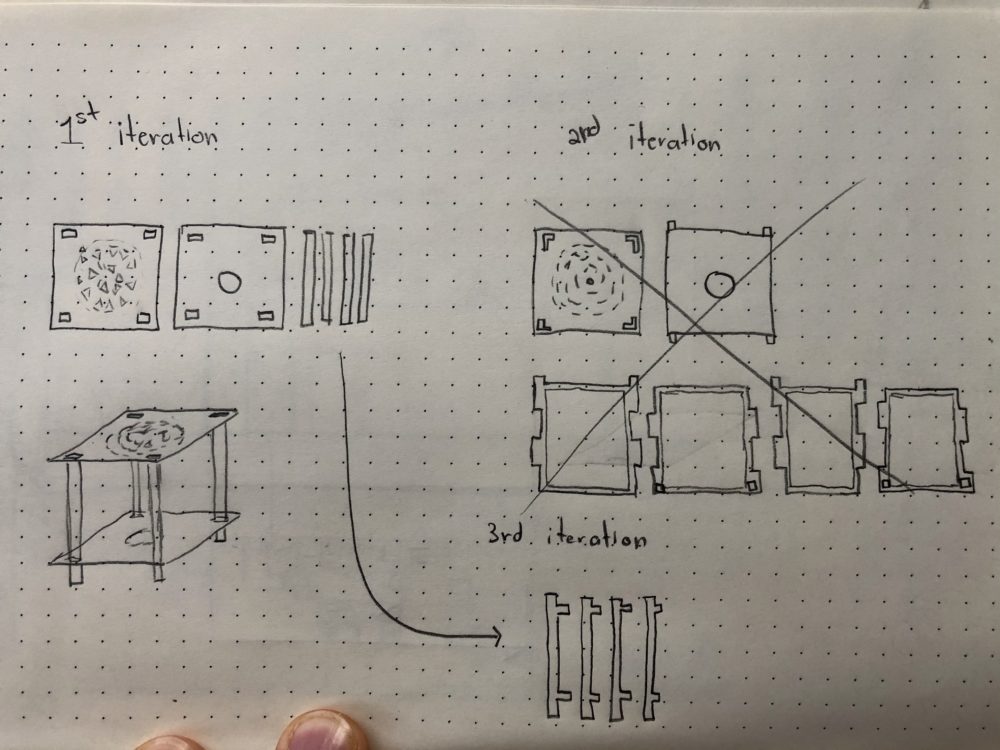
Figure 21. Design iterations.
The second iteration called for a more sturdy frame but at the same time I would have to use a lot more wood and more wood would go to waste (the middle section). So I decided to scratch that and just improve the legs as can be seen in my third iteration. Those tabs will help stop and align the top and bottom parts of the lamp.
Another improvement will be the top pattern. When I cut it, I realized that I had a cut that I did not need. The circle around the pattern actually cut out the entire pattern from the top. To fix this I super glued it back together but for future cuts, I have removed that circle so the patter will not fall out. This can be observed below.
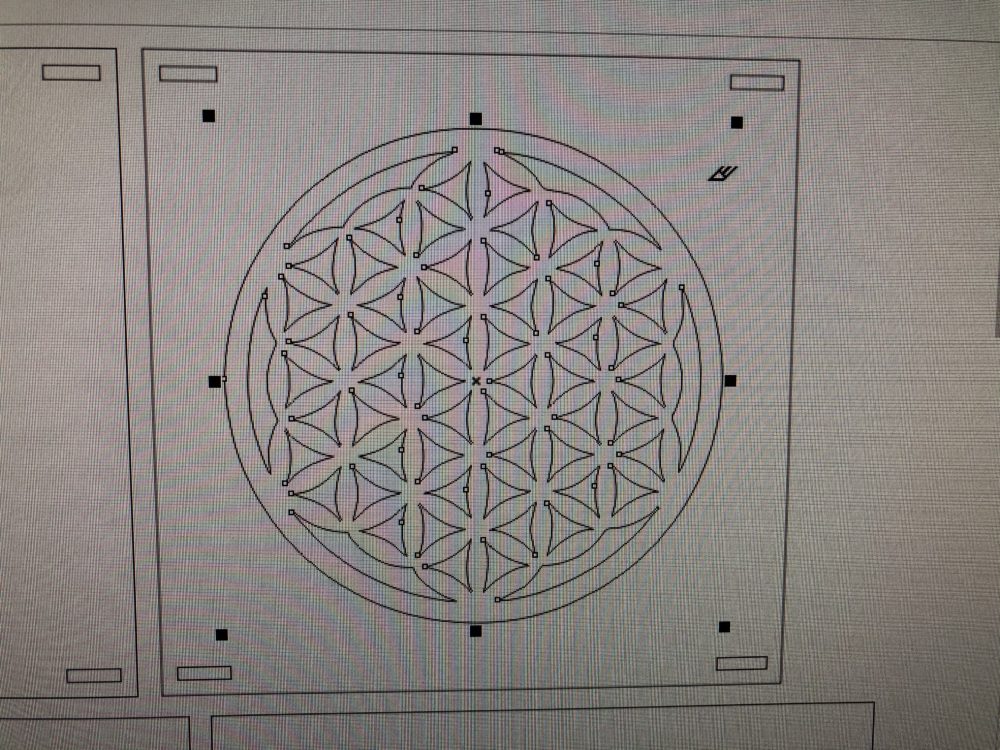
Figure 22. Circle around patter cuts patter out from top portion of lamp (before).
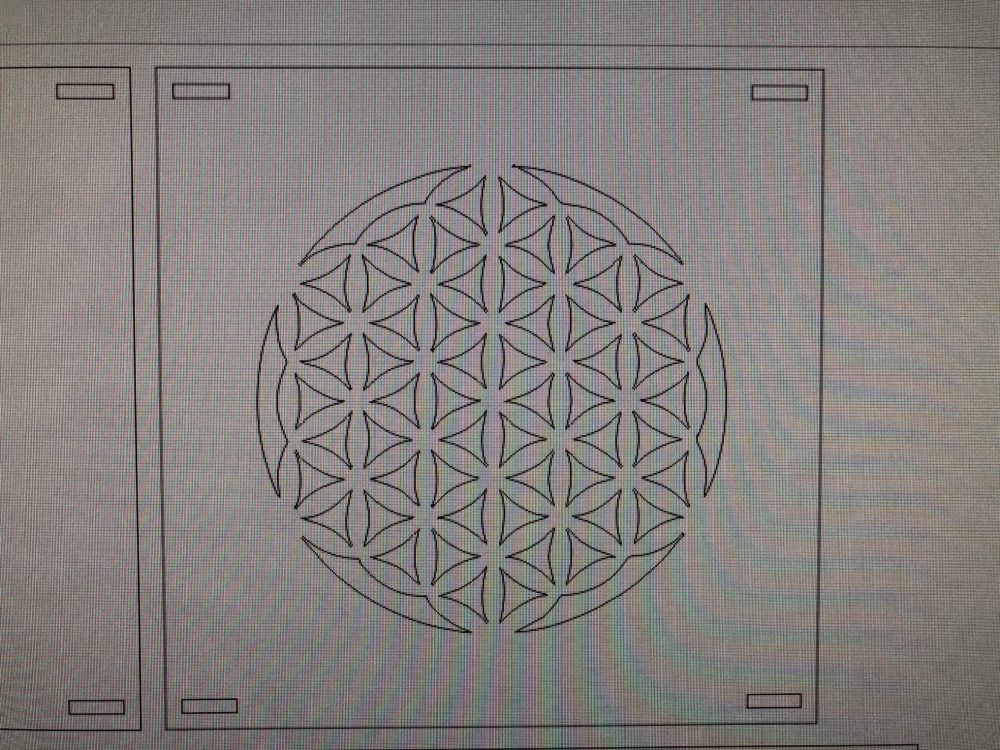
Figure 23. Removed circle around patter to fix problem (after).

Figure 24. Complete design of Hemp Glow 2.0
Hemp Glow 2.0 coming to market soon.
Update 2/21/20:
The radial pattern (observed below) in the first design was obtained from freepatternsarea.com.
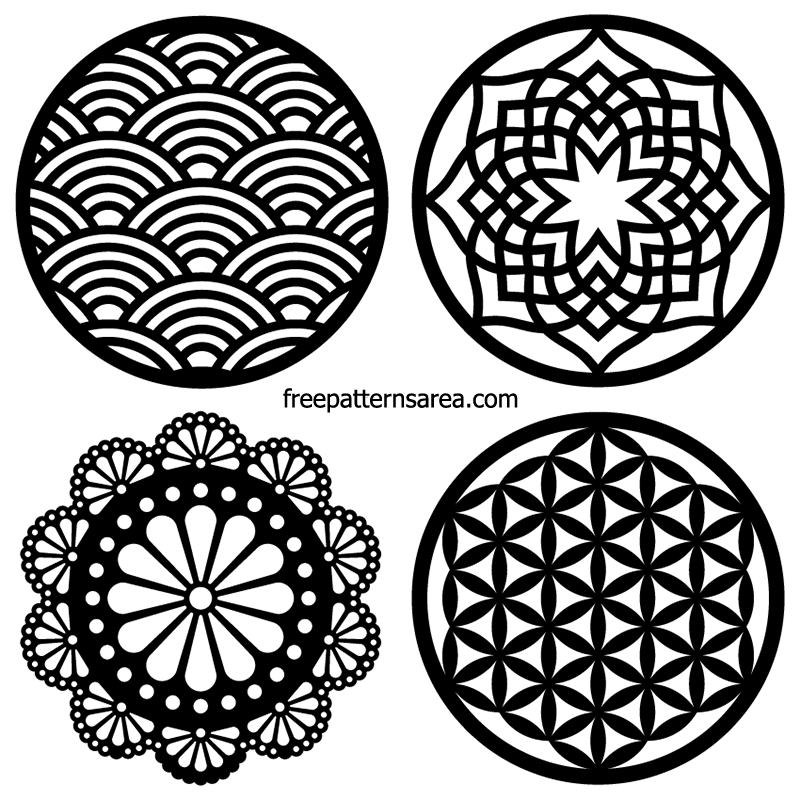
Figure 25. From freepatternsarea.com
The wood texture pattern (observed below) used in the design was obtained from nicepng.com.
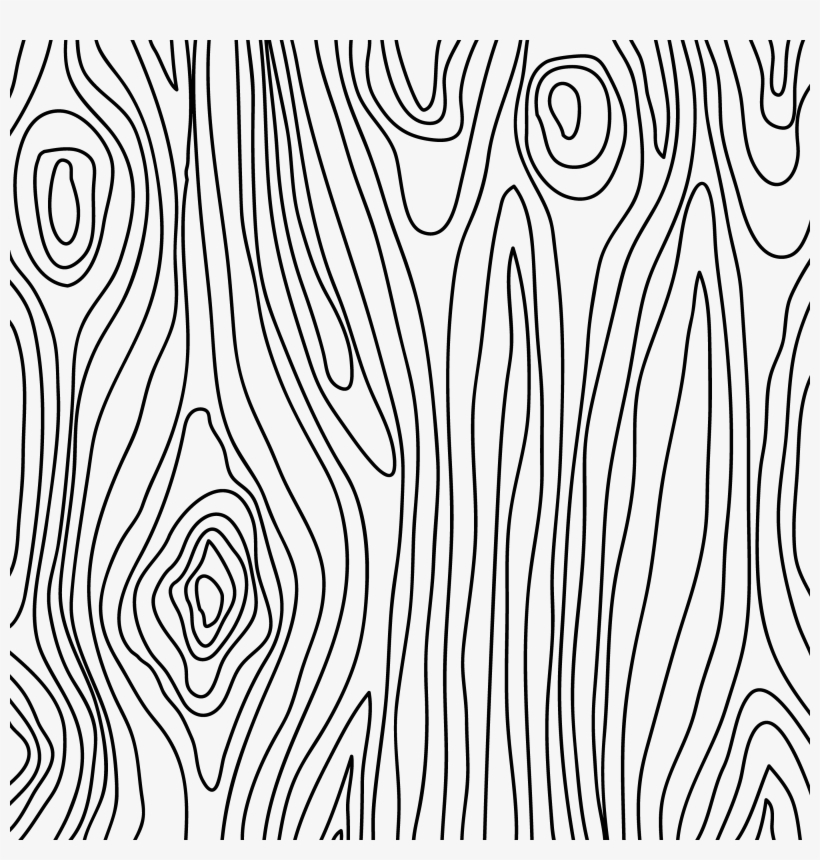
Figure 26. Wood texture
Further more, I made the second iteration of Hemp Glow, with an original pattern at the top. I also fixed the alignment problem by adding stopping tabs. These can be observed below.
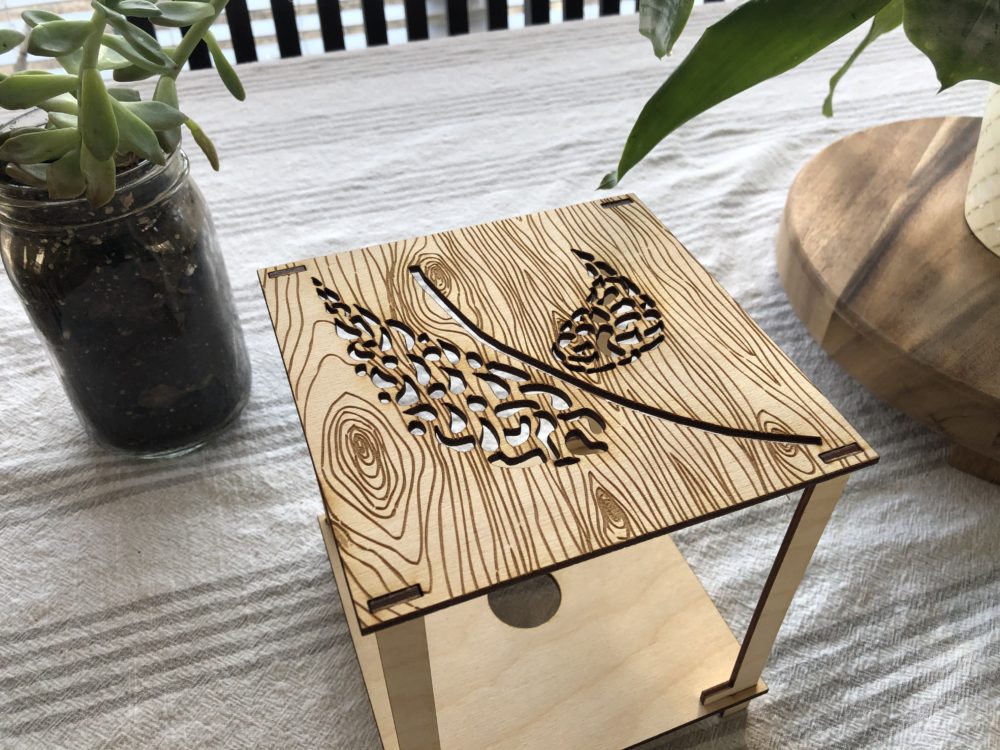
Figure 27. Original leaf pattern.
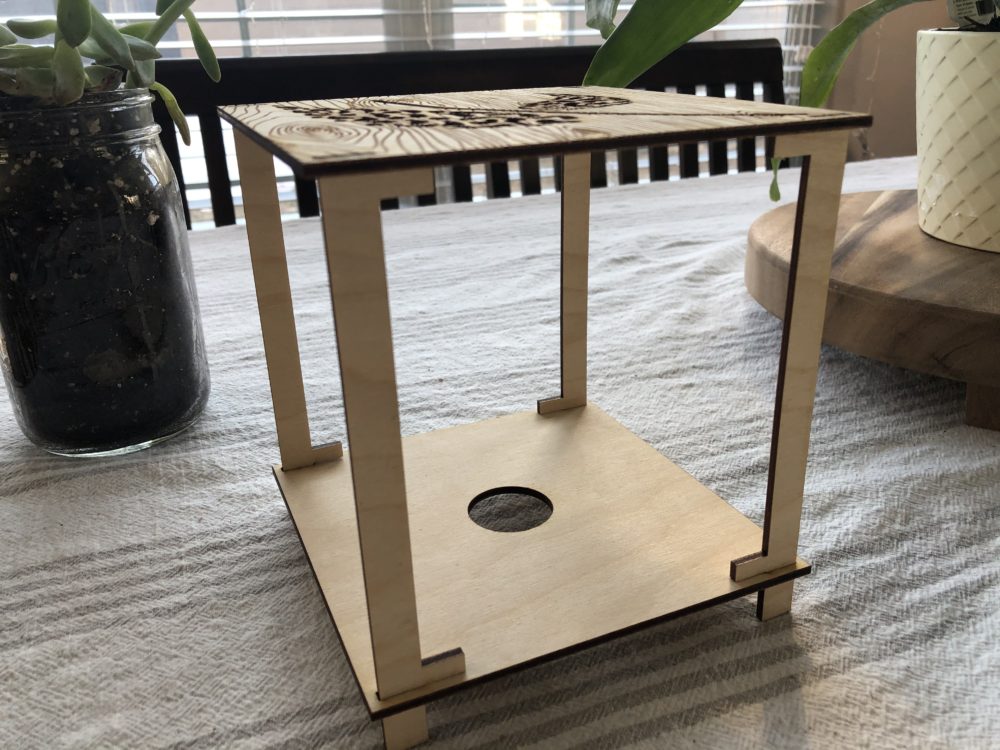
Figure 28. Alignment tabs.
And lastly, here is a video of the presentation of this project.
Thank you for reading.
References
Figure 1. https://mashable.com/2018/05/08/youtubers-speaker-paint-hd-cameras/
Figure 2. This drawing was created by me, and a screenshot of the drawing taken by me.
Figure 3. https://www.arch2o.com/art-gallery-alberta-building-randall-stout-architects/arch2o-art-gallery-of-alberta-building-randall-stout-architects-14/
Figure 4. https://www.etsy.com/listing/265950118/small-led-log-light-table-lamp-desk
Figure 5. https://boshdesigns.com/wood/wood-forms/%E3%81%BB%E3%81%A3%E3%81%93%E3%82%8A%E3%81%99%E3%82%8B%E7%81%AF%E3%82%8A%E3%80%81%E3%82%BF%E3%83%A2%E6%9D%90%E3%81%AE%E3%82%BF%E3%83%AF%E3%83%BC%E3%83%A9%E3%82%A4/
Figure 6. https://home-dsgn.com/
Figure 7. https://www.pinterest.com/pin/53761789289816576/
Figure 8. https://www.idlights.com/cute-wood-table-lamp-made-pallet/
Figure 9. http://www.lampsr.com/
Figure 10. https://www.pinterest.com/pin/53761789289886538/
Figure 11. https://www.pinterest.com/pin/294704369356866977/
Figure 12 – 24. Images taken and edited by me.
Figure 25. freepatternsarea.com
Figure 26. https://www.nicepng.com/ourpic/u2q8u2i1q8q8e6y3_jpg-free-download-drawing-wood-pattern-wood-texture/
Figure 27-28. Images taken and edited by me.
Video 1. Filmed and edited by Benjamin Robles (me).

8 Comments. Leave new
I really like this project, I think you could start a small company doing this and sell it to target or ikea. I really enjoy the product, it gives warmth to the room, and it simple yet an eye catcher. I think the use of hemp and wood brought nature into the piece that makes it unique compared to most lamps. I think this is something people would buy, I would buy this for my house.
First off, your presentation is very professional and well put together. So nice job there! Thinking about the next steps for the project, you mentioned that you created a few versions with different structures and different art on the top. Have you also considered making new versions of this item with different shapes of structures? Something that is tall and rectangular or maybe even some lamps with curved structures, maybe? I think you would be able to sell these if you wanted to, and having more options for products would be a great business idea.
Hey Benjamin,
Great project and awesome report. Your report was extremely thorough and well put together! I really enjoyed the video you made about the manufacturing process. I also thought it was cool how you already started on future iterations.
I really liked the wood etching on the top of the design. It brings in it’s own aesthetics to the project itself and adds more depth for the top side.
Benjamin,
I really liked the documentation of the manufacturing procedure, it was really clear and easy to follow. I liked the fact that you engraved a wood pattern onto the wood to fit your rustic aesthetic even more. The hemp yarn also creates a wonderful tone of light. Was then size of your lamp based purely on the size of wood you had available? Or did you consider making it larger and decide not to go that route?
You presentation was as well put together as the final product! The manufacturing and assembly video was also an extremely nice touch! I can imagine it being put up on Youtube or in an Instructables post on how to make a one of these help glow lamps. I really think you nailed that rustic aesthetic with the soft tan colors combined with burnt wood! Excellent work!
Hi Benjamin! Here is my critique following the 4 steps outlined in Liz Lerman’s Critical Response Process.
1. Statement of Meaning: I really love the overall aesthetic of your lamp. I truly think it is beautiful and looks very professional. It is easy for something DIY to frankly look DIY, but your lamp looks like something I would legitimately buy online/at a store. I also really appreciated the fact that you documented your fabrication process via video.
2. Artist Questions: Let me know if you have any questions, ff you do, I will be sure to reply.
3. Neutral Questions: What made you choose the designs you did for the top of the lamp? Why the circular geometric design? Why engrave a wood pattern?
4. Permission Opinion: I am going to assume you give me permission (if not, you can just ignore the rest of this). While I really like the geometric pattern you used at the top of your lamp, I personally think that a more nature-oriented pattern would have fit the rustic aesthetic more. You practiced different cuts and engravings of mountains and trees and wolves and I would have liked to see this play a role in your final piece. If you wanted something more abstract, a constellation or star pattern could be cool.
Overall, I am very impressed by your work and I am excited to hear how your second iteration goes. Good work!
Hey Fiona! Thanks for your feedback!
So to answer your questions, I first chose to do a cut out pattern at the top of the lamp because I wanted more light to come out from the product, and I wanted it to be interesting from every angle that it was observed, (minus the bottom…). I thought the circular patter was a good choice to contrast the very square and sharp corners structure of the cube, plus it would allow the lamp to be oriented in any fashion due to its uniformity being a cube with a circle at the top.
I do think other patterns would be cool to experiment with on the top of the lamp! I will probably make more and implement those.
As far as a question for you, since you talked about seeing other patterns on top, would a leaf shaped cut out (instead of the circular pattern), filled with similar infill pattern that I used on the original design, would that be cool? Or what were you thinking?
Ben