Ideation
With carved egg shells and clay sculptures covered in egg shells as my initial inspirations, I set out to create a sculpture out of egg shells. Frankly, it was a masochistic challenge to my patience, but in the end, I feel proud and glad to have made something that is not necessarily useful but just nice to admire.
The final product resembles a mixture of the three images below. Nosinger’s white egg shell sphere which required a lot more care upon cracking the eggs; a lamp shade covered in egg shells; and an egg shell lamp mosaic.
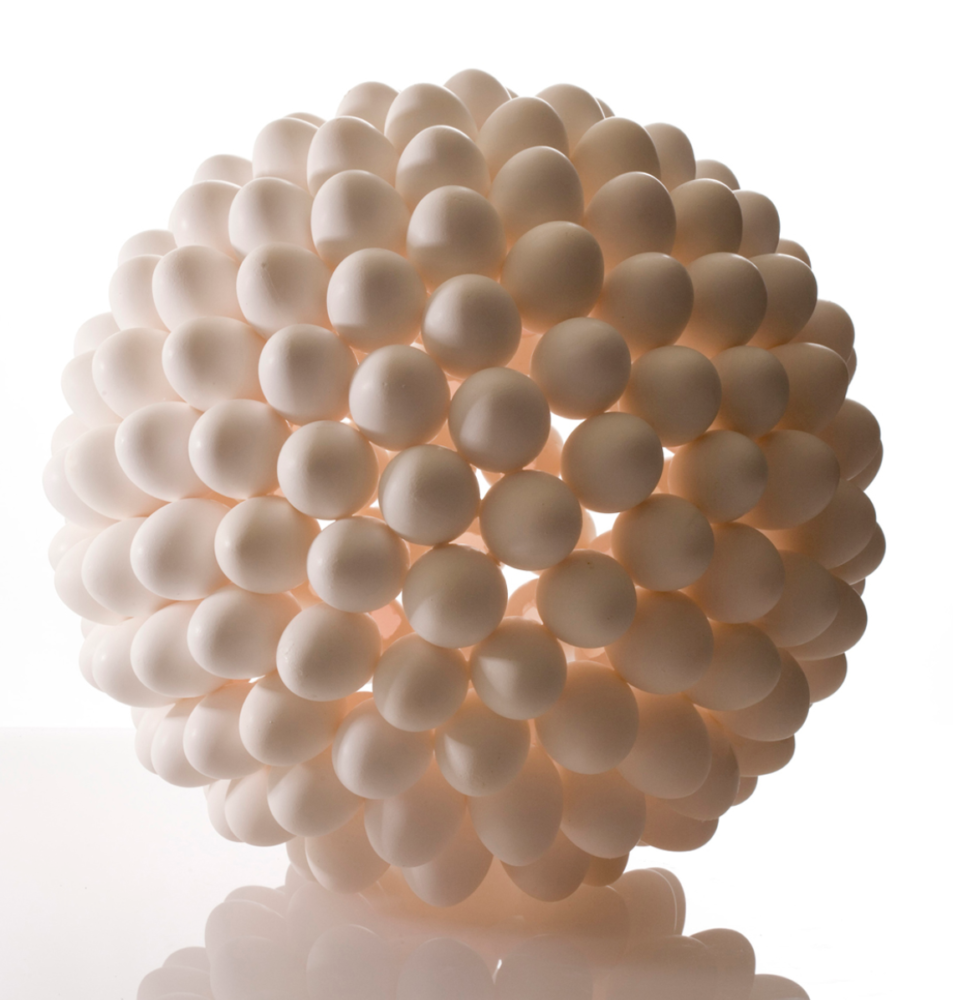
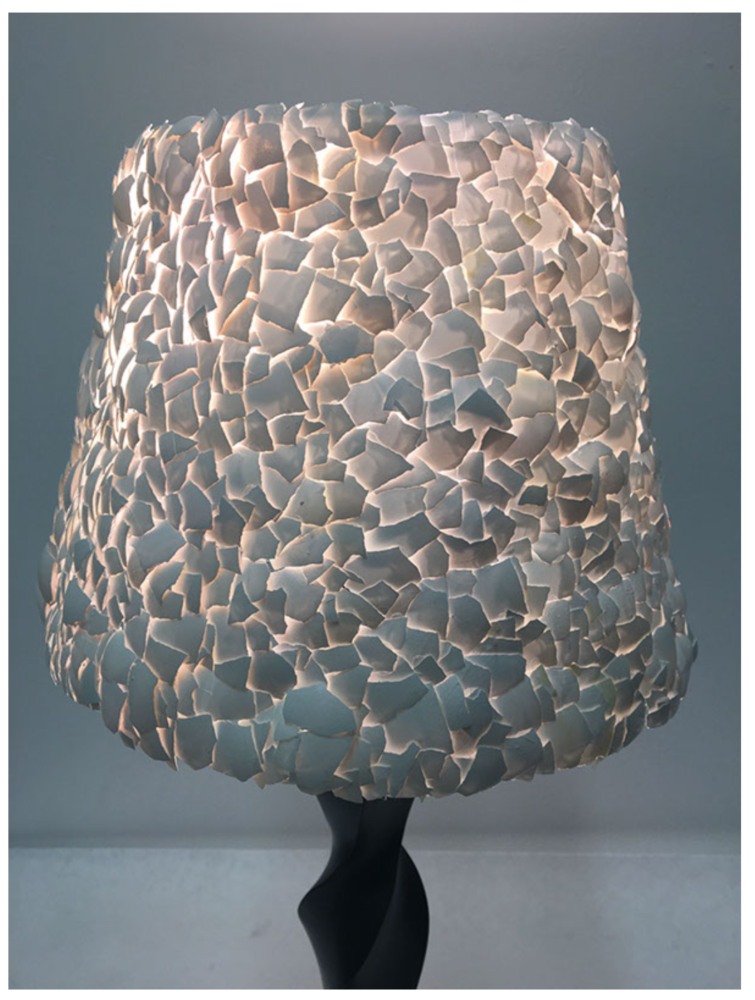
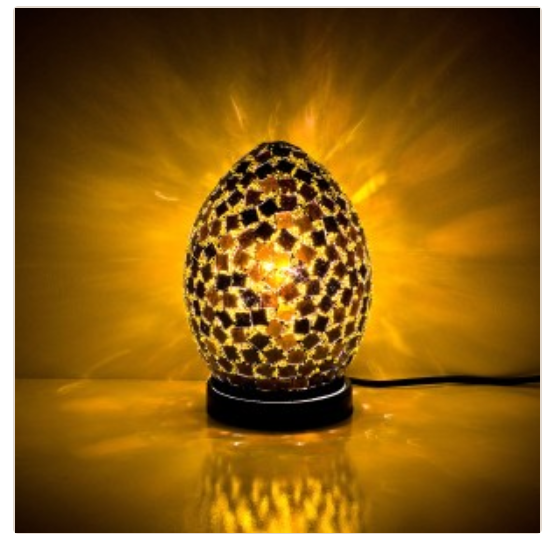
I wanted to pursue a Postmodern Aesthetic that relies more on conceptual meaning. I consider my egg to represent the rebirth of something new. It shows that no matter how many pieces you may be broken into, and no matter how big or small those pieces may be, you’re able to rebuild yourself into something great.
Process
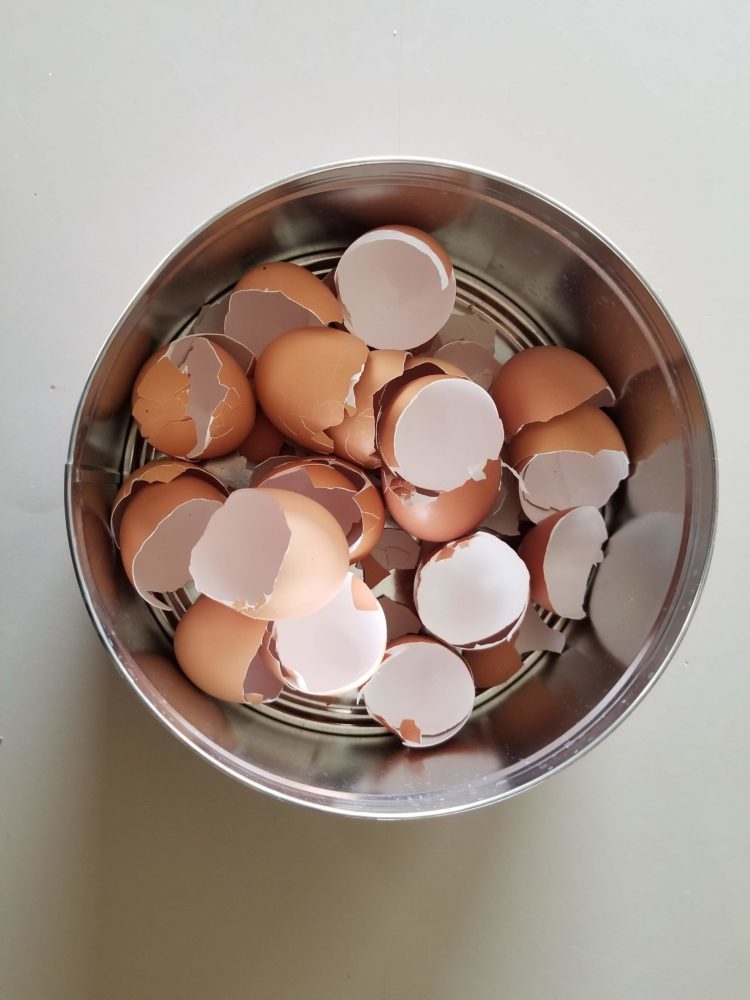
Ideation process was straight forward. I first made up my mind to use an unconventional material, egg shells. I then acquired my materials. I bought a few dozes of eggs and with the help of friends and family and many home cooked, egg-oriented meals, I gathered my shells. After allowing a lot of room for trial and error, my plan was to execute my idea and be done. And so it went!
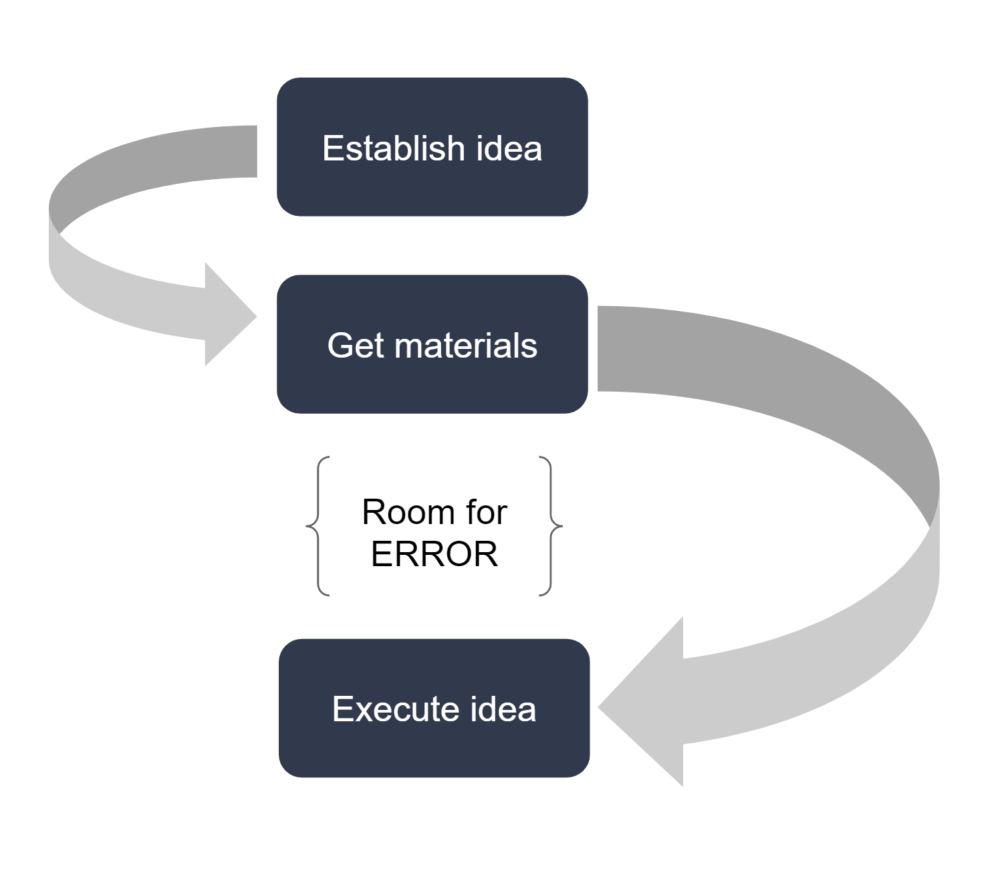
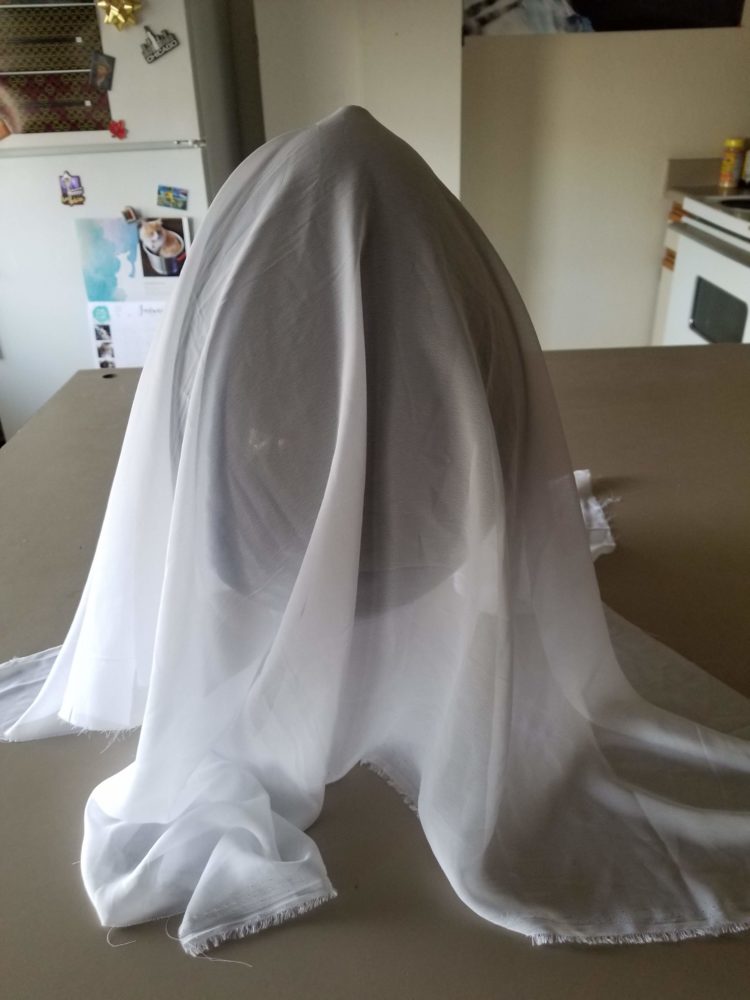
My main concern was whether the egg was going to hold up or not. The original plan was to blow up a balloon and cover it with egg shells as if I were doing so with papier-mache. Of course due to the sharp and brittle nature of eggs I decided against a bare balloon since upon removal of the balloon, the whole thing could fall apart. To solve this, I obtained a thin white cloth, which would represent the membrane of the egg, covered the balloon, and adhered my egg shells to it instead. The mixture of the cloth and the glue, resulted in a very sturdy shell.
Materials
- egg shells (tanned and white)
- white cloth
- balloons
- paint brush
- Elmer’s Glue
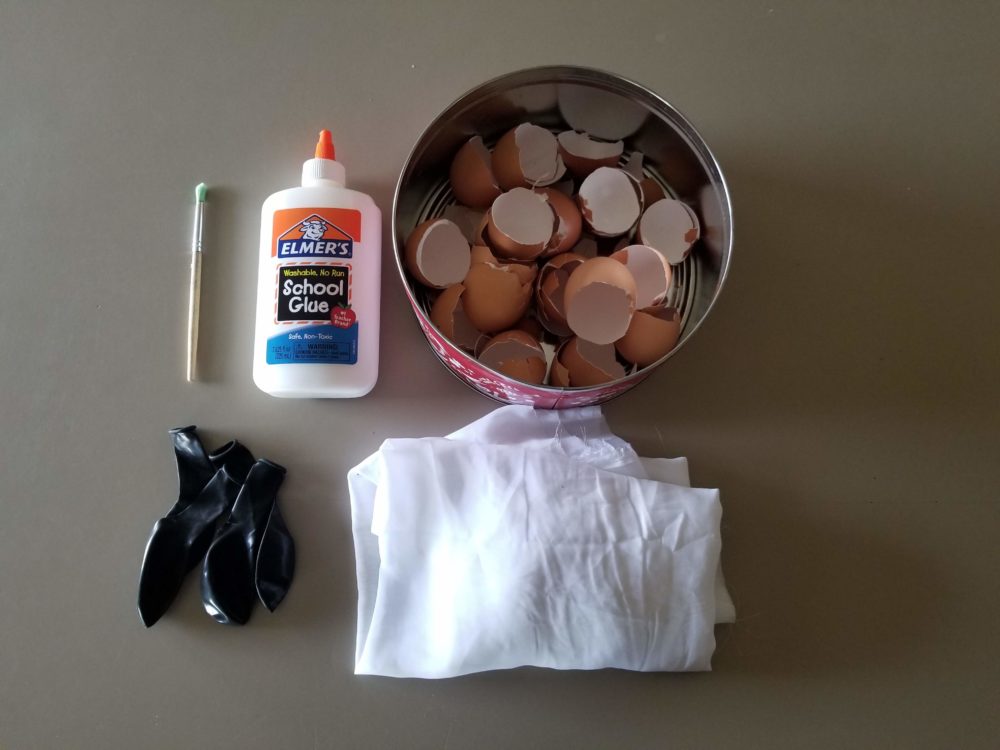
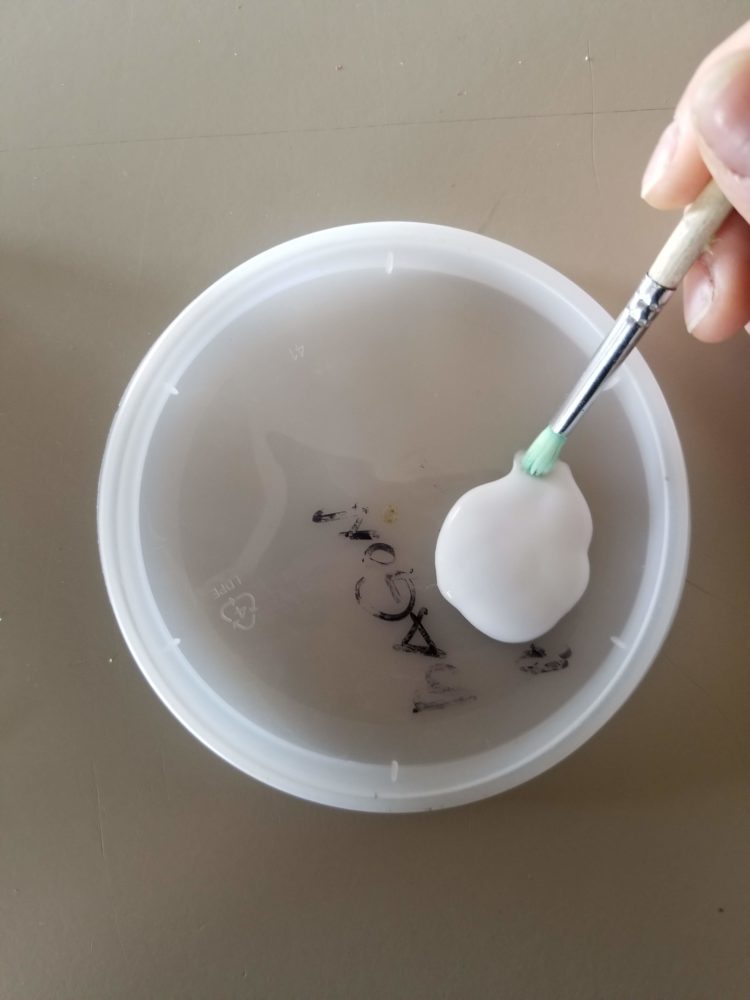
Also, not pictured, I used a plastic cup to hold my egg in place, a lid to pour the glue, and a hair tie to secure the cloth around the balloon.
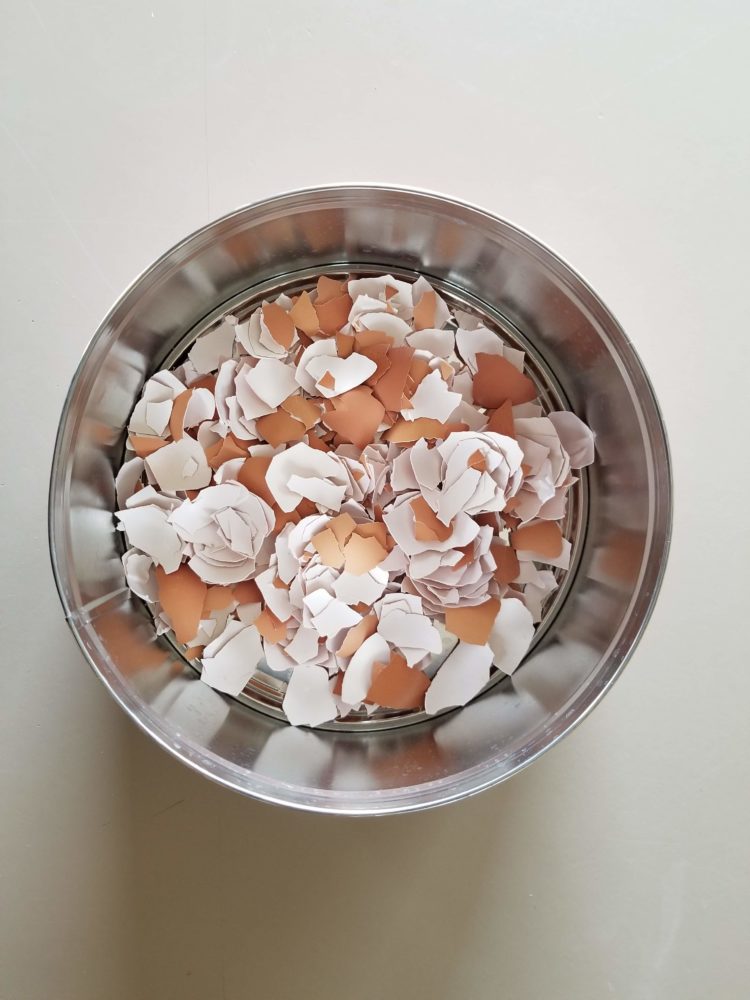
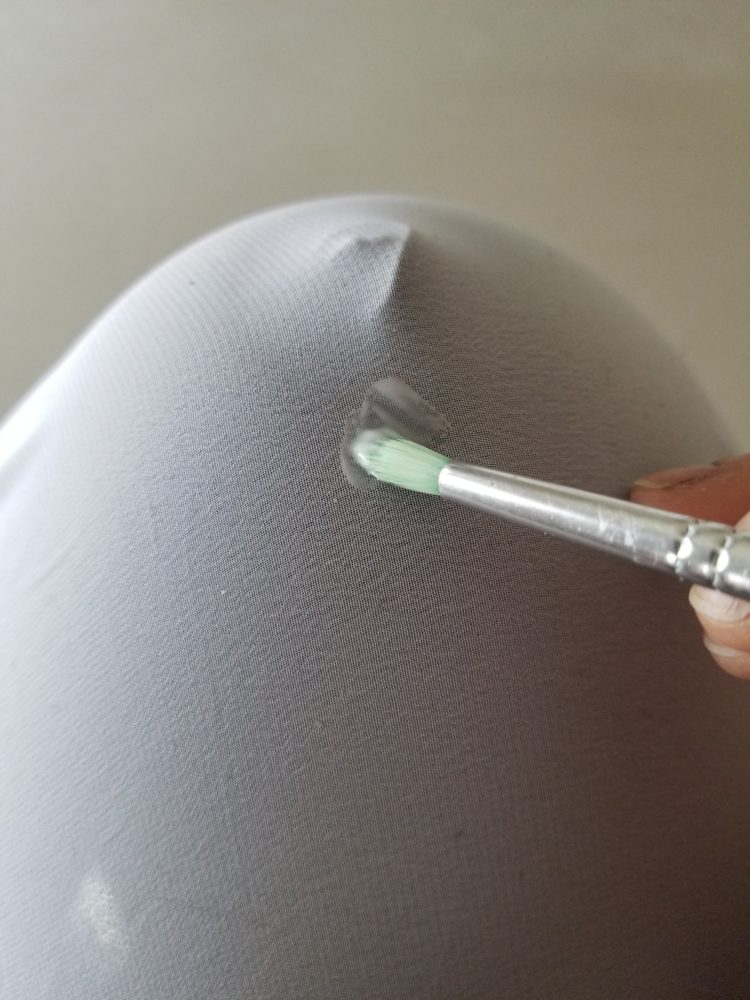
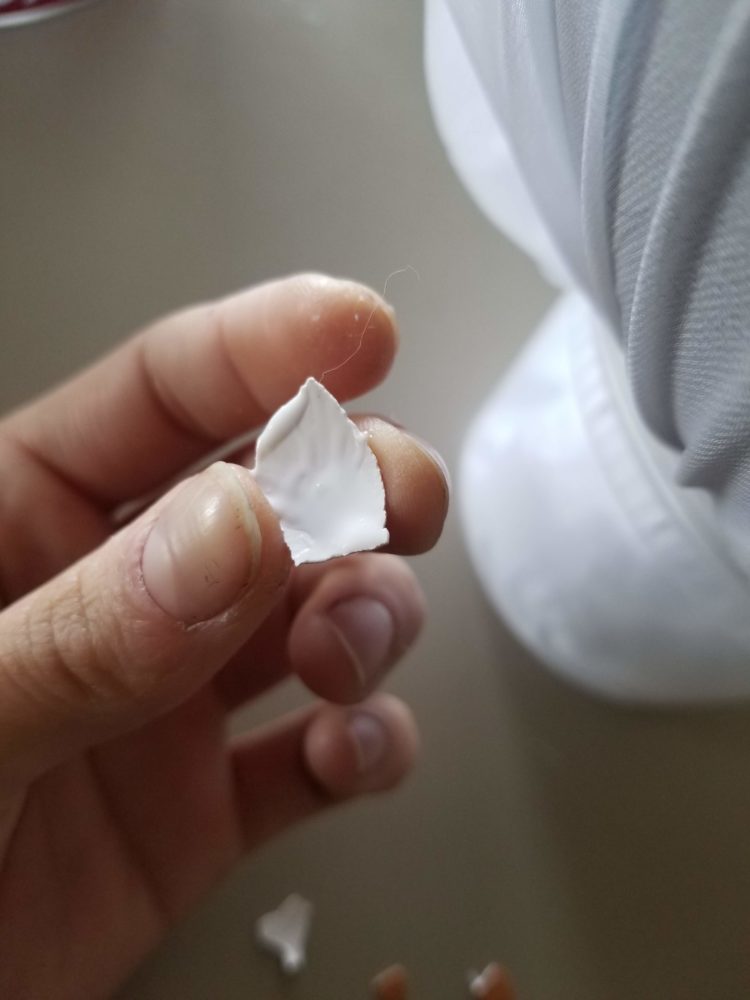
To begin, I inflated a balloon and tightly wrapped it with the cloth. I broke the egg shells into smaller pieces and got to gluing. I either applied glue directly onto the cloth, onto the shells, or both depending on the size of the piece. I did this over and over throughout the whole surface, aiming to leave as little of the membrane (white cloth) showing.

Setbacks
Since shells are inherently curved, I couldn’t simply glue them and place them on the curved surface of the balloon. As a result I found it easiest to put glue on some medium sized pieces and pressed them onto the surface. At one instance, however, a piece I pressed onto the balloon was slightly too sharp and popped the balloon. I feared that the whole thing would fall in on itself but I was happy to learn that the structure was strong enough to hold it’s shape. In order to keep going I blew another balloon up within the half-shell, secured the cloth with the hair tie, and kept going.
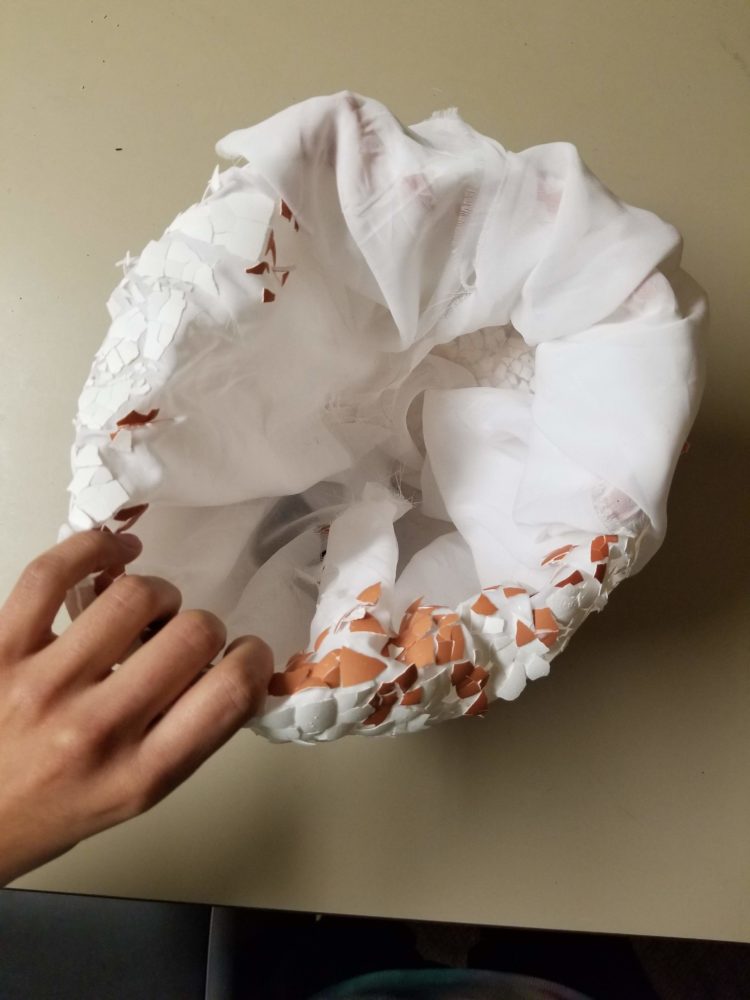
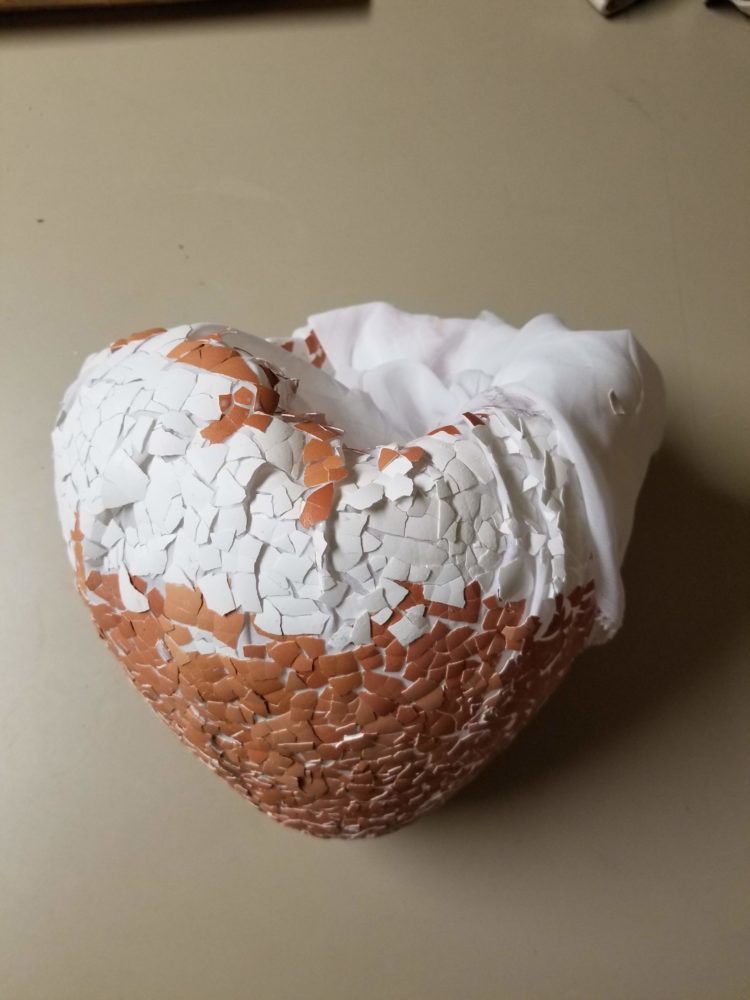
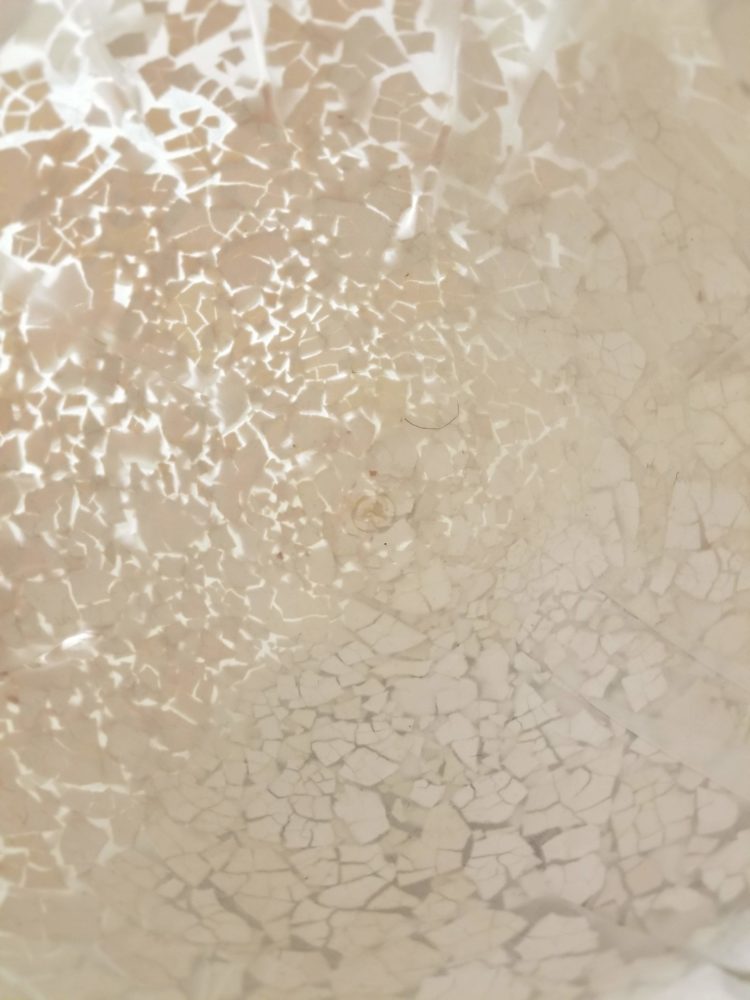
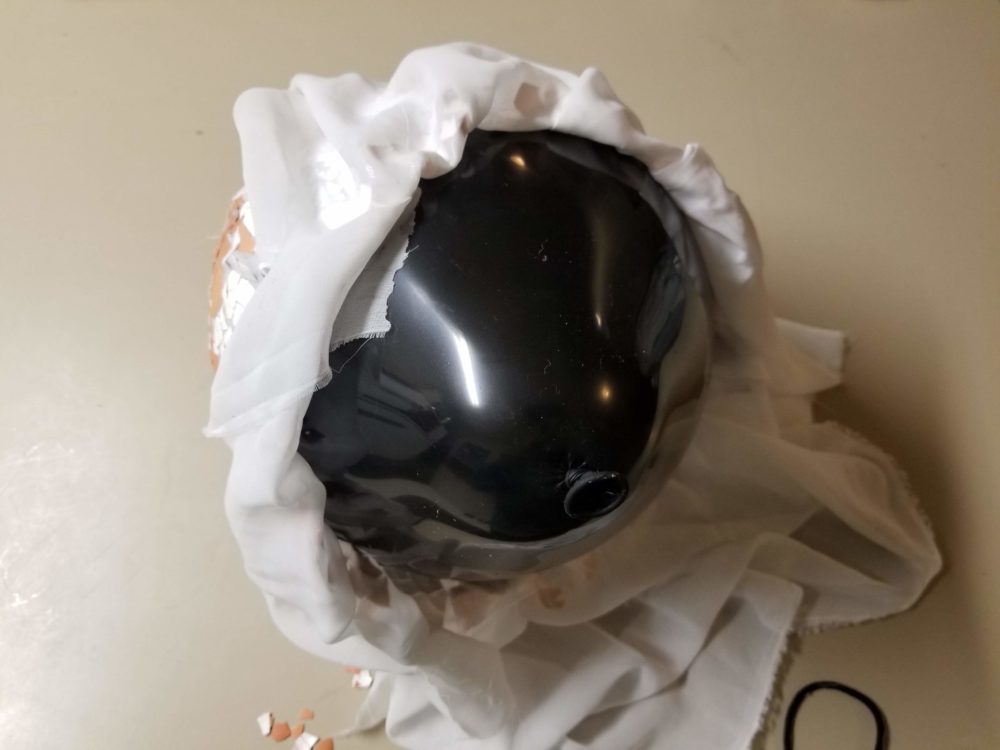
Among the things that slowed me down were the drying glue and the creases in the cloth. If I accidentally tapped a wet shell, it and it’s neighboring pieces would come straight off. To help me move a little more quickly, I set up a small fan by my side to dry as I went along. Also, due to the folding nature of the cloth, I had to work harder on some areas to give it a smooth curvature along the balloon. I unfortunately was unable to make it entirely smooth since the shells were reluctant to press onto the cloth. In the end, I layered extra shells on the stubborn areas and gave it some form.
Outcome
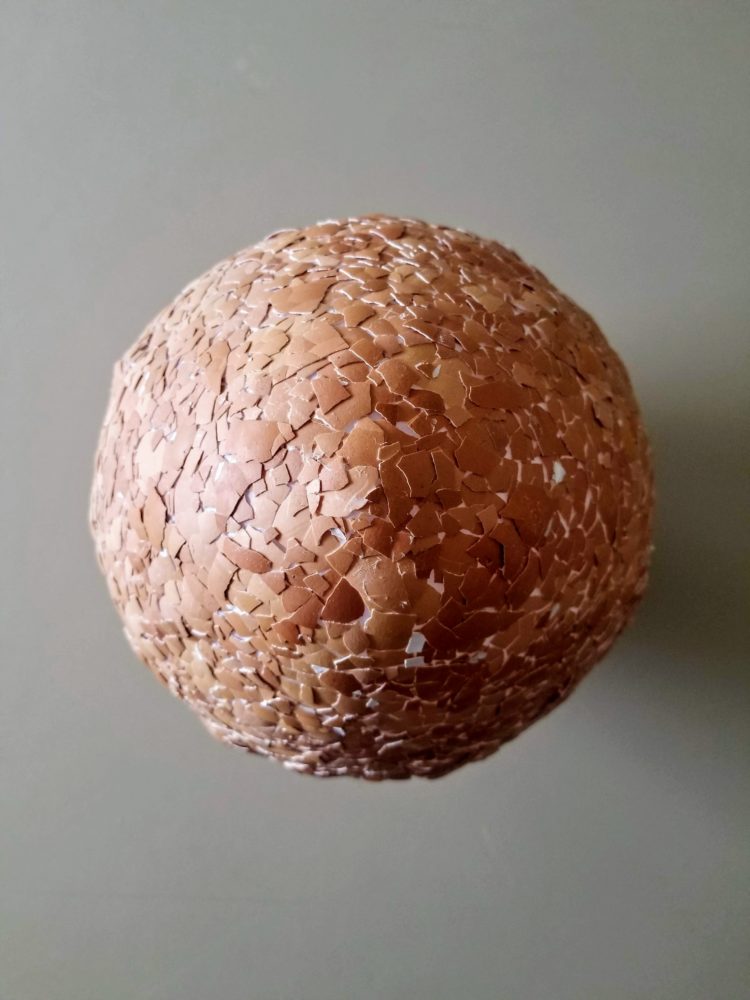
The final result was a success. It satisfied most of my goals and it feels rewarding to not only look at something cool that I made, but also to know of all the work and hours that went into to it. The structure is strong and sufficiently stable to stand on it’s own. One of my aesthetic goals was to for it to be seemingly fragile. By seeing how people interact with it as they handle the egg, I succeeded. The shell is strong and has survived many accidental collisions with chairs and corners….
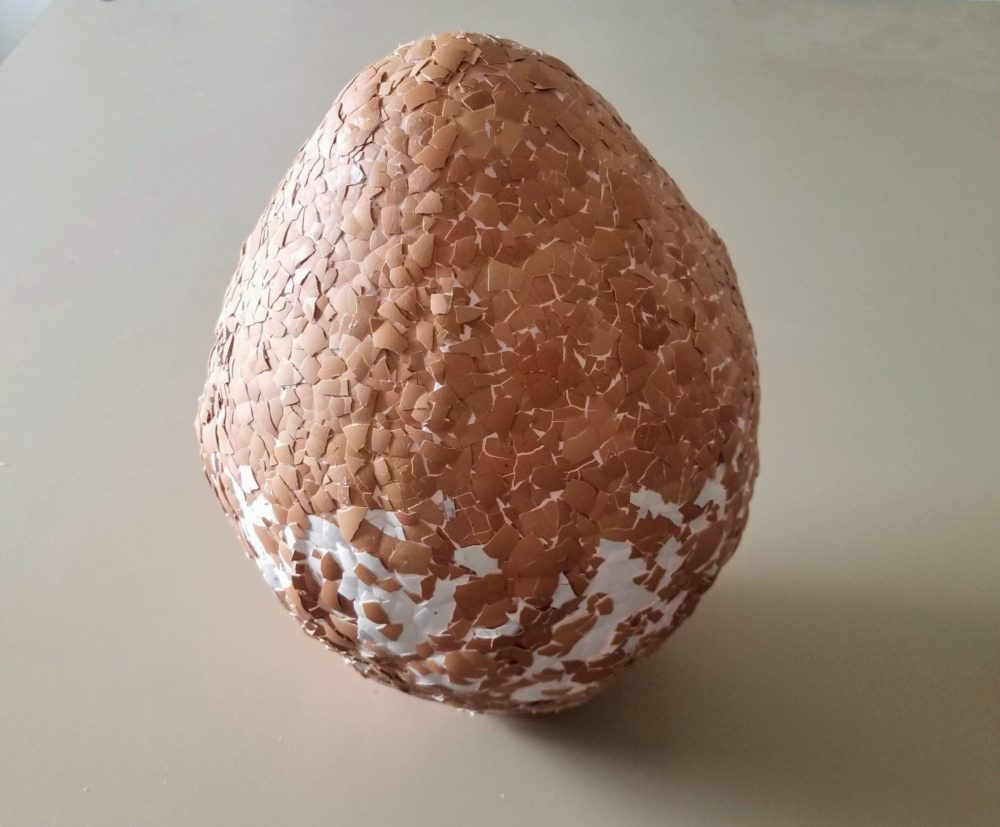
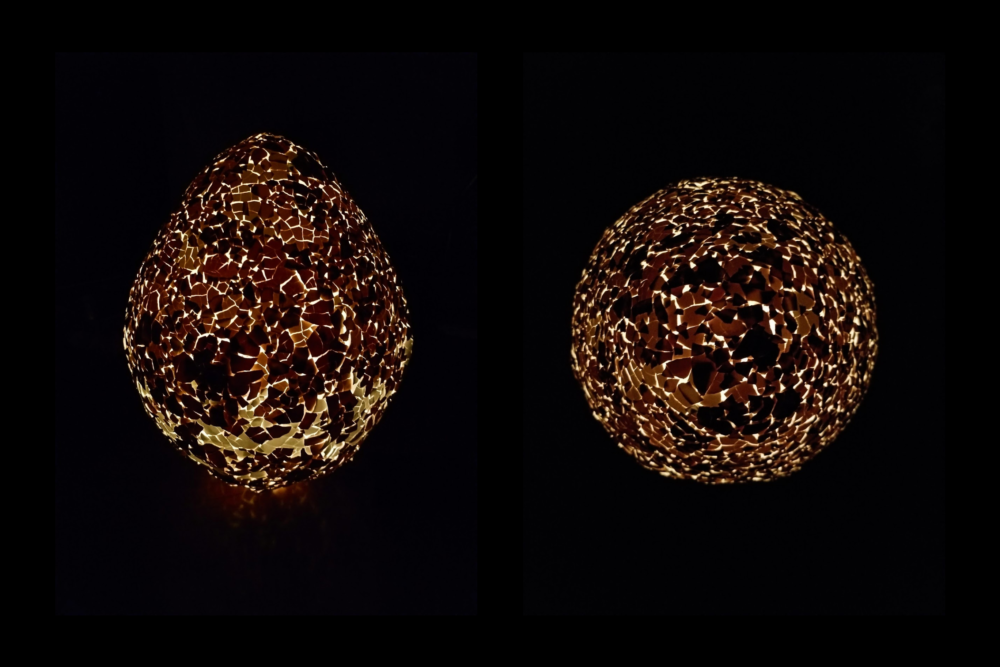
I felt that since the egg was successful on its own, I could pursue my second-tier goal of adding lights. With the help of a friend. I acquired fairly lights and a small plastic bottle that fit through the opening of the egg.

After combining the three pieces, I discovered that my egg shines like a beautifully warm night light. Depending on the setting of the lights, one can also set the lights to gradually turn on and off which gives the egg a pulsing, breathing illusion.
Improvements
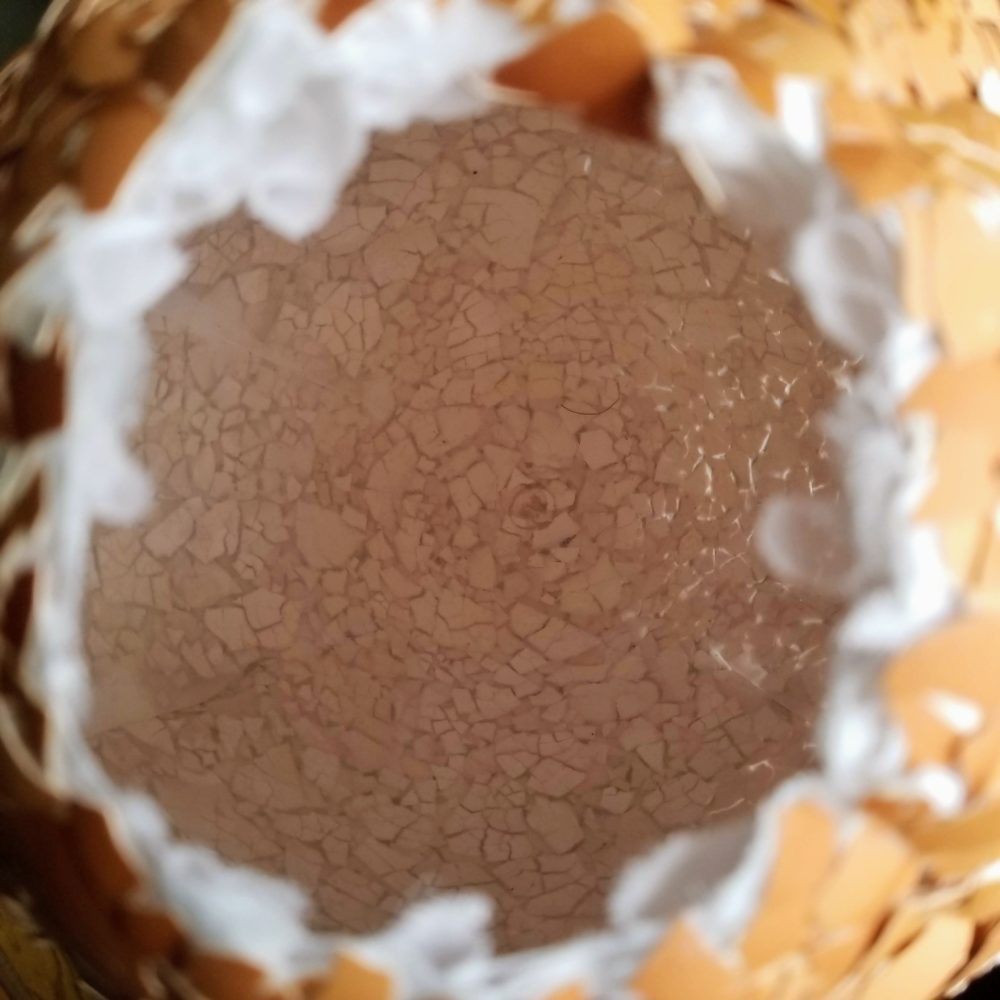 For future eggs, I would like to work on creating a clearer edge for the bottom of the egg. Not only would I want it to be rounder towards the bottom so that it looks less narrow, but I would make the edges crisper so that it can stand evenly without leaning to one side.
Secondly, I would like to try to create a smoother surface around the egg. The creases in the cloth made this a difficult task to tackle. Nevertheless, I can either work on adding more shells in those areas or try to neatly cut down the cloth beforehand.
Lastly, in order to make the egg shine brighter, I want to purchase a stronger light bulb with a stand. Since an analog controller to the light is a useful feature to achieve the pulsing feeling , I simply need to find a remote controlled LED light bulb that is sufficiently bright.
Looking Ahead
I have two ideas to expand this project. It would be fun to create another egg in all white egg shells and connect it to a programmable light. This light could serve as an ambient light that you can choose to be any color or it can serve as an alarm. You can program it to shine bright yellow in the mornings, so as to mimic the sun rising. Or you can program it it be a dim orange to mimic the sun setting to help you settle into bed.
My second idea is to create two to three dozens of these eggs and put them in a black room. The room would have mirrors on all sides and a path for people to walk through. The eggs, with pulsating lights, would line the path and cover the rest of the floor. They would be programmed to lighten and darken in a natural breathing pattern to give the passers by the illusion of life.
Presentation Video
Sources
– http://www.spoon-tamago.com/2013/03/31/eggshell-art-by-nosigner/
– https://www.fabulousfurniture.co.uk/black-tile-mini-mosaic-egg-lamp
– http://portfolios.massart.edu/gallery/35353389/Eggshell-Lamp


8 Comments. Leave new
[…] Final Report: https://www.aesdes.org/2020/02/10/upcycle-final-report-egg-shell-egg/ […]
[…] worked with Nicole Leon-Molina. She had recently made a bizarre large egg covered in egg shells as another project, and we were allowed to incorporate this into our sensor […]
I was definitely intrigued when you started asking the class for egg shells. I had no idea what you were going to do with them. Now that I see the photos you used for your inspiration, it all makes sense. Was it frustrating working with such a brittle material like egg shells? I loved the pictures of the shell with the light inside. I would suggest adding that photo to your report. When it was used as a lamp shade, it absolutely mimics a postmodern aesthetic. Great job!
Hi Daniel. Yes it was frustrating since the pieces were fairly small and sometimes wouldn’t want to stick. The shells weren’t as big of a problem as the glue. Since it took a while to dry, I would sometimes touch it and some shells would come off.
If you check again I updated my post with more photos! I’m glad to successfully convey the postmodern aesthetic. Thank you so much!
Great work on this project Nicole. You had a unique and refreshing approach. I especially appreciated your conceptual meaning. You could also argue this piece speaks to the values of teamwork, that together we make something bigger than one could ever make on their own. Furthermore, how does this conceptual meaning speak to your museum instillation idea in which all the eggs are “breathing”? Does breathing represent something different here? How would you feel about painting the final piece to give it a more abstract feel? Could this also contribute to it’s meaning?
Hi Jackson. Thank you! By “breathing” I mean a pulsing sensation that “inhales” as the light gets brighter and “exhales” as the light gets dimmer. Almost as a meditative exercise.
I would consider painting the egg shell but not for the museum concept. I would like the eggs to look as natural as possible for that but otherwise I am willing to paint it, crack it, carve it, or light it in all sorts of ways to make it more abstract and weird.
Nicole, your eggshell artwork looks incredible. It totally looks like a giant eggshell. Why did you choose to layer the different colors of the eggshell as you did? I dont know if it was randomn, or had some sort of reason. Also, how was the process of cleaning the eggshells? I imagine that was a pain to do, but didnt know if it took too long or not. Can you post a picture of the final product? I saw it in class, but do not see it here. Were you able to get a good picture? How many eggshells did you use? It looks like it could be a lot, but maybe not. If you could do one thing different, whether that be material, method, or shape, what would the change be?
Hi George, thanks I’m glad you like it! Most of the shells I used were brown but a classmate offered white egg shells that they collected and I simply included them as a strip along the center to give it some variety. The egg shells were pretty easy to clean. I simply rinsed them under water and lightly scrubbed off any remaining egg.
I updated the post so there should be more pictures of the egg now. I don’t know how many egg shells I used but there are definitely over three dozens. In the future I would like to work on the shape of the egg itself. I’d like to make it more round at the bottom so that it is more bottom heavy.