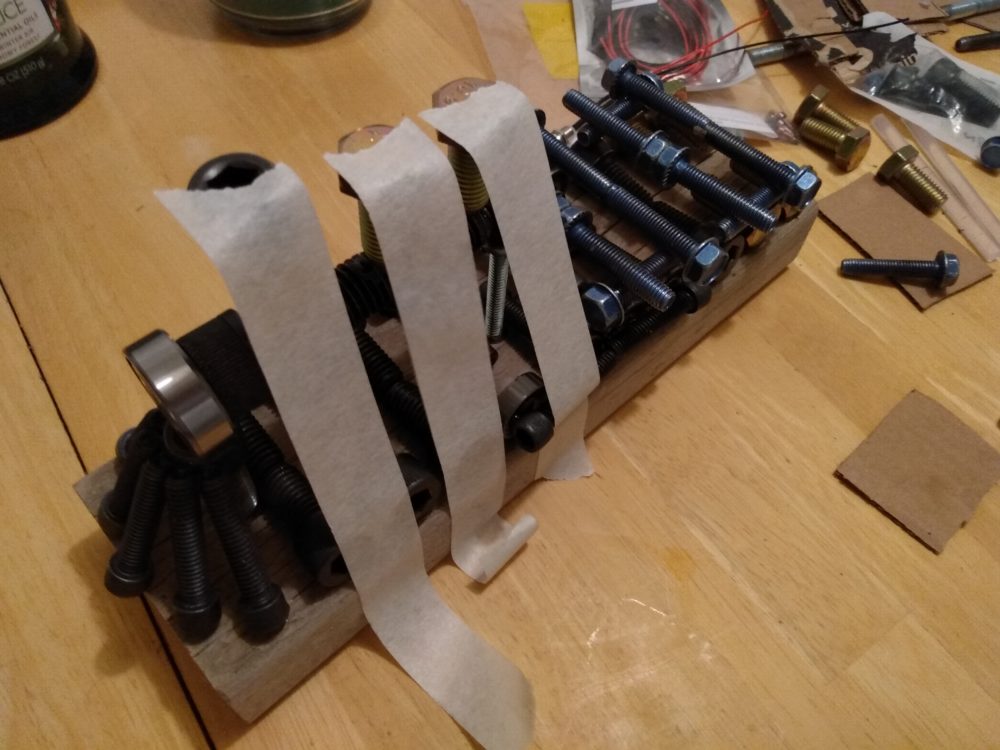
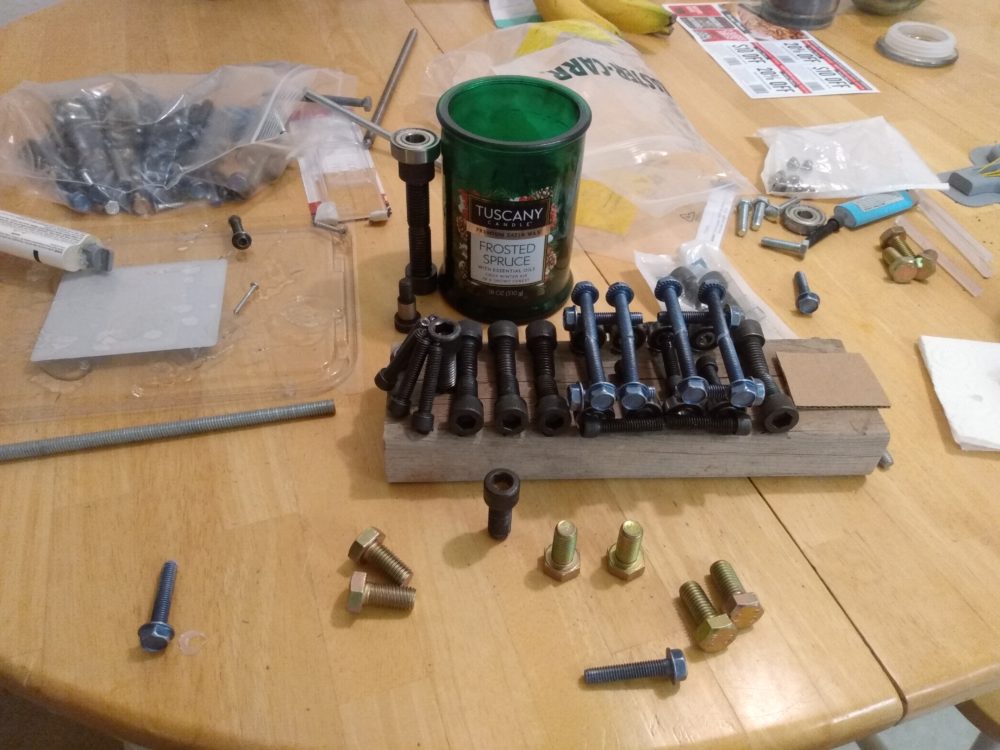
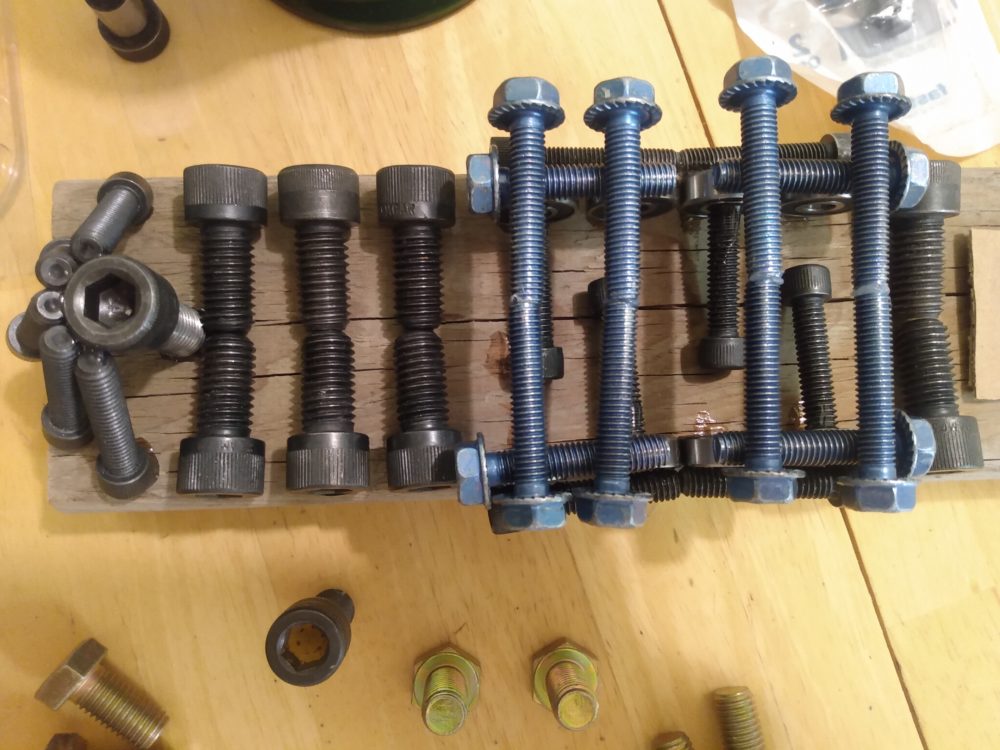
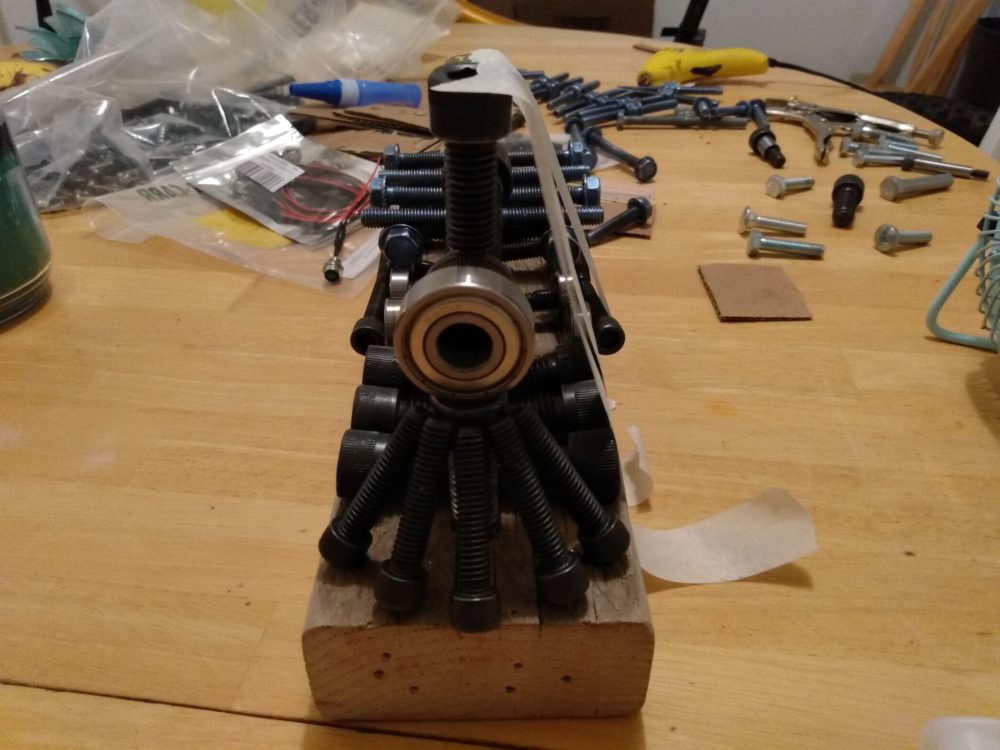
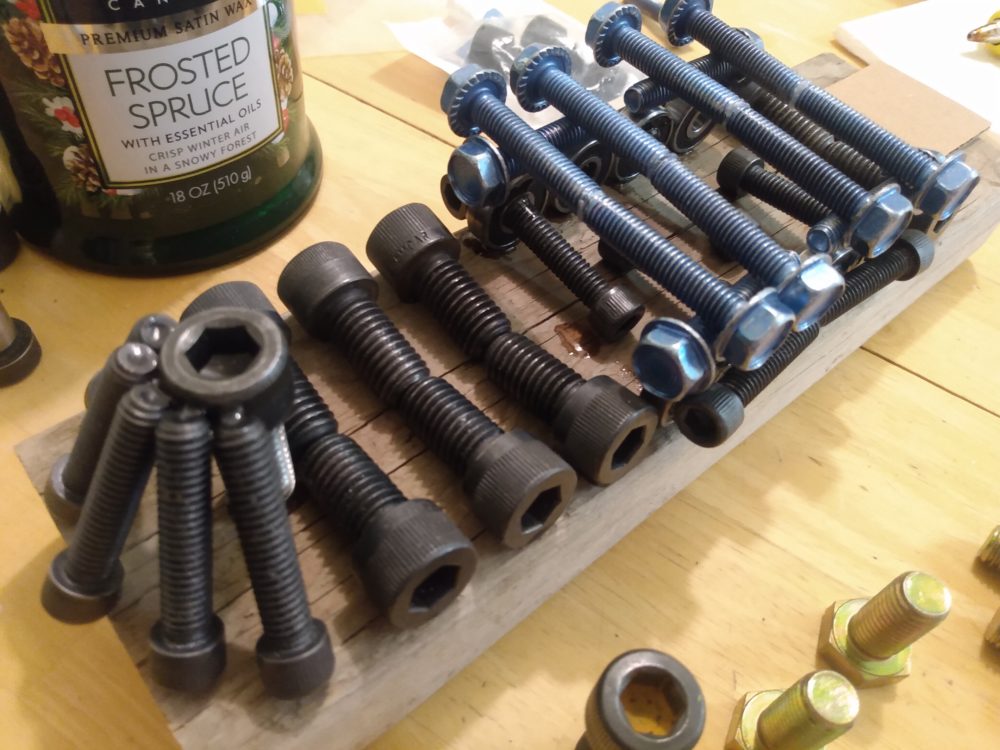
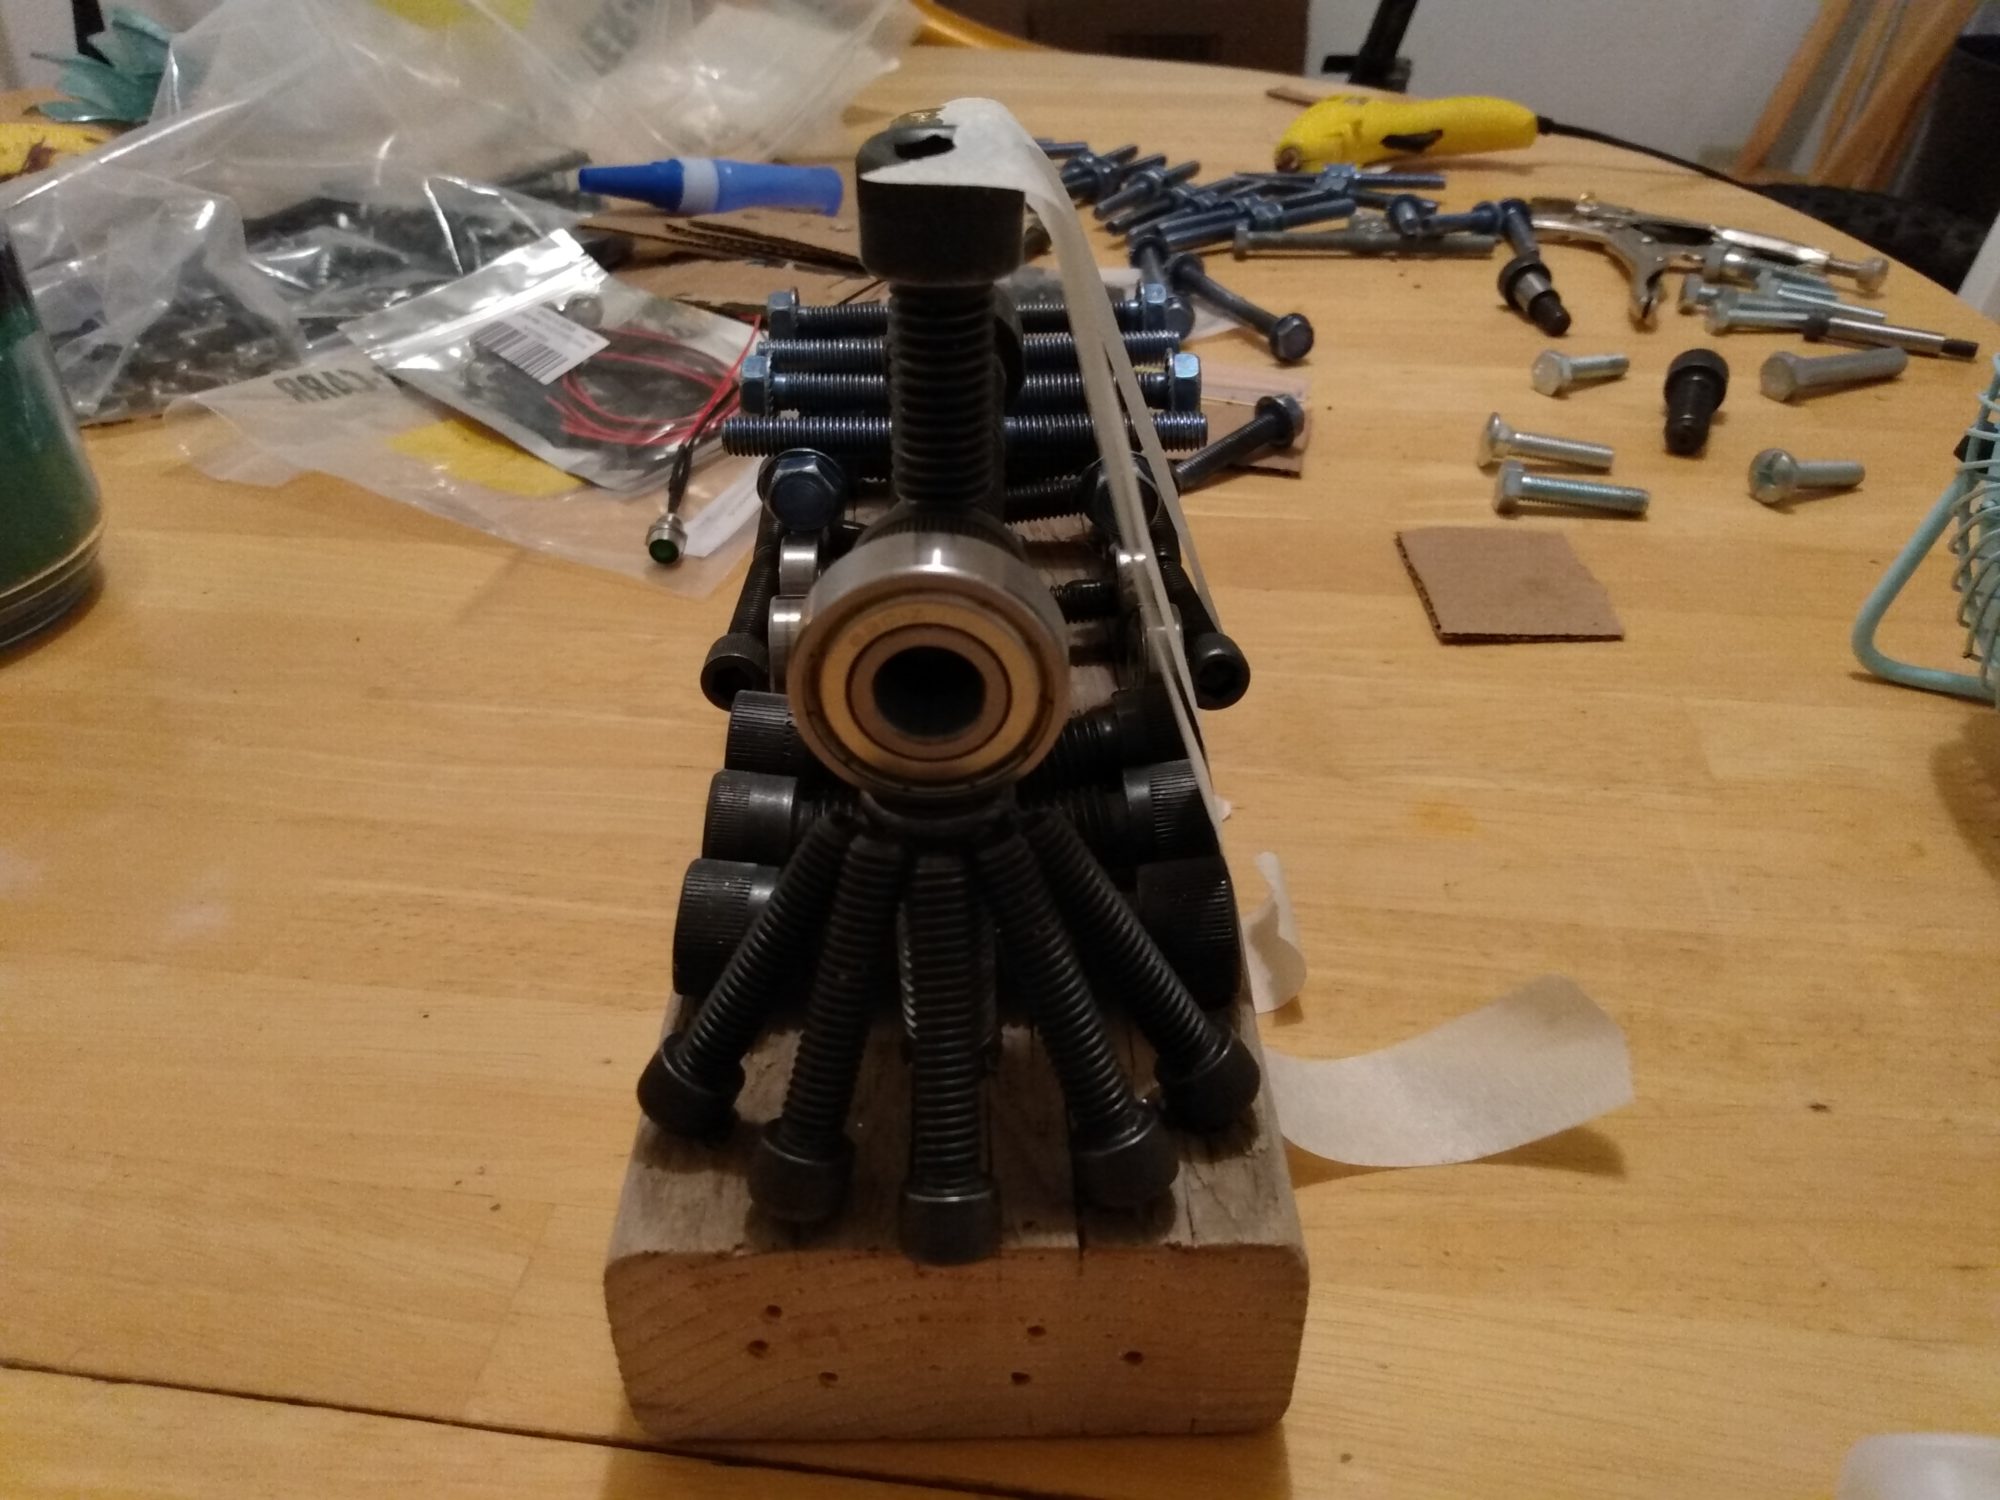
The upcycling progress is going great. I am gluing all of the fasteners together with a JB Weld Epoxy and some hot glue. One thing that has been difficult is that hot glue is not strong enough, but dries quickly, while the epoxy is definitely strong enough but takes a long time to dry and hole the fasteners in place. I did get the quick dry epoxy that sets in 1 minute and cures in 5 minutes, but I’ve noticed for full strength, it needs about 12-24 hrs. This makes it difficult because the fasteners are heavy and the glue isn’t strong enough to hold them in place. So either I hold it in place for 5-30 min or I build this such that everything is balanced perfectly in the position that it needs to be placed. This makes this piece of artwork tricky to build, but a fun challenge. I also tried regular superglue that is a liquid and this did not seem to work for the metal, even though it says that it does work with metal. So far I have had all of the fasteners I need. I don’t foresee me needing to get anymore. I also drilled a hole through the biggest fasteners so that I can have a light at the front of the steam engine to look real. In the Idea forge I found a switch and 9V battery/connectors to make this happen. I feel that this steam engine sculpture made from machine fasteners really fits the steam punk aesthetic so far. It looks very raw, and yet elegant and not cluttered. And to top it all of it is a sculpture of a steam engine which itself influenced the steam punk aesthetic which I think is really cool. I still have the box in the back to build. To replicate where the engineer would be placed during operation. After that I don’t think I will add anything else. I am trying to replicate the shape of a steam engine with as little fasteners and other mechanical parts as possible. So far it is coming together and I have not had many issues. I also did have some trouble with accidentally moving parts before they glue set and this has been frustrating, but being careful and placing the fasteners as accurately as possible with as little glue as possible has been an exciting challenge. I really hope to show this off and to make it look good. This should be a really cool piece when I am done. I will be displaying it in my house.


3 Comments. Leave new
George, this is coming along great! I like the idea to use hot glue to hold everything together while the epoxy dries. I think you nailed your aesthetic and it definitely has the steam punk vibe. Adding a light will definitely be a great addition. Good work.
In regards to your post, it is easier for me to read these posts if your paragraph is broken up into a few paragraphs with photos in between.
Hey George, this is a very neat piece! I love that it is a steam engine to represent steam punk aesthetic, very clever. I love that you will put a light in the design, making it more realistic and interactive. I do have a question, why did you choose to put the fasteners together with glue instead of welding the fasteners together? If I may offer my opinion, this was a perfect opportunity for you to achieve a new skill (welding) along the process, since we have a relatively cheap welding workshop and facility here at CU. Overall, it is a really well thought out and executed piece.
-Ben
Hi Benjamin. Thank you for the appreciation. It has been fun so far. And I don’t know why I didn’t think about welding. I immediately thought of an epoxy or glue and had my mind stuck on that. In the future I will focus more on considering all ideas. I wish I would have thought of this. I think it might have made it a lot easier. This is a perfect example of where Prof. Hertzberg was talking about where I thought my first idea was the best and didnt try to think of any more after that. Even though I would have found an easier and better solution.