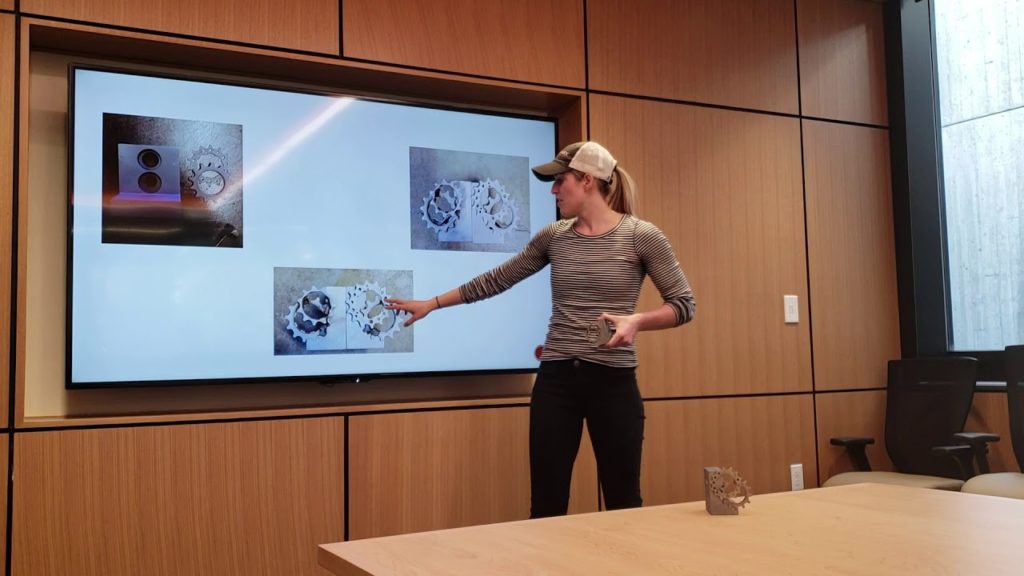
The URL for my 9min. presentation is..
My overall purpose for this project was to create something that could meet the requirements of this class, but be used in my daily life. I don’t feel like we should upcycle something only to trash it. As a result, I looked around my life at the things that I need, and came across a bookshelf in my room that was a disaster to look at. There were books on top of other books and random objects holding books in place (as shown by the book shelf below). It was then that I realized I needed book-ends.

My vision was finalized when I was scrolling through Pinterest and viewed a steampunk aesthetic with gears, sprockets, and metal. I work in a machine shop, and so all of these items are very accessible to me. I dug through scrap material finding anything heavy enough to hold up books. It was then that I found a few pieces of steel. The steel was from a previous project I worked on, and I knew once I picked them up that I had found my upcycling material. It was rusty, heavy, and had holes in it. I did not take a picture of what it looked like before I took a die grinder to it. However, below is a picture of what it looked like after I polished it.

After die grinding the steel parts and the sprockets, I cleaned up the material and took it over to the Idea Forge to sandblast the material. The sand blasting was necessary in order to obtain the minimum disturbance to the surfaces surrounding the welds. I decided to leave the sharp corners and not grind them down. We spoke in class about how sharp edged provoked thought. I liked this concept.

Additionally, my welds were not aesthetically pleasing by any means. However, sandblasting the parts again hid the burns. Although the tack welds on the sprockets were made weaker by sandblasting a second time.
After sandblasting a second time, I wanted to insert some bolts, nuts, or other mechanical equipment into the holes of the steel parts to make them more pleasing. I tried many variations including smaller sprockets, springs inside of the holes, and colored wire that lined the sprockets.
After many variations, I chose a simplistic look, and decided to remove any obstructions from the top hole, remove the colored wire, and continue an iteration that includes force rusting and sealing with a clear coat.


9 Comments. Leave new
[…] Upcycle Presentation Post – Book Ends […]
You put a lot of time into the upcyle project! Its neat to see you being able to use the machining skills you’ve acquired throughout the year as well and making this sucha great first project! Awesome job!
You definitely put a lot of work into this and it was awesome that you used your machine shop experience to create this upcycle project. I like the aesthetic and your future plans for it.
I like how decided to create something you need that appeals to your aesthetic. I think they represent the mechanical aesthetic you were going for, however, I think if you left the rust and burn stains they would have complimented the hardware metal and dirty look. Good job overall, enjoy using them in your room!
I need to get one of these! I actually think it would look better as it is, without paints or stickers. I would even get the one with burns! I don’t mind a cool welding look for my Mechanical books! The sprockets are great, good job!
Really hard-core design and logical presentation. Excellent mechanical prototyping skill is illustrated in your work. Good job!
I really like the way that your bookends came out. They are functional and definitely fit the steampunk aesthetic. Its subtle but the sprockets and sharp edges really give it an industrial look that lends itself to mechanical engineering and steampunk aesthetic. I also really liked your use of machine shop techniques to create it, you had some really interesting ideas for combining different materials and fabrication techniques to create unique looks. I’d be interested to see how it looks after you rust it. I definitely think a combination of textures and colors will look good.
I really liked how you had a clear vision for the aesthetic you were going for, and I think it turned out well in the final product. I also liked the idea that you wanted to make something useful and that upcycling something just to throw it away sort of defeated the purpose.
You put a lot of thought and effort into your project! I think this hard work really shows in the final product. You should think about making more! Great job!