This post gives a brief outline of what and how of my final project for the Aesthetics of Design class: a battle-worn looking trebuchet. A trebuchet is a siege engine used during the medieval ages. It uses a counterweight and sling action to hurl projectiles weighing up to 90 kgs for 200 meters. The Trebuchet is widely considered the greatest of all the medieval weapons mainly due to its superior range compared to other weapons like catapults, onagers and ballistas. The sling action gives the trebuchet greater range and the ability to hurl larger and heavier projectiles. Traditionally, the projectiles used varied from boulders to burning wood and even rotting corpses of dead animals in some cases to spread infections among enemy lines.
The Aesthetic:
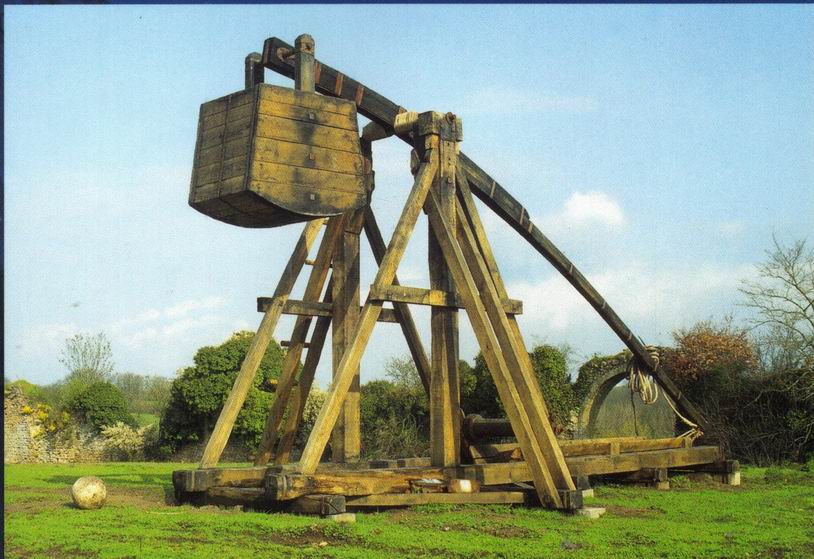
The Aesthetic I chose for my trebuchet is to give a war-torn look, make it look like it’s been through a number of battles. This, I thought, would give an authenticity to the product while also making it look like a medieval antique piece. The below photo of the trebuchet of castle of Gilles de Rais, in Tiffauges, by O. Blanchard is a good example of how I wanted my scaled model to look.
The Design Phase:
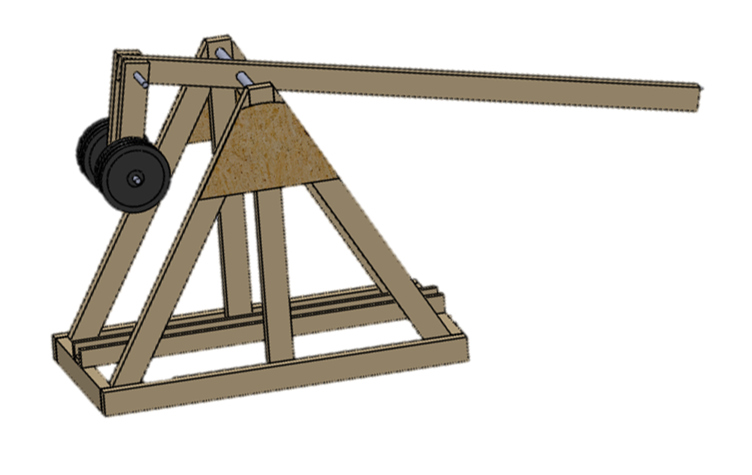
I started out the design for my trebuchet by making some sketches and making a CAD model in Solidworks to determine the basic structure of the trebuchet. An image of the CAD model is shown below. One of main constraints I faced during the design phase is determining the scale of the model I wanted to make. After giving some thought to this and discussing with my team mates, I decided to make my trebuchet about a feet tall. Apart from this, the design had to be modified several times during the fabrication and testing phases.
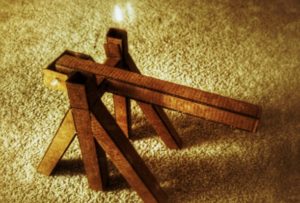
After making the CAD model, I constructed a mock-up structure of the trebuchet with a cardboard which I essentially used to get a sense of scale of the trebuchet I was making. However, I could not bring out the aesthetic I was hoping for with a cardboard model. Below is the image of my cardboard mock-up structure.
Materials:
The materials I used for making my trebuchet are:
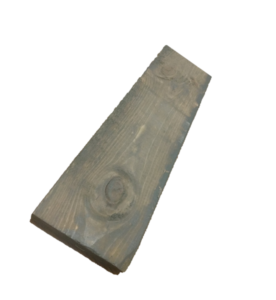
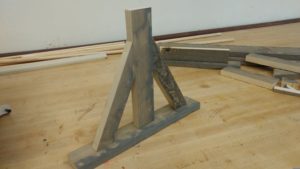
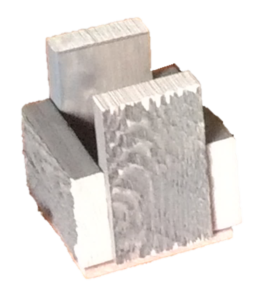
- Wood – Ghost Wood Silver City (provided a rustic antique look – shown in the image)
- Wooden Dowel Pieces
- Rocks for the counterweight
- Thread for the sling
- Cloth for the sling pouch and the projectile
Construction and Testing:
The tools I used for the construction are the band saw at the Idea Forge for cutting most of the wood into required shapes, a hand saw and a box cutter to cut some of the smaller pieces, Wood glue to assemble the parts and a propane torch to burn the wood to get the battle-worn look I was looking for.
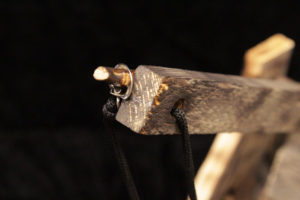
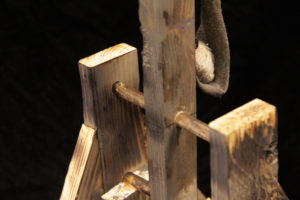
I was testing as much as possible and making changes to the design as I was constructing. At first, I had designed the designed the sling to be a single piece looping through the throwing arm and connected to the pouch. However, testing revealed that the projectile would shoot either stay in the pouch or shoot straight to the ground. So, I changed the design of the sling to be two piece – one attached to the throwing arm and one with a hook that attached to a release pin at the end of the throwing arm. This change ensured that the projectile is released at an angle of approximately 45 deg to improve the trebuchet. The pin structure with a hooked thread is shown below.
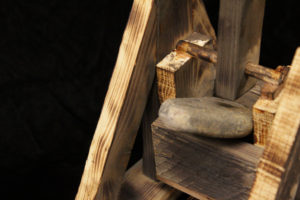
The sling pouch had to be a rhombus shape with 4.15 and 1.75 times the diameter of the projectile for it to be released properly. One of the designed I should’ve give more thought to was the counterweight. While designing the counterweight, I didn’t consider the fact that the counterweight should be at least 100 to 130 times the weight of the projectile to get a maximum range on the trebuchet. This resulted in me making a smaller counterweight holder. So, I had to either construct a new counterweight structure or choose a light weight projectile. Considering the time I had to work on my aesthetic, I chose the latter option. I made a small ball of cloth for my projectile. I chose the cloth carefully so that it looked like a small rock and most people who saw it thought I throwing a rock at them only to realize later that it was just a piece of cloth. I also colored my pouch cloth to make it look like it was a leather pouch.
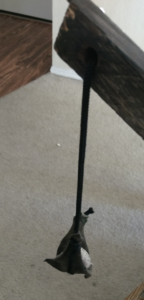
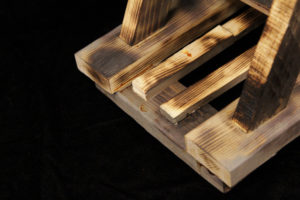
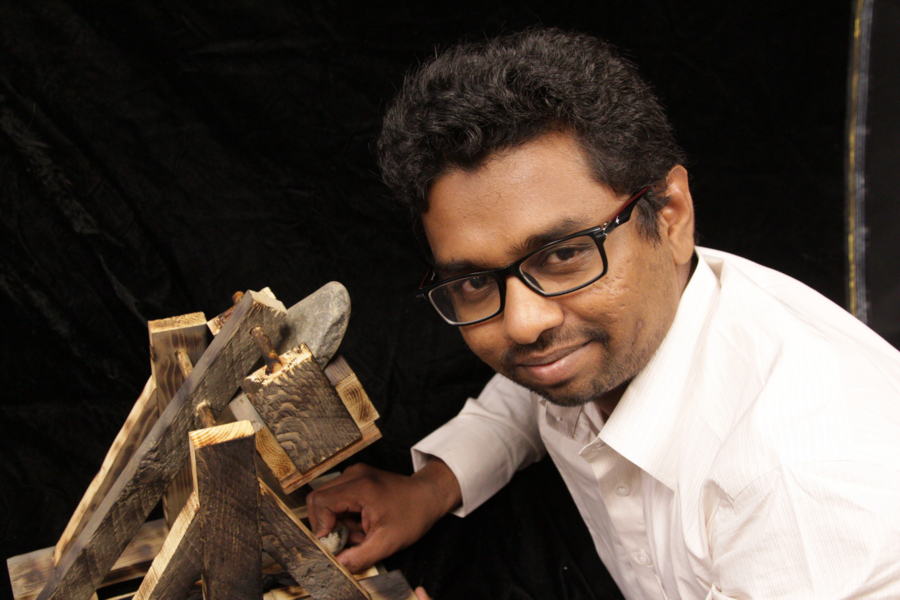
Once the testing was complete and I made sure the trebuchet could shoot the projectile, I used my propane torch to burn the wood to get the desired aesthetic. I chose to torch the wood rather unevenly to make sure it didn’t look like it’s been torched intentionally to get a particular look. A closer look of the uneven torching I used is shown in the images below.
The Final Product:
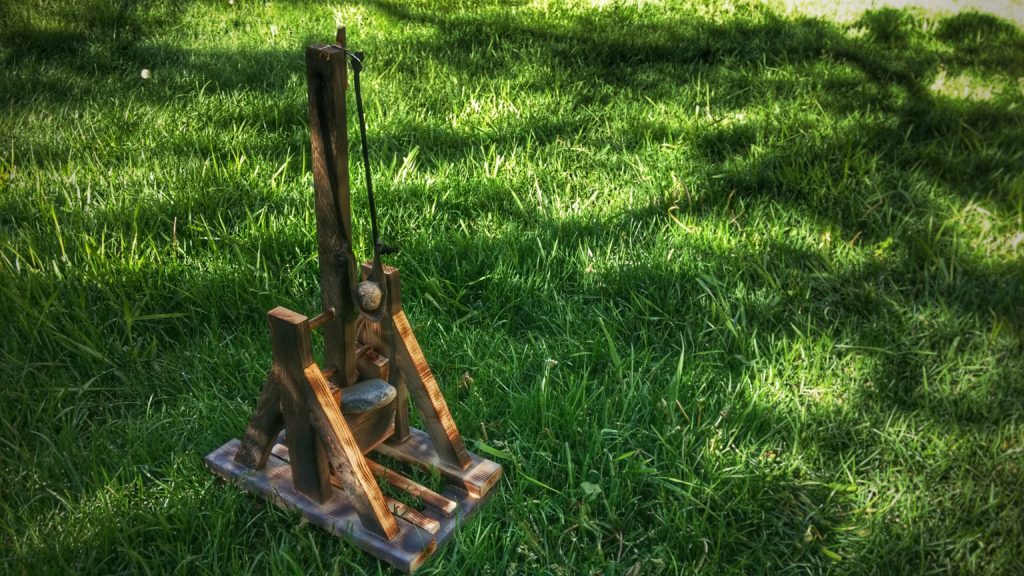
The pay-off for all this work through the semester led to something I am rather pleased with – A working scaled model of a Trebuchet that looks like an authentic antique piece.
A video demo of the trebuchet launching the projectile is given below.

1 Comment. Leave new
Overall, I think you have done a splendid job on your project!.
Aesthetics:
I feel that you hit the mark spot on for the style you were going with. The war-damage look appears to be authentic and I feel that the motion and the construction complement the look you are going for
Construction:
The wookwork looks great, the use of ghost-wood and burn marks looks authentic and the motion is fluid. I have seen it in action in the EXPO and it works great!
Suggestions:
Perhaps a wheel? medieval Trebuchets were transported and unpacked and assembled in sight, so a wheel would be awesome!