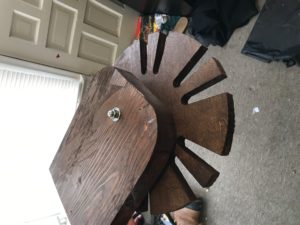
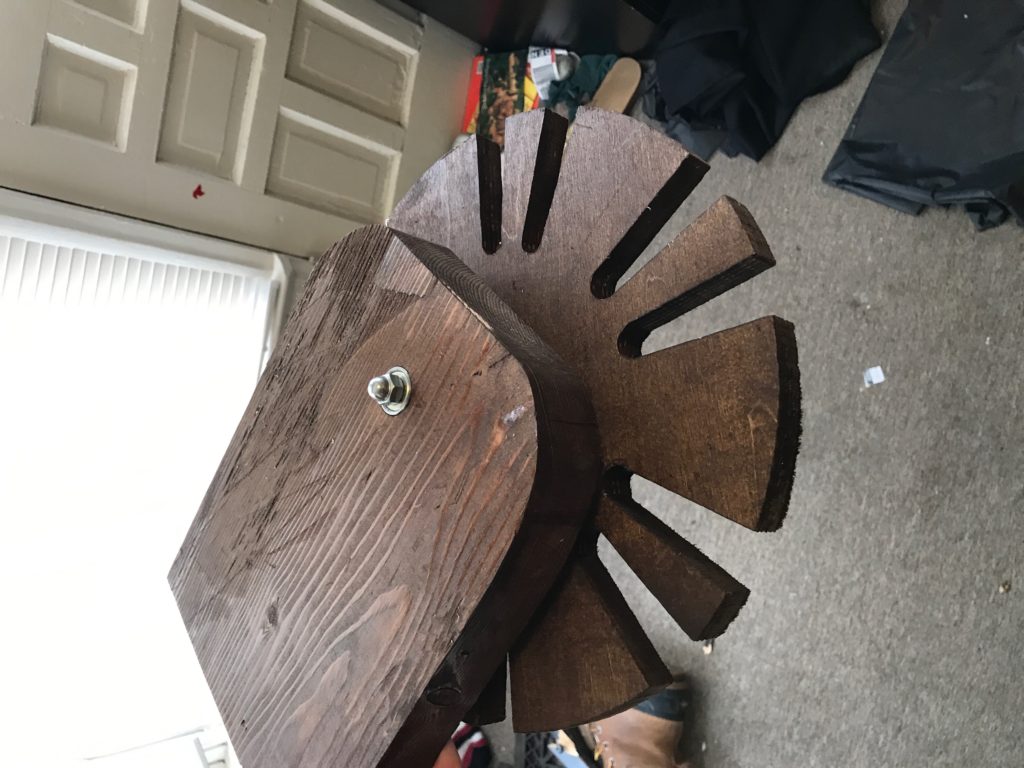
My final product turned out great. I managed to press fit my bearings into a block of wood that I was able to round off and fit to my organic aesthetic. I am currently still working on doing some kind of laser cutting on the upper edge of the wood top. manufacturing and assembly wise, everything is working out just as planned
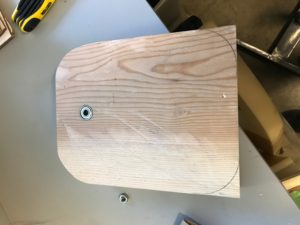
Upper housing for the bearing
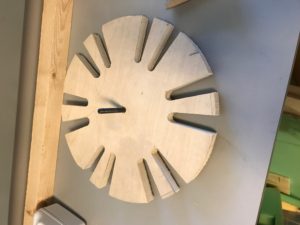
Spin wheel for having ties/belts
Here are all the major assembly steps involved in building my project:
- Cut upper wood piece to size: 8” x 10” x 1.5”
- Round the corners at a 2” radius to give more of an organic feel
- Use a drill press to make holes for the bearings
- Use drill press to bore hole completely through. This is where the bolt will feed through
- use drill press to make small cavities that reduce friction of the bearings
- Insert bearings
- Assemble bolt with nuts and top acorn nut
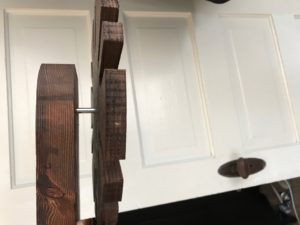
Here is the cost breakdown:
- Bearings (8$ each)
- Wood ($15)
- Bolt + nuts ($3)
Total: $26
My next steps will be as follows
- Reduce friction as much as possible so that the circular slab rotates freely> This could be done with Wd40 or with some better alignment of the bearing and bolt shaft.
- Create a lazer etched design in order to adhere to my organic aesthetic as best as possible.
- Finalize a presentation for both the expo and my pod presentation

3 Comments. Leave new
Great design with different thickness slots for ties and belts. The organic aesthetic with the wood and stain turned out very nice, and I like how the wood grain can still be seen. Nice job!
The finish on your wood looks incredibly classy! Good work creating something both functional and aesthetically pleasing. It looks like it spins successfully and smoothly too. I would love to see final images with ties included!
Connor,
This came out really well. I like the intricate woodwork that was needed to make room for your tie/belts. Woodworking can be tricky, especially when it comes to small clearances like that one. I would be careful with spraying wd-40. Technically, it isn’t a lubricant, but instead a water displacement. You should look into a silicon type lubricant, which dries and may not drip onto your floor. Also, you should tape the wood so that you don’t damage it with the spray.
As far as the aesthetic goes, I think laser etching it is a smart idea. This could make/break what look you are going for. Try and experiment with the cutter before you etch your wood. Depending on the power level, you could create a “burnt” look, or just make an indent in the wood. Goodluck!
-Ben