The chess board is in the initial stages of the build. I have acquired the wood, brought it to the Makerspace, and have started to build my product. I began by inspecting the maple and walnut wood for any imperfections, ensuring it would suffice for my chessboard.
Next, I verified my drawings with an external party to ensure they made sense (measure twice cut once).
I discovered I needed to leave an extra 1/8” per cut due to the thickness of the saw blade. This adds up to 1” for all 8 cuts. I am happy I learned this before I started cutting, because I had to add an extra inch to my design.
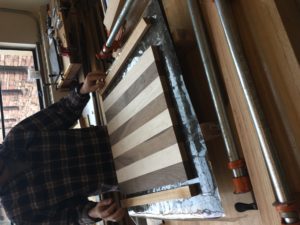
I began by resizing the boards to 2.1×18 inch. Then I used a table router to ensure my edges were straight and had a uniform width. This was challenging, as maple can be difficult to work with. Next, I glued them together in an alternating pattern and let them sit for 24 hrs.
I used enough clamps to ensure all surfaces would be flat and perpendicular. I used a flat granite surface to ensure the playing surface would be flat. This can be seen in the pictures below: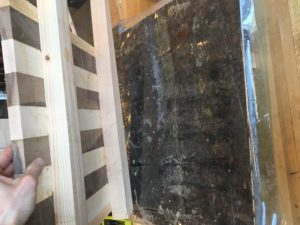
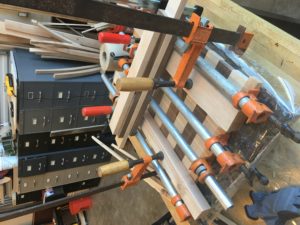
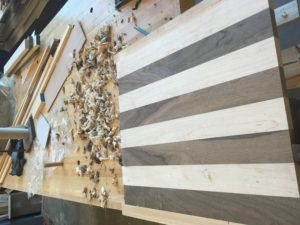
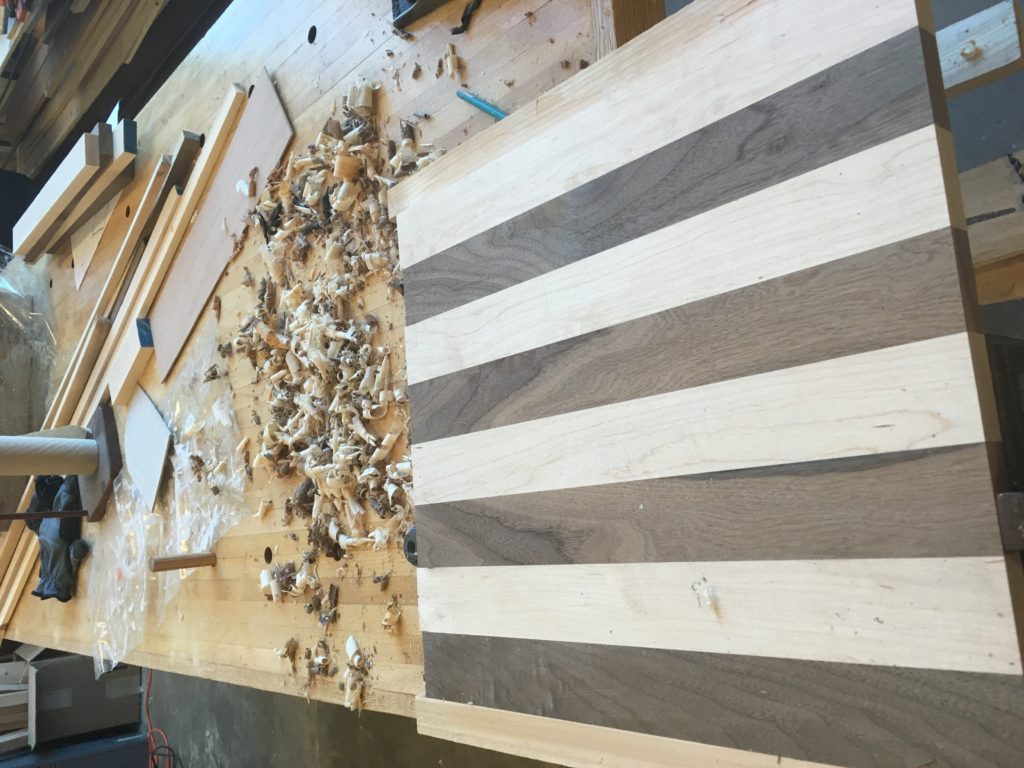
Next, I returned in 24 hours and removed the clamps. I used a hand planar to remove the excess glue and make sure all the surfaces were even. This was a tiring job. See the images below.
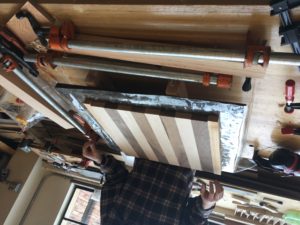
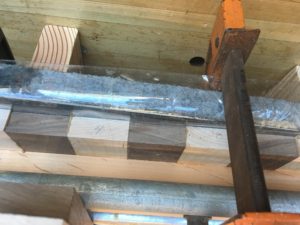
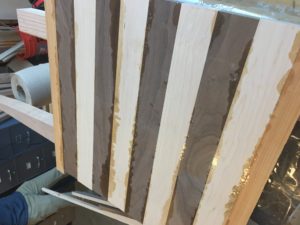
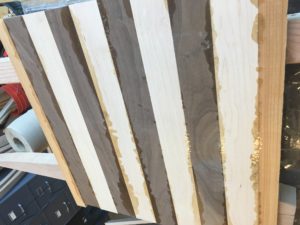
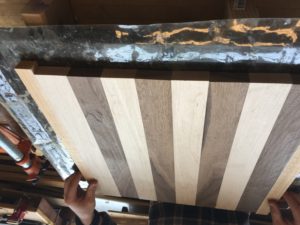
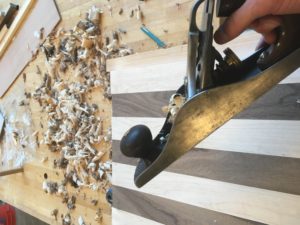
After a lot of hand planing, it is starting to look good. I will have to do this process again during the next glue phase.

3 Comments. Leave new
Luckily the wood was not warped, so I did not have any issues.
The board looks great so far! It looks very well made. It seems like you are very on track with project. I look forward to seeing your final product.
This project is looking great! I’ve been keeping up with your posts and seems like everything is turning out well. Did you have any difficulties managing warped wood?