My most recent progress has involved completing the Intro to Laser Cutting course and cutting my 12-inch by 12-inch slab of acrylic. I am happy to say all was successful. Hurray! To follow are steps I took to create the four acrylic trapezoids to be used in my final design.
Step 1: CorelDRAW
Each trapezoid was drawn using the pen tool in CorelDRAW with the following dimensions:
- Base 1 = 0.958 in
- Base 2 = 6.5 in
- Height = 3.817 in
- Hypotenuse = 4.717
- Base Angle = 54 degrees
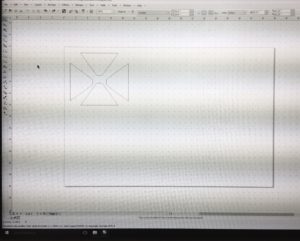
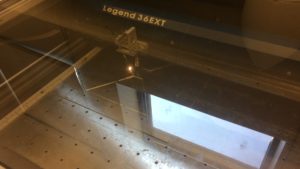
Step 2: Laser Cut
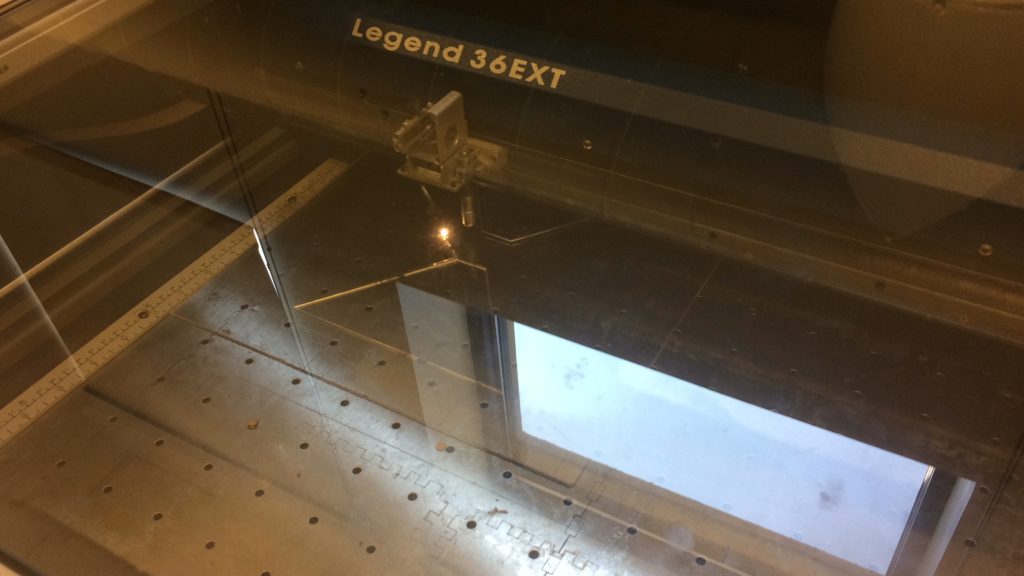
It is a fascinating thing to watch a Laser Cutter hard at work. Such elegance in the way it so effortlessly slices…and with such precision. After prepping the machine, the job took only 10 minutes.
Step 3: Inspection
Upon removing my work from the Laser Cutter, I noticed that there was some excess melting and residue from previous jobs sticking to my trapezoids. Thus, I inspected each piece carefully and cleaned each well. I may need to use Goo Gone to remove excess that is too stubborn for Clorox.
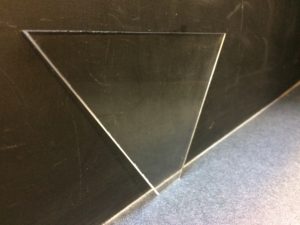
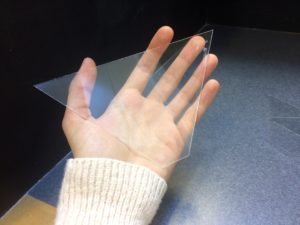
My next steps will be to assemble the four pieces using hinges and proper adhesive. I will experiment with scrap acrylic to select the best attachment option.

4 Comments. Leave new
This is very interesting and cool project. I like the idea of a hologram which is really a bunch of reflections. Simple yet high tech.
[…] Final Stretch Progress: Laser Cutting […]
Great pics of the progress! Looks great, and it seems to be right on schedule.
I am planning to use the laser cutter too! I might come bother you with some questions! This looks really cool and it is encouraging to see such results!