For this project, I pulled inspiration from my mother and her bountiful backyard vegetable garden. I love the dynamic aspect of a garden, and how humans, animals, and insects interact with it. This post shows the making of my prototypes and how I arrived at my chosen aesthetic for this project.
AESTHETICS:
- Organic – plants will grow at different speeds, not perfect
- Rustic – medium coloured wood, weathered, recycled, distressed
- Simple – few details, simple overall design
- Organized – naming system, allows user to change at will
THE MAKING OF:
Materials
- 1” x 8” x 6’ Wood plank
- Wood stains (Ipswich Pine, Honey, Red Mahogany)
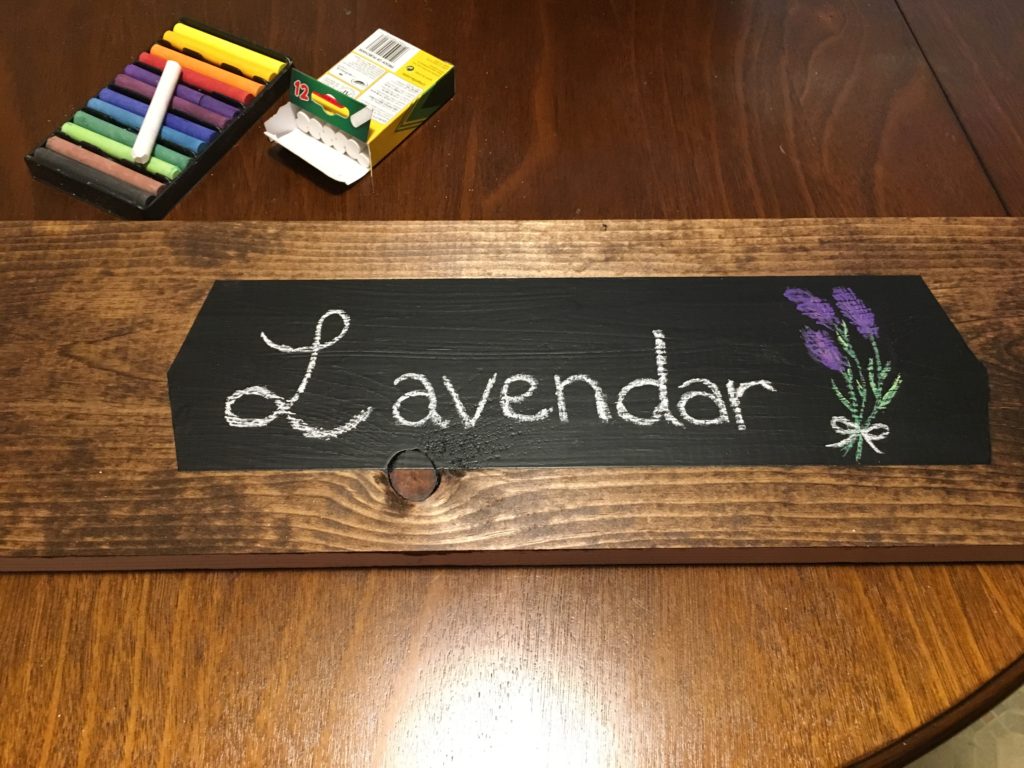
- Chalkboard paint & chalk
- White and grey milk paint
- Painters tape
- Sand paper
- Paint brushes
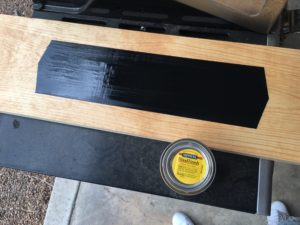
Steps: Stained Wood
- Use sand paper to smooth wooden plank
- Apply stain
- Let dry
- Apply painters tape, then chalkboard paint. Remove painters tape immediately after
- Let dry
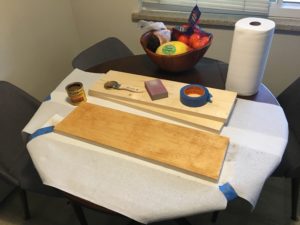
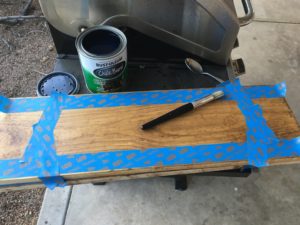
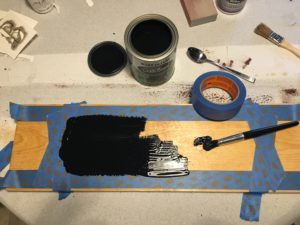
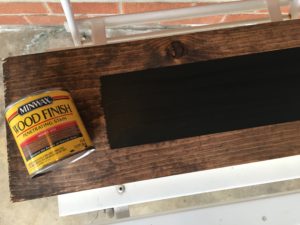
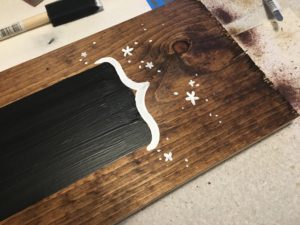
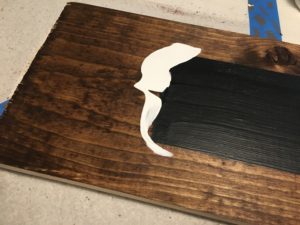
Additional step: use white paint to add details.
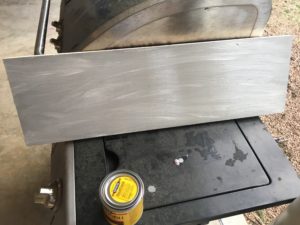
Steps: Painted Wood
- Use sand paper to smooth wooden plank
- Apply milk paint
- Let dry
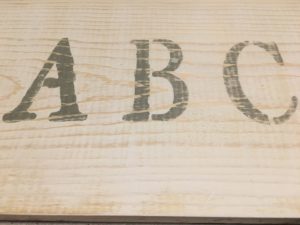
- Add details using stencils and décor paint
- Let dry
- Use sand paper to rough up the paint
DECISION:
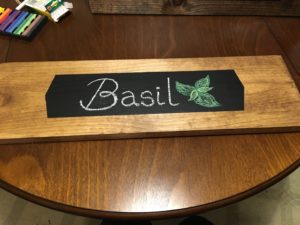
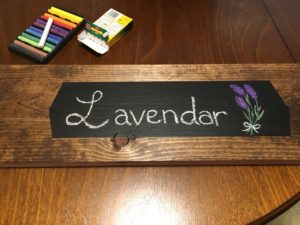
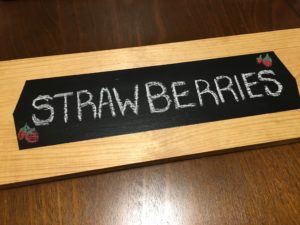
The final outcomes of the stained wood are shown below. I was not happy with the painted wood, so I did not choose to move forward with that aesthetic. Each of the three options has a different stain, with the same shape of blackboard. My favorite option is Option 1, but I think Option 2 would be the best for the Shipping Pallet Garden. Option 3 is definitely too light.
WHAT’S NEXT:
I’d like to build my garden before the end Spring Break so that I can begin growing plants as soon as April 3rd. This might be a challenge to complete, but hopefully I will be able to find old shipping pallets that will accelerate the process.

10 Comments. Leave new
This is great! I love hand-made garden layouts, and the black-chalkboard labels are adorable… I used that on my wall-mounted kitchen menu at home. I hope you can get another crate and complete your A-frame structure. I don’t think you mentioned where you want this to go–living in Boulder or elsewhere–because that would influence if you need to add shading or change what plants will grow. I’m glad you’re taking something that’s been important to your family and turning that into a homie engineering project. I love that aesthetic so much and have a soft-spot for greenery (as probably indicated by my terrarium Upcycle project).
It’s nice to see that you have experimented with lot of different stains. The chalk writings look really nice and would love to see more colors. Making it mobile will be challenging. Hope you achieve that function too. I’m looking forward to see how your garden turn out.
I like this idea, especially for when you have a really limited backyard size. What if you staggers the plants out so they stick further out as you move down the levels? The rustic aesthetic will fit well with the garden setting. If the plants over hang and cover the sign, will the chalk wash away when it rains or when you water them? Maybe you could have a waterproof info card that you can slip in and out when you change out the plants.
Excellent attention to detail to both your prototype and your presentation! It is clear that you put a lot of time and effort into preparing this prototype which will make the final result just that much better. The aesthetic is simple, yet elegant, and the plants you put in will likely complement the end product.
I really like your Idea of the rustic farmer’s market aesthetic. To be honest I feel positive and happy when I see your project, it has a zen feel to it. It would be a cool addition to perhaps include more positive elements to help boost the mood. This clearly requires skill, but you have executed very well and kudos to that!
I like that you have used your budget well and it looks great!
Great presentation, the slideshow was well put together and I enjoyed all of the pictures. You are making great progress, I can tell you’ve put a lot of thought and effort into this so far. Testing out all the different stains and paints was smart so you can really achieve your desired aesthetic.
Love this idea. The organic rustic feel is really appealing. I’ve made a bed frame with shipping pallets so this is interesting to me. I think I may want to try this out this summer! I had never heard of milk paint, it gives it a cool feel. Its easy to tell that you are really invested in this project by how many trials you did on just the staining and chalk aesthetics.
By the way, I think it is spelt “Lavender”!
I love how you want to stick to this “organic, rustic look” for your garden. It’s really neat that you drew inspiration from your mother’s garden and the community gardens in Vancouver, since it relates on such a personal level. I think that taking out the detailing idea was a smart move on your part, since it seems to take away from the natural aesthetic to a degree. Nice presentation — brief but descriptive. Have you thought about stacking the plants for your garden and finding a way to keep them upright?
Love that you have already done a lot of the staining and preparation for the garden. I think you will definitely be able to have growing plants by the end of the semester! This is really neat and widely applicable for communities in need.
I like how you experimented with the stains and brought them both in today. Your presentation is so colorful and nice to look at. You’ve clearly put a lot of time and effort in just the prototype, which will only make the final product even better. It’s apparent you like your project and shows through the craftsmanship. Super rad!