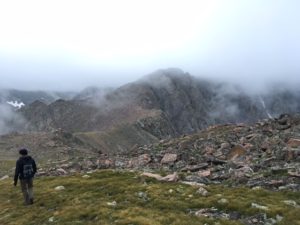
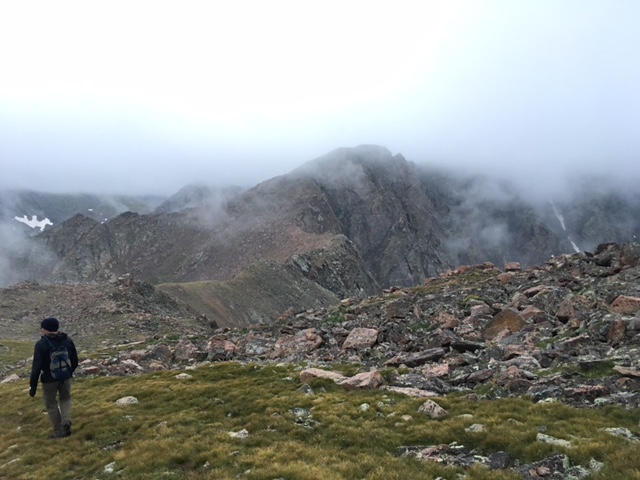
Mount of the Holy Cross is one of the fourteen 14,000 foot mountains in the Sawatch Range of Colorado. The mountain looms above ‘The Bowl of Tears’ at 14,011 feet. I’ve had the opportunity to visit this mountain two times. On my first visit my partner and I got stuck in a storm near the peak before getting lost in a thick fog and struggling to find our way back to the trailhead without summiting the mountain. On my second visit I was able to enjoy the beauty of the mountain and summit the 14er before any Colorado thunderstorms chased us off the peak. The Mount of the Holy Cross is one of my favorite mountains and is the inspiration behind my upcycle project.
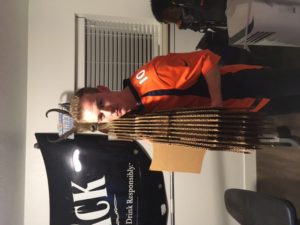
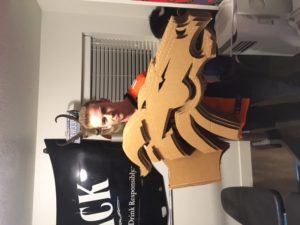
After deciding I wanted to make a model of the Mount of the Holy Cross I had to figure out how. While trying to figure this out I wound up seeing a Broncos design my friend Keaton made which I thought had a rad aesthetic that I would be able to apply to my mountain. Here is Keaton in a Bronco’s jersey holding the cardboard Bronco:
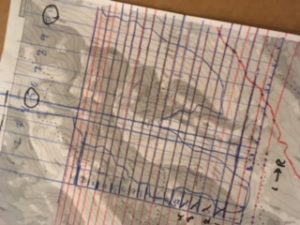
A topographic map proved to be a vital asset in creating the model. I drew parallel lines on a topographic map and everywhere the drawn line crossed a contour line I drew a point which correspond to a point on a piece of cardboard. I used these points to outline several pieces of cardboard which I then cut so that they could add up to create the mountain.
I thought building the mountain out of cardboard would be a relatively straight forward task but I quickly realized this was not the case. One thing that would bother me was the fact that I wasn’t able to make the mountain model start from the same ‘elevation.’ This became apparent when I started using a topographic map of the mountain. On one side of the mountain the valley gets to about 10,500′ but the other side does not go below 12,000.’ While I could have set the zero of the model to 12,000′ that would not have allowed for much of the mountain’s beauty or other features to be noticeable. I decided to go with the setting the zero of the model to 10,500′ which allowed me to include various features of the mountains; however, this choice did leave edges on the model where the mountain did not go to a low enough elevation.
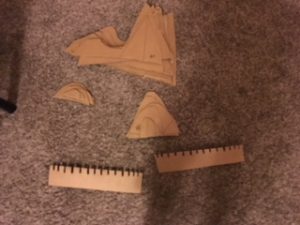
Another difficulty I ran into was making the model accurate in the horizontal direction. The vertical direction was simple, I had a topographic map showing elevations of various features on the mountain. Horizontal scaling was much more difficult and I settled for simply making the model a close match to the mountain as developing a scale and using it would have been extensive and beyond the scope of this project since my goal was just to create a piece of art – not a perfect map or model of the Mount of the Holy Cross.
Scaling also proved to be problematic. While the topographic map allowed me to scale the vertical aspect of my model, I had difficulty relating the vertical and horizontal scales. As a result my model looks far steeper than the actual mountain.
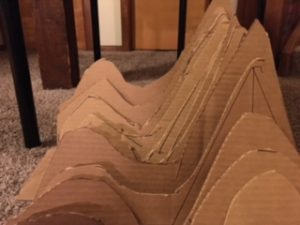
While initially I planned on making the model a solid piece I realized I could make it transportable if I made a base piece that the parallel mountain cut outs could slide in and out of. I did this easily by taking left over cardboard and cutting evenly spaced slits into the left over cardboard so that each mountain cut out could slip in and out of each slit – now I could easily transport the model and quickly assemble it!
Although I am happy with the final product and I achieved my goal of creating a cool looking model of the Mount of the Holy Cross there are somethings I will be changing in the future. Perhaps the biggest change I will make is making the model solid. I would do this by wrapping the mountain in paper mache which would completely change the aesthetic but would make my model a lot more like a solid 3D map. I could even draw contour lines on it and make it a 3D topographic map which I think could be awesome!
If you would like to know more about my project, feel free to watch this live presentation I gave on it:
insert video of the thing
References: All photos were taken by yours truly

6 Comments. Leave new
This sounds like a cool idea. Great job replicating the mountain range out of many layers of cardboard, which couldn’t have been easy. It looks like other people have suggested this already, but I agree using a laser cutter would improve the contour quality and accuracy. Using paper mache to cover this up to make it a more realistic 3D map also sounds great!
Great project! I really like the way you drew up the design process as the water cycle. That has to be the most creative design cycle I’ve ever seen. Then your project actually matches the aesthetic of your project, making a cardboard model of your favorite mountain! I would recommend using the laser cutter, as you were talking about. It would make the final product a little cleaner. But overall, great work! I love the attention to detail that you so clearly showed in your design process. Keep up the good work!
This is a great idea and I really like the mountain you chose. I have never been there personally but I want to go. I also like that you will be covering the cardboard with paper mache, that will look good. Nice job.
My project is also made of cardboard but much smaller, for your project laser cutter is definitely going to help with the rough edges and the aesthetic.
I really like the idea behind this project. it is super cool to see the layers of the mountains and the 3d final project. This would be awesome with a denser topographical map with it.
I think you did a really good job in fully exploring the project in your design preparation. The idea of using mountain mapping as your aesthetic is creative, and you did a good job in creating the cardboard mountain range just using the cutter. Great job!