For my project, I decided to make a sculpture using Q-Tips. I wanted to use something very basic that very few people would make their project out of. In order to connect the Q-Tips, I decided to use glue. Throughout my project however I used a few different types of glue as elmers and superglue both did not work with the material. The original design idea I had was to create something organic looking like a cherry blossom tree. This was inspired by this picture:

Once I had gathered my materials, I started to form my tree. Below Is how I started to put together some branches.
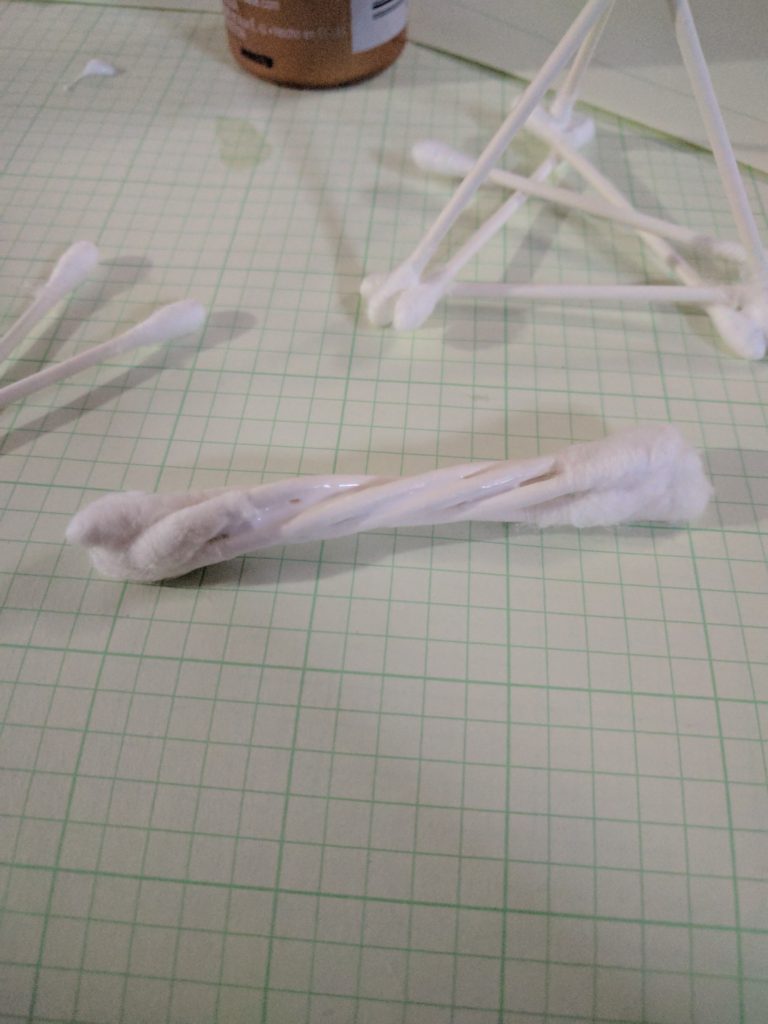
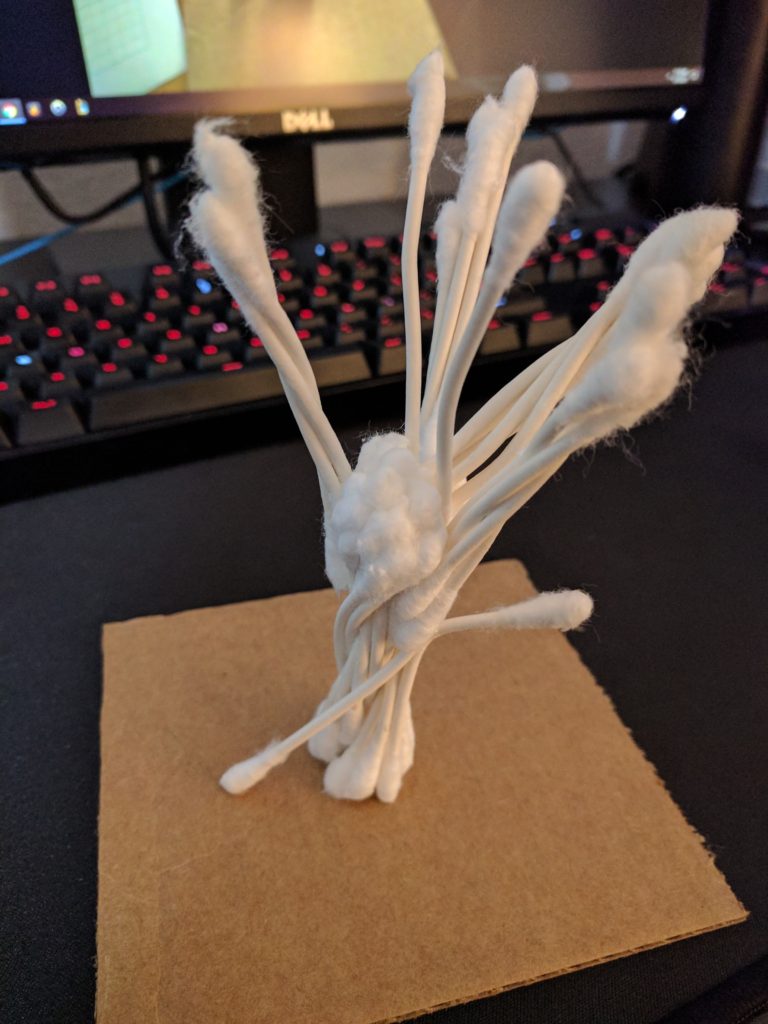
This ended up not working overly well as the the Q-Tips didn’t hold together very well on their own and it took way too much glue to bond them together. I got somewhat far with the design as shown below but I felt it looked too chunky so I went back to the drawing board.
I played around with the glue and the Q-Tips for a bit and finally decided that triangles worked the best for construction purposes with the least amount of glue. That lead me to decide to create a geometric sculpture using triangles as my base construction shape.
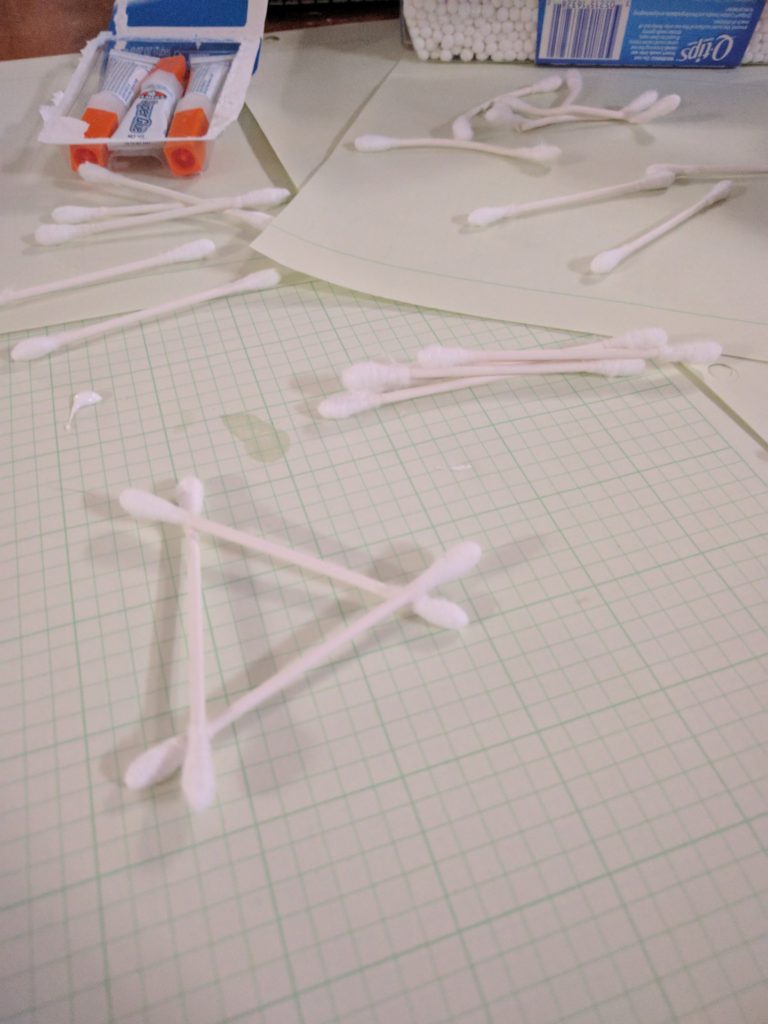
So I formed about 30 triangles as shown below.
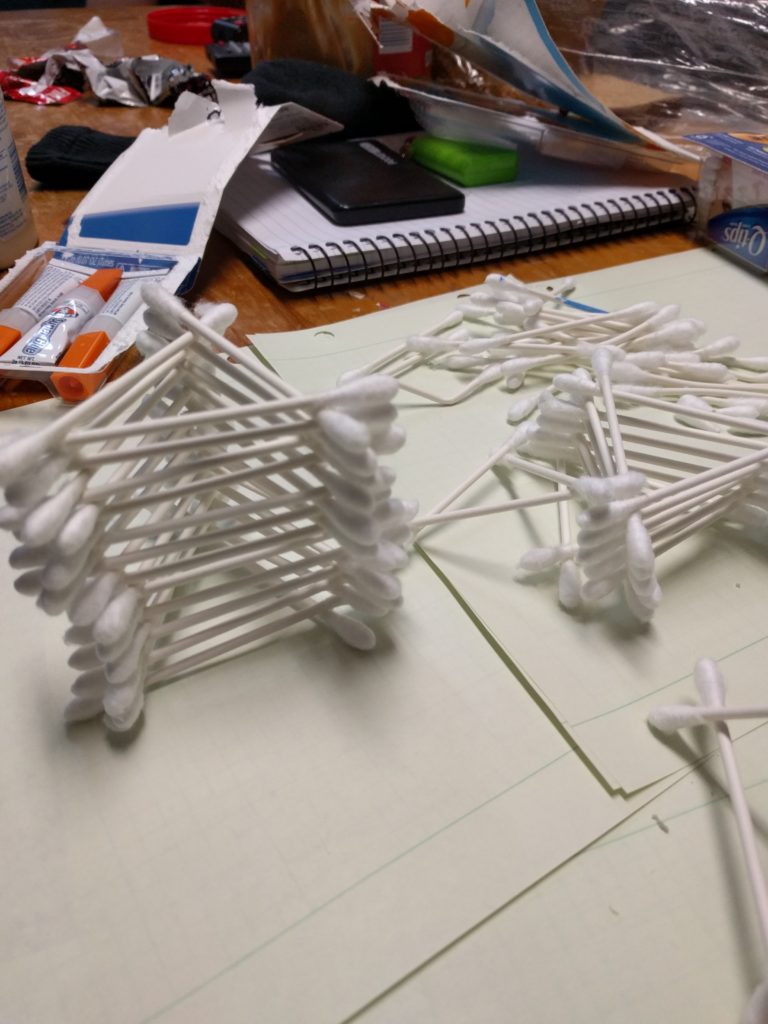
I then began to create my final product by first connecting the triangles at the edges where they fit together perfectly before going full freehand to make something I thought would look cool. The next few pictures show my progression.
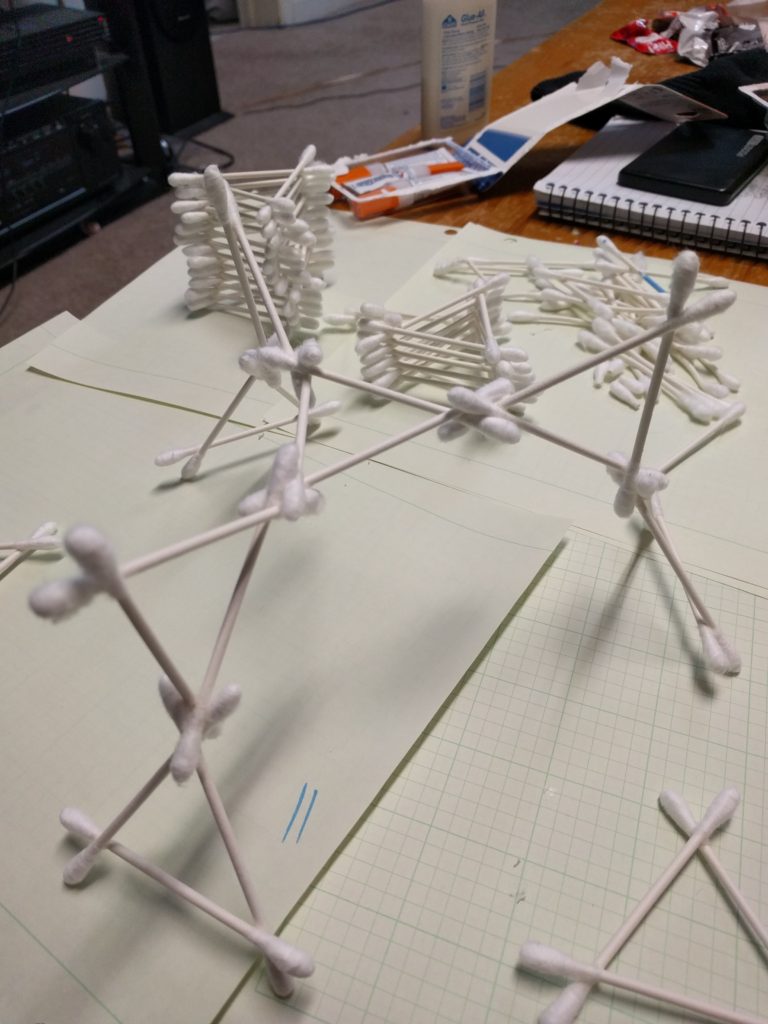
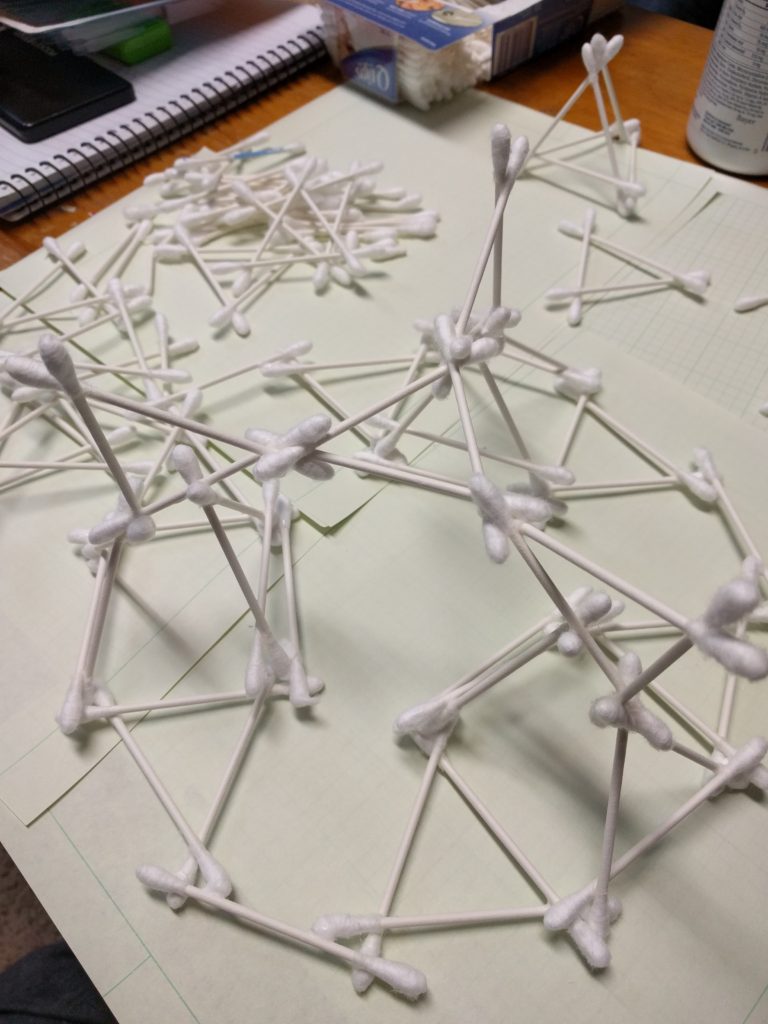
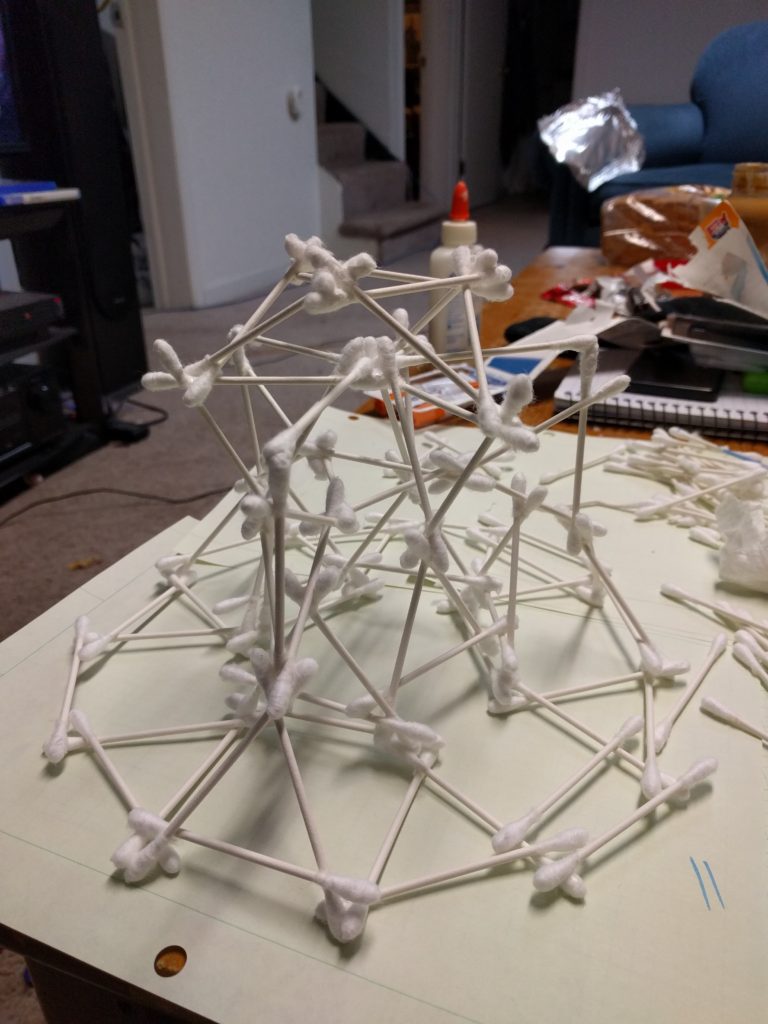
This left me with my final design shown below.
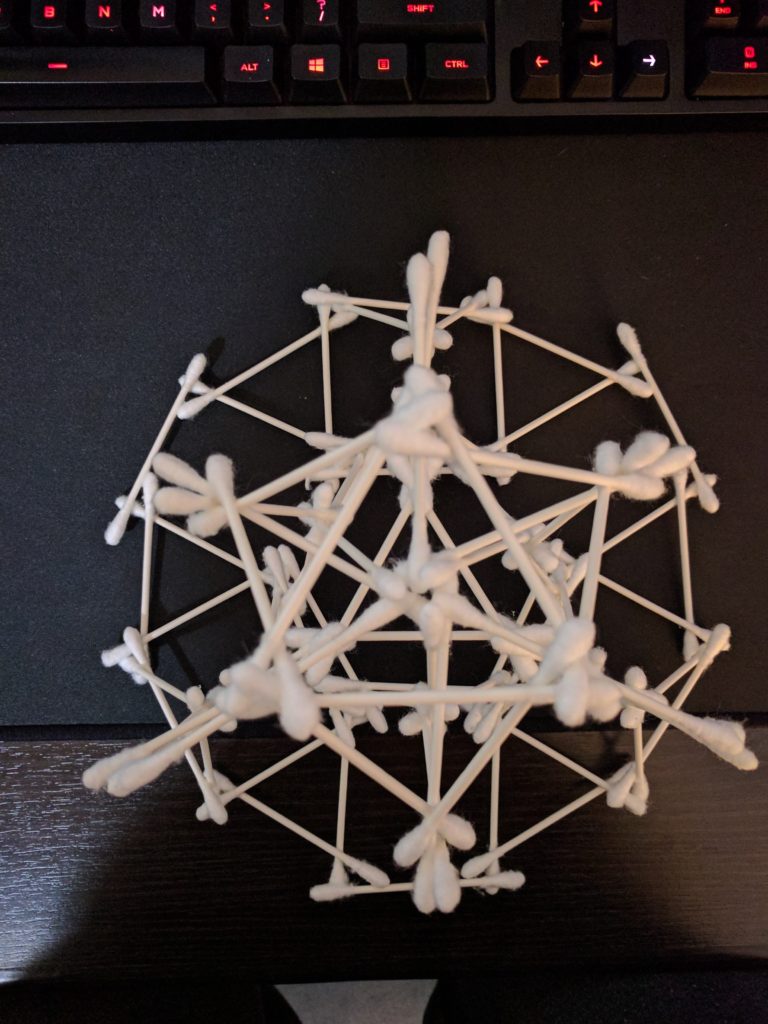
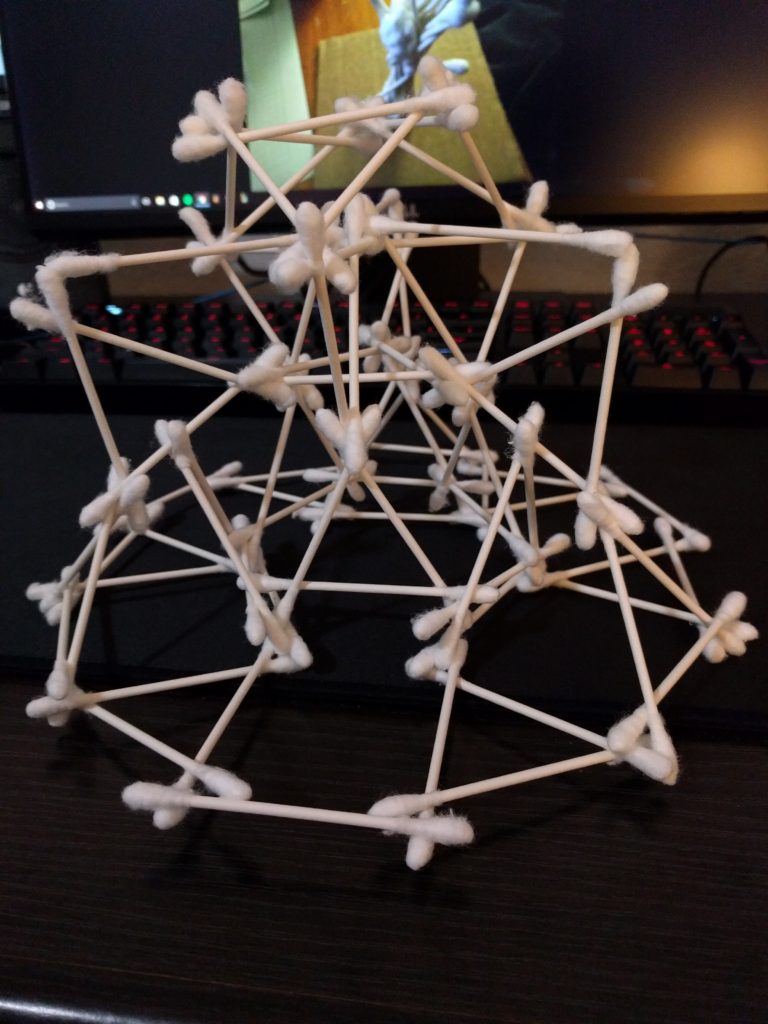
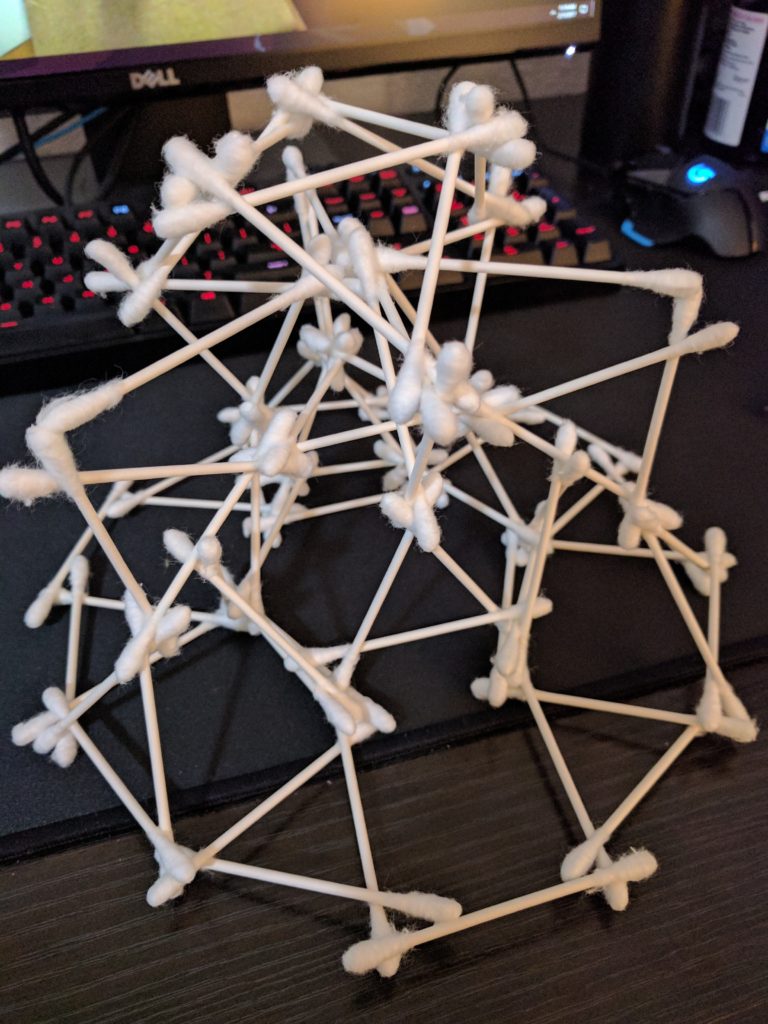
Other than the one large speed bump I came across with the change in designs, the project went over pretty smoothly. This was pretty close to my design process I had discussed in a previous post due to how I iterated when things went wrong. As for things I could have done differently, coloring would have been nice. I even tried to color the object after the fact but it didn’t hold to the material all that well. If I could do it all over again, I would most likely color the Q-Tips prior to construction, maybe by dipping them in paint or something along those lines. As for keeping the project, Q-Tips pick up a lot of dirt and dust just sitting around so I will most likely get rid of my project. I have a lot of unused Q-Tips on the bright side. I thought my final aesthetic was pleasing and I really enjoyed creating the project.
Link to my presentation: https://youtu.be/hlQpd5_j2p4

9 Comments. Leave new
The Q-Tip sculpture was a great idea for a way to use a very common household item. The finished sculpture wound up being very intricate and the design worked really well with the material you were using. It wound up being a very practical size for a sculpture and hopefully it is something you can hold on to and put up in your house as a decoration.
I thought that use of triangles to make an abstract project really speaks to the aesthetic of this piece. It looks very similar to the Atomium in Brussels, New Belgium! It was interesting hearing about all the problems you had glueing and how you overcame them. Good job!
I liked how you went through a iteration process with the glue. Im surprised that super glue didn’t work at all! I also like how you went from a animate object to an inanimate object. What were you going for in the final design? What inspired you to create this final design? Love all the different views in your sculpture!
Bottle tree: You took an interesting spin on the bottle tree you created from the original idea we discussed a couple weeks ago. The final design is still very festive and looks good all lit up. It may look cool to have the lights inside the bottles only (if possible…). Nice work!
I appreciate the discussion of your inspiration, and where your ideas came from. I also like your discussion of the challenges you faced in choosing the right glue. It was interesting to hear how you iterated on your technique for building the sculpture. What other materials could be incorporated into the sculpture to capture your initial idea for your aesthetic?
Q-tips were and interesting choice for material. I would have guessed that it would be a fairly easy material to work with, so it was interesting to hear that it was not. I really like your design iteration process. You found what glue to use by trail and error and what shapes worked the best. I’m actually impressed by your ability to build on the fly. Great job, it turned out great!
Good use of geometric shapes to create a larger piece of artwork. I’m surprised super glue did not work, good persistence in finding glue that ended up working though. I also really like the abstract nature of the structure.
The step-by-step iterations of your prototypes helped to offer the viewers a more comprehensive understanding of your design process. Although you did run into a few roadblocks when transitioning from your original design vision to your final creation, it is interesting to see how you got there. I do think that a future spin of this project using colors or painted Q-tips may add some a different perception and may make them easier to glue together.
The first iteration looks very complex. I like how the glue is not able to be seen so it looks like it is being supported only by the supporting beams. It sounds like the glue would come out too fast some time and then glue would be globby. I like the amount of q-tips you used. In the end, the finished product looks great.