Just got back from spring break, and the project is coming along slowly. I went to McGuckins Hardware Store to collect several “solar powered hobby cars” to collect small plastic gears and metal parts to build a prototype of my design, and then salvage the parts for the final design. I also bought spring steel to try to make a horizontal torque spring, and aluminum sheet metal for its easy machinability.

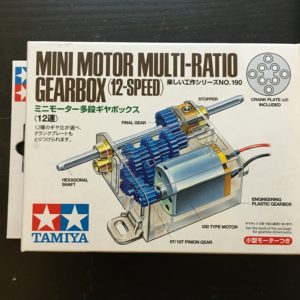
I stripped this hobby gearbox for parts.
As you can see from the photo the solar power hobby car is from Japan, so I have been encountering some conversion issues when drilling holes in English units and trying to fit a metric rod into that hole. My frustration has been mainly caused by me trying to figure out the tolerance issues for my project. I built a prototype wind up toy out of the solar car gears and aluminum sheet metal at home using a electric power drill as to get a better idea how the design will come together. I wanted to see how the plastic gears meshed together, if machining with 22 Ga aluminum sheet metal was difficult, and how much space and clearance I would need for the “legs” to touch the ground for dynamic movement. If I was to redo this part of the project using thick construction paper or cardboard, because its faster to build and would also work in making an accurate prototype model too.

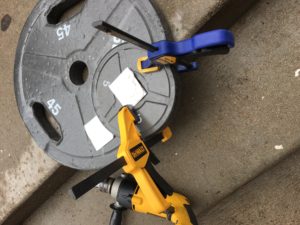
The start to my frabrication process began with prototyping my design at home. Here is a photo me drilling into some aluminium sheet squares to make my prototypes, and test the plastic gears I took from another device.
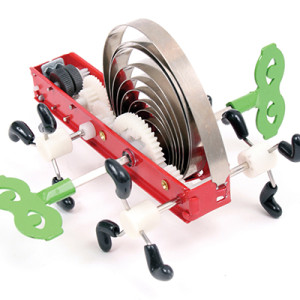
The wind up spider toys aesthetics come from two very different styles of design: industrial and movie special effects. The industrial style emphasizes on practical design, production, and exposing the functional areas of interest. I wanted to incorporate these aspects into my design, because it would allow the wind up toy to be unique on its own. The wind up toys moving components will resemble an industrial style, because of the design incorporates: polished metals, lots of fasteners, springs, and the design was made for “easy” manufacturing. (Easy is in quotes, because the project has not turned out to be that easy and very time consuming, but fun and a lot of good learning lessons too.) I would also like to emulate these wind up toys I found at McGunkins, because I believe they capture the industrial style perfectly.

“Awika Wind Up Toy” by Kachmak
The second aesthetic will take inspiration from the special effects industry, and art sculpting. Molding the aesthetic spider shell out of clay, and then molding a polyethylene over would permit me to make multiple rubber spiders. Then I could paint and apply different types of latex textures coloring, so I could have flexibility in my aesthetic design.

{Photo taken from google images search “monster movie makeup”}

5 Comments. Leave new
Thanks for reading my blogs this late in the semester! Your the best minion ever!
I like the way you have combined industrial design with movie special effects for your spider toy.
Thanks Ma!
I have very little experience with working with metal. So you were able to drill through aluminum using an electric powder drill? Would that process include some serious use of clamps? I like the idea of incorporating move like special effects. The artistry of make up these days is crazy. What kind of paint would you use on the clay? Would the clay be malleable once sculpted? If so you might need to consider that when choosing paints, since different paints dry differently.
Aluminum is one of the most machinable metals, so it wasn’t very hard to drill through. Maybe takes a few seconds longer than wood. But n my worst case scenarios were the metal is super hardened, I grind a hole through it. I would make a spider mold out of the clay, then make a rubber mold, then fill that mold with plastic. Then I would paint the plastic with latex “monster make up”, because it can be applies and dries quickly. Plus it is pretty strong adhesive, so it takes some force to material.