
iPhone 6 and 6s are famous for having small batteries. I have to charge my 6s all the time to keep it running. Not to mention the Apple Watch, it’s a watch that you have to charge on the daily basis. The iPhone is also very thin and slippery, once you lay it on the desk to charge it’s very hard to pick it up again. So I thought a charging dock would be something handy. I searched on Amazon and found out they cost $30 and up. So I thought why not make my own charging dock? Below are some pictures reflecting the fabrication process:
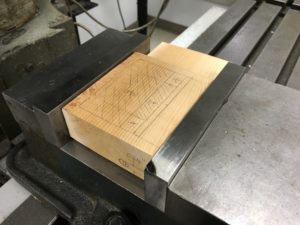
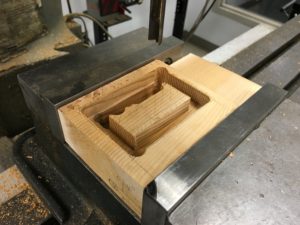
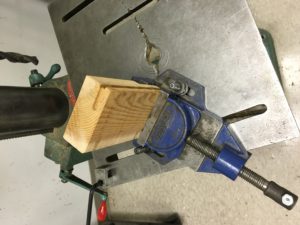
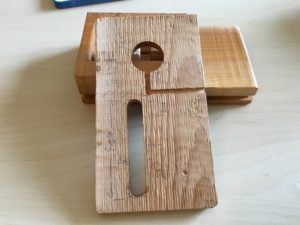
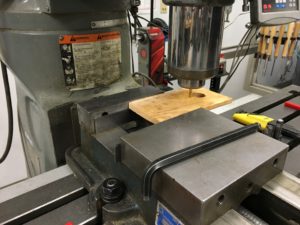
The whole process was done in ITLL machine shop. I never used the mills before and learned from beginning this time. It was lots of fun. To begin with, I have marked all the cuts that need to be done on the wood pieces using pencils. Of course I also used a ruler to make sure the marker lines are straight. Then it’s time for the mill, I had to secure the part on the mill first. Then I used two router bits to cut slots for the wires and LEDs. I used the electrical saw for cutting the thin cap. The big whole on the cap is for the Apple Watch charger. The hole was made using one of the biggest dill bit in ITLL. After milling and drilling I also polished the surface of the parts and sprayed 3 lays of clear wood paint onto the dock.
The final product satisfies my need and it’s also fun to use. Now I can charge my two devices together on the same charging dock. It’s a very good organizing tool for my desk. The LED stripe also lets you know how far until fully charged you are. Overall the project costed me around $36, it’s right around my original budget. It’s still cheaper than the ones from online. However from the project I have gained lots of skills in the machine shop. That to me is the most important part of the project.
Purchase History:
HomeDepot scrap wood x 2: $7
Wood glue: $5
Clear Wood Paint: $8
LED stripe: $16
Total: $36

1 Comment. Leave new
Wow, you did the machining by hand! Very impressive. Machining wood is fun, isn’t it?!
I’m really interested in seeing how your finished project turns out- if you need any clear coat finish, I have some PolyUrethane spray finish left over from my own project you’re welcome to use!