Description
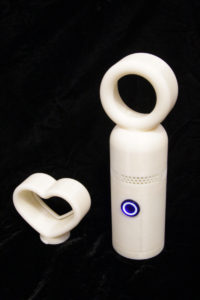
Just as a brief recap to my project, I created a 3D printed bladeless fan. The design is inspired off of the Dyson fans, but on a smaller scale. My product was designed to be handheld, and portable. One of the major design aspects of my product is the removable head. I wanted the ability to change out the circular head piece with whatever design I wanted, so I printed a heart shaped head piece and designed a locking mechanism that also seals.

What does it mean?
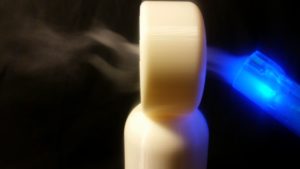
My project was not only meant be functional, but it had to be aesthetically pleasing as well. After testing the device I have found that it does not function the way it should. The head piece impedes the flow of air, rather than amplifies it. While I could spend months trying to analyze the flow through the channels to get the perfect part, I wanted to have an aesthetically pleasing design first. I believe my product captures a futuristic aesthetic with its simple curves, and plain white color. Since this was 3D printed it had a matte finish, but I think if I had the capabilities to mold it and get a glossy finish that would really bring out the aesthetic I want. Even though the device does not function the way I wanted, it still demonstrates how the technology is supposed to work. Shown below is a video taken in slow motion of smoke being sucked through the fan.
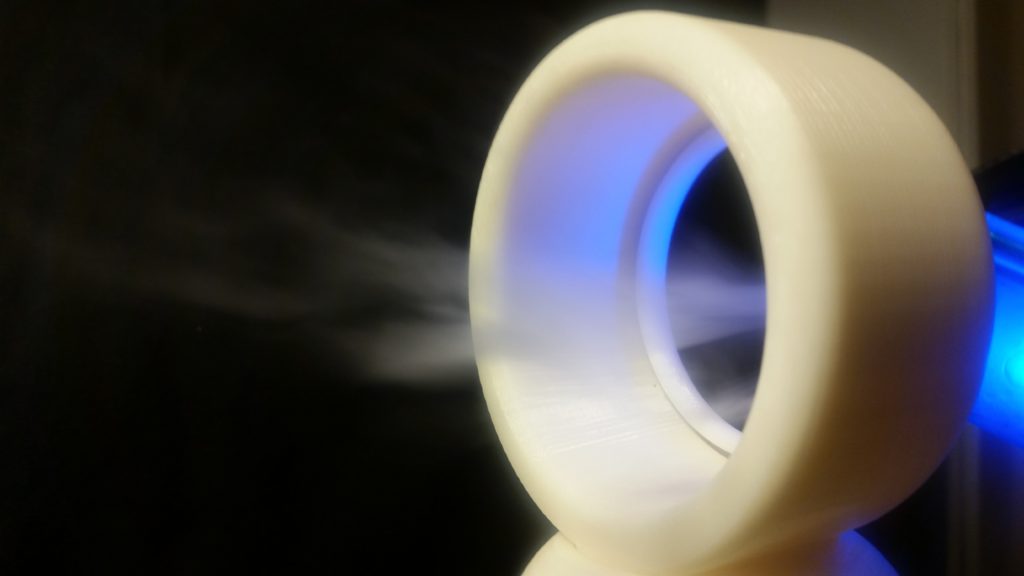
and a close up of the front.
While my product will not cool you down on a hot day, it will demonstrate the effect of viscous flow. So the takeaway from this project is that not all projects have a clear defined purpose. I went in thinking I would make a cool product that could be sold, and I ended up with a device that can be used to show the wonderful effects of fluid mechanics.
Moving Forward
I think this project was overall a success. I was able to 3D print a full bladeless fan, and design a detachable head system using a locking mechanism that seals. I was able to successfully integrate a fan/compressor, a latching push button, and a battery into my 3D printed casing. Now moving forward I would change and improve upon a few things. First, I would find a better power source. 2 9V batteries work fine, but over time they can get expensive. Second, I would design a new cap. The bottom cap I am currently using has no texture and is really difficult to put on and remove. This makes it almost impossible to replace the batteries when it is needed, therefore printing a new cap is on the list of things to improve on. Finally, I would conduct fluid analysis on the head piece. Now that I have most of my aesthetics down, I can look into the actually fluid mechanics of the system. I can conduce computational fluid dynamics (CFD) analysis on the part to get the perfect profile. This will also tell me if I need to find a new fan or not. There are many things to improve on with this design, but I think it turned out to be a success in the end. I learned a great deal during this project.

Presentation


4 Comments. Leave new
First off, I saw your project at expo and since you were right next to me, I got to look at your project rather extensively in person and was totally *blown* away! Hahaha. I love how the head can be switched out and customized as well! I did notice that the 3D printing seemed to be splitting at one junction, so my only recommendation would be maybe spraying a layer over the base so it holds together. Overall, amazing project and I think it turned out to be absolutely excellent!
Love the video demonstration. The product turned out nicely and the interchangeable heads was a great idea. You could totally push dyson out of the market…they’re way overpriced.
Awesome work man. Congratulations on finishing this project and having it work and look great. It’s great to see a lot more visuals of how your project works. are you going to continue pursuing this project?
Great work Brandon. Congrats on getting this project successful and polished. I really liked the videos with the vapor generator. Looking at it itself is a a unique aesthetic. I like how your project turned out and how polished it is. I still think you can print this on a cheaper printer. Can you incorporate a snap fit lid so that it is easier to replace the batteries? Overall good job on your project. Enjoy your fans in the summer