First Impression
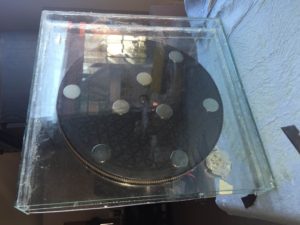
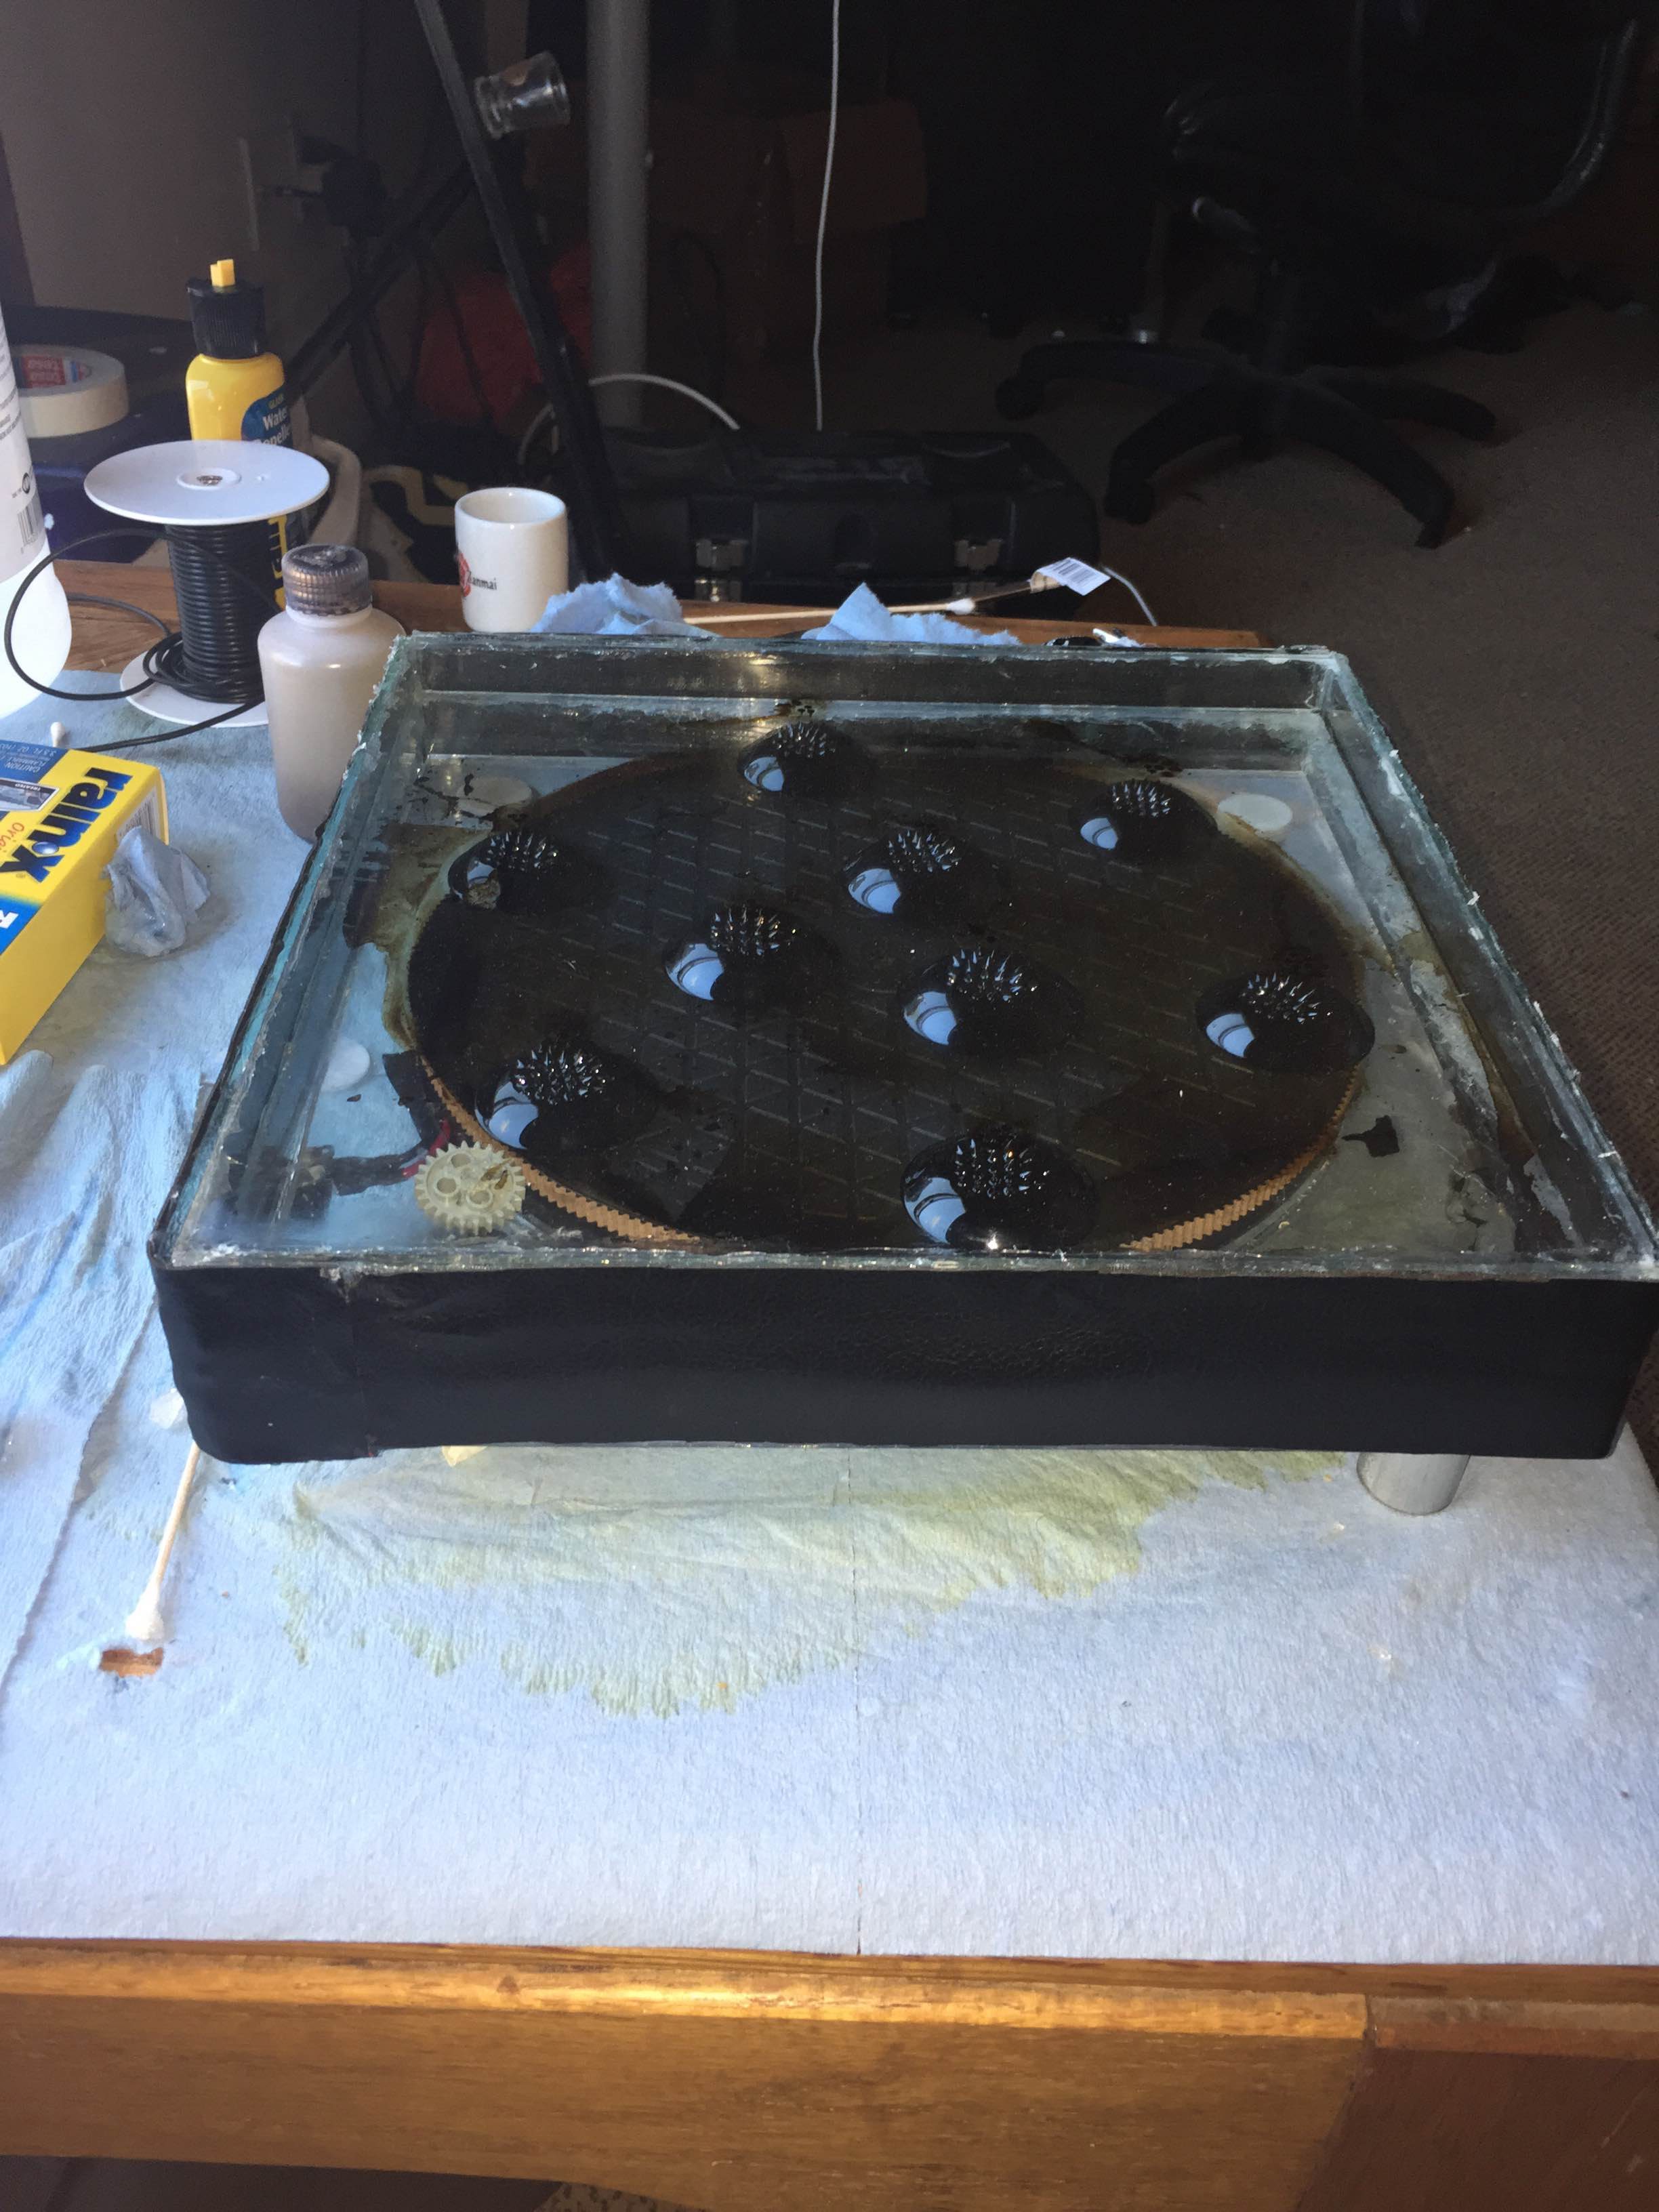
The goal behind the ferrofluid sculpture was to have it capture people’s attention. The way ferrofluid moves around a magnetic field has a certain appeal to the human eye due to its ability to flow and transform shape. Using an all glass case would add a sharp edge to the display by making it look modern and sleek.

Function
The display itself has no functional purpose besides being a work of art. It’s great to see people get lost in the fluid as it rotates around the base of the glass casing. I plan on using it as a centerpiece in my new home later this year. Fortunately I used a high torque, low noise emitting motor making the whole display almost silent when in action.
*Pending final picture/video after a fresh cleaning*
Inspirations
I have been fascinated by ferrofluid ever since I came across it years ago in a lab and have always wanted to work with the stuff. There is an exhibit in the ITLL that continues to tease my interest every time I walk by. The deep purple/black color is captivating to me especially when it is being magnetized and taking on different forms. The way it free flows and climbs around a magnetized surface is such a unique effect. I knew right off the bat how difficult it is to work with ferrofluid from talking with my peers and researching online, but if there is a will there’s a way.

Critical Component
There are 2 very difficult parts of this project that can both cause failures:
- The assembly of the glass encasing. It is vital that the edges of the glass case are completely sealed. I used a silicone fish tank sealant to accomplish this. Initially I tested the case by filling it with water and making sure there were no leaks. But when switching to ferrofluid, I found issues. Since mineral oil is less viscous then water, it found cracks that the water could not.
- Transportation. Any sort heavy vibrations forced on the display will cause the ferrofluid to jump around and splatter on the top surface of the display. It must be handled very carefully.
Cost Estimate

Timeline
14 February – Acquire and test ferrofluid behavior
21 February – Preliminary Design complete
7 March – Small prototype built
13 March – Final design complete
20 March – Acquire materials
27 March – Cut and prepare glass
4 April – Assemble and test glass casing
9 April – All parts machined
12 April – Final Project assembled
12 April — Current – Iterate upon design based off knowledge of ferrofluid behavior
Final Product


8 Comments. Leave new
The ferrofluid seems like a pain to work with, glad you got a video before transporting the piece, the movement makes the fluid dance as it rotates. Great work despite all the challenges, once the cover is replaced what are your plans for the piece?
How were you able to eventually seal the walls if the silicon was leaking? If you end up reworking the casing to use is as a bed side table, it could be really interesting to embed some lights inside. The rotating spikes look great!
The design turned out really well. It’s a bummer that the display was stained while you were transporting it. It would definitely be worth continuing the project beyond the class as you’ve invested so much time and money and it turned out so well.
I really like the idea behind this! It is crazy to think that it stains objects that easy. I wonder if you can find some sort of glass or acrylic that is hydro-phobic or hydro-phylic and would repel the ferro-fluid.
It really too bad you couldn’t do the stealers sign but I love the gear design you were able to implement! Do you plan on fixing/recreating your project or make it more durable?
This project looks amazing. I think it is really creative to have a very dynamic sculpture because I don’t think we usually see sculptures as fluid pieces, but usually rather static. I think you had a cool twist on this project and love the innovation. I am so sorry for the loss due to the speed bumps on the road. I think your project is really neat and is a beautiful art piece.
Derek this turned out awesome. Ferrofluid is a weird substance but I’m glad you took on the challenge of turning it into a piece of art. Awesome idea using the turntable to add a dynamic factor to the piece of work. I agree with Katie’s comment I think if you took it further it would be awesome to try and work with different colors glasses or even multiple layers to create a marble look.
I love the ferrofluid within your project. It has a great dynamic movement and the turntable was a great way to bring that to light. My only suggestion would be that you should color some layers of your glass (specifically the middle layer) so that you do not notice the stains that ferrofluid creates. I love the addition of the black leather on the edges. It gives it a nice clean and simple edge.