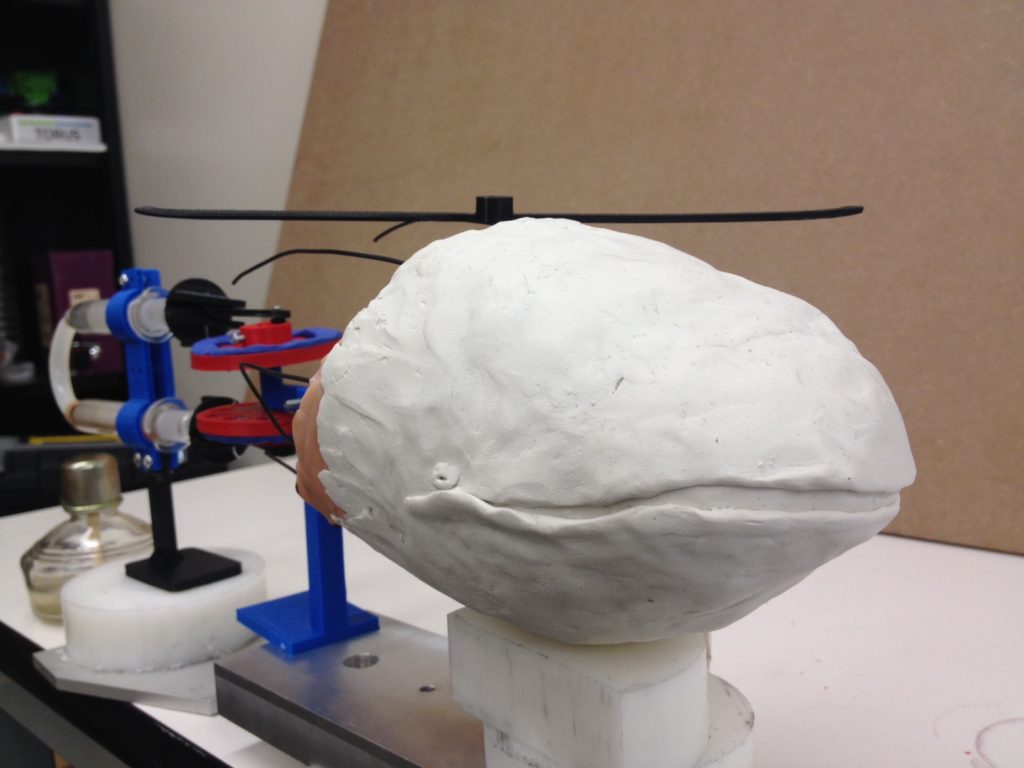
I wanted to build a table top stirling engine for my project. I’ve been wanting to make one for a long time, but never got around to making it happen. There is a lot of documentation online on how people have made their own using a variety of designs and materials. My goal was to make one for as little cost as possible while making it also unique. As I have mentioned in my previous posts, I am a fan of surrealist art. I also love the idea of combining art and engineering together to create things that are both useful and beautiful. With these ideas in mind, I decided to make a surreal stirling engine.
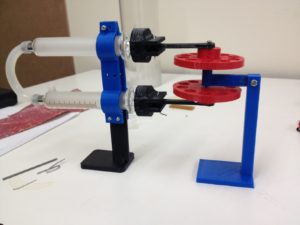
The critical component of this project is the engine itself. After doing some research online, I found a few homemade engines using glass syringes for the pistons and cylinders. This was a great idea because glass syringes are well made, can handle heat relatively well, and reduced the number of parts I needed to manufacture. For the other components of the engine, I wanted to try to use the 3D printer as much as possible. So, I designed flywheels, connecting rods, mounting brackets, and bases to be printed on a MakerBot. These parts were relatively quick to print, although most holes had to be cleaned up with a drill afterwards.

Using hardware found in the ITLL Project Depot, I assembled the engine. To test the engine, I used an alcohol burner that I bought online. For fuel, I used Everclear, thanks to it’s 95% ethanol alcohol content. Apparently, burning isopropyl alcohol is toxic, whereas Everclear is only toxic if you drink it.
I quickly realized that the plastic bases and brackets were not sturdy enough to keep the engine stable while trying to jump-start (which involves physically spinning the flywheels while heating the bottom cylinder). For testing, I solved this problem by using clamps. There were still some flexing in the plastic mounts, but it was significantly reduced.

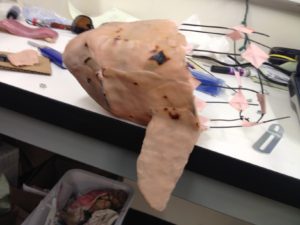
The whale was made by making a wire frame in the general shape of the head. The wires are held together using masking tape. Then a layer of clay is put over the frame and hardened by heating it. This is to serve as a platform for molding the final shape of the whale.

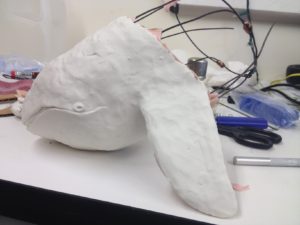
A second layer of clay is placed over the first, and molded to give the whale its final shape.


1 Comment. Leave new
What an innovative solution to use Everclear. Probably the best use of the stuff I’ve ever heard! I was super impressed by your sculpture when you presented it. I have no artistic ability in that sense so it really impressed me. Bummer that you couldn’t get it working, but as someone who also tried to make an engine I feel your pain! Best of luck and hopefully you’ll get it working someday.