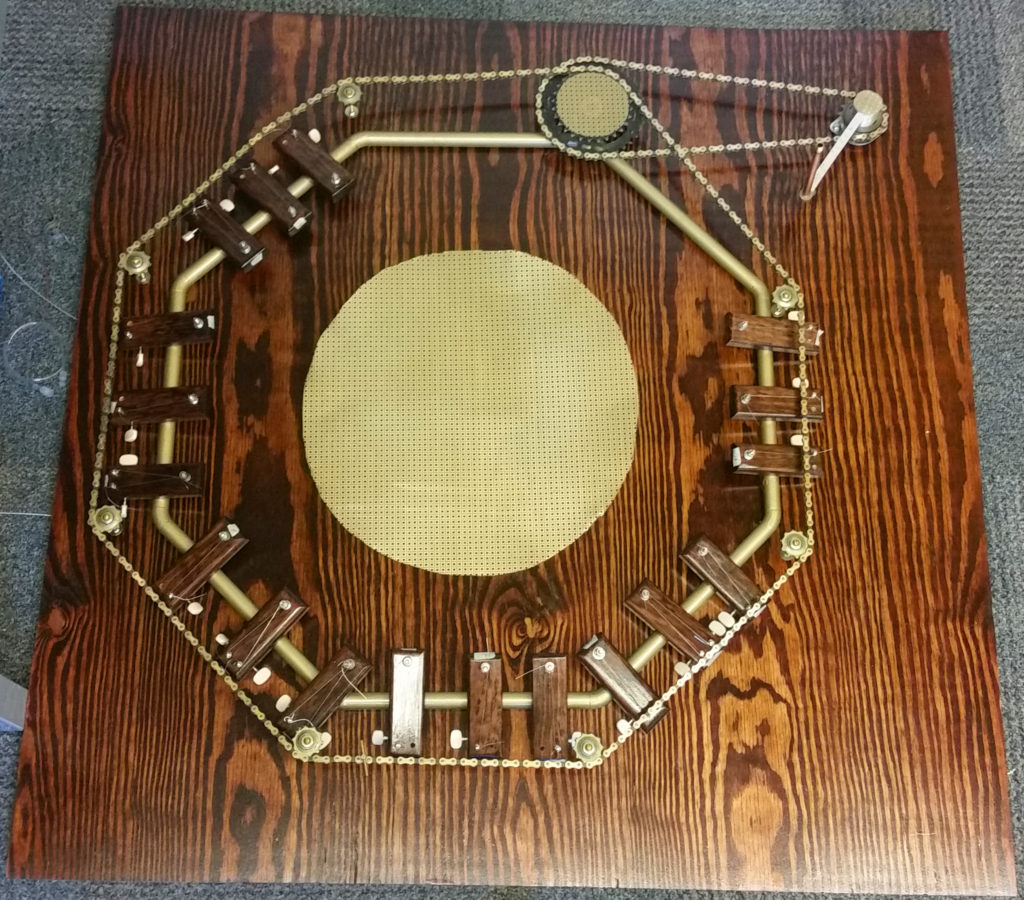
After everything, the macro music box turned out pretty well. While the tune doesn’t play as well as its micro counterpart, but aesthetically it turned out almost exactly as I was hoping. I think the theme was captured very well actually, everything is in either dark woods or gold coloring, matching the aesthetic of old time jazz guitar I was going for. The chain, sprockets, and geometric layout add a bit of steam punk/industrial (also cycling) into the overall look, which wasn’t really intentional but in the end I think it works well.
The music box is fairly simple in principle. Basically, it is a drive chain and then the keys mounted to their octagon, all mounted onto a piece of wood; both provided their own special difficulties. I’ve split this section of the report into the two main pieces.
Keys
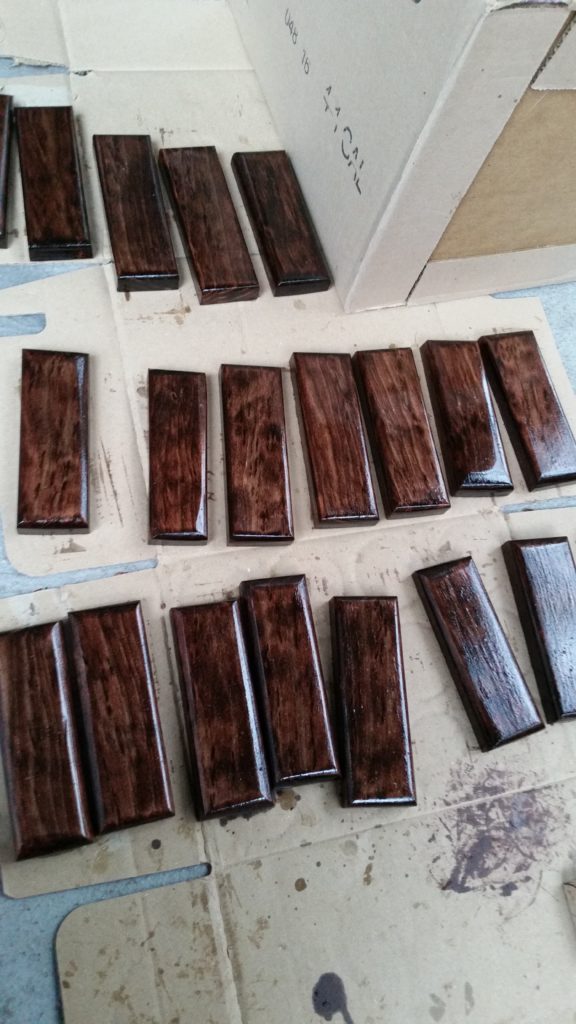
I needed to make 20 keys in order to get the tune I was hoping for (the entertainer, to match the aesthetic theme). Each of these involved cutting down a 2×1 into 5″ strips, then sanding each corner to round them off. This was again to give it more aesthetic appeal, attempting to match the smooth curves of both the guitars and the music. I did this by hand instead of a router intentionally (though it was probably much more time consuming). I associate this aesthetic and time period with hand crafted woodwork, and I wanted to maintain that look. The keys are meant to be imperfect and differing one to the next, as they were in fact completely handmade. I then stained a dark color and applied 4-5 layers of lacquer to get the glossy finish. The keys are shown below.
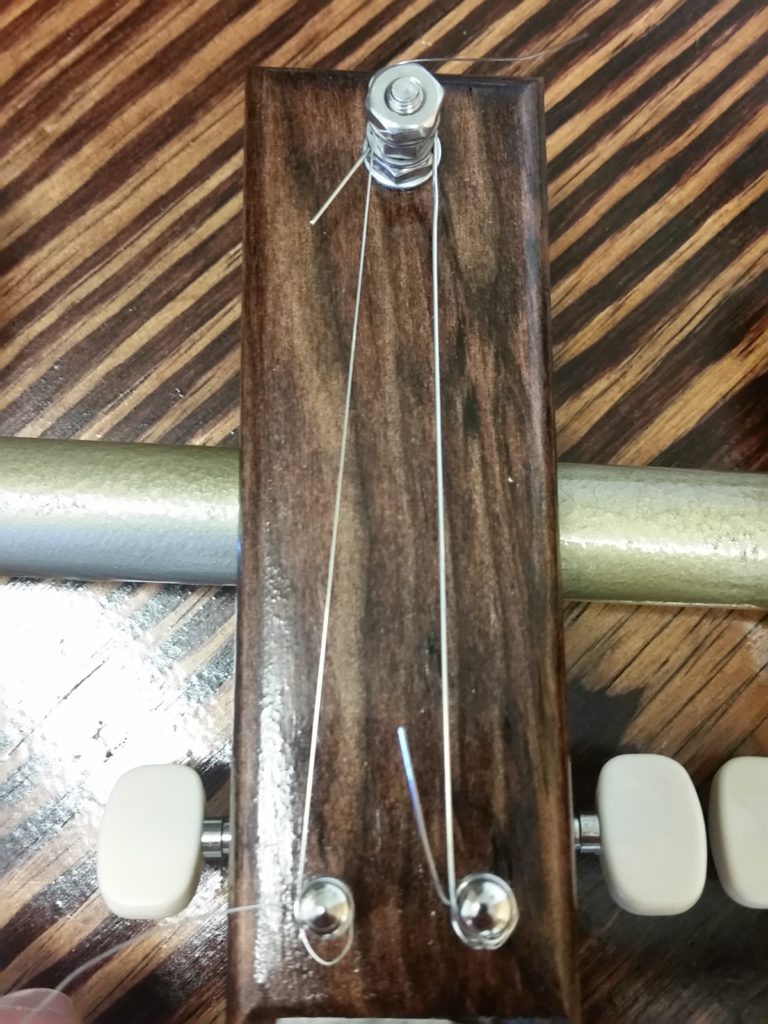
I threw them all in the mill later to drill three holes; on one side, one hole for the head screw, and on the other side two holes for the guitar tuning pegs. I wanted to make chords, so I made each key with the ability to hold two different strings, enabling two note chords to be added to the tune. Using a mill is admittedly less “hand crafted” than a hand drill, though I wanted some amount of repeatability to make sure the strings all tuned semi-similarly.
The next step was attaching all the hardware and stringing the strings across. I planned out the tune and what chords I’d need, and build each key according to what notes it was going to play. The song actually has notes in three octaves, so I used three different size guitar strings placed on different keys to allow me to hit everything I wanted to. I wrapped the string around a bolt on the top, then across and through the tuning peg on the bottom. For the chord keys, I stacked two strings on the same bolt on top and then strung them down to different guitar pegs for independent tuning. They do play notes, although it isn’t incredibly loud; I realized because the string is so short it can’t resonate very much, thus it can’t produce very much sound. They also have somewhat of a hard time holding a tune, but they’re all new strings so I’m hoping after a few days/weeks it will settle in (the same problem happens in a real guitar when the strings are changed, so I’m not too worried).
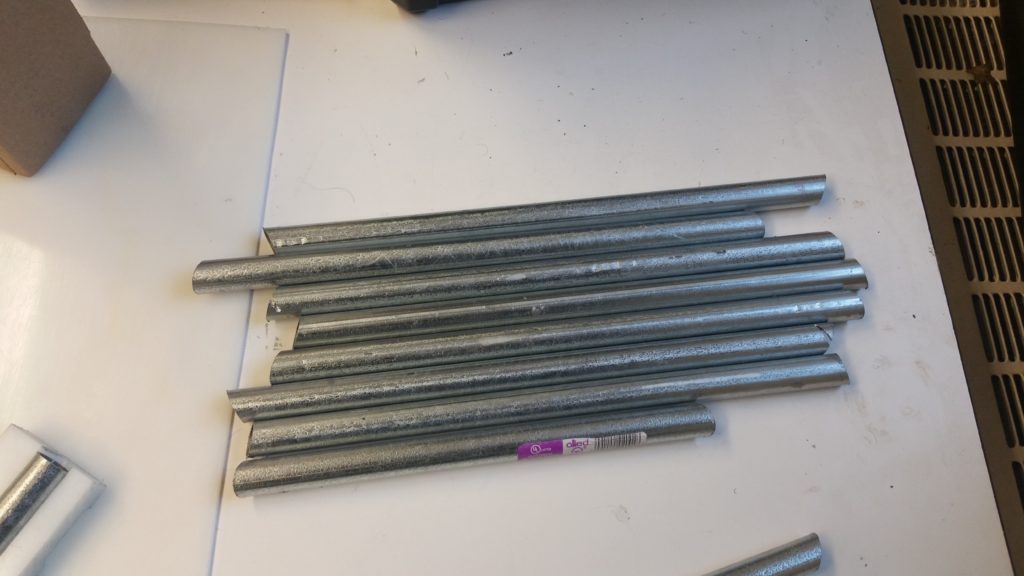
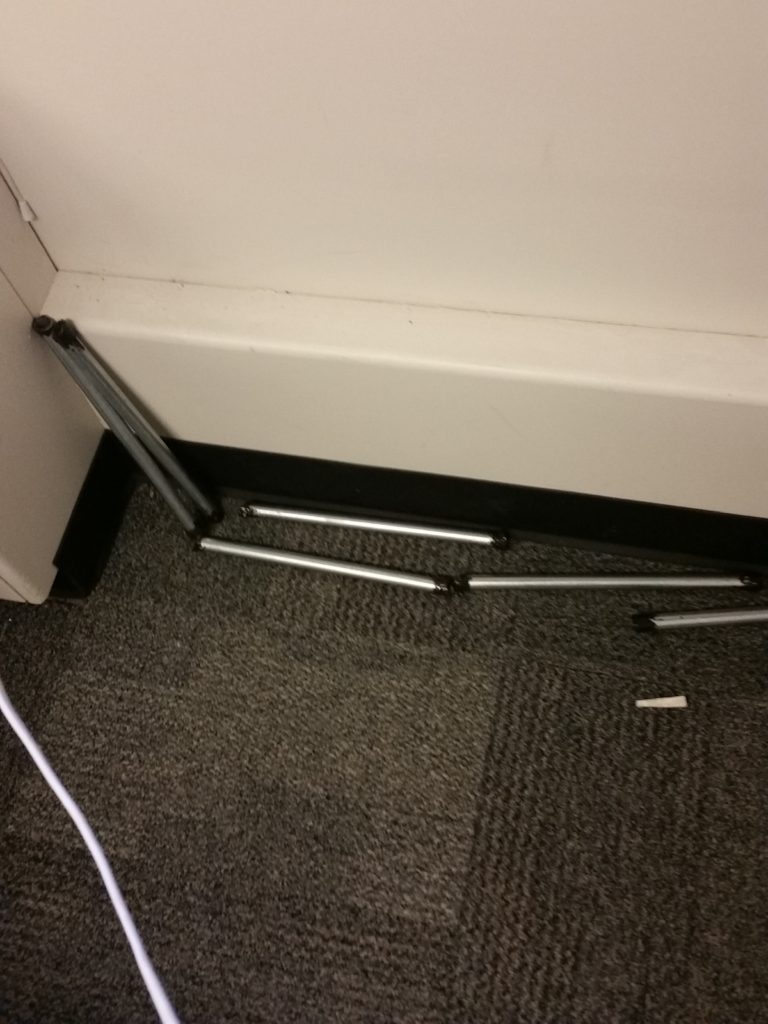
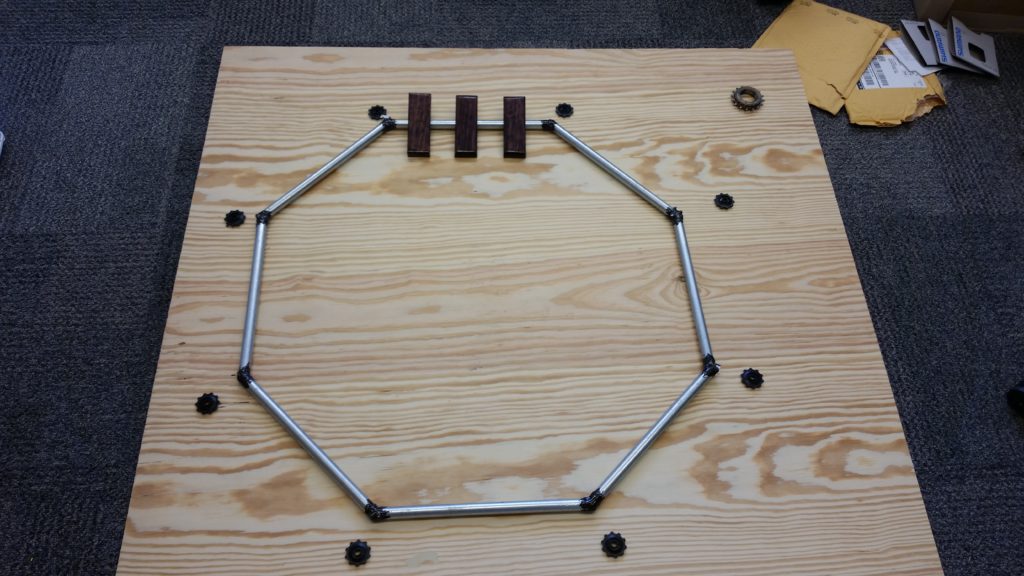
The keys then all had to be mounted, above the base wood piece because of the tuning pegs and underside hardware. Originally I had wanted to make a circular piece of bent tubing, but I couldn’t find a tube bender that would bend to the radius I was looking for (1-1.5′). Instead, I opted for an octagon. My first attempt at this was an utter failure as well; I tried cutting conduit strips at 22 degree angles and gluing them all together. I originally wanted to weld them, but the conduit I had was galvanized steel so I couldn’t weld…I opted then for adhesive, which failed miserably. I ended up with a pile of cut metal in the corner of the room (see below).
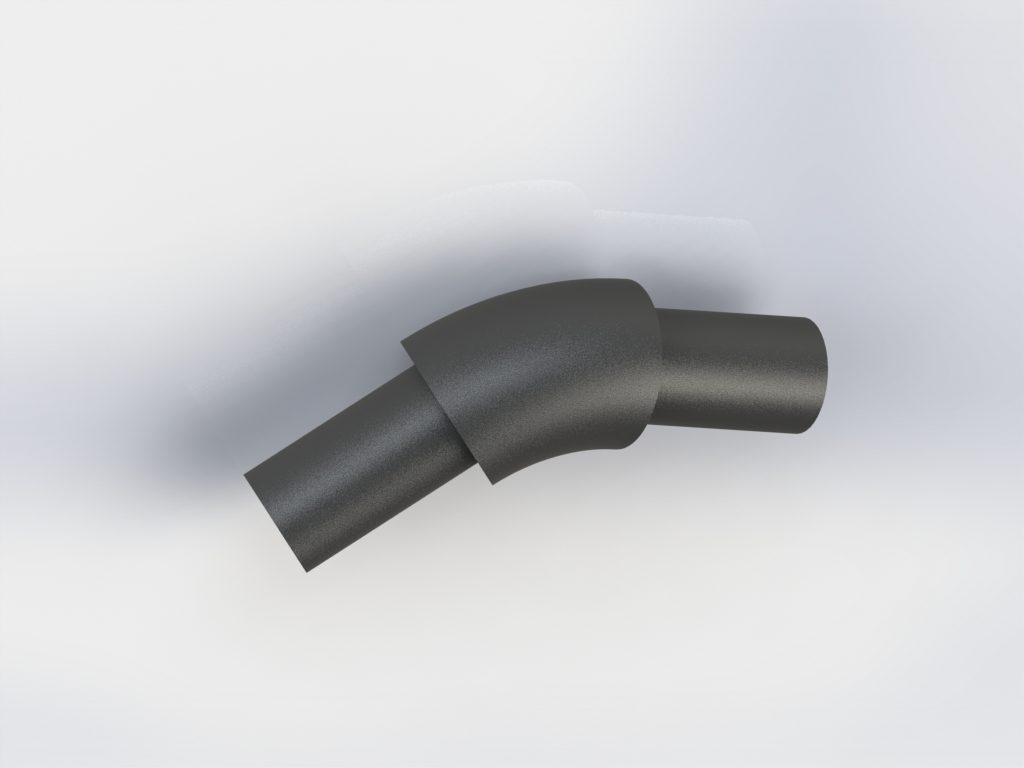
The winning combination for this piece was actually just PVC and 3D printed elbows to hold it together. That way, I eliminated any angle cuts and could avoid adhesive challenges (plastics glue much better than metals). Credit goes to Sreyas Krishnan and Albert Como for this one; it wasn’t my idea, but it worked much better than anything I’d come up with. The CAD for the connector pieces is below, they are incredibly simple but did the job well. I then plasti-dip sprayed the entire thing to get a more uniform texture and then spray painted in gold to bring it all into my aesthetic.
Finally, all the keys mounted to the octagon with conduit brackets. These work fine, are cheap and invisible. The biggest issue I found after mounting the keys was the size of each one; I had hoped for total customizability, being able to put the keys wherever I wanted, but they’re fairly large and so they need to be spaced fairly evenly just to fit them all. I realized later though this wasn’t a huge issue; the drive train isn’t fast or efficient, so placing the keys all perfectly timed wouldn’t mean the song would play perfectly anyway.
Drive
This piece took a lot of iteration as well. I wanted originally to make a gravity powered device which may still be possible, although mid way along I thought it would be easier and more appropriate to make a crank drive. It kind of matches the old time phonographs, oftentimes needing a crank to play. The crank is attached to a free wheel bike sprocket (to keep the thing from spinning backwards) and strings to a large double sprocket. This actually came from an old bike cassette; I ground off a petal and pressed a bearing into it, then attached the whole thing to the mounting board. From here, the entire strum loop is powered.
The crank piece is actually somewhat complex, involving a machined aluminum rod to hold everything together. The base of the rod press fits into a mounted bearing, where the whole thing interfaces with the mounting board. The free wheel sprocket goes on the next step on the rod, held in place by two angled screws. This may be the most impressive garage engineering feature of the project. I had already press fit the bearing onto the lower part of the rod, so I wanted to fix the sprocket onto its step without taking it all apart. I threw it in a vice and hand drilled and tapped two angled screws and then cranked them down, and sure enough it held the sprocket in place. I don’t recommend doing this to hold anything with high torque, but for what I am doing here it seems to work fine. I then had to drill and tap one more hole for some NPT pipe I picked up to act as the crank. Once together, it all works fairly well.
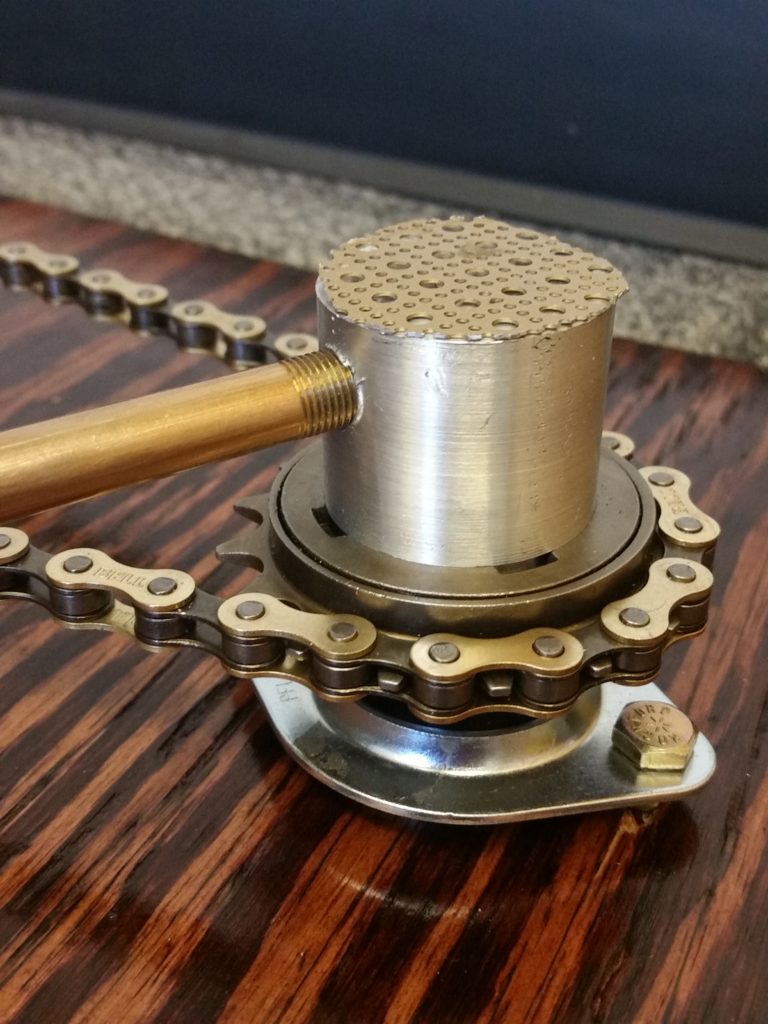
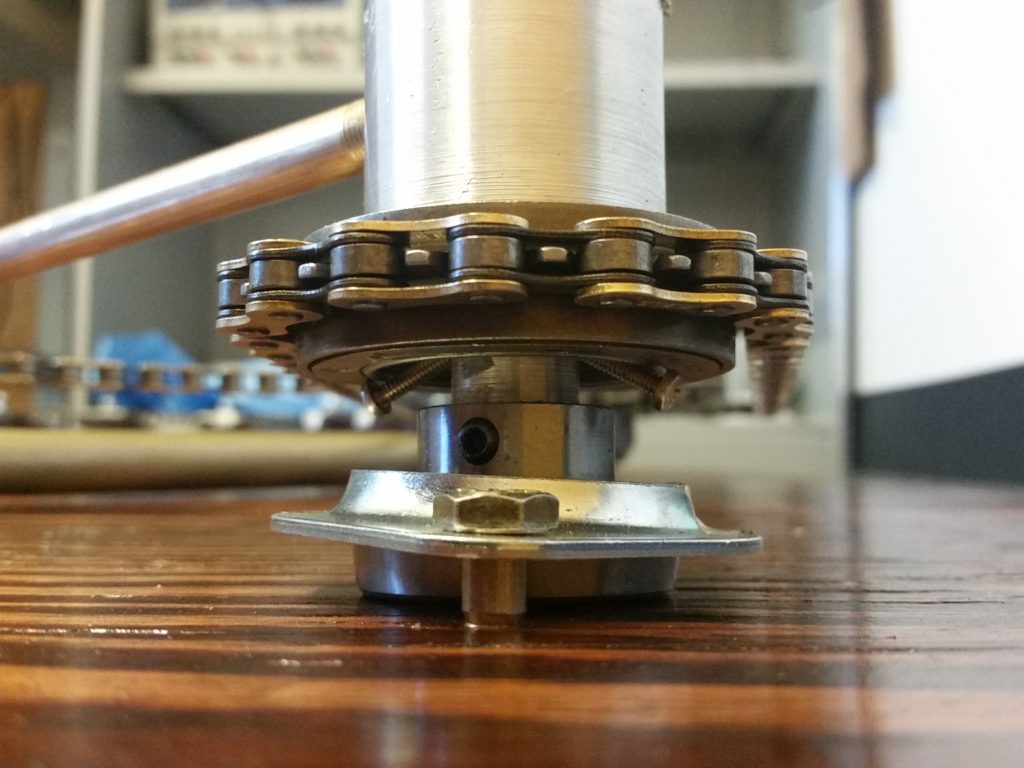
This drive loop is then used to power the other strum loop, the long chain that goes around the entire octagon and plays the strings. It keeps its shape with seven additional derailleur sprockets that spin freely. A big issue I encountered both with the small sprockets and the big double sprocket was keeping them standing vertically; they wanted to bend inwards towards the chain under tension. I had to use pretty large washers (enormous ones for the double sprocket) and really crank down the bolts to get them to stay in place. All in all, though, it does crank and turn around. It’s also quieter than I thought it’d be, a lucky break considering how quietly the strings play.
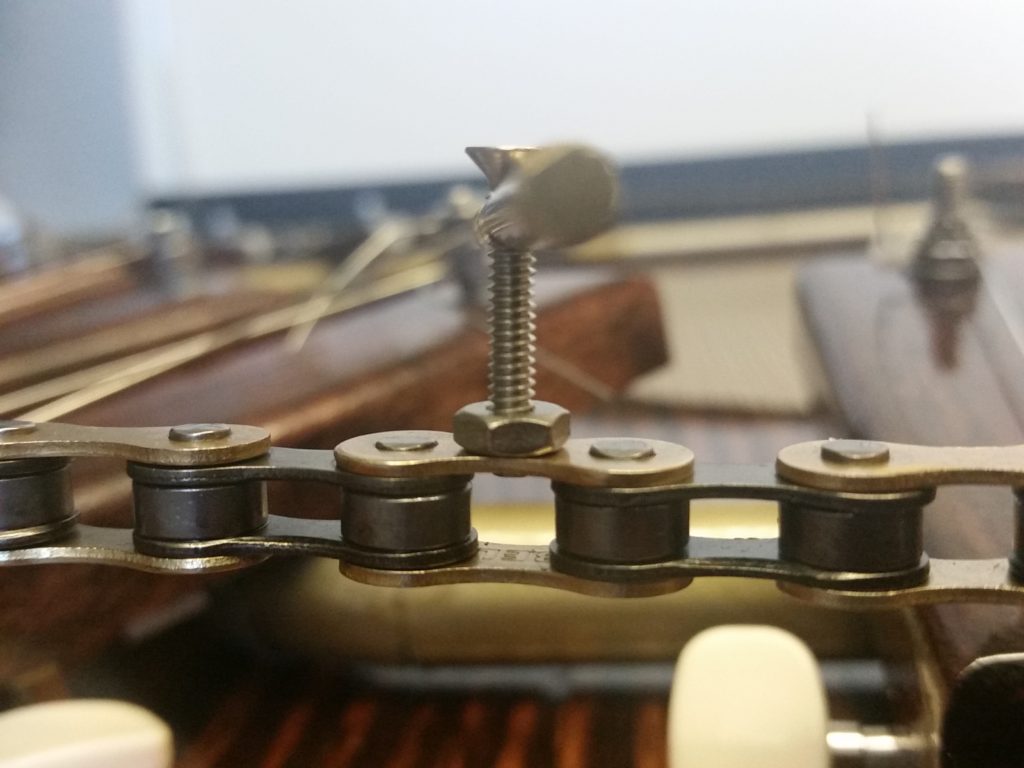
To actually pluck the strings, I attached a brass rod with a strumming piece that comes down to pluck the strings. To mount this, I actually drilled and tapped a tiny hole in one of the chain links and was able to put a #4 bolt inside. I had to offset the brass rod from the chain link to get over the sprockets and their hardware when it passes those points.
Base
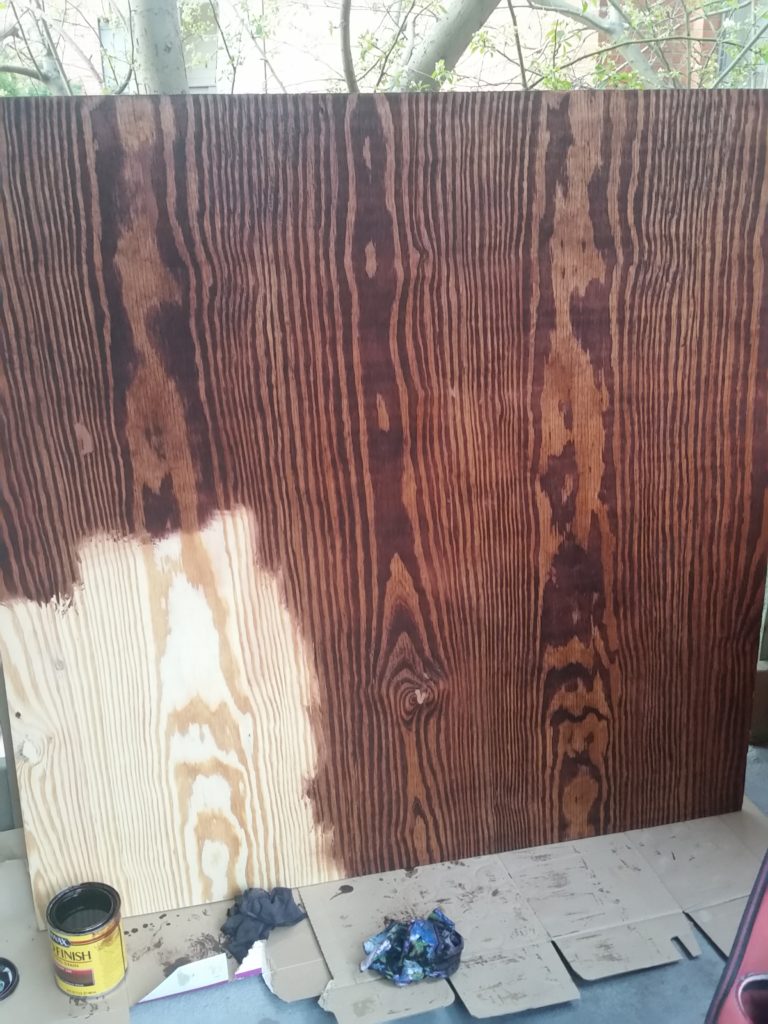
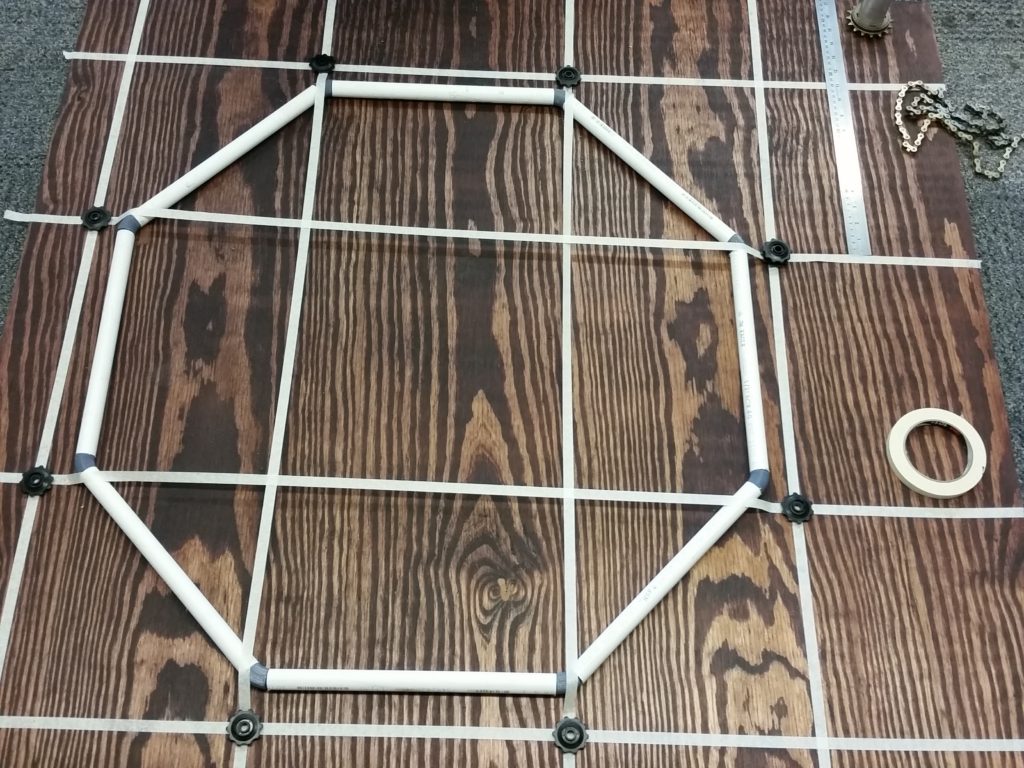
Finally, I mounted it all to a piece of plywood I stained and lacquered. I just found a 4’x4′ piece of plywood from Home Depot, but I think the grain structure is actually beautiful and after some beauty products it looks really nice. Mounting everything was somewhat of a task to do perfectly, needing lots of planning (one step shown below), but in the end it all ended up fairly symmetric. Finally, I also added a bit of anodized aluminum decorations just to round out the piece. The whole thing came out to around $200, a little more than I’d expected. I ended up using a little more wood than I thought I’d need, and other things like stain, lacquer, and spray paint were more money than I’d anticipated. I also had a few failures that cost money and time, so that factored into the extra price as well.
To conclude, I’m thrilled with the result. I think it’s a beautiful piece, and I was able to stay true to the aesthetic I set out to achieve. I also am happy with the changes I ended up making along the way. I was originally going to mount it on white canvas to accentuate the art aspect, although I couldn’t paint over the wood once I saw how nice it looked stained. The crank wasn’t part of the original design either, although it ended up being a neat looking part of the design as well.

4 Comments. Leave new
[…] Macro Music Box – Final Report Part I […]
It was great to see this in person in class the other day- it’s a pretty impressive object, and I was particularly impressed with how nice the backing board looks, considering it’s just stained plywood.
Have you considered adding some trim around the outside edge to give it an even more finished look? That’s the only thing that stands out to me. Also, it would be interesting to incorporate different ratio gears from the bike to allow you to play it at different speed, but that’s probably overkill.
Matt, I know that this project caused you plenty of trouble over the course but I think its evident from the final product that you created something that you should be proud of! Not only does it look great, but the fact that you created a completely mechanical system that plays music and is so cool!! I agree with Sreyas that the double key chords are a perfect detail that gives your project that little bit of extra umph! I really hope that you keep this and even tune it to play some other famous tunes! To conclude, I love this project, and I especially love that you were able to make it completely mechanical. So much of what’s created today (including my project) is so established within the power of computers and electronics that sometimes we can forget the beauty and capability of purely mechanical systems!
It’s been sweet watching this thing materialize in real time over the last couple months. You nailed the “Gatsby” aesthetic with this contraption, and the fact that it plays The Entertainer is perfect haha. Love the use of chords too. That was a musical touch you could have side-stepped – the fact that you went to that length shows attention to detail. If you make a smaller version that plays ‘take me out to the ball game’, I’ll buy it for sure. Good stuff dude!