Introduction
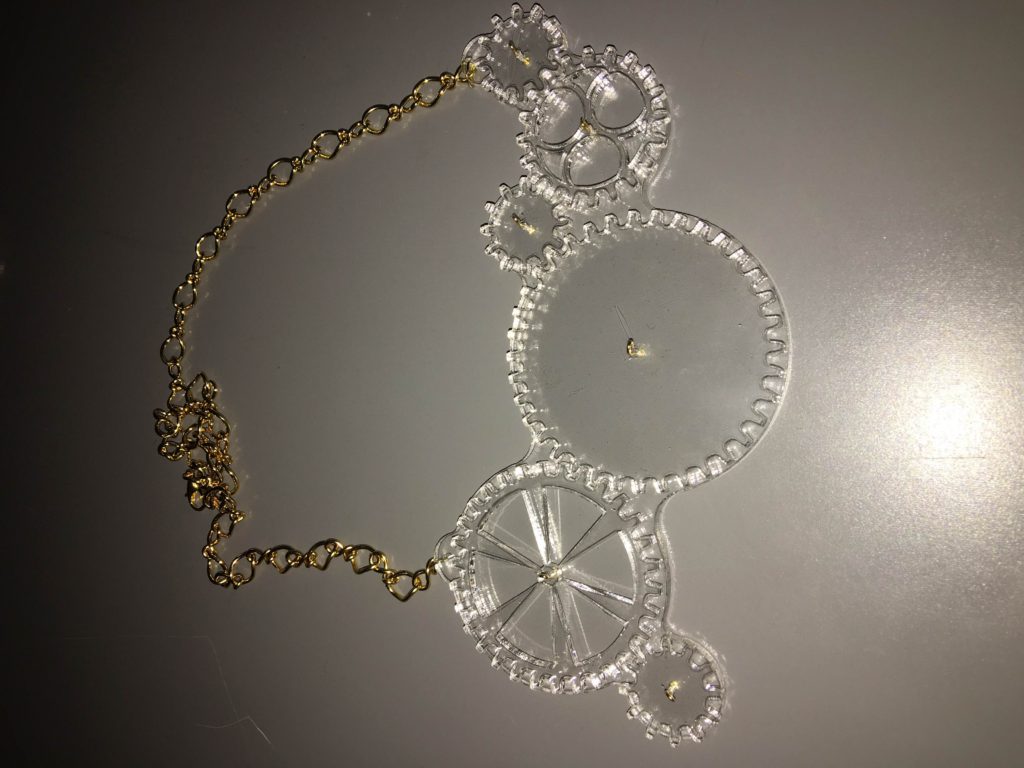
I began this project motivated by the love of jewelry and inspiration from a piece I was given my a friend. I dedicated the last month to playing around with different gears, patterns, and cutouts. I have loved this project and the ability to use my love of both mechanics and art. Since my last update, I have made several changes to the design the largest one being an increase in the size of the gears. I also added several cutout designs to the gears themselves. The following designs are representative of both necklaces and bracelets.
The Process
The project began virtually. I originally tried to create the gears entirely from scratch. After several failed hours of design, I turned to McMaster Carr and used their dimension drawings to create the appropriate sized gears. I tested 4 different sized teeth using cardboard cutouts. This allowed my to properly align the spacing and discover the best sizing of the gears. The bigger the teeth the more reliable the design was so I utilized the the largest gear teeth I could find. From here, I build 4 base gears and designed several versions with intricate cutout patterns on them. I then arranged them and design the back plates that would support them. All of this work was done in solid works. I used the laser cutter to print the designs. I made sure I tested each design in cardboard before using acrylic. I also cutout scrapbook paper using the laser cutter so I could back the gears. I assembled the designs using head pins to hold the components in place. A pre-made chain and clasp were attached using jump rings to make the art wearable.
Cost
| Price | |
| 0.125″ Thick Acrylic | $7.99 |
| Scrapbook Paper | $5.00 |
| Headpins | $2.09 |
| Clasps | $2.69 |
| Chain | $3.29 |
| Jumprings | $2.69 |
| Spray Paint | $7.99 |
| TOTAL | $31.74 |
Final Design Pieces
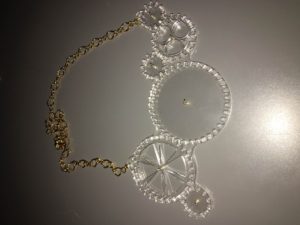
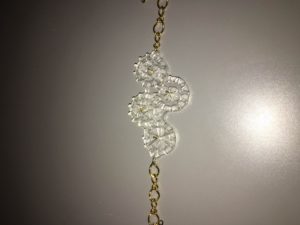
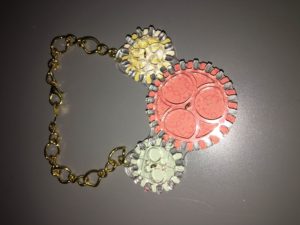
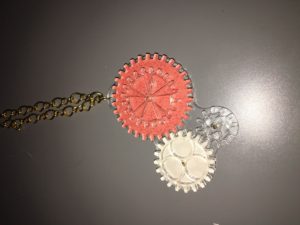

5 Comments. Leave new
The final product turned out nicely. I really like the cuts in the gears, they add complexity which makes it look more professional. Glad you were able to figure out your tolerance issues.
If you end up transferring this design to SWE, you could use the online gear generator: https://woodgears.ca/gear_cutting/template.html. It allows you to control all the parameters of a gear (involute profile, number of teeth, diametric pitch, bore size, etc.). You can then save it out as a DXF, and open it as a sketch in SolidWorks. My team used it this semester for our mechatronics robot, and the gears ran really smoothly. It also seems like the loop on the pins is prohibiting the rotation of some of the gears. Maybe you could use something like a binding post to allow the gears to freely rotate without getting snagged. I really like the paper that you added behind the clear gears. If you ran a Etsy type business, you could have people totally customize the backing pictures/colors. Nice work!
I really like how well each piece turned out! They look really professional and high quality. Do you plan on making more of these?
One note, attaching the backing to the gears to keep the teeth aligned with the gear, would give a bit more polish to the finished product.
These came out quite well, and you definitely drew in the women at the expo. Although the necklace seemed quite large I’m sure you could scale down the piece to reach a comfortable weight / size for anyone. As this was made of acrylic are there any plans to reproduce the pieces in metal possibly gold or silver or a combination? I could see these selling well in an area like Boulder where hand made items are appreciated. Good work here and with senior design.